If you are looking for a way to create a very beautiful and professional looking wood burning, I have some tips to assist you along the way.
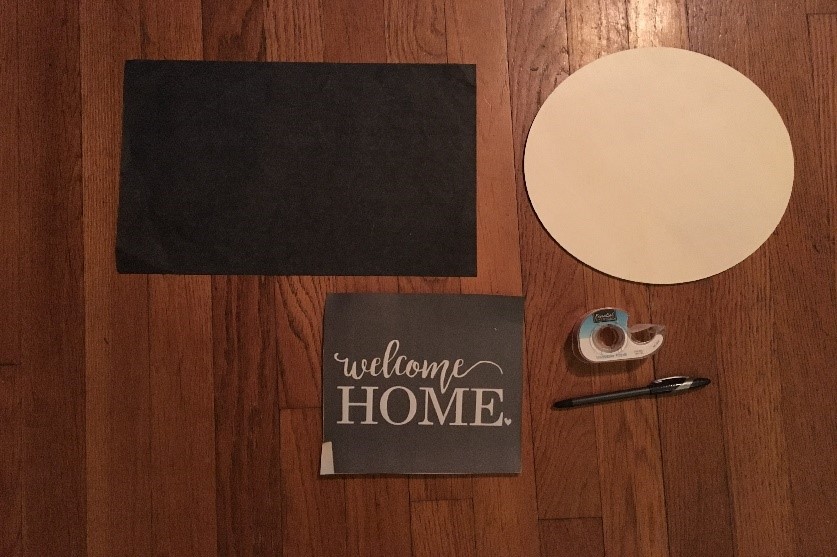
What you will need:
- TRUArt pyrography pen
- Wood of your choice
- Colored ballpoint pen
- Carbon tracing paper
- Tape
- Image/design to burn
- Magic eraser
- Sand paper
- Stain
- Varnish
Take the time to find the right image to burn. Make sure the size of the image works well with the piece of wood you choose. Be mindful of the type of wood you choose. Try sticking to a softwood such as birch wood, basswood or even simple plywood. Sand your wood surface down prior to use to ensure that the image you use will burn evenly. Do not burn on treated or painted wood as fumes inhaled from these can be harmful to your health.
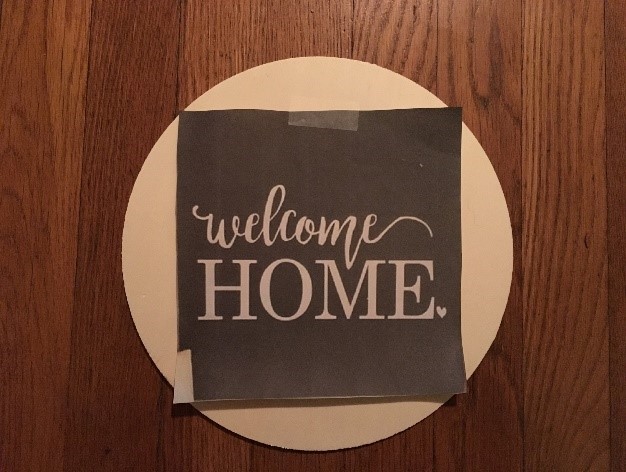
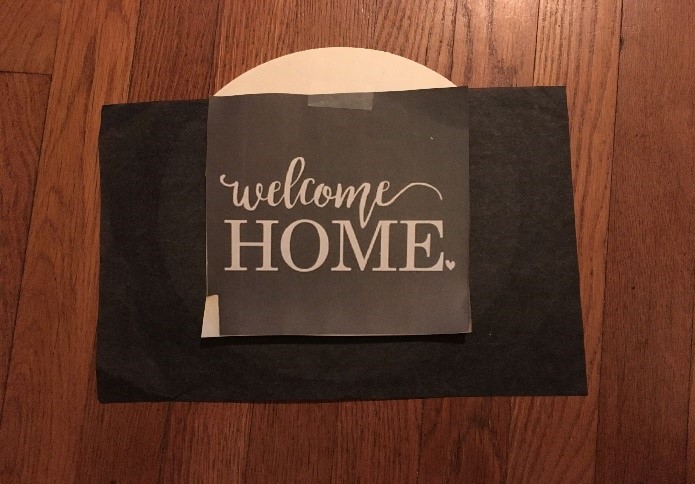
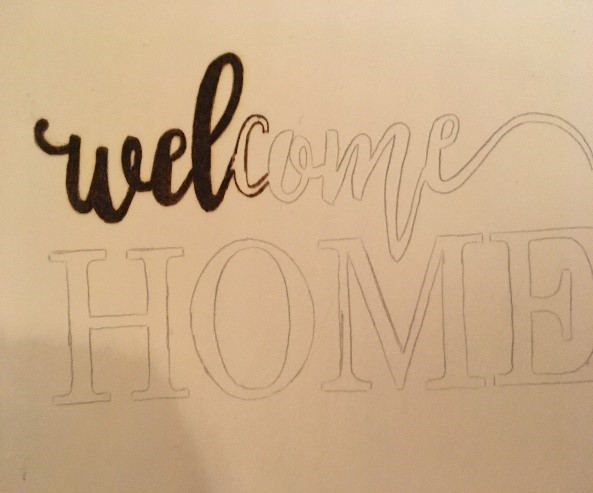
Get some tape, carbon paper, and a colored pen. Find the center of your wood and place your image on the desired location. Tape the top of your image onto the wood to prevent it from shifting. Slide the carbon paper underneath your image (glossy side down). Take out your pen and trace the image. I like using a pen because I feel like I don’t have to add as much pressure while I’m tracing the image. It is useful to use a colored pen so that you can see the area that was already traced.
 |
 |
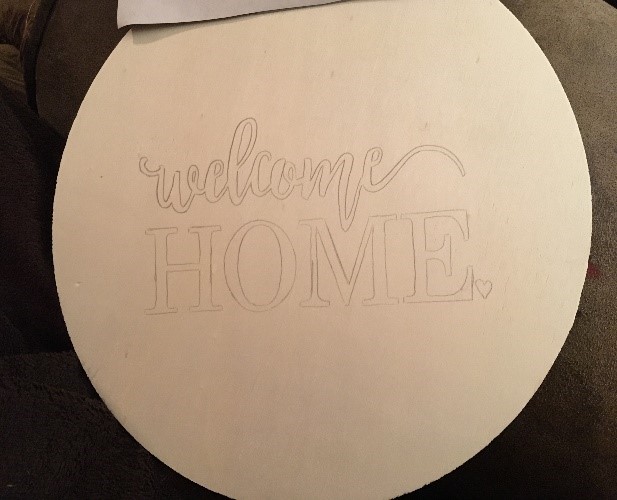
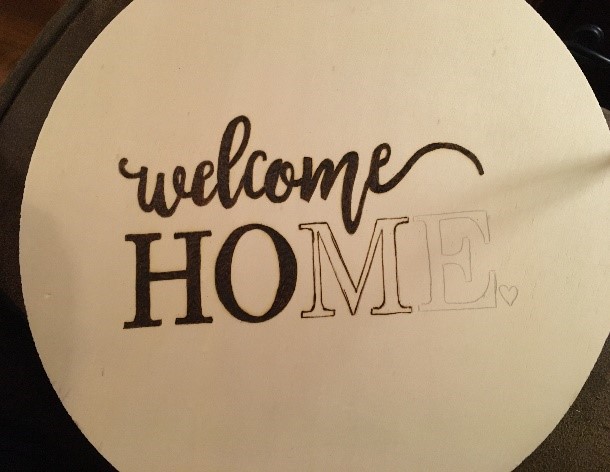
Once the image has been completely transferred, gently lift the bottom portion of the design to ensure that you have traced the whole image onto the wood. If so, remove the paper. When burning the image, start at a lower heat and slowly increase the temperature as needed. If you start too hot, you will get an uneven burn and possible burn marks outside your design.
Do not press down hard while burning. If you feel the need to push down hard on the wood with the pen in order to get the desired darkness/shade, your temperature is too low and needs to be increased.
 |
 |
 |
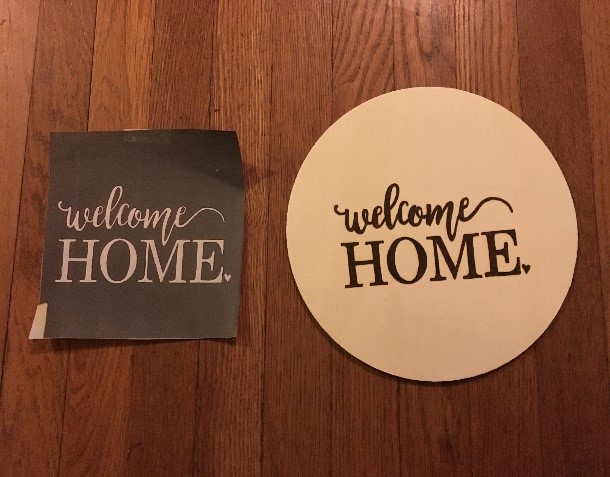 |
Once you have completed the burning, you may have some marks left on your wood from where you traced your design. These markings can’t simply be erased with a regular eraser. Get a magic eraser. Add only a little water to the eraser and gently rub in a circular motion evenly across the wood. If it’s not done evenly, you will have splotchy marks on your wood when you stain. When that happens, simply sand the wood down on those areas. Rubbing too hard may cause smearing of the image. Gently rub the eraser on the smudges until they’re gone and let the wood dry completely.
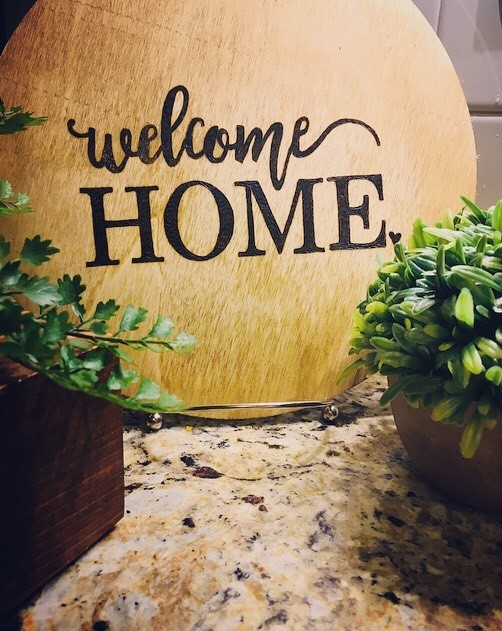
To give the wood a finished look, add a little stain on it. Be sure not to add too much stain or too dark of a stain or the image will fade into the wood. To protect the image from darkening over time, varnish the wood with polyurethane or resin.
Now, all you have to do is enjoy all your hard work. Keep practicing and be patient with yourself. Hang in there, you’ll get it.
I wish you the best of luck and I will see next time with some more tips to help you along the way.
If you have any questions regarding the whole process, please leave them in the comments below and I’ll get to them as soon as possible.
Andrea
 |
 |
[…] the image onto the wood. If you’re not sure on how to do this, check out my previous post Woodburning Tutorial. Once the image is traced, remove the carbon paper and tape. Start […]
[…] you have found your image, transfer the design onto the wood (see my post on Wood Burning Tutorial for instructions on how to do […]
[…] So hurry and click on the PDF files below and download your stencil. If you need help on transferring images to your work, check out Andrea’s guide. […]
[…] Let’s get started. First, take your pattern of choice and transfer it onto your wood (see transfer instructions on Wood burning tutorial). […]
[…] to your wood with transfer paper. For detailed instructions on how to do the transfer, check out a previous post I […]