
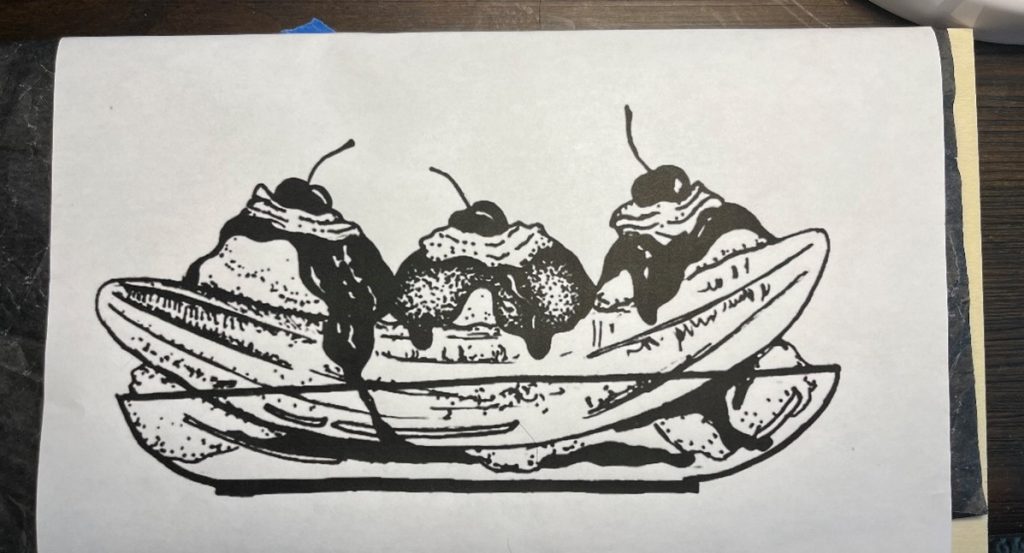
On a hot summery day, nothing cools you off quite like ice cream. Some of my favorite ice cream concoctions are mint chocolate chip with Magic Shell. hot fudge sundaes and banana splits. That was my motivation for this sweet design. This Banana Split template pairs perfectly with my Just Chillin’ Template. I like to display these pieces together during birthday parties, ice cream socials, or with my summer décor. You can find my “Let’s Split” template in The Wood Burn Community Book of Templates Vol 2 by Rachel Strauss.

This book features 64 templates created by 34 artists with templates ranging from beginner to advanced skill levels. You can purchase your own copy by clicking on the link below.
https://www.woodburncorner.com/community-book-of-templates-volume-ii


Supplies Needed:
- Pyrography Pen
- Template
- Transfer Paper
- Pen
- Tape
- Wood
- Varnish
- Paint or Colored Pencil (Optional)
- Stain (Optional)
To get started, select your wood. I wanted something I can hang to display. There are various types of wood you can use. I typically purchase wood at my local craft or home improvement store. You can also find a wide selection of wood available at your local dollar store. I found this wood sign at my craft store for under $10 with a coupon. You can simply remove the backside of the sign making it easy to transfer the design to the wood.


Simply tape the template and your tracing paper to the wood and start tracing your design. To ensure you don’t miss transferring any part of the template, it’s best to use a red or blue pen. This makes your markings easily visible as they won’t blend into the shaded areas of the template.

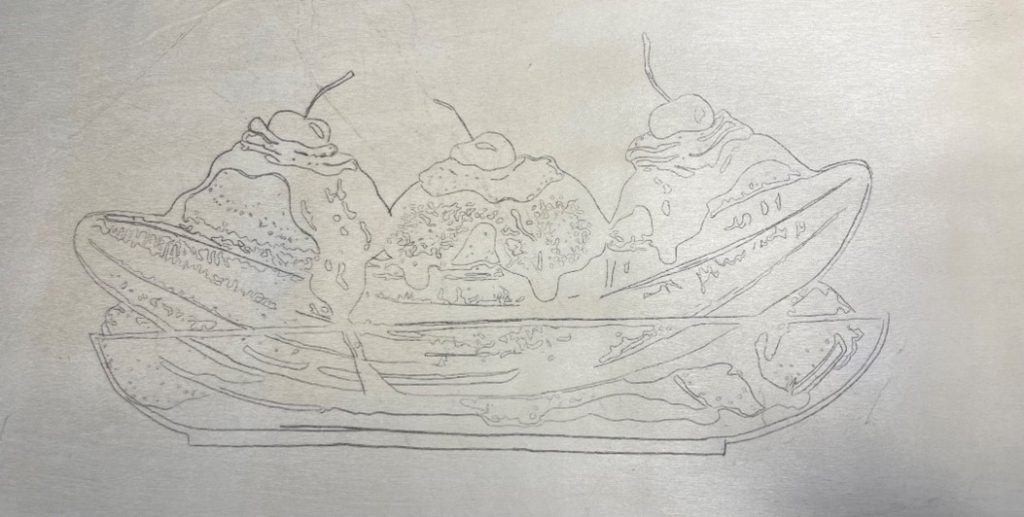
Once you have transferred the image, make sure you didn’t miss any areas. Slightly lift the template and tracing paper off the bottom of the wood but keeping the top portion secure to the wood with tape. You need to do this carefully as you don’t want the template to shift. It will keep your template in place and allow you to trace any missing areas with ease.
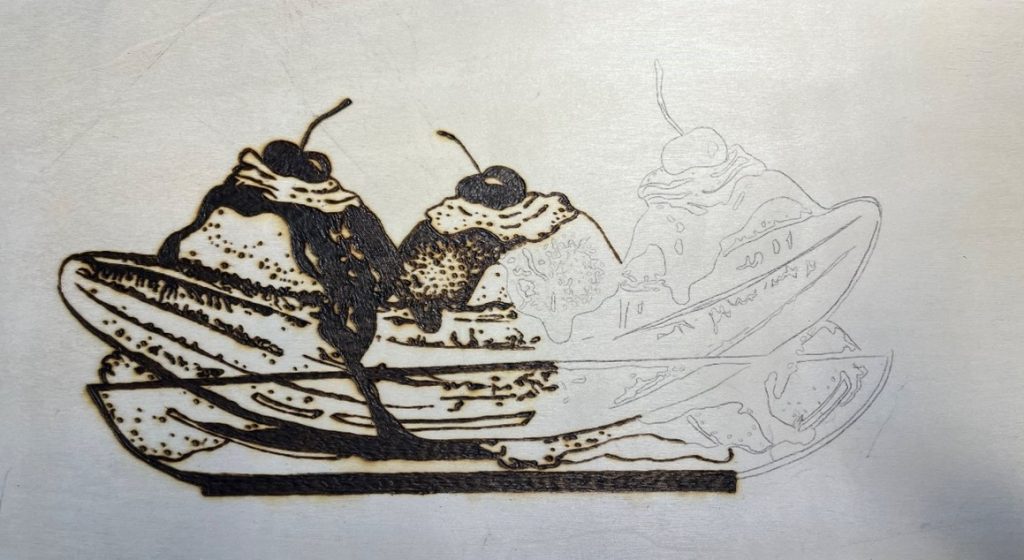
Since this template has thick bold lines and a lot of solid black areas, you can burn those areas at a higher heat. Be mindful not to go too high as it can create scorch marks and an uneven burn. In the areas where there are a lot of white and smaller marks, lower your heat.
There are different shading techniques you can use for this design. I chose to shade this design by stippling. Stippling is simply a technique using dots to differentiate between light and shadows. The darker the area, the more dots are used. As the area is lighter, the dots fade. This is a fun technique to use in pyrography. No matter your preference, you can’t go wrong with how you draw this. Do what feels most comfortable to you. Get a spare piece of wood and practice the various techniques to see what you prefer.
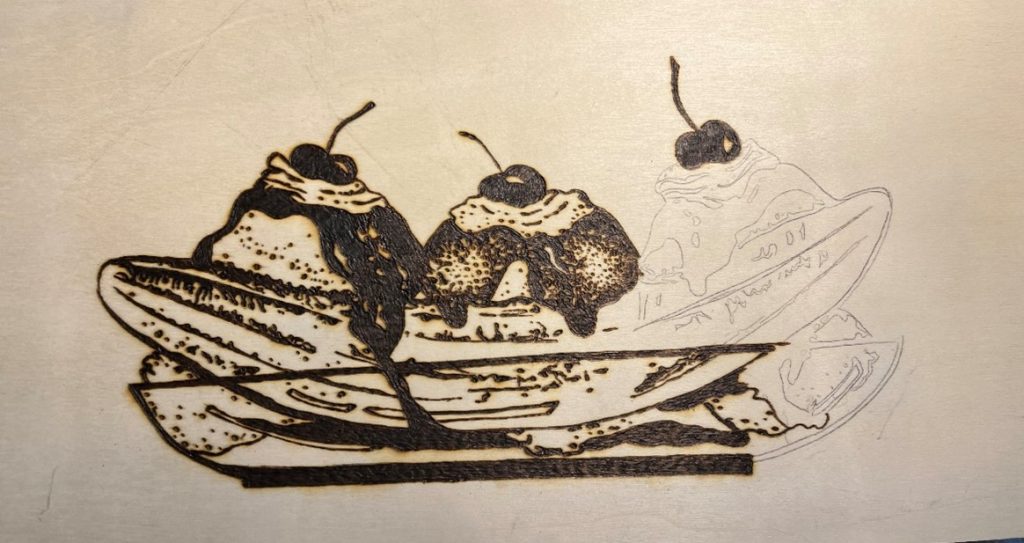
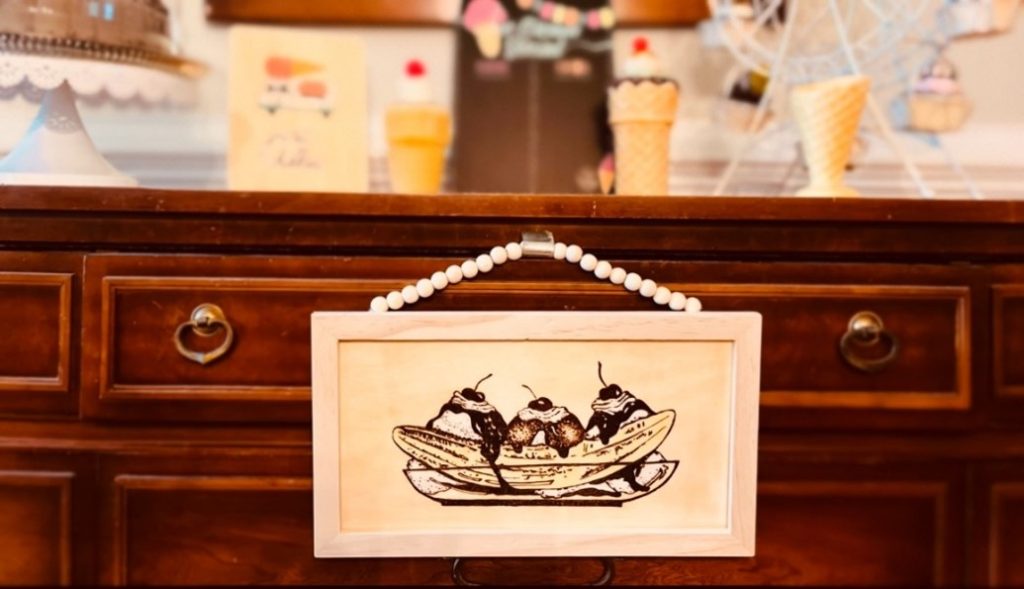
Tip: You can opt out of coloring in the cherries on top of the sundae. Add red paint or colored pencils for a pop of color.
Once I have completed my burning, I did a very light coat of stain. Once the stain was fully dried, I took white and yellow-colored pencils, and colored in the ice cream and banana just to make the image stand out a little more.
Again, make this design your own. You can just burn the outline and fill in the areas using paint or colored pencils or not fill them in at all. That’s the beauty of art. There is no wrong way, and you personalize each piece by making it your own.
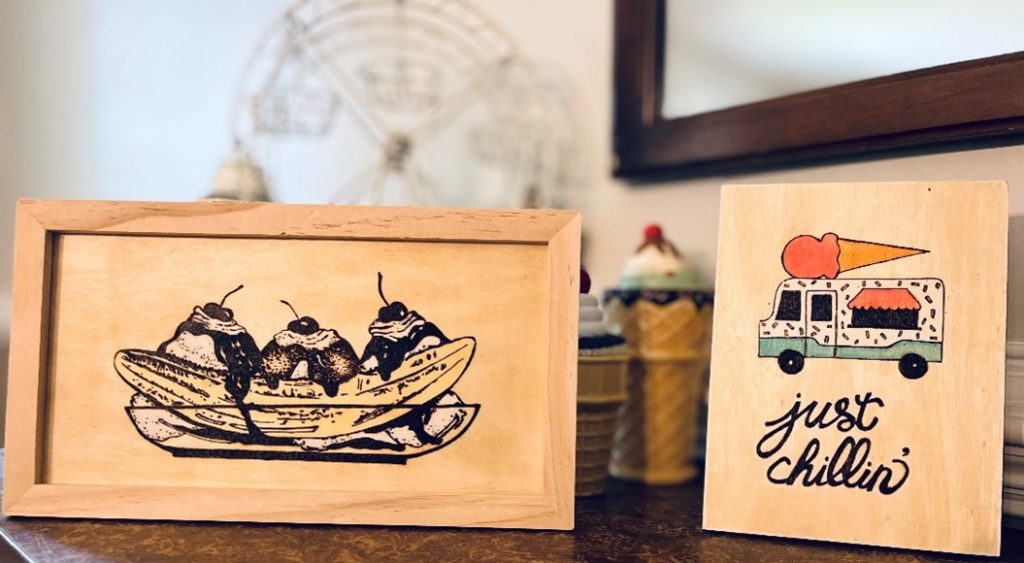
Please tag your burning to @patespyrography and share your finished piece to
#patespyro
#thewoodburncommunitybook
#truarthq
I hope you enjoyed this template and don’t forget to get your own copy of The Wood Burn Community Book of Templates Vol 2 for more amazing designs from talented artists around the globe. Also check out @woodburncorner for tips, community challenges, inspiration and so much more.
Andrea Pate
Pate’s Pyrography