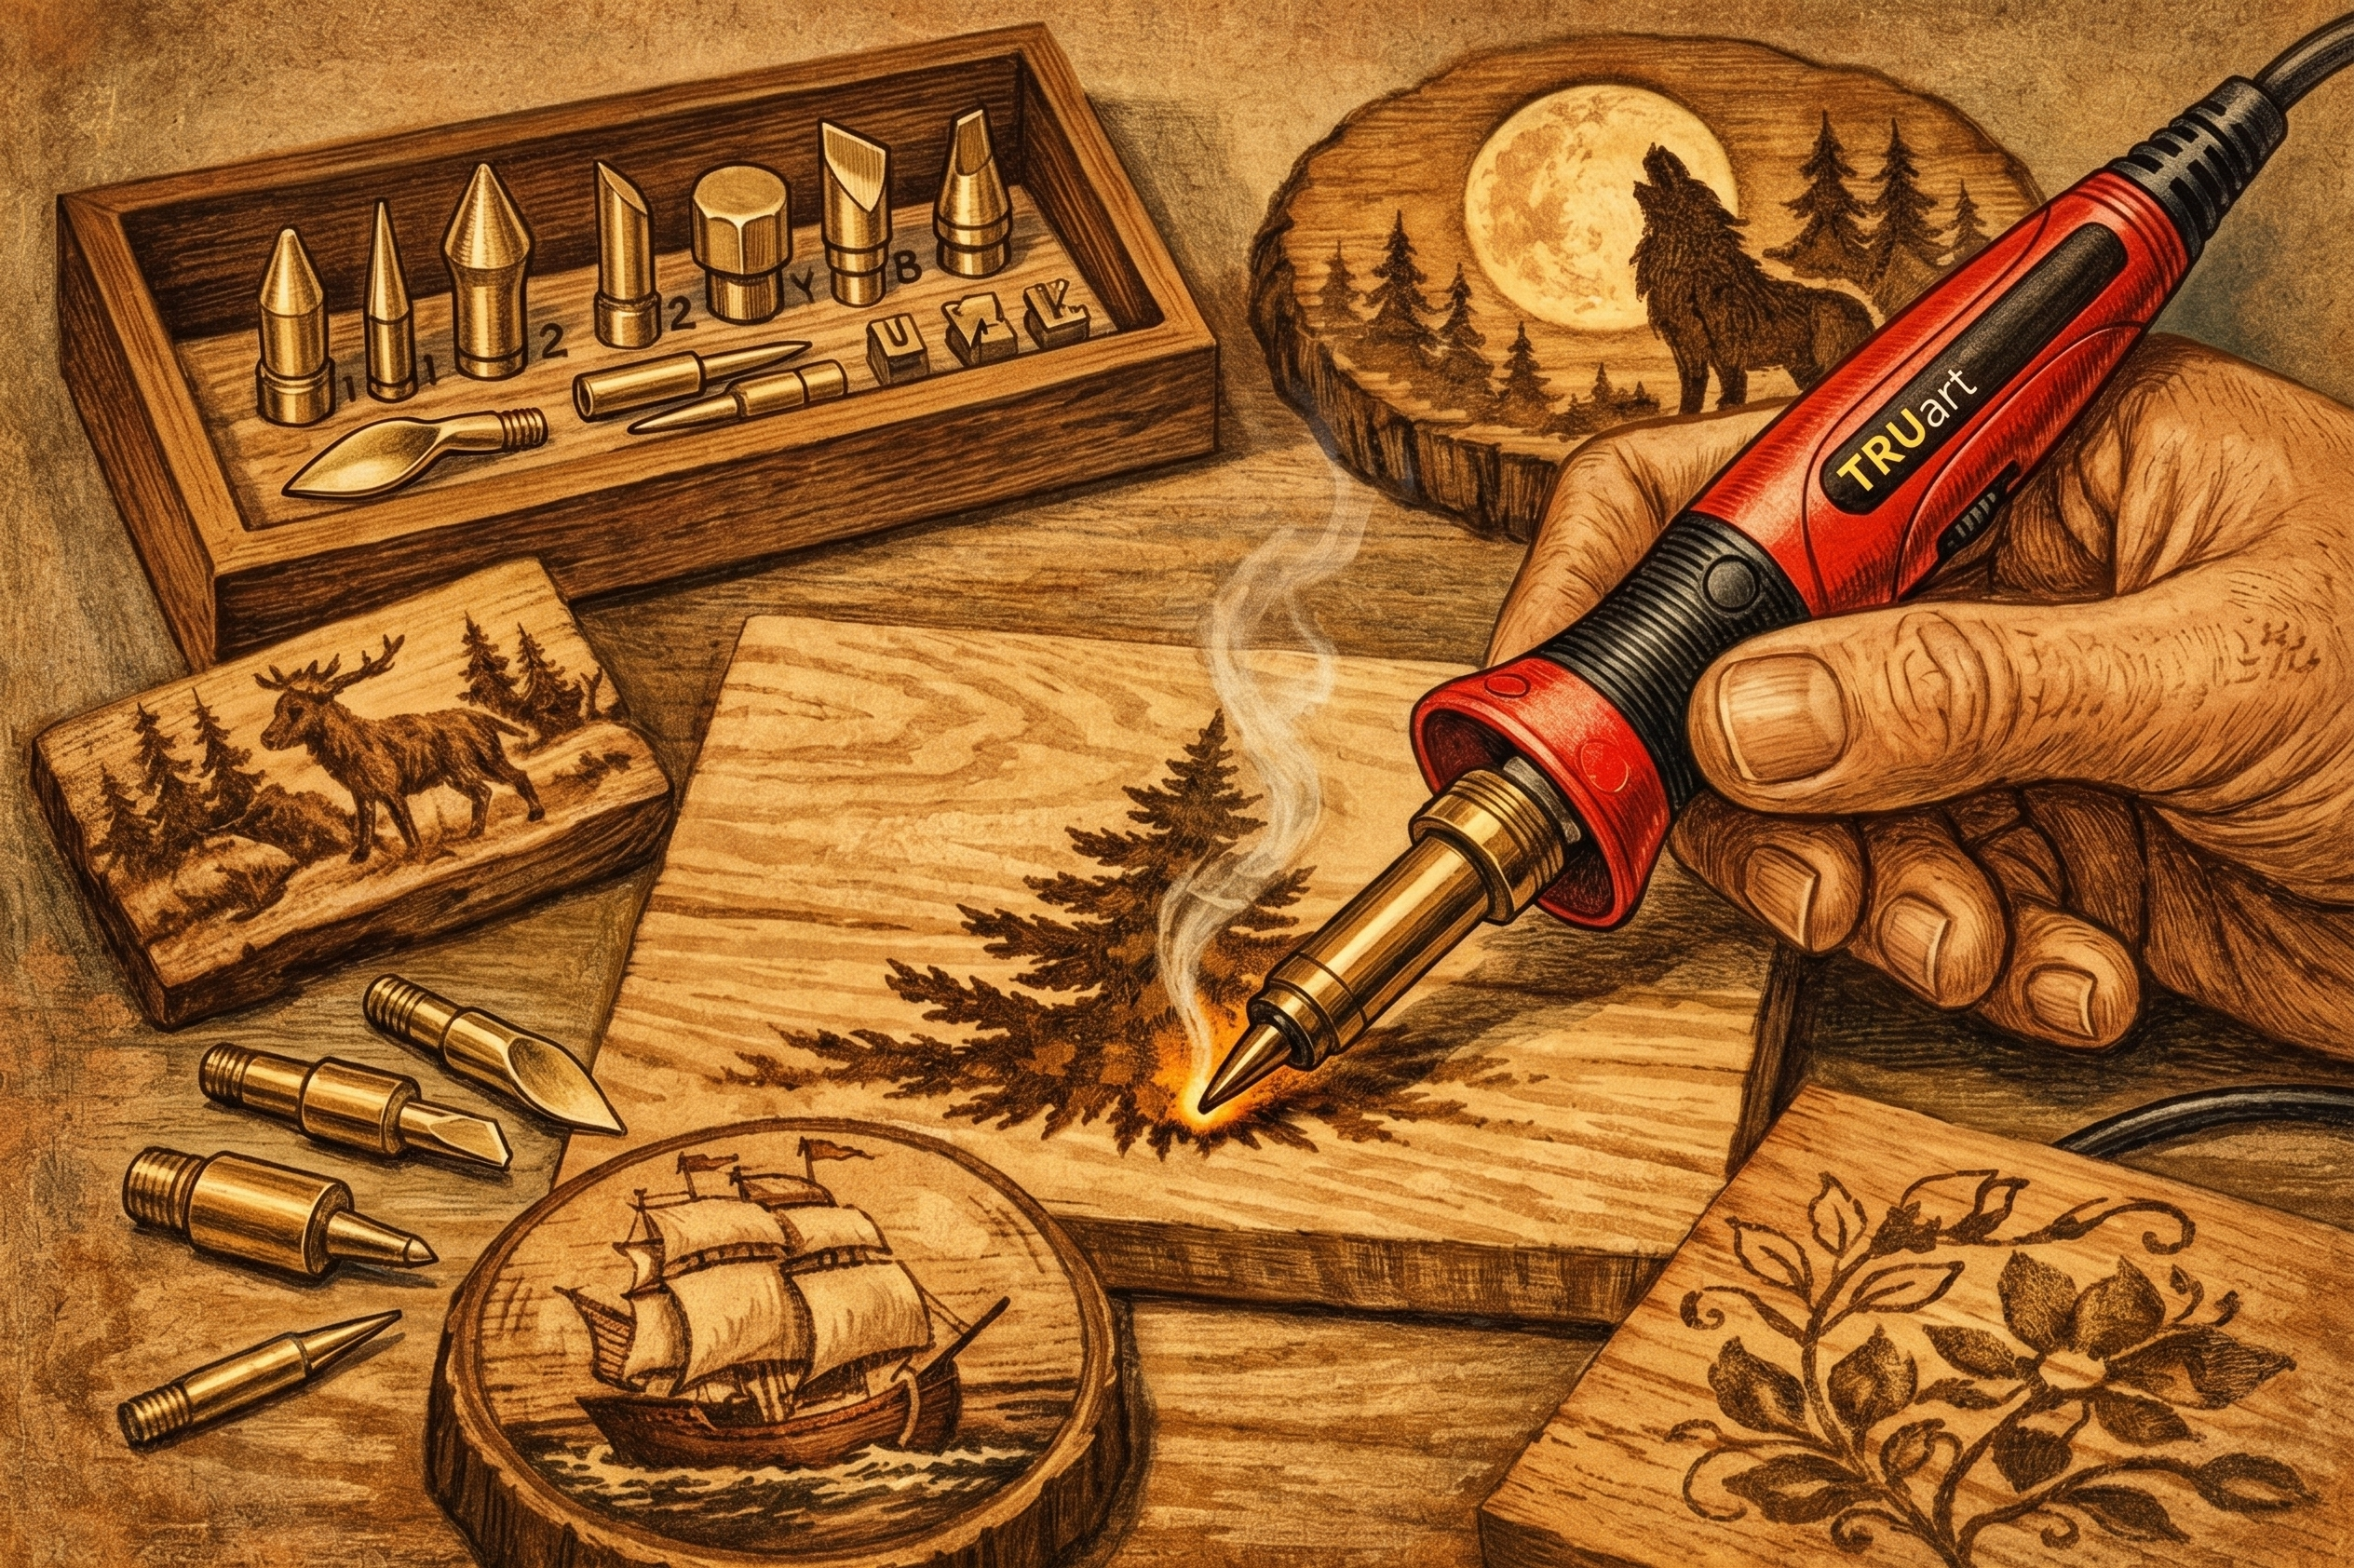
A 30W burner can make far more than a first practice mark. With the right tip shape, steady movement, and a surface that accepts heat well, it can produce crisp names on tags, soft shading on plaques, and texture that gives a simple design dimension. These 30 watt woodburning pen tips focus on getting more control from an approachable tool, without asking you to work faster than the material allows.
A 30W pen is a strong starting point for hobby pyrography because it delivers useful heat in a simple format. It is especially well suited to unfinished wood, cork, gourds, and suitable vegetable-tanned leather projects. Its trade-off is straightforward: compared with a higher-output detailer with digital temperature control, a 30W pen gives you less flexibility to make rapid heat changes. Your choice of tip, pressure, pace, and surface matters more.
Start With the Surface, Not the Design
The same tip can leave a dark, smooth line in basswood and a lighter, more broken line in a harder or more open-grained board. That is not a failure of the pen. It is the material telling you how much heat and dwell time it needs.
For early projects, choose clean, dry, unfinished wood with a smooth, even grain. Basswood is forgiving for lettering and line work because it burns consistently. Birch and similar harder woods can create beautiful contrast, but they ask for a slower hand. Sand the surface smooth before transferring your pattern, then remove dust so it does not interfere with your guide lines.
Make a small test area on the back or on a scrap from the same piece before starting the artwork. Draw a few lines, a curve, a shaded patch, and a row of dots. This quick test tells you whether the material needs a slower pace or a lighter touch.
Choose 30 Watt Woodburning Pen Tips by Mark Type
Tip selection is not about finding one “best” nib. Each shape transfers heat differently, so each one creates a different family of marks. Rather than switching tips for every small detail, choose the tip that does most of the work your design requires, then use one or two others for accents.
Use a universal point for outlines and controlled details
A pointed or universal tip is the practical all-around choice for tracing patterns, outlining silhouettes, and creating small details. Keep the pen moving at a measured pace. If you pause too long, the point can sink into the grain and leave a dark dot at the beginning or end of a line.
For smoother curves, rotate the workpiece instead of forcing your wrist to bend around every turn. The pen stays in a comfortable position, and your line weight is easier to keep consistent.
Use a shader for fills and tonal changes
A shading tip has a broad working face that can cover an area more efficiently than a point. It is useful for petals, backgrounds, feathers, leaves, and gradual shadows. Place the tip lightly on the surface and move it in overlapping strokes, similar to coloring with the side of a pencil.
A clean gradient comes from movement, not pressure. Start where you want the darkest value, then gradually increase your speed as you move toward the lighter area. If a patch looks streaky, let the work cool briefly and blend it with lighter overlapping passes rather than pressing down harder.
Use a calligraphy tip for lettering and borders
A flat or angled tip gives lettering more personality because the width of the mark changes as you turn the pen. It works well for bold initials, simple script, banner outlines, and decorative borders. The important part is orientation: keep the broad edge aligned with the stroke you want to create.
Practice a few alphabet strokes before burning directly on a finished plaque. You will quickly see how much a slight twist of the pen changes the width of the line.
Use specialty tips for texture, not every surface
Ball, spoon, leaf, and other specialty tips can create distinctive effects, from dotted centers to repeated scale patterns. They are most useful when the texture has a clear visual purpose. A ball tip, for example, can build a stippled shadow or give a flower center dimension, while a leaf-shaped tip can help suggest layered petals.
Use specialty marks sparingly around the main focal point. Too many competing textures can make a small project look busy, especially when every mark is dark.
Let Speed Control the Burn
On a fixed-output 30W pen, your travel speed acts like a temperature control. Move slowly and the burn becomes darker. Move more quickly and the mark stays lighter. This is the core skill behind controlled pyrography.
Pressure should stay gentle. Pressing harder does not create a better burn. It tends to dig the tip into soft wood, catch on grain changes, and make fine lines less predictable. Let the heated tip do the work while your hand guides it.
When an outline needs to be dark, make one controlled pass first. If it needs more contrast, add a second pass after the surface has had a moment to cool. Layering your color gives you more control than trying to achieve the darkest possible mark in one slow stroke.
Keep Tips Clean for Cleaner Color
Dark buildup on a tip can make burning feel uneven and can leave muddy-looking marks. Clean the tip only after the pen has cooled enough to handle safely. A soft brass brush or appropriate tip-cleaning material can remove residue without damaging the working surface.
Do not scrape a heated tip with a knife or other hard tool. That can mark the brass and alter how the tip glides across the project. A smooth tip produces smoother lines, especially on lettering and fine contours.
If your kit uses interchangeable brass tips, always allow the pen to cool fully before changing them. Install the new tip securely, then let the pen return to operating heat before testing it on scrap wood. Frequent changes are normal, but rushing them is not worth the risk of damaged threads or burned fingers.
Build Contrast Before Adding Detail
Many beginner projects become overworked because every section receives the same dark outline, texture, and shading. Instead, decide where the eye should land first. Give that area the strongest contrast, the clearest outline, or the richest texture. Let surrounding areas stay lighter and simpler.
For a name sign, the lettering may be the focal point, with a light border and only a few shaded leaves. For wildlife art, the eye and facial contours may need the deepest burns, while fur texture stays softer. This approach makes a 30W pen feel more capable because you are using value intentionally rather than relying on maximum darkness everywhere.
Set Up for Steady, Safe Work
A clean setup supports better technique. Work at a stable table with good lighting and ventilation, and keep your project supported so it does not slide as you draw. Rest the hot pen only in a proper metal or ceramic stand, with the cord positioned where it will not pull across your work area.
Keep a scrap piece nearby throughout the project. It is useful when you change tips, return to the pen after a pause, or need to test a stroke before committing to it. This small habit prevents many avoidable marks on finished work.
If you are burning leather, test in an inconspicuous area first. Leather responds differently from wood, and a light touch is especially important. Use a deliberate stroke, avoid lingering in one spot, and build depth gradually.
Know When a 30W Pen Is the Right Tool
A 30W woodburning pen is a practical choice for first projects, personalized gifts, craft tags, ornaments, simple signs, and regular hobby use. It rewards thoughtful technique and gives makers a direct way to learn line quality, shading, and texture. A well-equipped Stage 1 kit, such as a TRUArt 30W set with multiple tip options, also gives you room to explore different mark styles without building a collection one piece at a time.
For dense materials, very large shaded pieces, highly detailed portrait work, or sessions where you need to adjust heat precisely as you work, a higher-output tool with digital temperature control may be the better fit. That is not a reason to outgrow a 30W pen immediately. It simply means choosing equipment that matches the scale and detail level of the work you want to make.
The most useful upgrade you can make right now may be a practice board, not a more complicated tool. Spend twenty minutes making lines, gradients, dots, and curves with two or three tips. Those small, repeatable exercises will show up in every cleaner letter, smoother shadow, and more confident project you create next.