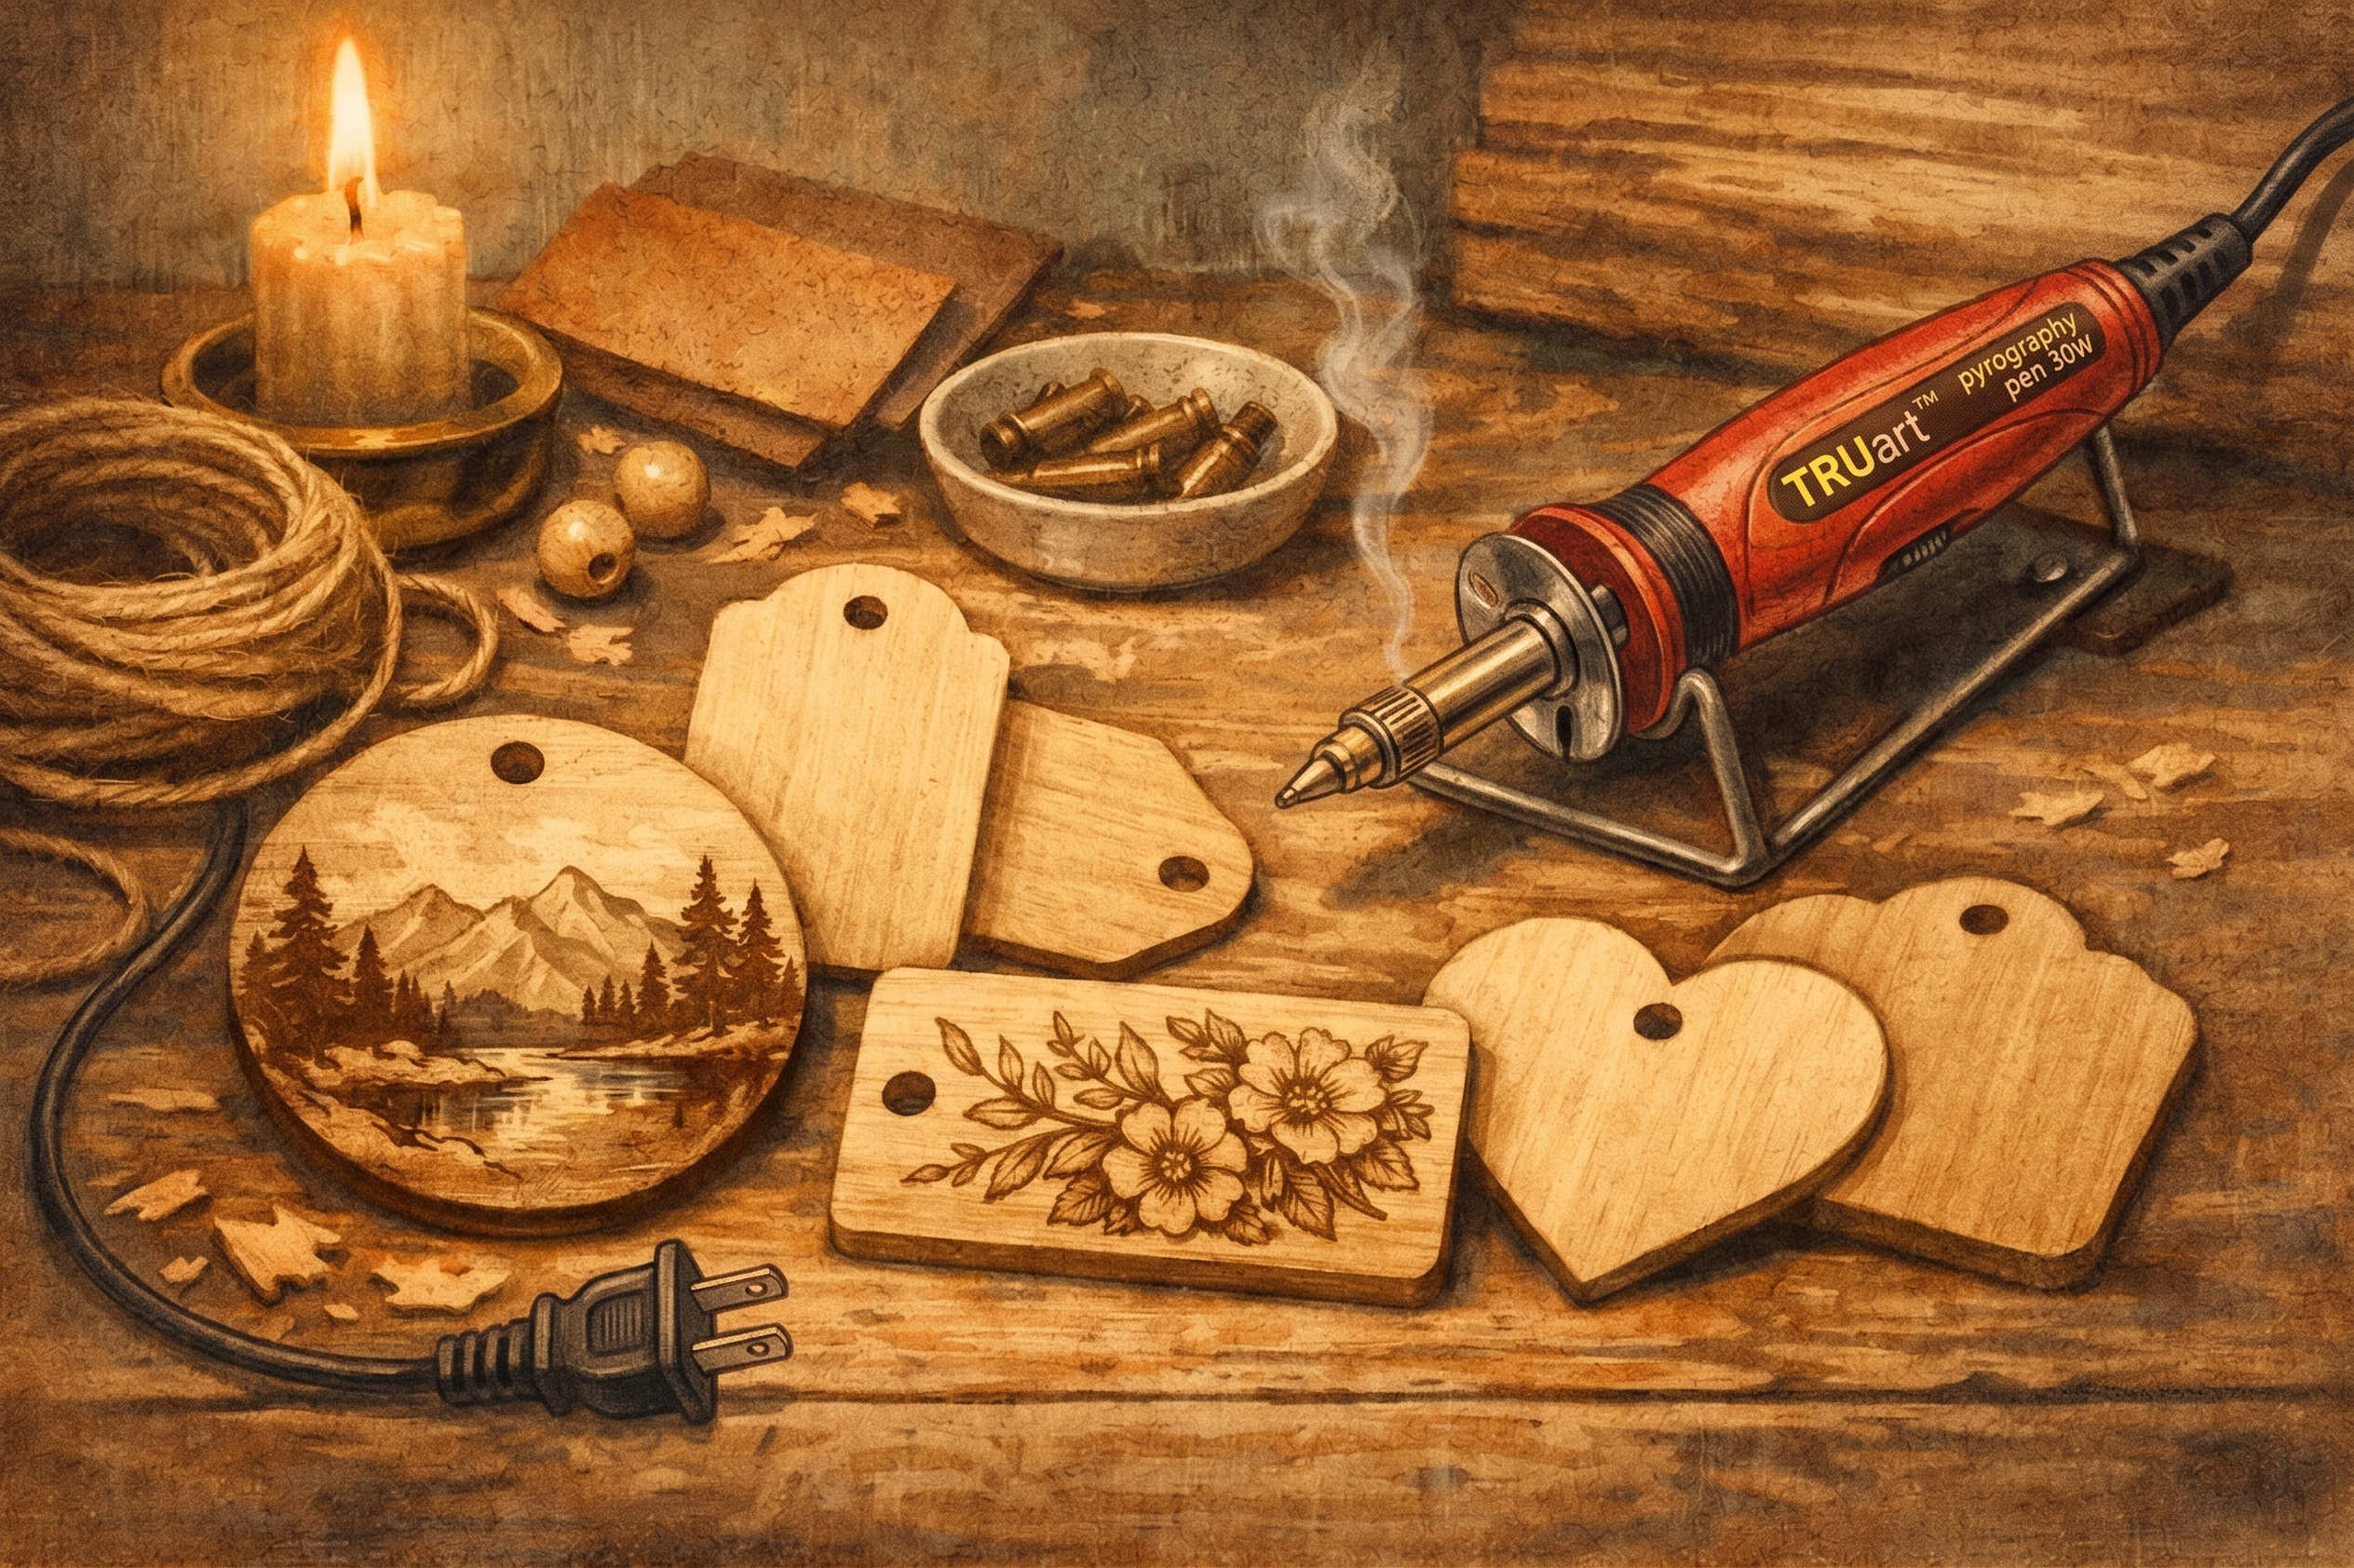
A small wooden tag can carry a surprising amount of character. Add a family name to a gift, a botanical border to a favor, or a crisp logo to handmade packaging, and it becomes part of the project rather than an afterthought. The right unfinished wood tags for crafts give you a clean surface for burning, painting, staining, lettering, and layering into work that feels distinctly yours.
For pyrography artists, tags are especially satisfying because they are fast to finish, easy to personalize, and useful in nearly every season. They also ask for more precision than a large practice board. A rough surface, an awkward grain direction, or a design that is too dense for the available space can make a small project feel harder than it needs to be.
What Makes a Wood Tag Good for Crafting?
Start with a tag that is truly unfinished, smooth, and ready for creative work. The surface should feel even under your fingertips, with no coating that interferes with a burn line, stain, paint, or adhesive. A clean, pale wood surface gives burned details strong contrast and leaves room for color if your design calls for it.
Grain matters, particularly when you are woodburning. Fine, consistent grain helps a pen glide and makes it easier to create even lines, small lettering, and delicate shading. Heavier grain can be beautiful, but it may pull a burn line darker or lighter as you move across the tag. That is not necessarily a flaw – it simply works best with designs that welcome a more rustic, natural look.
Thickness is another practical decision. Thin tags are lightweight and work well for gift labels, place cards, and ornaments, but they can flex if you press too hard while lettering or burning. A thicker blank feels more substantial for keychains, product tags, and keepsakes. It also gives you a sturdier surface when using detailed shading techniques.
The hole placement deserves attention, too. A centered hole at the top is ideal for hanging ornaments and gift tags. A corner hole can better suit product labels or luggage-style designs. Before committing to your layout, position the string, ribbon, or key ring so you can see how it changes the usable design area.
Choosing Unfinished Wood Tags for Crafts by Project
A tag shape should support the purpose of the finished piece. Rectangular tags provide the most room for names, dates, short messages, and branded information. Rounded tags soften a floral motif or a child-themed design. Circles are a natural choice for ornaments, while long narrow tags suit herb markers, party favors, and handmade product packaging.
For projects that need a polished, repeatable look, choose a consistent pack of tags in the same size and shape. This is helpful for wedding place settings, retail packaging, event favors, and holiday gift sets. Repeating one layout lets you build rhythm in your workflow: transfer the design, burn the lettering, add color if desired, then attach twine or ribbon.
If you are making one-of-a-kind pieces, variety can be more useful. A mix of shapes gives you freedom to match the blank to the artwork. A simple landscape may fit a wide rectangle, while a monogram and leafy border may look better on a round tag.
Best uses for small tags
Small tags reward simple, confident design. Use them for initials, short names, tiny icons, simple florals, paw prints, stars, or clean geometric borders. A small tag can look crowded quickly, so let open wood remain part of the composition.
When burning small lettering, use a fine detailing tip and work slowly enough to maintain spacing. It is better to use fewer words at a readable size than to force a long message into a narrow area. If the tag will hang from a package, remember that the recipient will usually see it at arm’s length, not under a magnifier.
Best uses for larger tags
Larger blanks make room for layered borders, illustrated scenes, recipes, family sayings, or detailed pet portraits. They are also a smart choice when you are practicing shading, because you have enough surface area to build gradual value changes instead of trying to force every detail into a few square inches.
A larger tag can also function as a mini sign. Add a drilled hole and twine for a pantry label, a garden marker, a door hanger, or a seasonal decoration. For a coordinated collection, repeat one border style or font across several tags while changing the central artwork.
Prep the Surface Before You Burn or Decorate
Even a smooth tag benefits from a quick inspection. Look for loose fibers around the edges and lightly sand only where needed. Fine sanding helps remove fuzz that can catch a pen tip or disrupt a painted edge. Wipe away all sanding dust before transferring a pattern or beginning your burn.
Sketch directly on the wood with a light hand, or transfer your design using your preferred pattern method. Keep guide lines faint. Heavy pencil marks can remain visible around burned lines, especially on pale wood. For repeated text, make a simple layout template first so names and dates land in the same place on every tag.
Test your pen temperature and tip choice on a spare unfinished piece of the same wood whenever possible. Different woods and grain areas respond differently to heat. A test pass tells you whether you need a lighter touch, a lower setting, or a slower stroke for the tone you want.
For clean pyrography, let heat do the work. Pressing hard can create uneven marks and makes fine lettering more difficult. A 15W or 30W solid-point burner can be a practical starting point for names, outlines, and simple decorative work. Artists building detailed shading, fine linework, or a larger batch of custom tags may prefer the added control of a digital temperature-control detailer and premium detailing tips.
Work on a stable, heat-safe surface with good ventilation, and return a hot pen to a proper metal or ceramic stand whenever it is not in your hand. Small blanks are easy to move, so secure the tag if necessary rather than chasing it across the work surface.
Design Ideas That Feel Personal, Not Generic
The best tags often combine useful information with one memorable visual detail. A wedding favor tag can include the couple’s names and date, then add a burned olive branch or wildflower sprig. A handmade candle tag can feature the scent name with a small flame motif. A holiday gift label can carry a bold initial framed by snowflakes, pine needles, or a simple stitched-style border.
For makers selling handmade goods, burned tags can add a recognizable finish without making packaging feel overly formal. Keep your logo or shop name readable, then reserve the rest of the surface for a product name, care note, or batch number. If every tag is made by hand, slight variation becomes part of the appeal. Consistency in placement and type size matters more than making every burn mark identical.
Color can be used sparingly after burning. Water-based paint, stain, colored pencil, and metallic accents all create different effects. A burned outline with a limited wash of color can make a floral design stand out while keeping the warmth of the wood visible. If you prefer a natural finish, use the contrast of light and dark burning alone and let the grain remain part of the artwork.
Common Mistakes to Avoid
The most frequent mistake is designing for the tag’s full dimensions instead of its safe visual area. Leave breathing room around the edge and around the hanging hole. A border that sits too close to the hole can look off-balance once twine is attached.
Another is using a complicated image without simplifying it first. Tiny tags do not need every petal, feather, or texture line. Reduce the design to its clearest shapes, then add only the details that will still read at the finished scale.
Finally, do not skip the test burn. Even experienced artists benefit from checking line weight and temperature before working on a finished blank. A few seconds of testing protects the tag, your layout, and the time you have already invested.
Turn a Simple Blank Into a Finished Detail
Unfinished tags are small enough to complete in an afternoon, yet versatile enough to become a signature part of your work. Start with a shape that suits the project, prepare the surface, and choose a design that leaves room for the wood to show through. With a steady hand, the right tip, and a little planning, a plain blank can become the detail people notice first.