Posted on Leave a comment

How to Choose a 60 Watt Pyrography Tool

How to Choose a 60 Watt Pyrography Tool

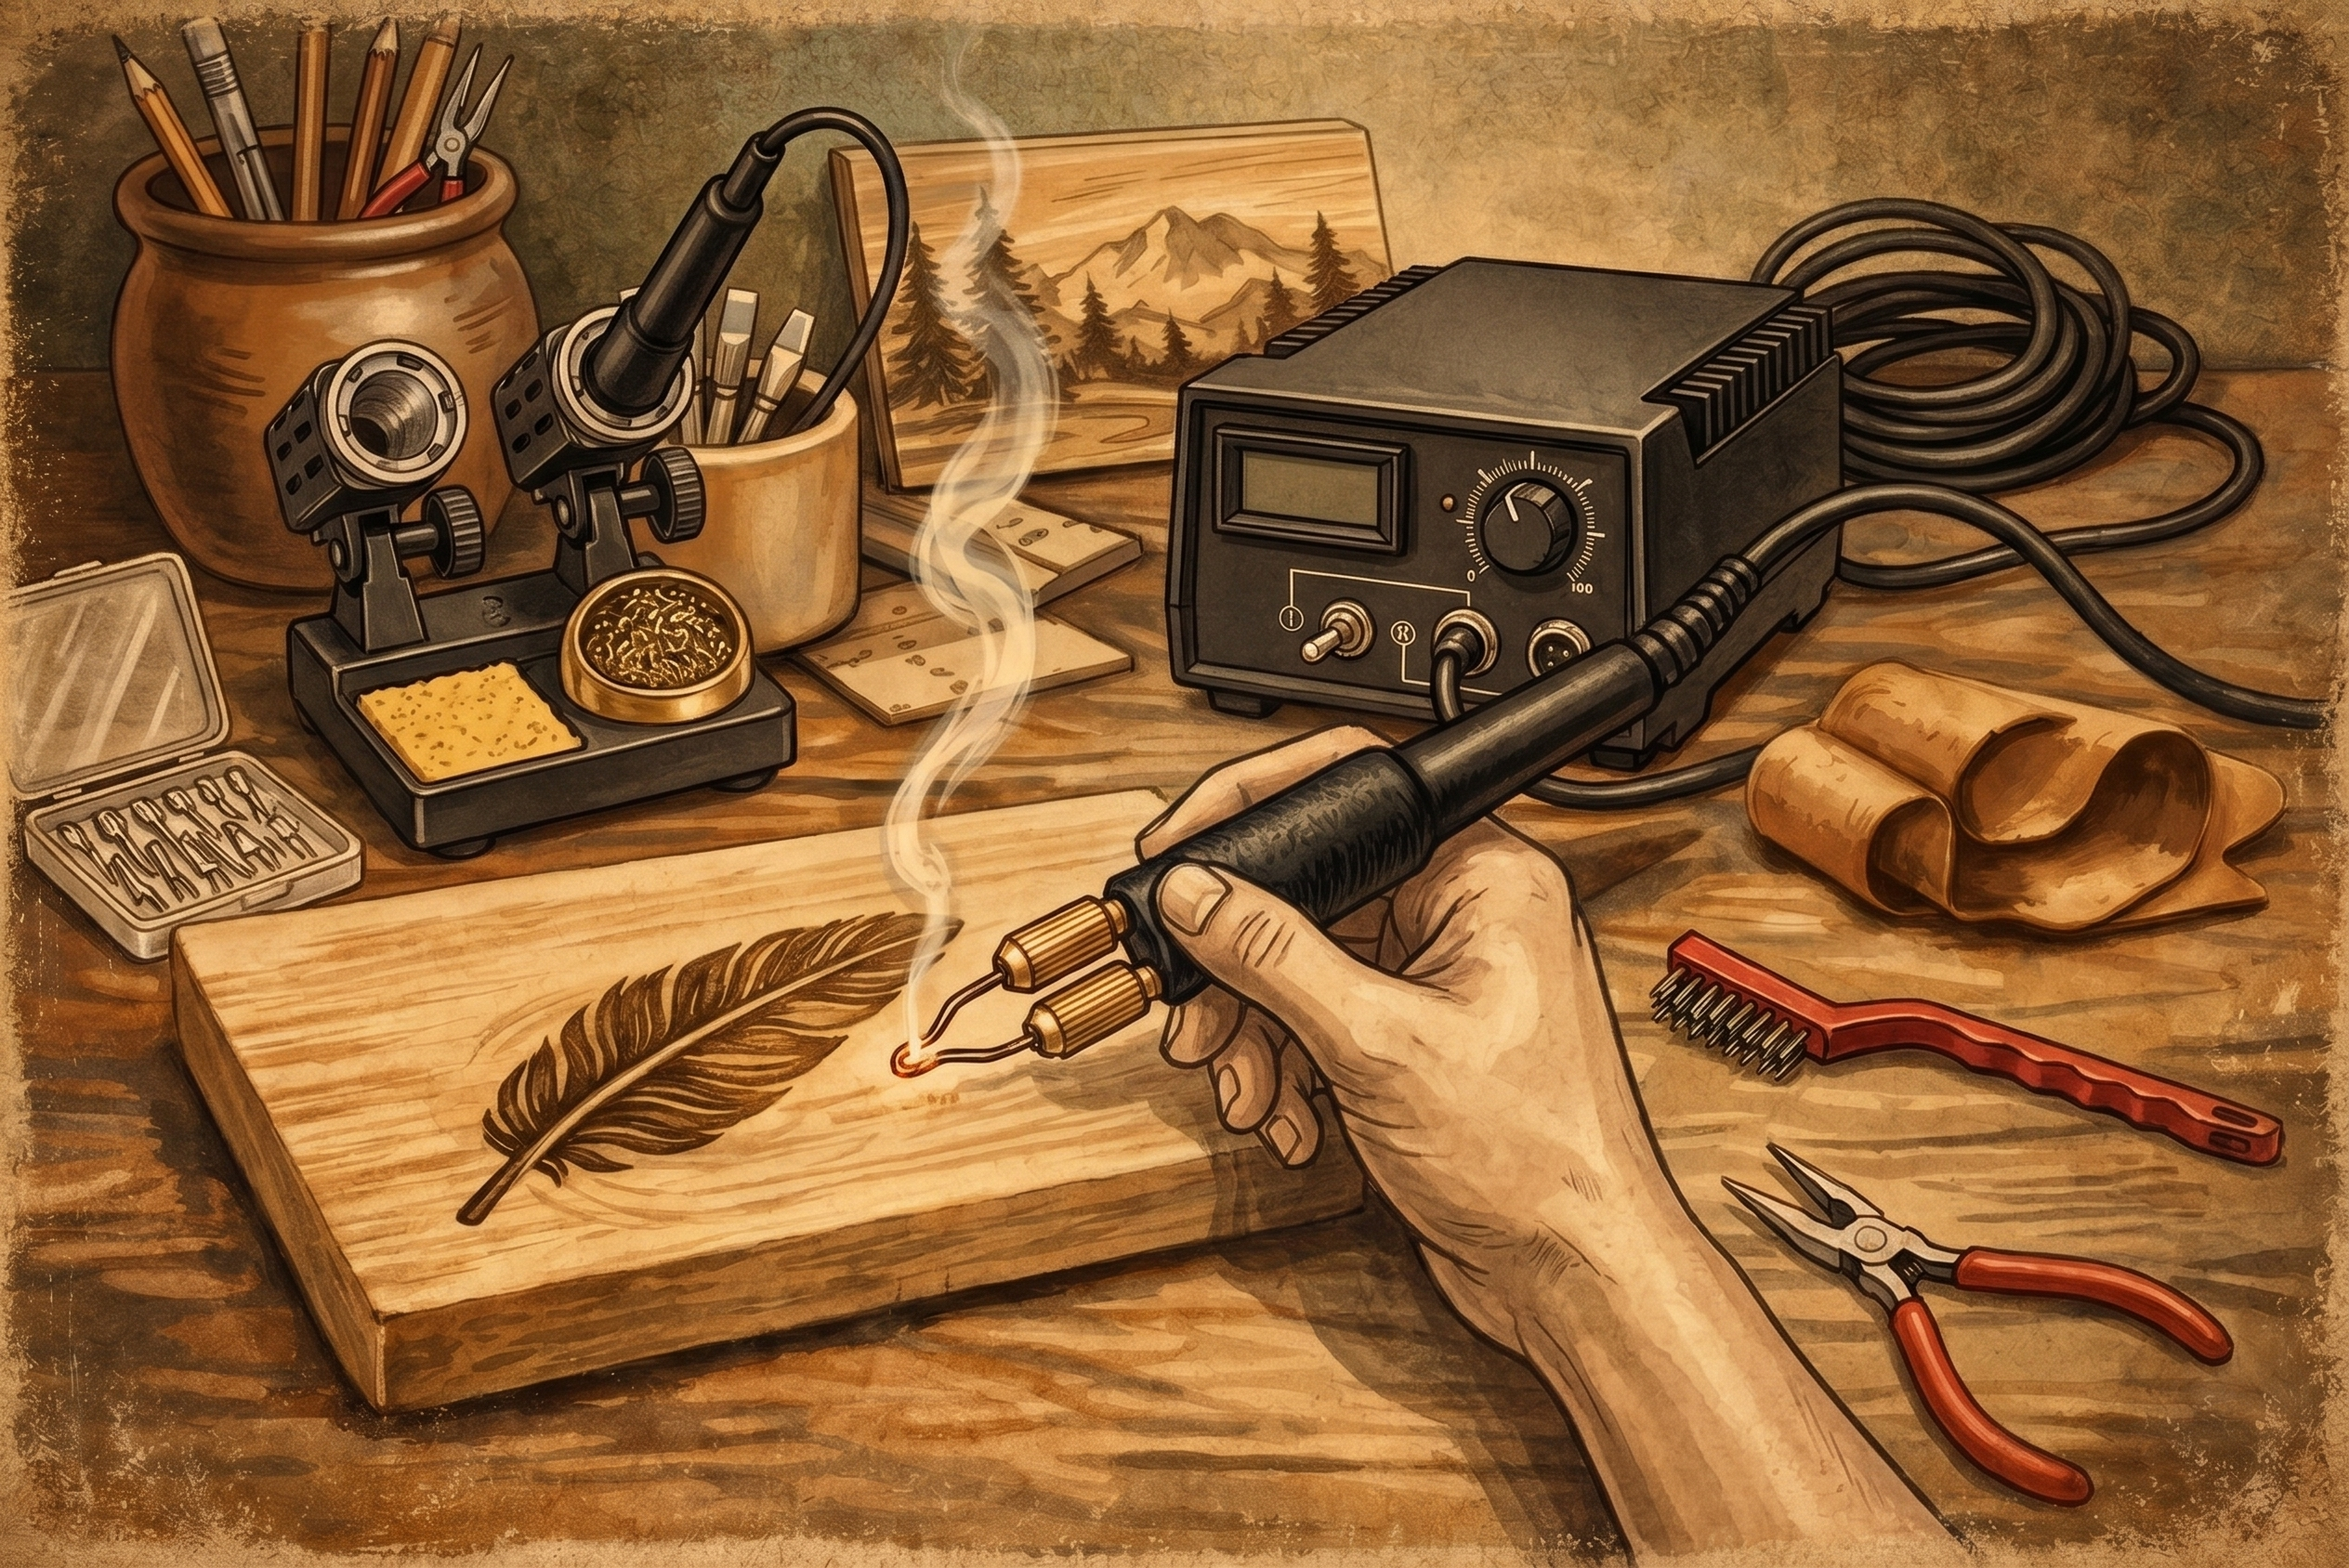
A 60 watt pyrography tool changes the way detailed work feels at the bench. Instead of waiting for a pen to recover between strokes or forcing a tip through dense hardwood, you can focus on line control, layered shading, and the character of the material in front of you. For artists moving beyond occasional craft projects, that extra power is less about burning hotter for its own sake and more about maintaining consistent, controllable heat.

That distinction matters. A higher-wattage burner is not automatically the right choice for every beginner, and more heat will not fix a dull technique or poor surface preparation. But when your projects include portrait work, realistic wildlife, lettering, leather, gourds, or larger wood panels, a 60W system provides the responsiveness and flexibility that serious pyrography demands.

What a 60 Watt Pyrography Tool Does Differently

Wattage describes the amount of power available to the burner. A 60W unit can supply enough energy for a heated tip to recover quickly after it meets a heat-hungry surface. That is especially useful on hardwoods, thick pieces, and broad shading areas, where lower-powered craft pens can lose heat mid-stroke.

The practical benefit is consistency. When a tip maintains its working temperature, your lines are less likely to fade unexpectedly and your shading can build in smoother layers. You still control the result with speed, pressure, tip shape, and temperature setting, but the tool is less likely to become the limiting factor.

A 60W burner also supports a wider range of professional-style tips. Fine writing tips can create clean feather detail and small lettering, while shaders, skew tips, ball tips, and texture tips make it easier to work across a full composition without trying to force one tip to do every job.

Digital Temperature Control Is the Real Advantage

Power gets attention, but precise temperature control is what makes high-output pyrography equipment genuinely useful. A digital control system lets you make repeatable adjustments instead of guessing where a dial should sit for a certain effect.

This is valuable when you return to a project over several sessions. If you found a setting that creates the warm medium brown you want on basswood, you can work from that reference again. You may still need to adjust for moisture, grain direction, or a different piece of wood, but you start from a more reliable place.

Controlled heat also helps protect your work. Excess heat can produce harsh edges, deep grooves, unwanted shine on leather, and dark areas that are difficult to soften. With a capable 60 watt pyrography tool, you can often lower the temperature and let tip selection plus deliberate movement create the mark. That approach gives you more control than simply turning up the heat.

Heat Setting Depends on the Surface

There is no universal setting for every project. Soft, pale woods such as basswood and poplar burn readily and show value changes clearly. Harder woods may require more heat or a slower pass, but their grain can still influence the line.

Leather needs its own testing process. Vegetable-tanned leather generally accepts pyrography well, while finished, dyed, chrome-tanned, or unknown leather should not be burned. Work only with clean, suitable materials in a well-ventilated workspace, and test on a scrap before committing to a finished piece.

Gourds, bamboo, and other natural surfaces can be rewarding but unpredictable. Their density and texture vary across the surface, so a small test area is part of the process, not wasted material.

Single-Pen vs. Dual-Pen 60W Systems

A single-pen system is a smart fit when you want professional heat control and detailed-tip capability without adding complexity to your workspace. You change tips as the project requires, making it a practical choice for artists who usually work with one primary tip at a time.

A dual-pen system is built for workflow. It keeps two pens connected and ready, each with its own tip. One pen might hold a fine writing tip for outlines while the other carries a shader for filling fur, leaves, or background gradients. Instead of pausing to let a pen cool, swapping tips, and reheating, you move from one task to the next.

That convenience becomes more meaningful on long projects. Portrait artists, production makers, and anyone who regularly alternates between detail and shading may find that a second pen keeps their creative momentum intact. The trade-off is simple: dual-pen systems require a larger initial investment and make the most sense when you will use the two-pen workflow consistently.

Choose Tips for the Marks You Want to Make

A powerful burner deserves tips that match your intended work. Buying a large assortment can be useful, but only if you learn what each tip does. Start with a focused working set and expand based on the effects you use most.

Fine-point and writing tips are made for controlled outlines, lettering, whiskers, veins, and other narrow marks. Shader tips cover broader areas and can produce soft gradients when used with light, overlapping passes. Spoon and skew shapes are useful for directional shading, while ball and texture tips create patterned effects without drawing every individual mark.

Interchangeable brass tips are a practical choice for many makers because they offer variety and are easy to replace. Premium detailing tips are worth considering when very fine control is central to your work. The best tip is not necessarily the smallest one. A slightly broader tip may create a smoother shadow with fewer passes and less risk of streaking.

Keep your tips clean, but do not aggressively sand or scrape them while hot. A buildup of residue can affect burn quality, yet rough treatment can damage the working surface. Let tips cool before maintenance, and use the cleaning method recommended for your equipment.

Set Up Your Workspace for Better Results

A professional burner performs best in an organized station. Place the control unit on a stable surface, keep the pen holder where you can reach it without crossing over your project, and give the hot tip a clear, safe resting place. Do not set a heated pen on wood, paper, fabric, or a crowded tabletop.

Ventilation deserves equal attention. Woodburning creates smoke and fumes, particularly when working on dense wood, leather, or surfaces with natural oils. Use clean, unfinished, untreated materials, maintain airflow, and avoid burning painted, stained, pressure-treated, glued, or otherwise coated wood. Those materials can release harmful fumes and may leave unpredictable marks.

Sand your wood before burning, then remove the dust. A smooth surface helps the tip glide, makes fine lines more consistent, and gives shading a cleaner appearance. If you plan to use a finish, test it on a burned scrap first. Some finishes deepen the color dramatically, while others can change the contrast of subtle shading.

Is a 60W Burner Right for Your Skill Level?

A 60W unit is often described as a professional tool, but that does not mean a committed beginner cannot use one. If you know you want digital control, interchangeable tips, and room to grow into detailed work, starting with a higher-capability system can prevent an early upgrade.

Still, a Stage 1-style hobby kit may be the better purchase if you are testing whether pyrography fits your interests or mostly making simple signs, ornaments, and occasional gifts. Simpler tools are approachable and can handle many basic projects well.

Move up when you begin noticing the limits of your current pen. Slow heat recovery, inconsistent shading, limited tip choices, and frequent pauses to change a hot tip are all signs that a Stage 2 detailer may support your next level of work. TRUArt’s 60W detailer options are designed around that transition, pairing digital temperature control with the tip and pen flexibility serious makers need.

Make Your First Projects About Control

When you bring home a higher-output burner, resist the urge to test it at maximum heat. Begin with a sample board and make rows of lines at different settings. Change only one variable at a time: temperature, speed, pressure, or tip angle. You will quickly see how each choice affects color and edge quality.

Practice a gradient from light tan to dark brown, then repeat it with a different tip. Create a small lettering sample, a curved line exercise, and a patch of texture. These simple tests teach more about your tool than one rushed finished project.

A 60 watt pyrography tool gives you the capacity to create refined work, but your best results come from measured heat, the right tip, and steady practice. Let the tool support your hand rather than overpower the surface, and each new project becomes a chance to make more intentional marks.
Posted on Leave a comment

Best Beginner Wood Burning Kit for First Projects

Best Beginner Wood Burning Kit for First Projects

A first woodburning project can go from exciting to frustrating in about five minutes if the pen will not hold heat, the tip wobbles, or the kit leaves out the one accessory you need. The best beginner wood burning kit is not necessarily the one with the most pieces. It is the one that gives you dependable heat, useful tips, safe handling, and enough support to make clean practice lines on day one.

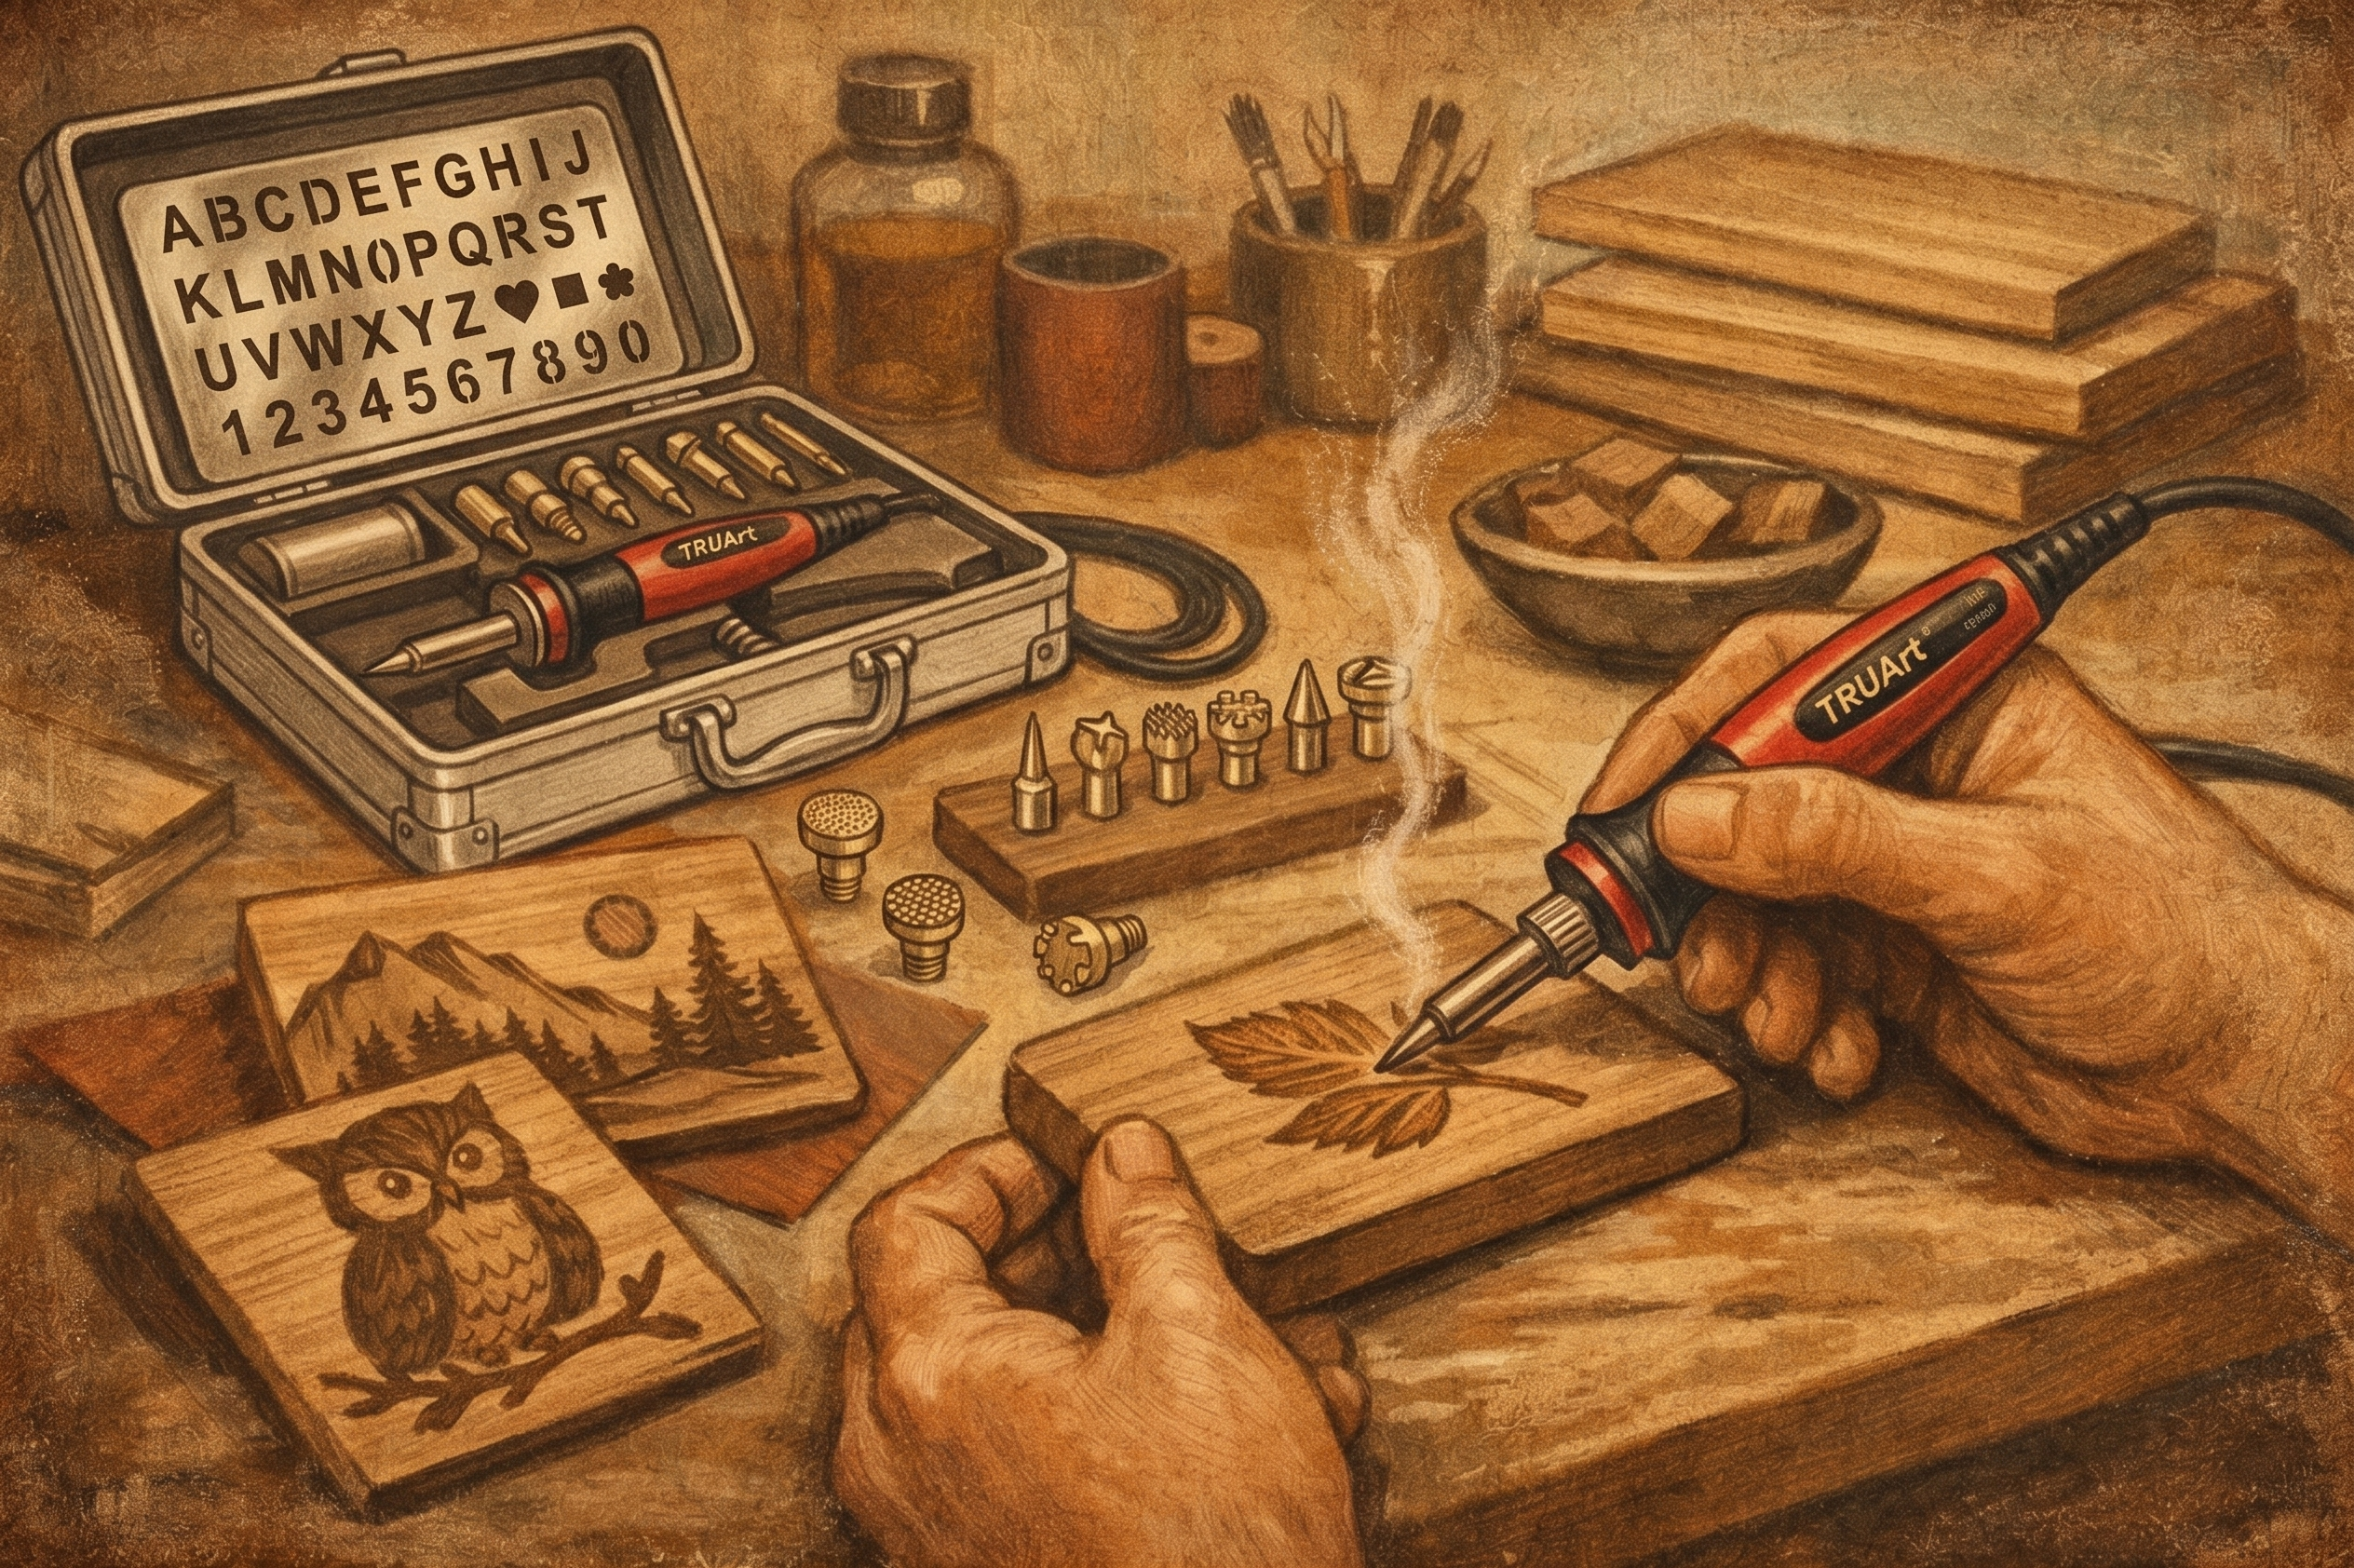
For most new makers, a complete Stage 1 kit is the right starting point. It keeps the learning curve manageable while giving you room to move beyond simple names, coasters, and gift tags. Look for a purpose-built woodburning pen rather than a general craft tool that happens to include a burn tip.

What Makes the Best Beginner Wood Burning Kit?

A beginner kit should make the basic techniques easier to learn: outlining, shading, lettering, and filling small areas. That starts with consistent heat. When a pen cools too quickly as it touches wood, you compensate by pressing harder. Pressing harder creates uneven lines, rough grooves, and hand fatigue. A reliable pen lets you guide the tip lightly across the surface instead.

For a first tool, wattage is a practical place to begin. A 15W woodburning pen can work well for light practice, small designs, and softer unfinished wood. A 30W pen gives a beginner more working heat for broader tips, darker marks, and slightly larger projects. Neither number is automatically better for every maker. If you expect to burn mostly thin basswood tags and simple lettering, 15W may be enough. If you want to try shading, plaque-sized projects, or denser wood, 30W offers more flexibility.

Temperature control matters, too. Entry-level pens may use a fixed operating temperature, which is straightforward and less intimidating for a first project. Adjustable heat provides more control as your skills grow, especially when changing between delicate detail work and darker shading. The trade-off is that a variable-temperature tool asks you to pay more attention to the material and tip you are using. For many beginners, that is a worthwhile skill to build early.

A useful kit also includes interchangeable solid brass tips. You do not need dozens of shapes to get started, but you do need shapes that perform distinct jobs. A fine point handles outlines and lettering. A shader makes soft gradients and wider marks. A universal tip is useful for general line work, while a rounded or ball-shaped tip can add dots and texture. Extra tips are valuable only if you can identify when to use them.

Start With Tools You Will Actually Use

Accessory count can be misleading. A kit packed with decorative pieces may look impressive, but a few functional items matter far more than filler. Your first kit should include a stable pen stand, a selection of usable tips, and a case or organized storage option that protects the tool between projects. A pen stand is not optional clutter. A hot tip on a crowded craft table can scorch a surface, damage a stencil, or create an avoidable safety issue.

Choose a kit with a comfortable handle and a tip-changing system that feels secure. You should only change tips after the pen has cooled completely. Brass retains heat longer than many beginners expect, and rushing this step is an easy way to get burned or strip a threaded fitting. Keep pliers designated for craft use nearby, but do not treat them as a shortcut for removing a hot tip.

A small set of unfinished wood blanks is helpful if you want to start immediately. Wood tags, plaques, and basswood shapes remove the uncertainty of choosing a first surface. They also encourage short practice sessions, which are more useful than trying to complete a detailed sign before you understand line pressure and heat.

TRUArt Stage 1 kits are built around this practical first-tool approach, pairing beginner-friendly wood and leather burning pens with interchangeable tips and project-ready accessories rather than sending new makers through a maze of unrelated craft supplies.

The tips a beginner needs first

Start with three techniques instead of trying every tip in one sitting. Use a fine point to pull slow, even lines. Use a shader with gentle, overlapping strokes to create a darker-to-lighter transition. Then test a general-purpose tip with different levels of pressure. You will quickly see that heat, speed, pressure, and wood grain all affect the mark.

Keep your first experiments on scrap wood. Burn a row of lines at a steady pace, then another row more slowly. Make a small shading square, gradually layering strokes from light to dark. These tests tell you more about your pen than a finished project can, and they make the next project much less mysterious.

Choose Materials That Help You Learn

The wood surface has as much influence on the result as the tool. Smooth, pale, unfinished basswood is a strong beginner choice because it burns predictably and shows contrast clearly. Sand it lightly with fine-grit sandpaper before transferring a pattern, then brush away all dust. A smooth surface helps your tip glide instead of catching on raised grain.

Avoid treated lumber, plywood with unknown glues, painted boards, and wood with a heavy finish. Burning these materials can create unpleasant or unsafe fumes, and coatings interfere with consistent marks. Softwoods can also be resinous and unpredictable. They are not impossible to use, but they can make a new maker think the tool is at fault when the material is the real problem.

If you plan to burn leather, use clean, vegetable-tanned leather. Never burn synthetic leather, vinyl, or materials with unknown finishes. The right surface keeps your workspace safer and produces cleaner results.

Set up your work area before heating the pen

Woodburning is slow, focused work. Give yourself a stable, uncluttered table with good lighting and ventilation. Place the pen stand on a heat-safe surface, keep the cord away from your working hand, and have a nonflammable container ready for cooled tips. If smoke builds up during a project, pause and improve airflow rather than working through it.

A simple pattern transfer also reduces hesitation. Use a pencil to sketch directly on the wood, or transfer a printed design with graphite paper. Keep the lines light. Dark pencil marks can remain visible beside a burned line, particularly on fine lettering. Start with a design made of bold outlines and a few simple shaded areas. Detailed portraits and dense mandalas can wait until your hand has learned a steadier rhythm.

When a Beginner Should Buy More Than a Basic Kit

A standard kit is enough for many first projects, but some makers know they will want finer control quickly. If you already draw, create handmade products for sale, or expect to work regularly on leather and detailed wood art, consider a higher-output detailer with digital temperature control. These tools provide more precise heat adjustment and can support premium detailing tips for finer texture and cleaner line variation.

That does not mean every new maker needs a professional dual-pen system. Dual-pen setups are designed for efficiency: you can keep two different tips hot and switch without waiting for one to cool. They are excellent for serious artists, but they add cost and capability that a casual hobbyist may not use right away. Buy for the projects you realistically want to make over the next several months, not for every possible technique you might try someday.

A good first kit should leave room for progress. Replacement tips, spare parts, stencils, and project blanks let you expand your setup as your preferences become clear. You may discover that lettering is your favorite work, that you love textured wildlife pieces, or that leather keychains become your go-to handmade gift. Each path calls for slightly different tips and heat control.

The right kit gives you a safe, dependable place to begin. Put a small piece of smooth wood on the table, make ten practice lines, and let your hand learn what the pen can do. Your first marks do not need to be perfect to become the start of work you are proud to give, display, and keep making.

Posted on Leave a comment

TRUArt’s Pyrography Pens among 2018’s Best Wood Burning Kits

FOR IMMEDIATE RELEASE:
 
Pflugerville, TEXAS – August 30th, 2018 – The world’s first video wiki, Ezvid Wiki, which was founded in 2011, has just included TRUArt’s 60W Professional Woodburning Detailer in their 2018’s Best Wood Burning Kits.  The article, under their Creative Arts Category, is a broad-ranging and impartial assessment of woodburning kits available to US consumers.
 
The article also gives insight to the kind of tools one can find in pyrography kits as well as various ideas on how beginners can go about the art of woodburning without having to be good in freehand drawings. Lastly, it also includes a brief and very interesting history of the pyrography going back to China’s Han Dynasty.
 
Ezvid Wiki is the largest and most comprehensive video wiki on the planet. It provides useful, unbiased information and actionable guidance in thousands of knowledge categories to hundreds of millions of users around the world. Rankings in their research are comprised of value for money, predicted length of consumer attachment, predicted prospect of consumer uptake, manufacturer reputation, third party expert reviews, and extra product features.
 
For more information visit the TRUArt website or see the The 8 Best Wood Burning Kits article on the Ezvid Wiki website.
 
Contact:
 
Pavel Karoukin
Posted on Leave a comment

TRUArt’s 60W Professional Woodburning Detailer is named Best Pyrography Kit

FOR IMMEDIATE RELEASE:

Pflugerville, TEXAS – May 26th, 2017 – An up and coming hobby oriented website bestwoodcarvingtools.com ran by Nathan Dobson announces the TRUArt’s 60W Professional Woodburning Detailer as the best pyrography kit in the market. The article lists various pyrography pens and kits, but not before giving an in depth review of what’s to be expected with the purchase of the kit.

The article also lists a buying guide that recaps what to pay attention to before purchasing a new pyrography kit, and also has a comprehensive pen tip explanation, what wood is ideal to use, free handing versus transferring images, safety precautions, and proper maintenance.

Best Wood Carving Tools assembled some of the highest acclaimed pyrography pens and kits online for inspection. The inspection process includes personal examination, customer feedback assessment, and implementing customized tests for each kit.

For more information visit the TRUArt website or see the article on the Best Wood Carving Tools website.

Contact:

Pavel Karoukin
hello@truart.co

https://www.instagram.com/truarthq

https://web.facebook.com/truarthq

###