When I start a new hobby, I tend to get very excited and want to jump right in! I don’t want to take the time to read about the hobby I just want to start right away! It turns out that with wood burning you have to be patient with yourself because there are important things to know before you can jump in to keep you safe!
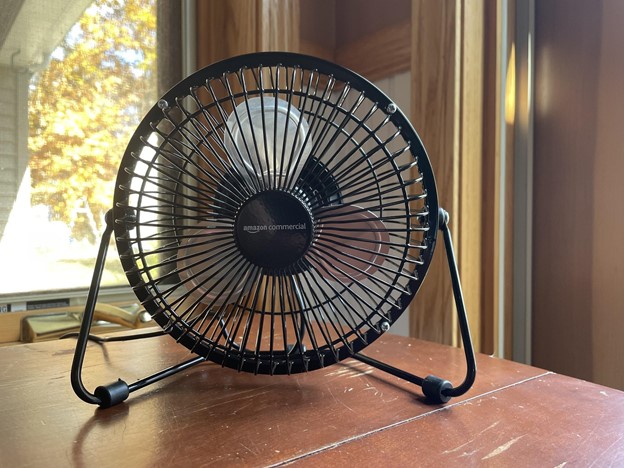
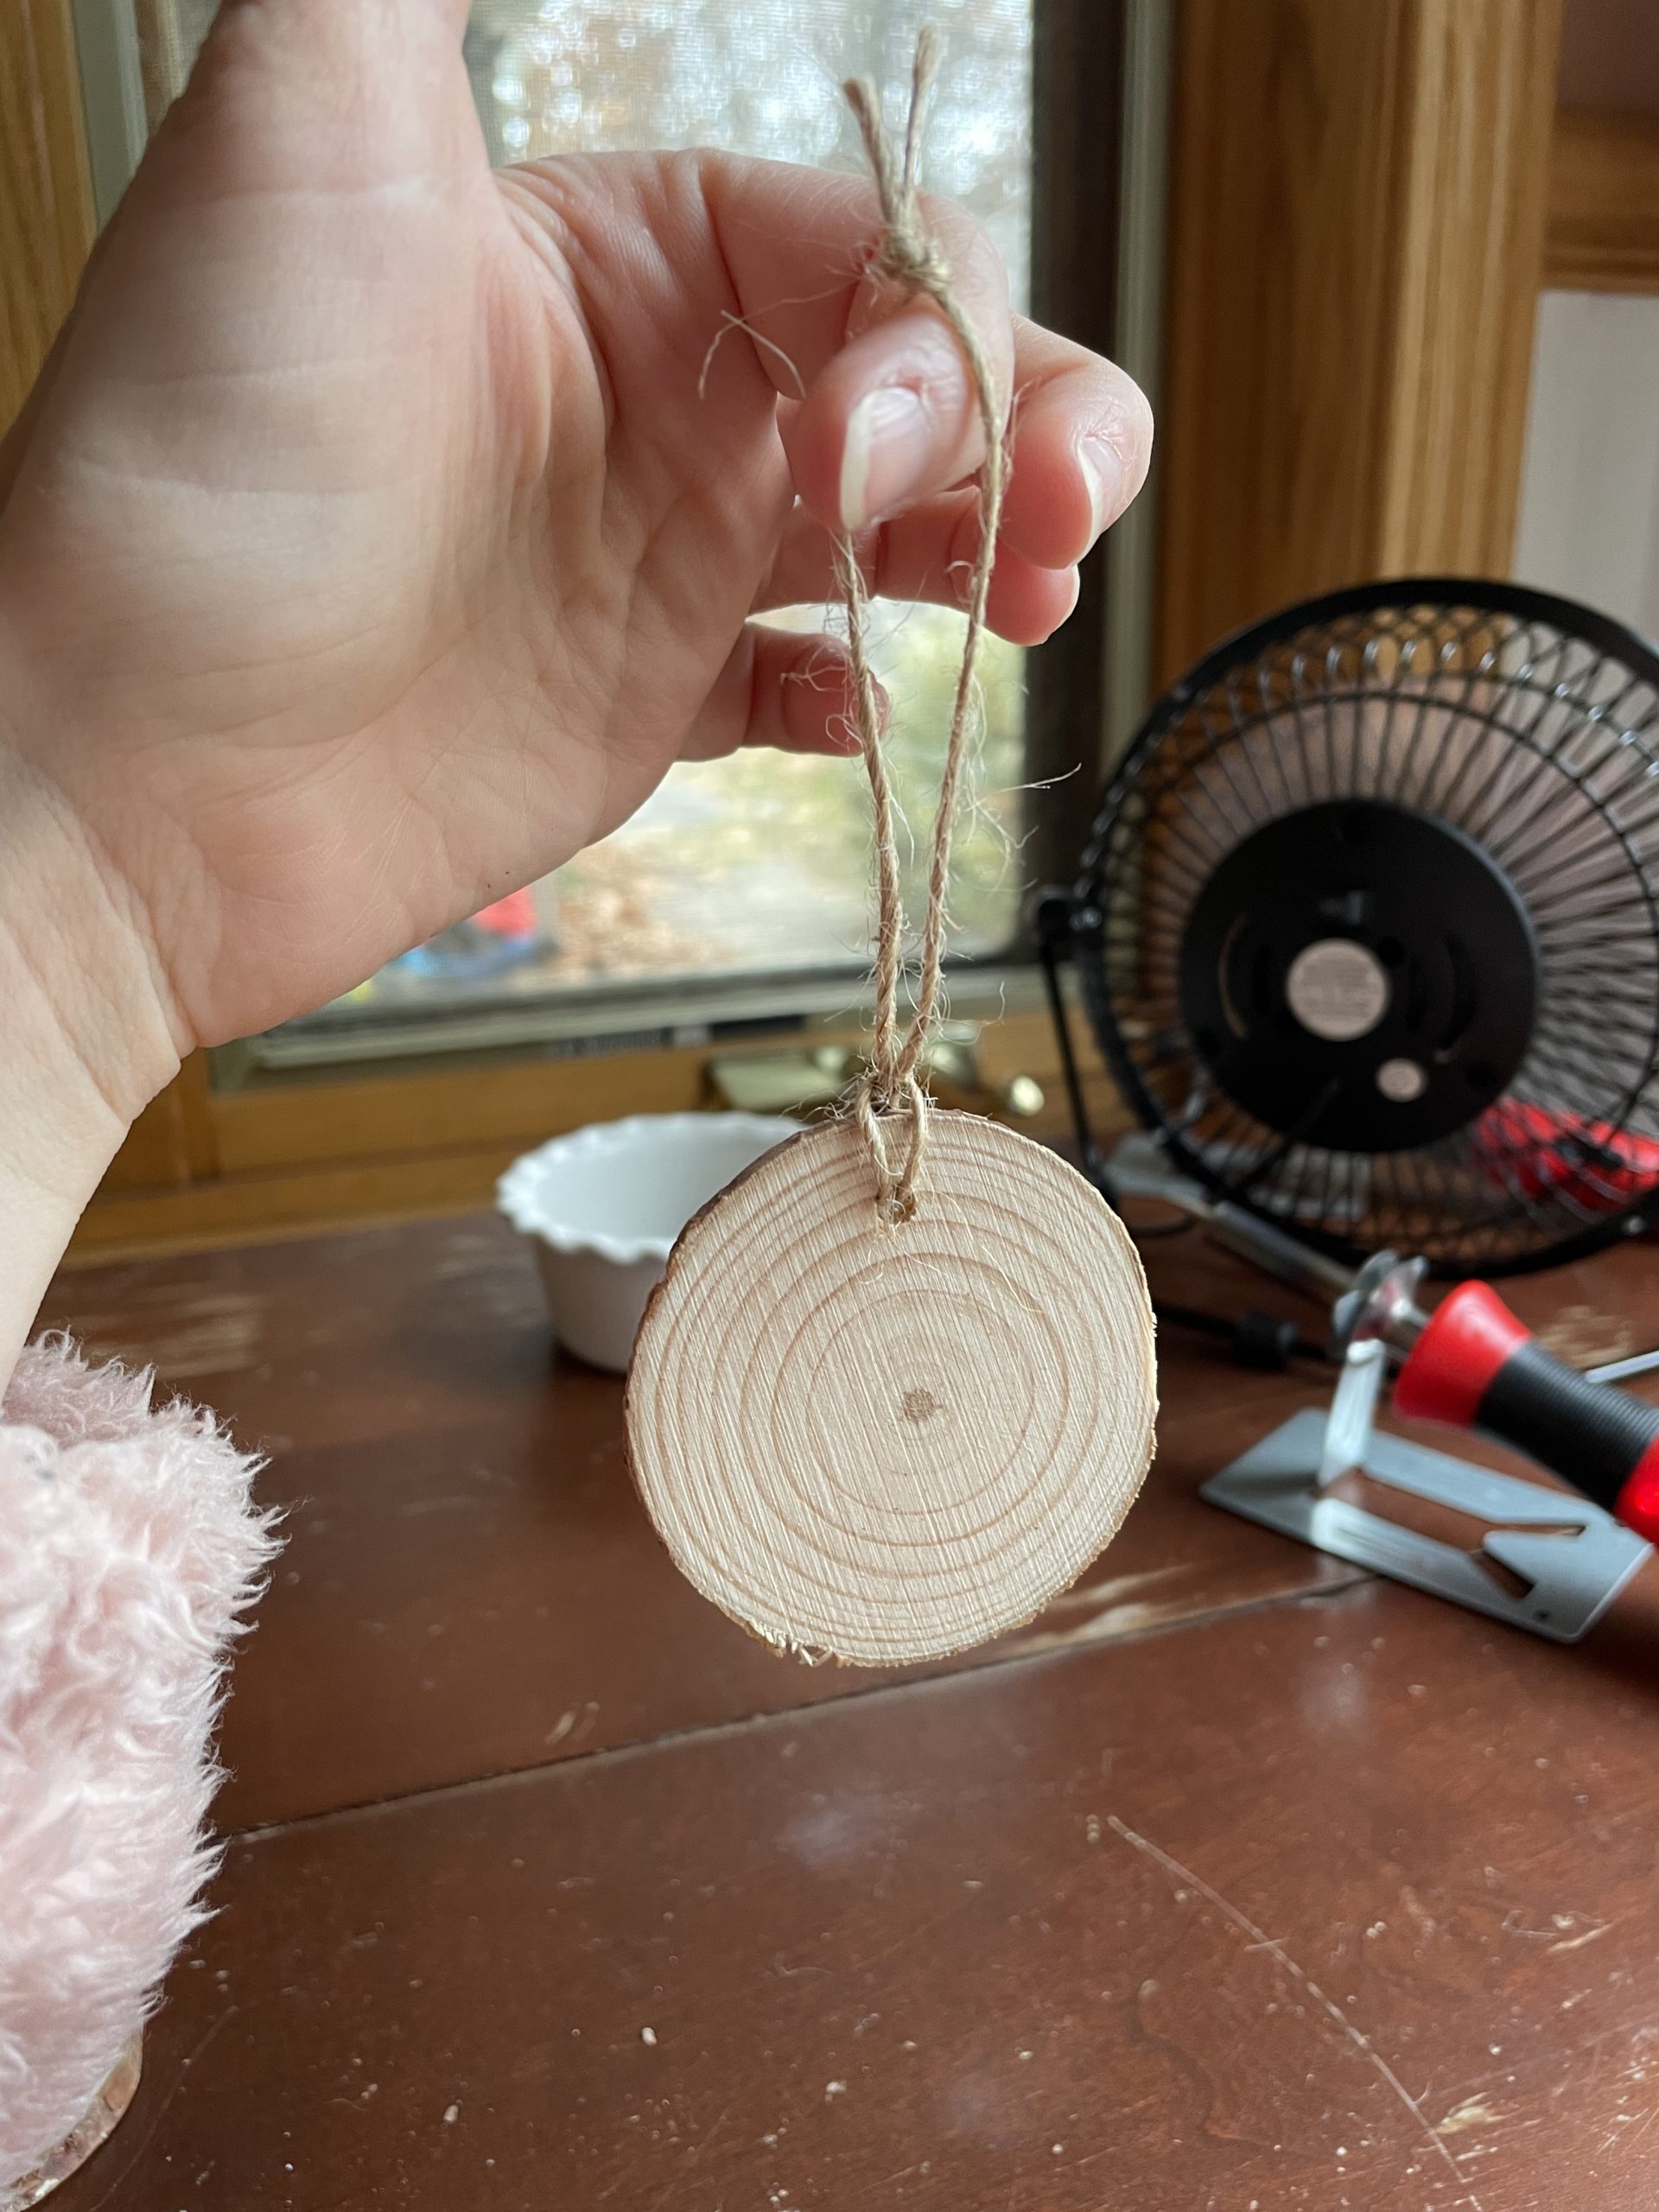
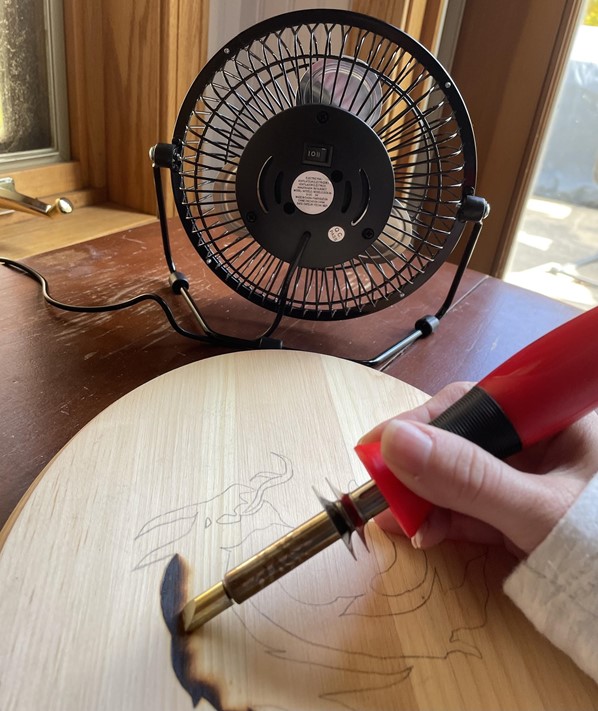
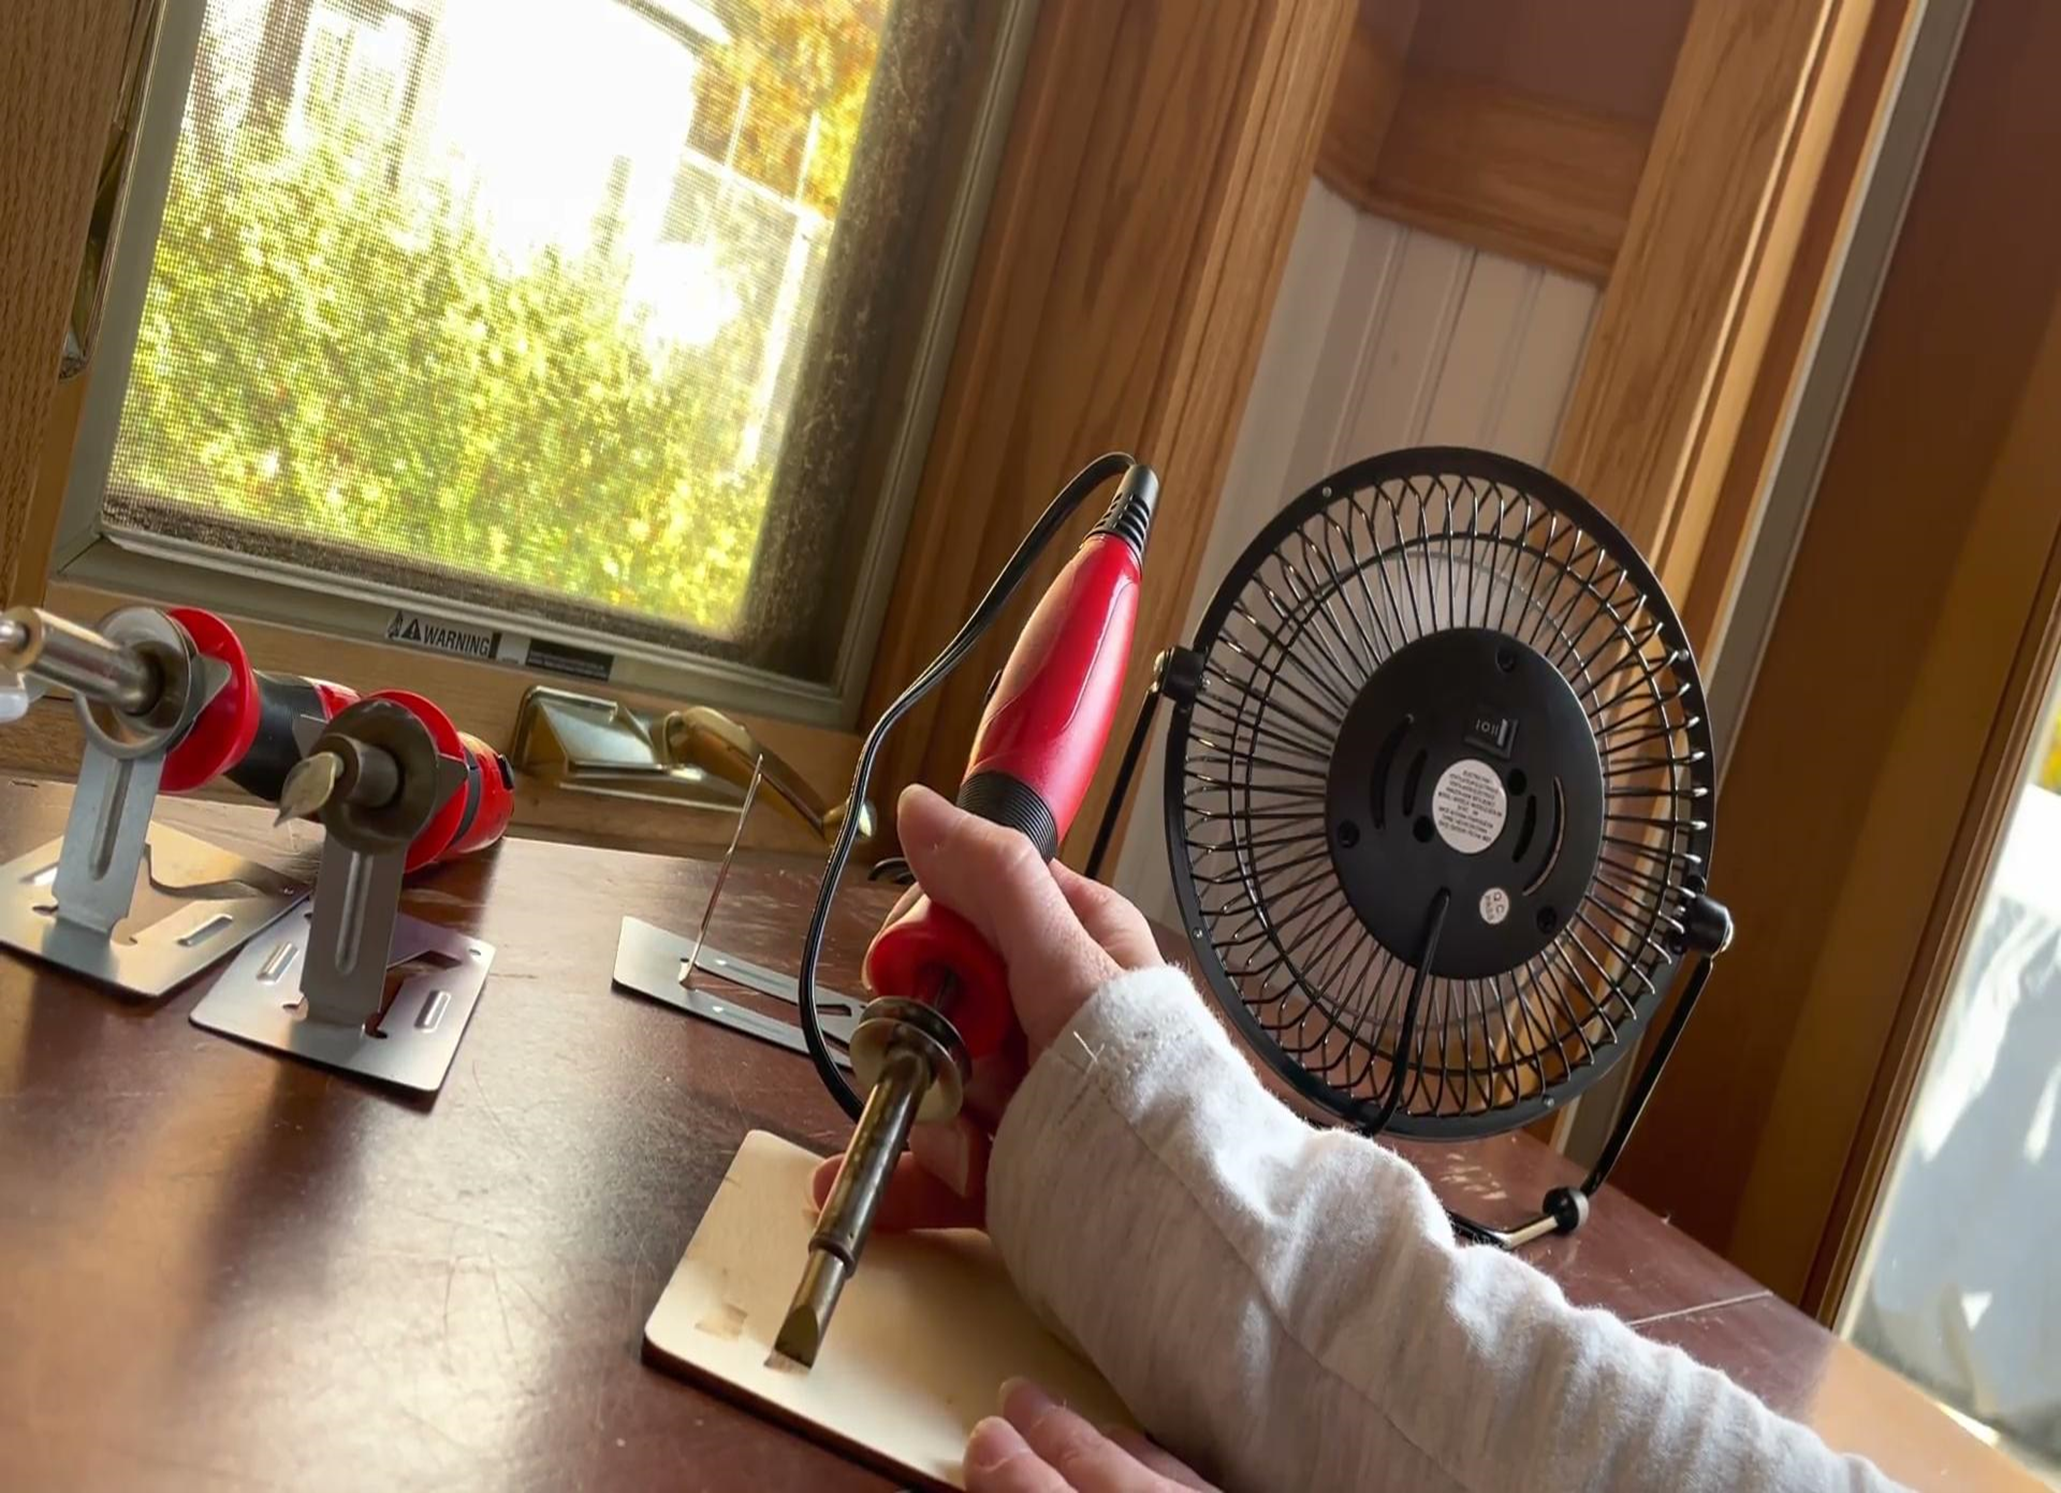
A tabletop fan may seem unnecessary but it’s actually very important when woodburning! The fan is there to protect you from getting smoke in your eyes and protect you from breathing in the fumes created from the burning wood. The fan should be positioned next to your project and pointing away from you so it pushes the fumes away from your face. No one wants to get smoke inhalation when trying to have fun and relax. Some people even wear N95 masks for extra protection from the fumes. You can open your window and do your project in a well ventilated room as well.
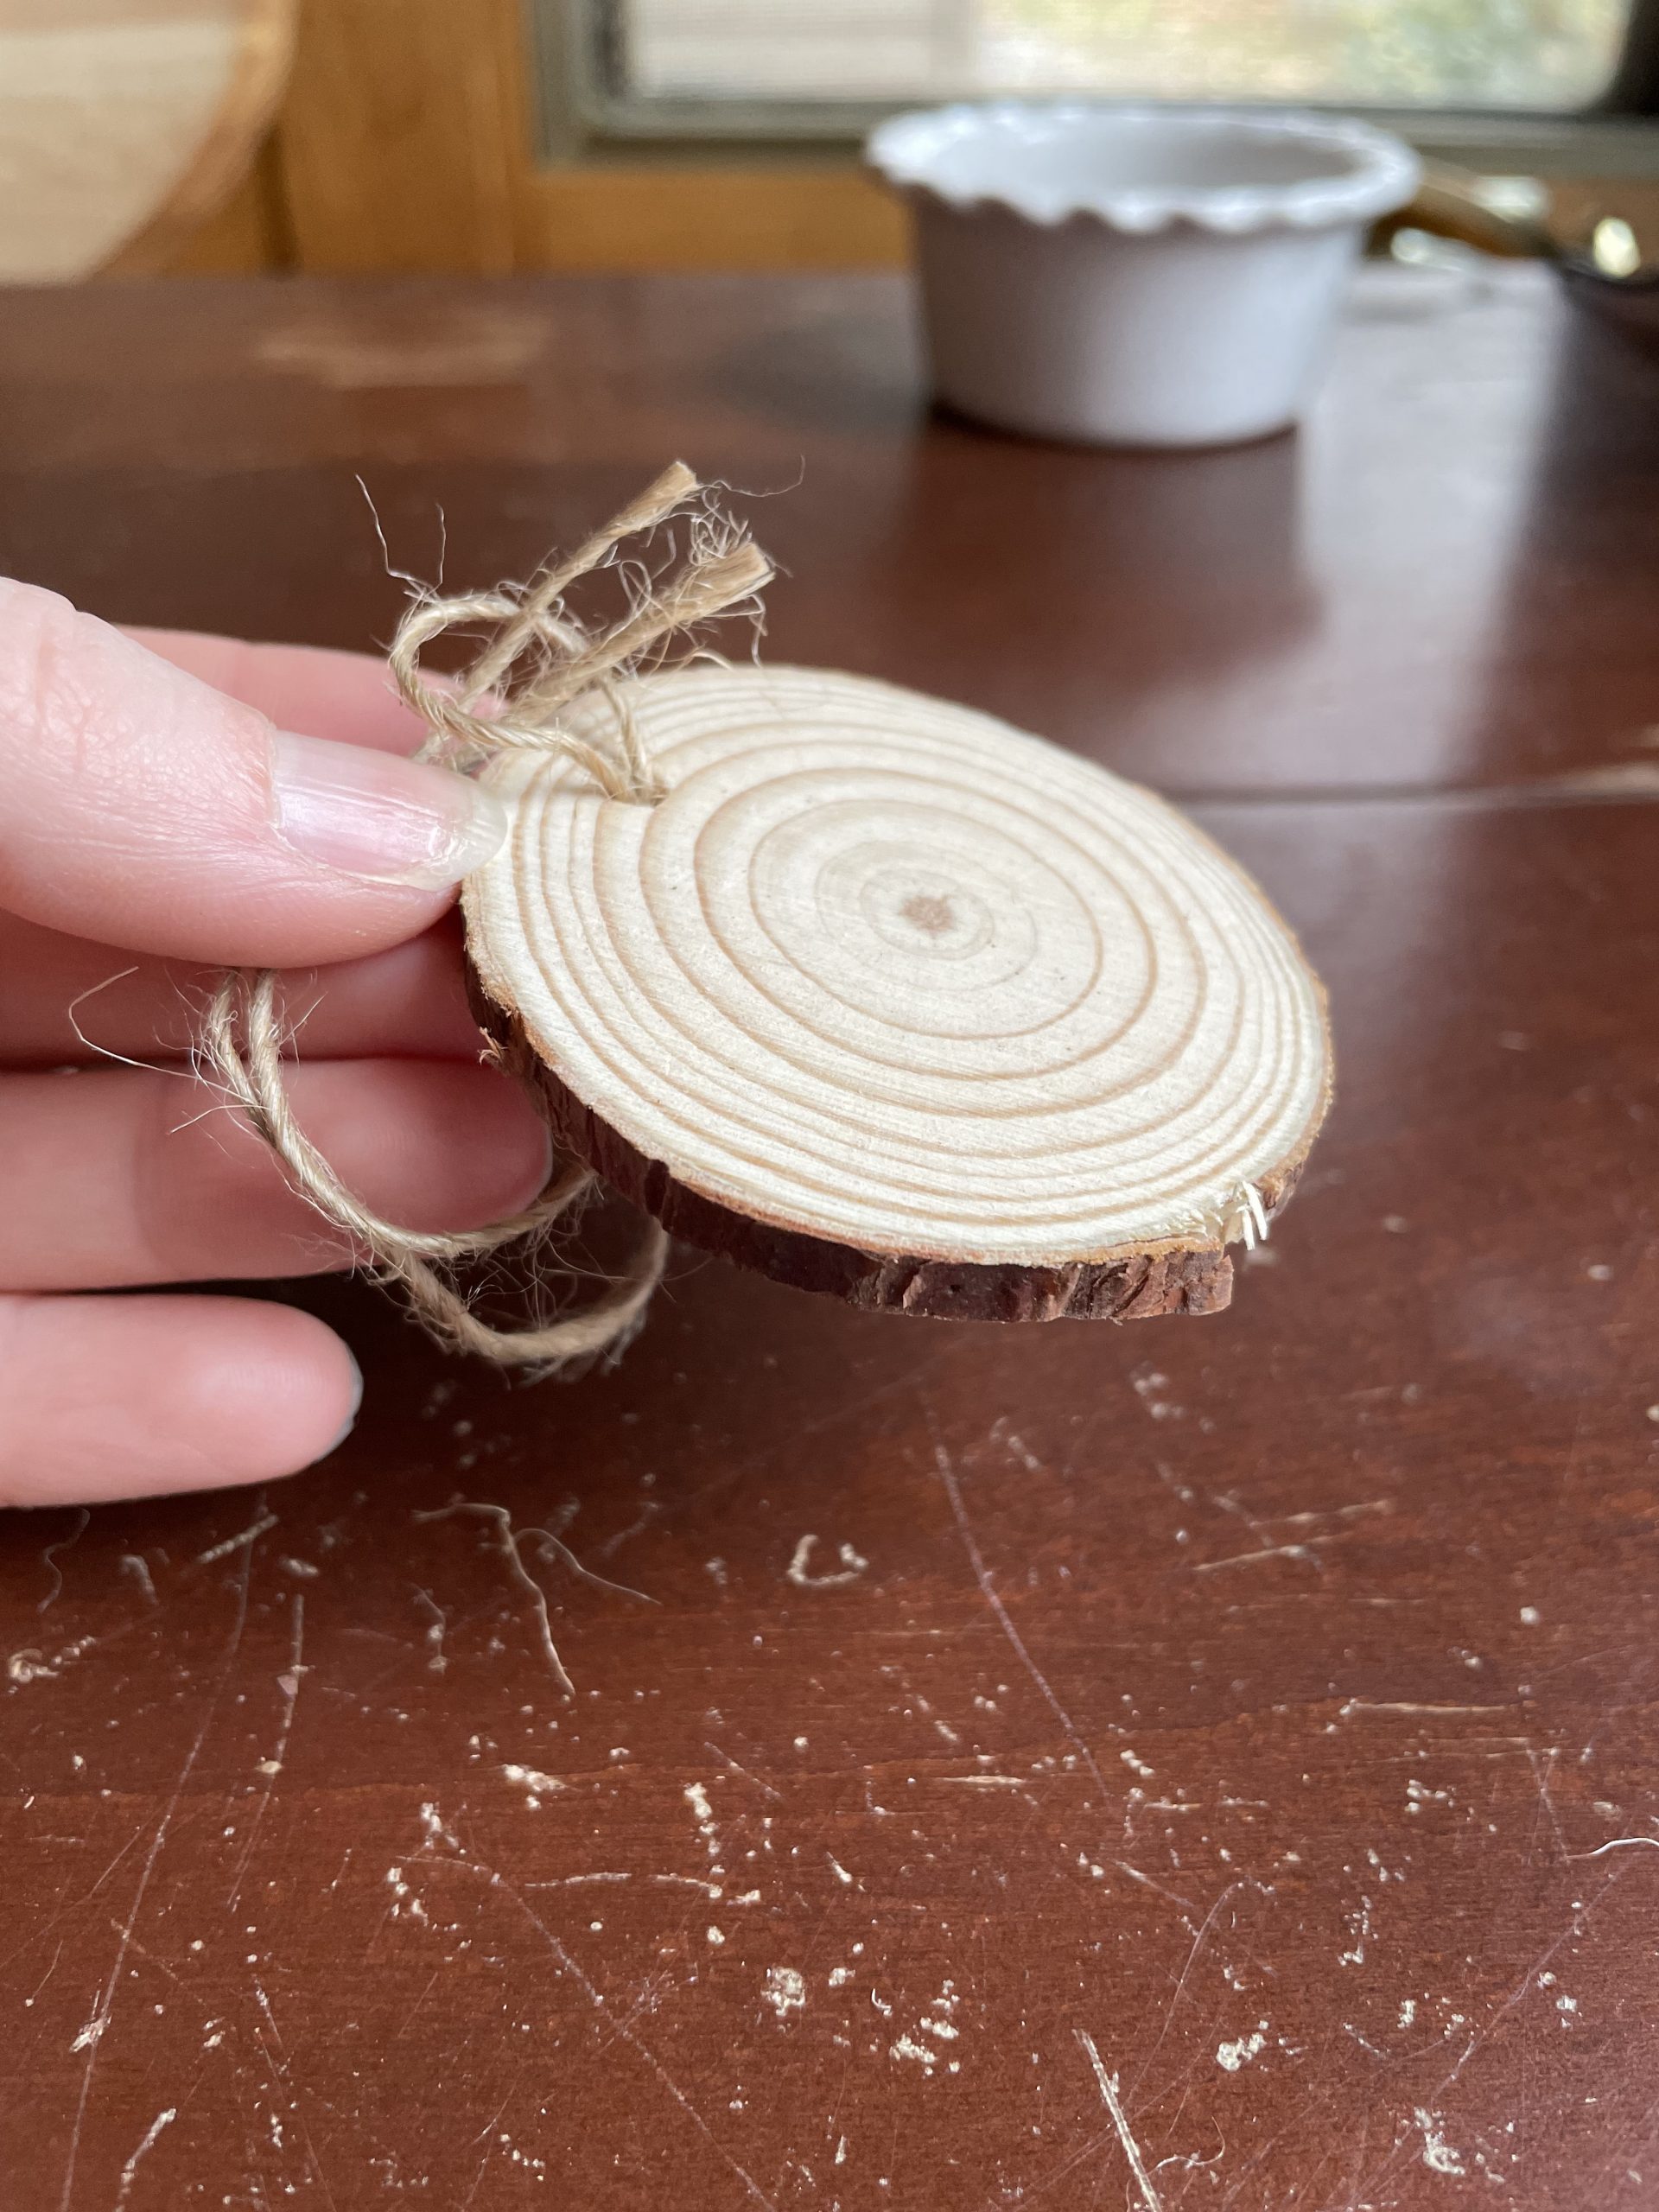
Now let’s talk about the wood. There are several types of wood out there and you want the best type of wood for woodburning and the safest to work with. Personally, that would be basswood! Pine is also a good wood to use but it does have a high sap content so it will smoke more. These types of wood are soft and work well with woodburning. You want a softer wood so the woodburner can do its job and burn efficiently. If you’re buying wood at a craft store, pine and basswood is what you will find in the wood burning selection.
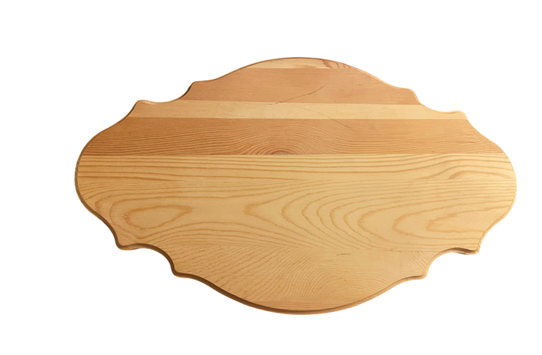
You also want to make sure that the wood you’re using for the project is untreated wood – no paint, stain, glue, or any other substance. It has to be natural, so you don’t breathe in chemicals from the substances. Don’t let this information scare you off. Woodburning is a lot of fun and worth it!
Next, I want to talk about distractions. I am a person who gets distracted easily, so I’ve learned to turn off the wood burner and unplug it when walking away to go take a phone call, go to the bathroom, have a snack, and so on. I make a habit of it because if something happens elsewhere and you can’t get back to your burner right away while it’s on, that’s when bad things happen. So better safe than sorry and unplug it when walking away!
Now let’s talk about setting up your area. When you’re done woodburning always place the wood burner in the holder, so it doesn’t accidentally touch any other surfaces because the woodburner gets very hot and you don’t want to burn something by accident. Don’t touch the metal part of the holder where the wood burner has been sitting because that will also get hot. I learned that one the hard way.

Woodburning on a hard surface is a must! A desk, island, table, or countertop is an ideal surface. Couches, and beds are not ideal since you get too comfortable and accidentally set your hand down and burn a hole in your sheets or expensive couch. When you are sitting at your “desk” make sure to clear a good amount of space and remove objects that are flammable, just in case. This includes removing any carpet or rugs on and around your desk in case your wood burner rolls off and damages them or starts something worse. No one needs a house fire!
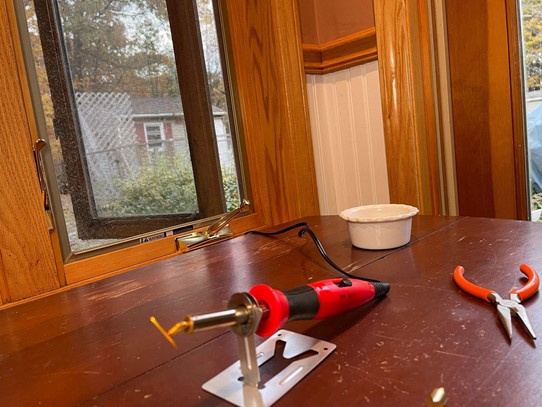
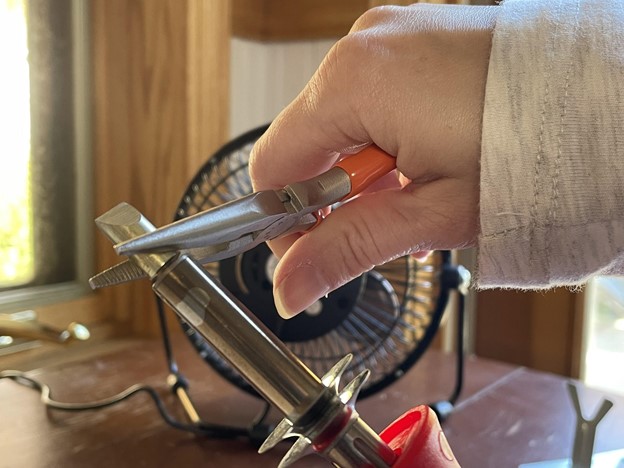
Let’s get into talking about changing the woodburning tips next. The wood burner gets hot so you definitely don’t want to touch it with your fingers! That’s why you should have needle nose pliers handy to remove the tips. To be safe, let it cool a little bit so that when removing the tips you don’t burn yourself or warp the metal because that happens if its too hot and then the tip is no good anymore. The warm tips can go in a ceramic dish or mug so make sure you have that first before you take the tips off.
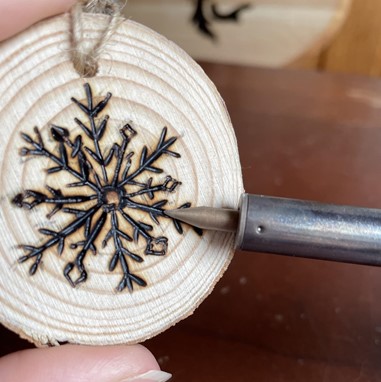
When you want to see if the wood burner is hot enough to start your project, avoid touching the metal with your fingers and hands. Instead, you can get another piece of wood as a tester piece. Move the wood burner back and forth slowly to see if it’s up to temp. Once it’s at the desired temp, you can now work on your project.
The last thing I want to tell you is to take breaks and stretch. Staying too long in one posture can cause cramps, aches and pains in your arm, hand, wrist, and shoulder area so stretching will help keep your body loose and ensure good blood circulation.
I hope you find the information here useful and if you have any questions or other safety suggestions, please do leave a comment down below. I would really appreciate it.
Christina Tillinghast