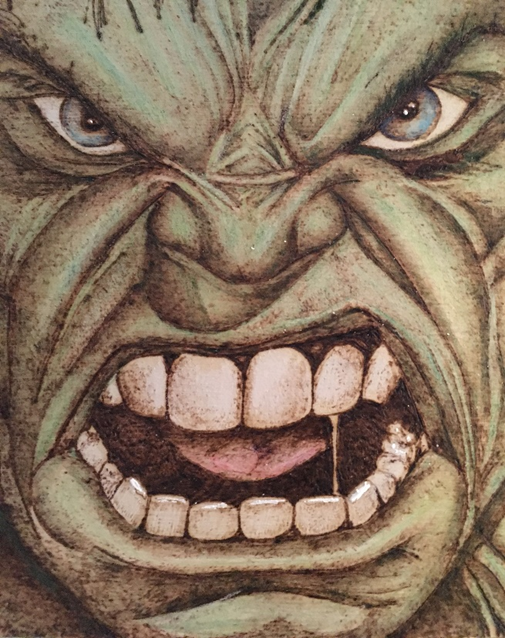
Shading is a challenging but extremely rewarding technique to master. Shading gives your drawing depth and illustrates the various levels of darkness. When you use this technique, you can make a flat image instantly have the realism of a 3D image.
When practicing, use a sample piece of wood. Practice your shading by using simple shapes or designs. Another useful tip is to study black and white photographs to observe where the light and dark values land on the image.
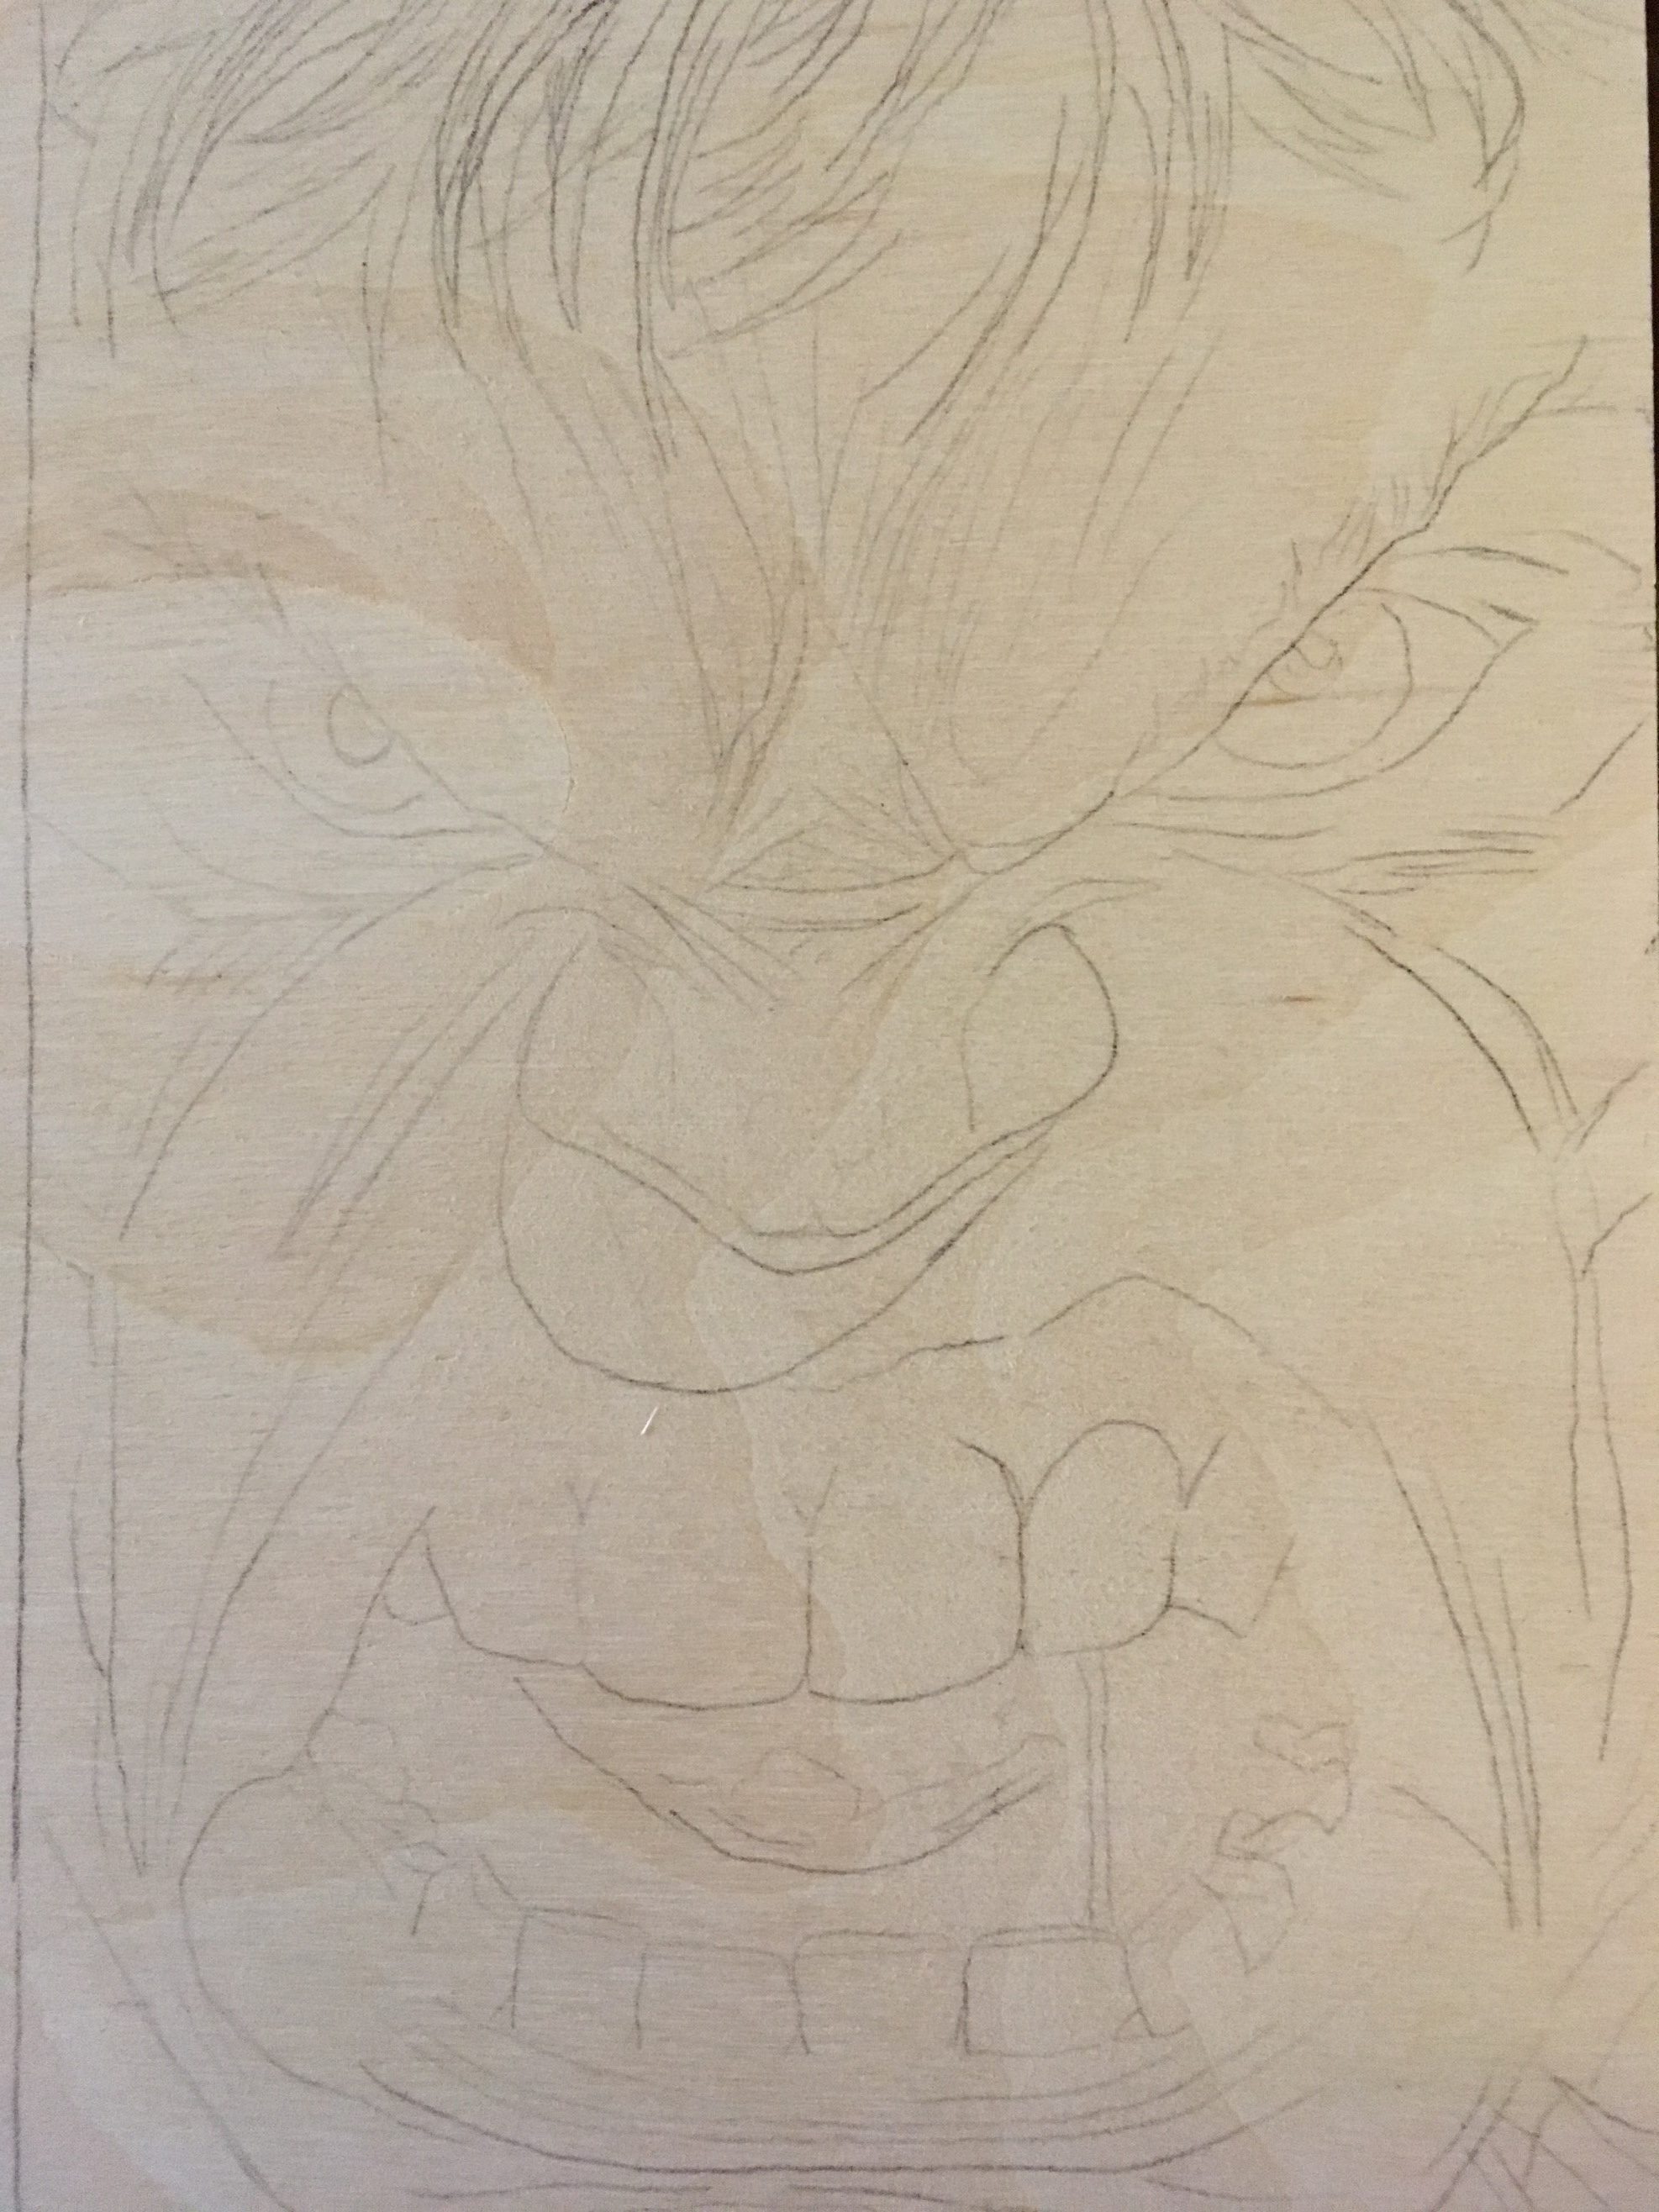
To start, draw your image or design onto the wood. With pyrography, there is no room for error. All marks you make are permanent. In general, you should start burning your image at a low temperature and gradually increase heat as needed.
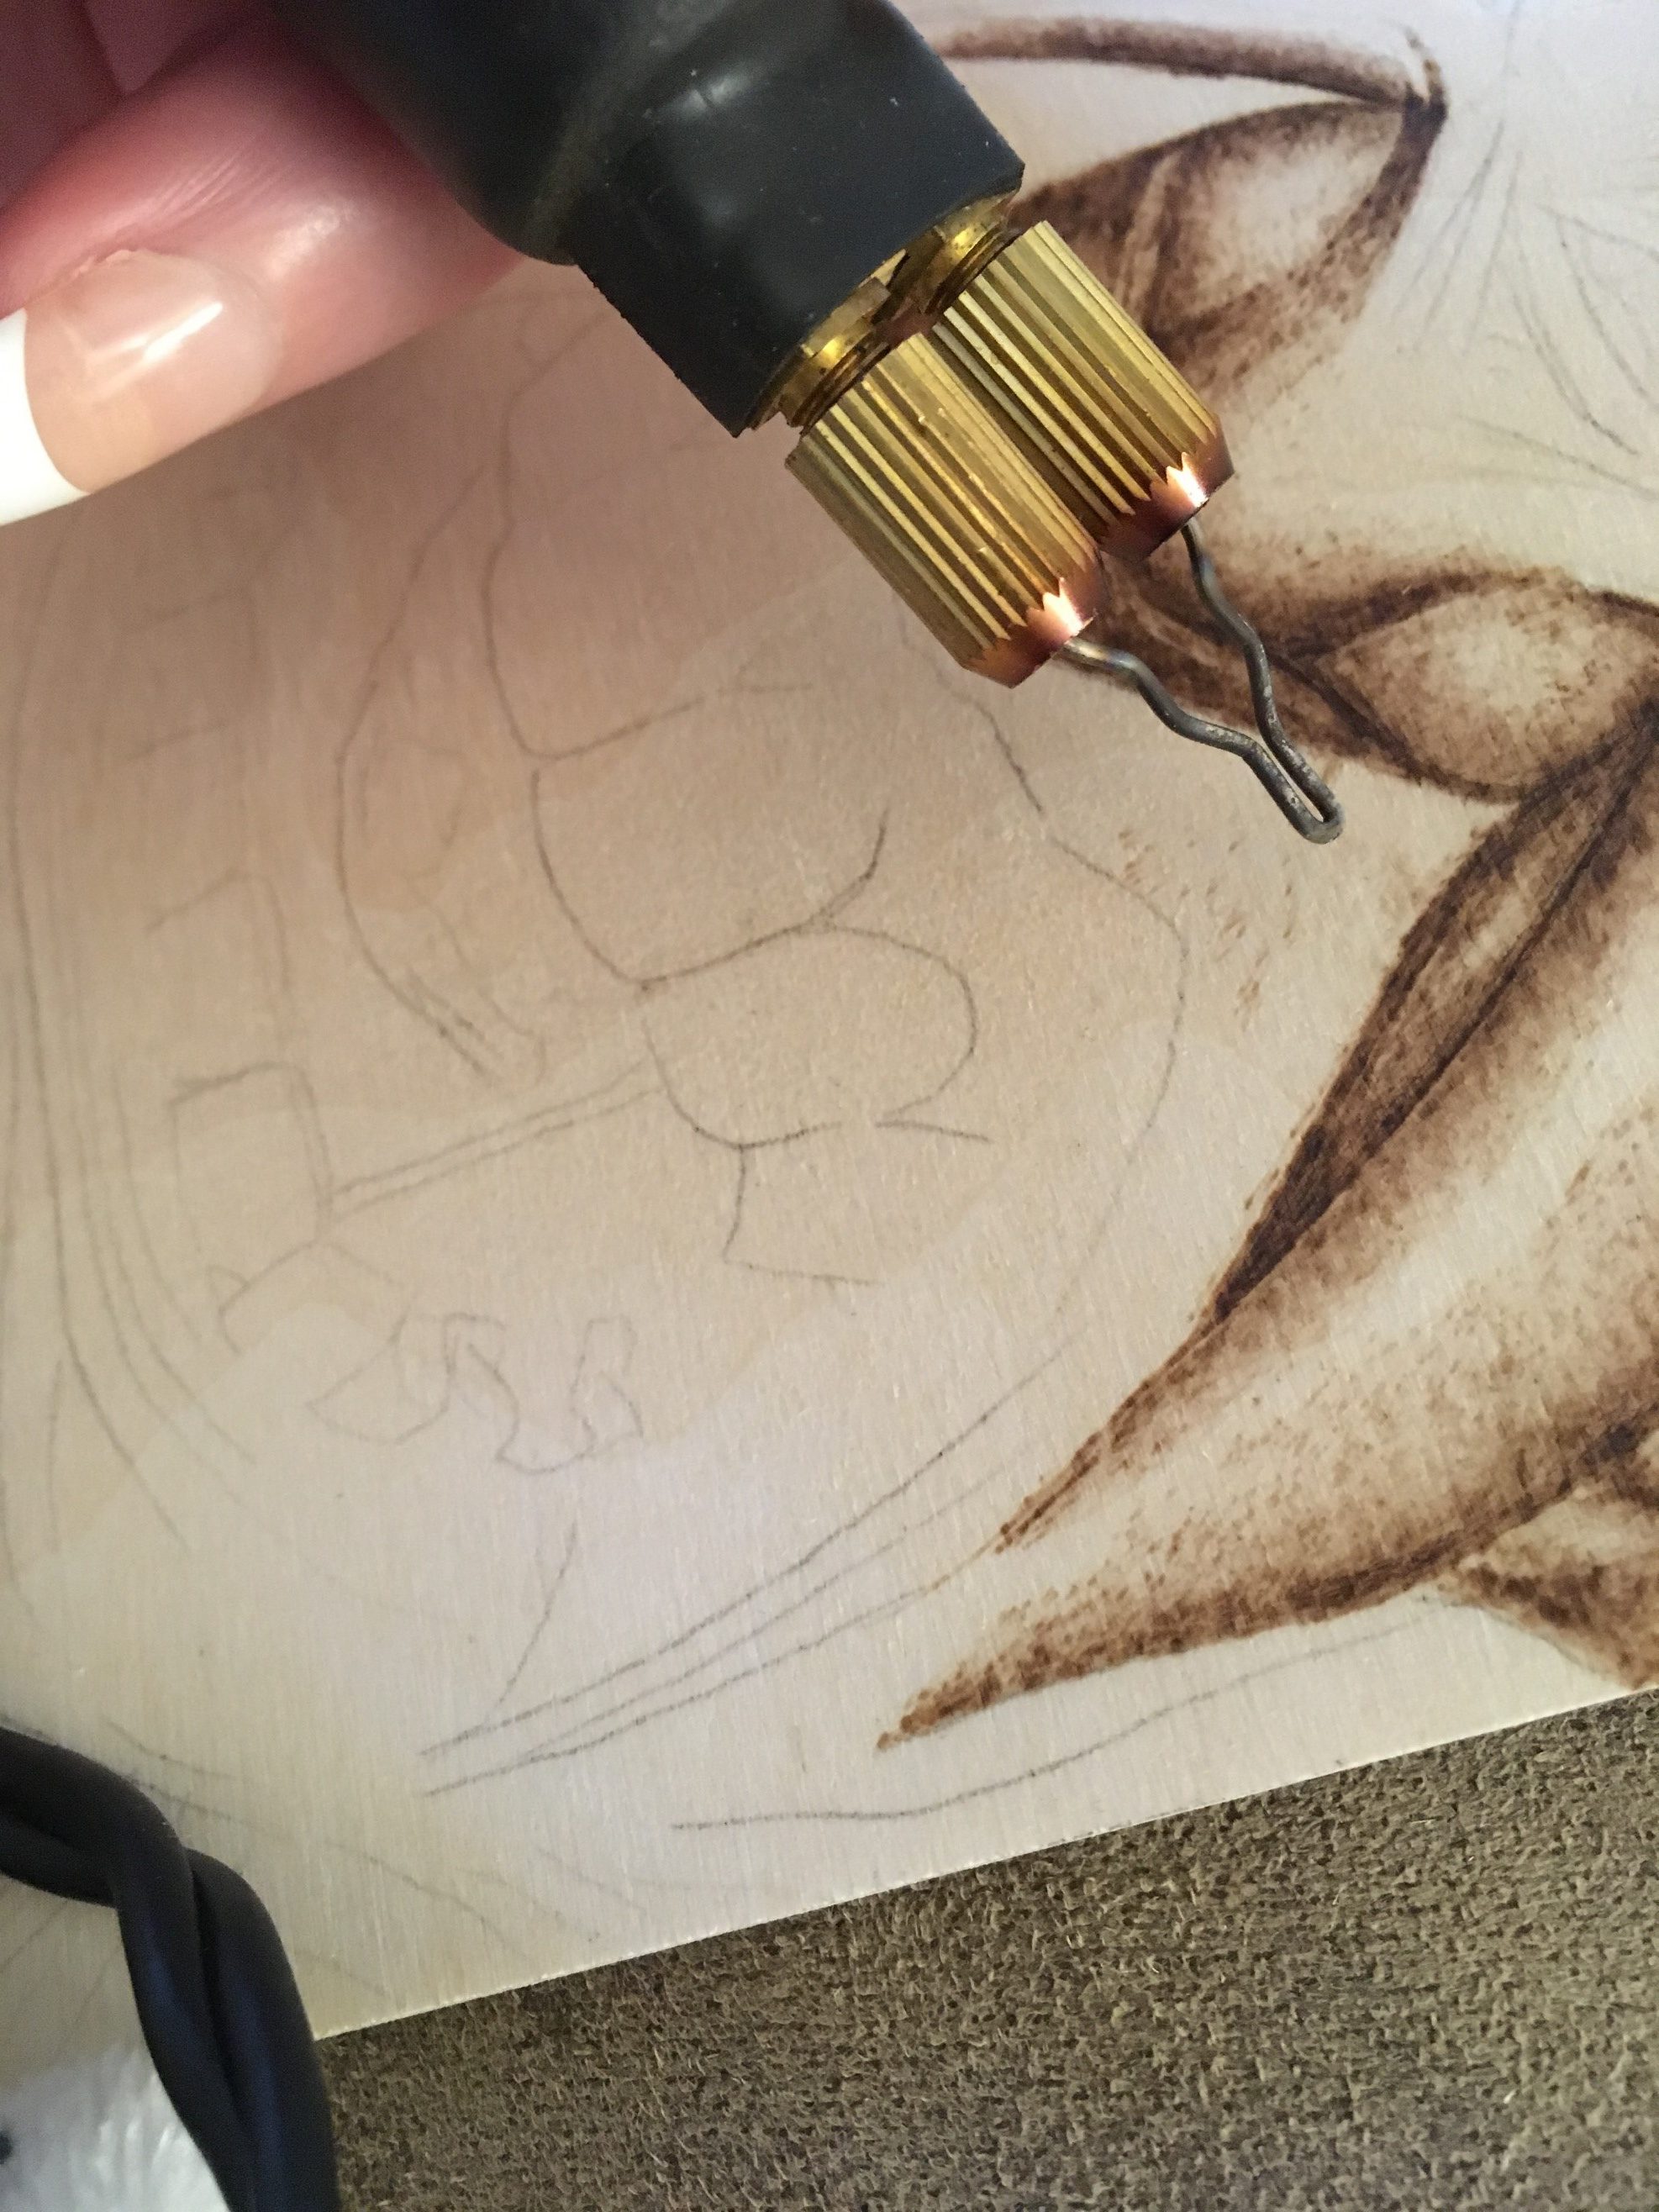
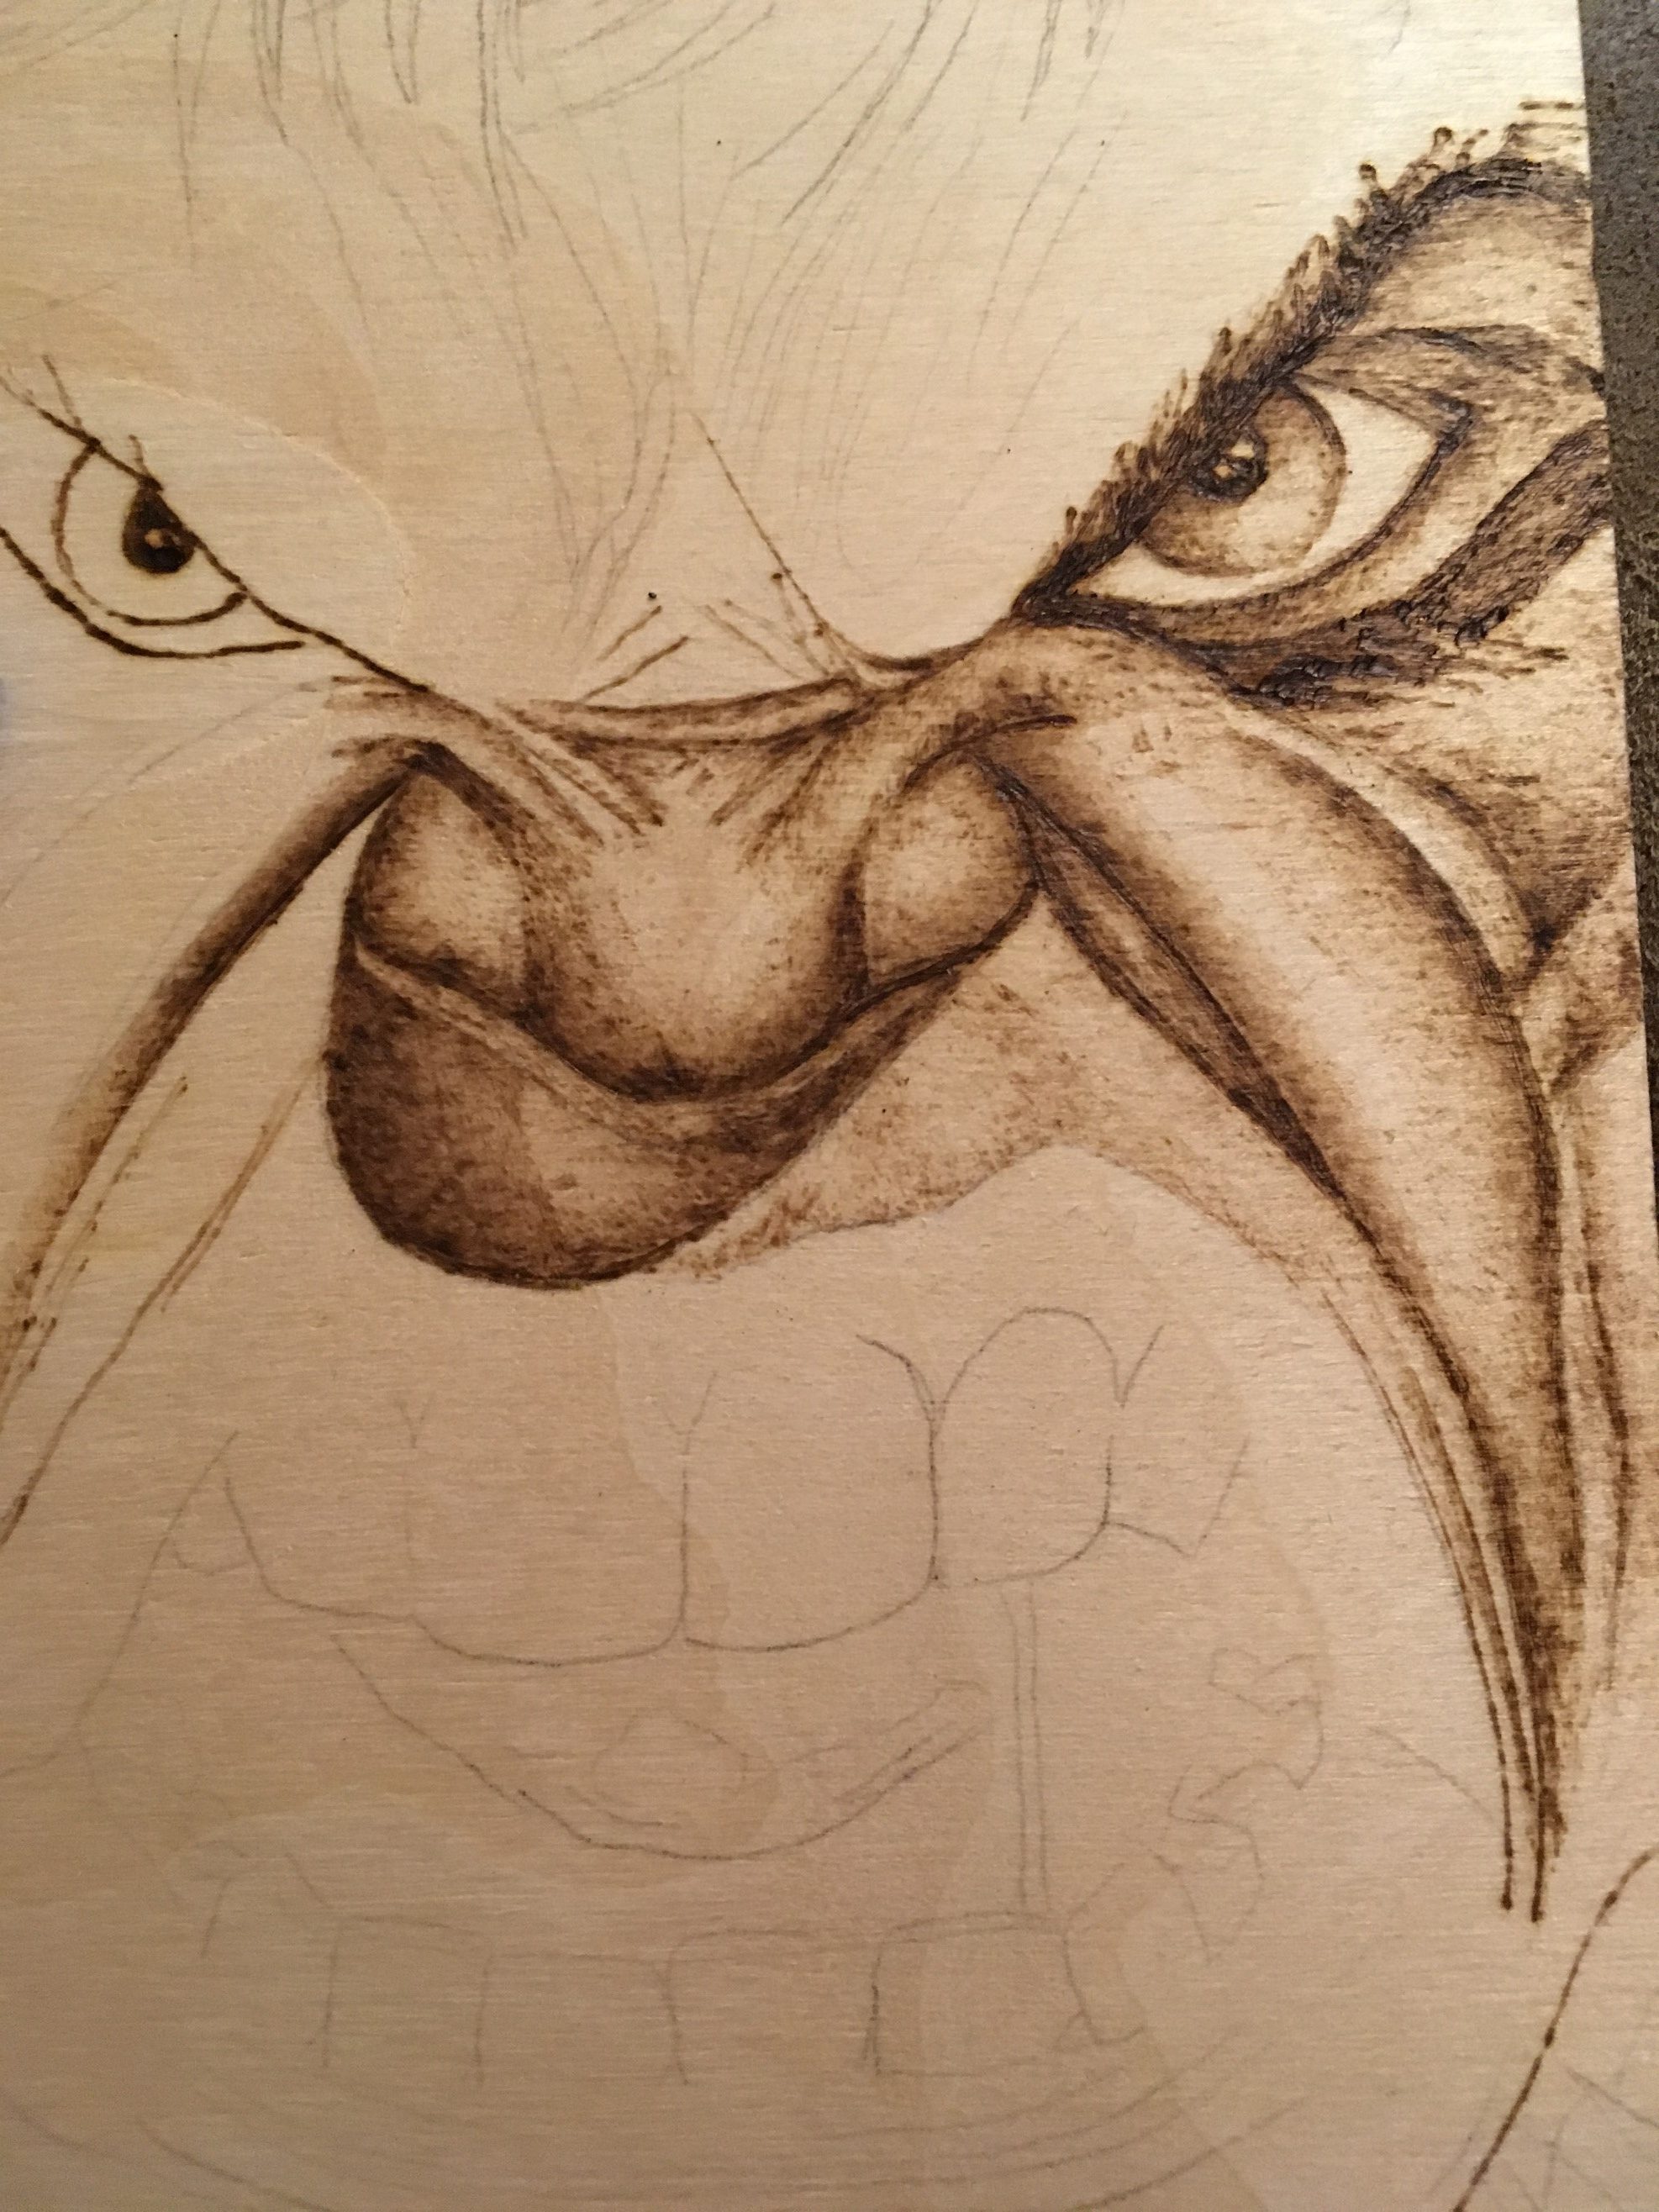
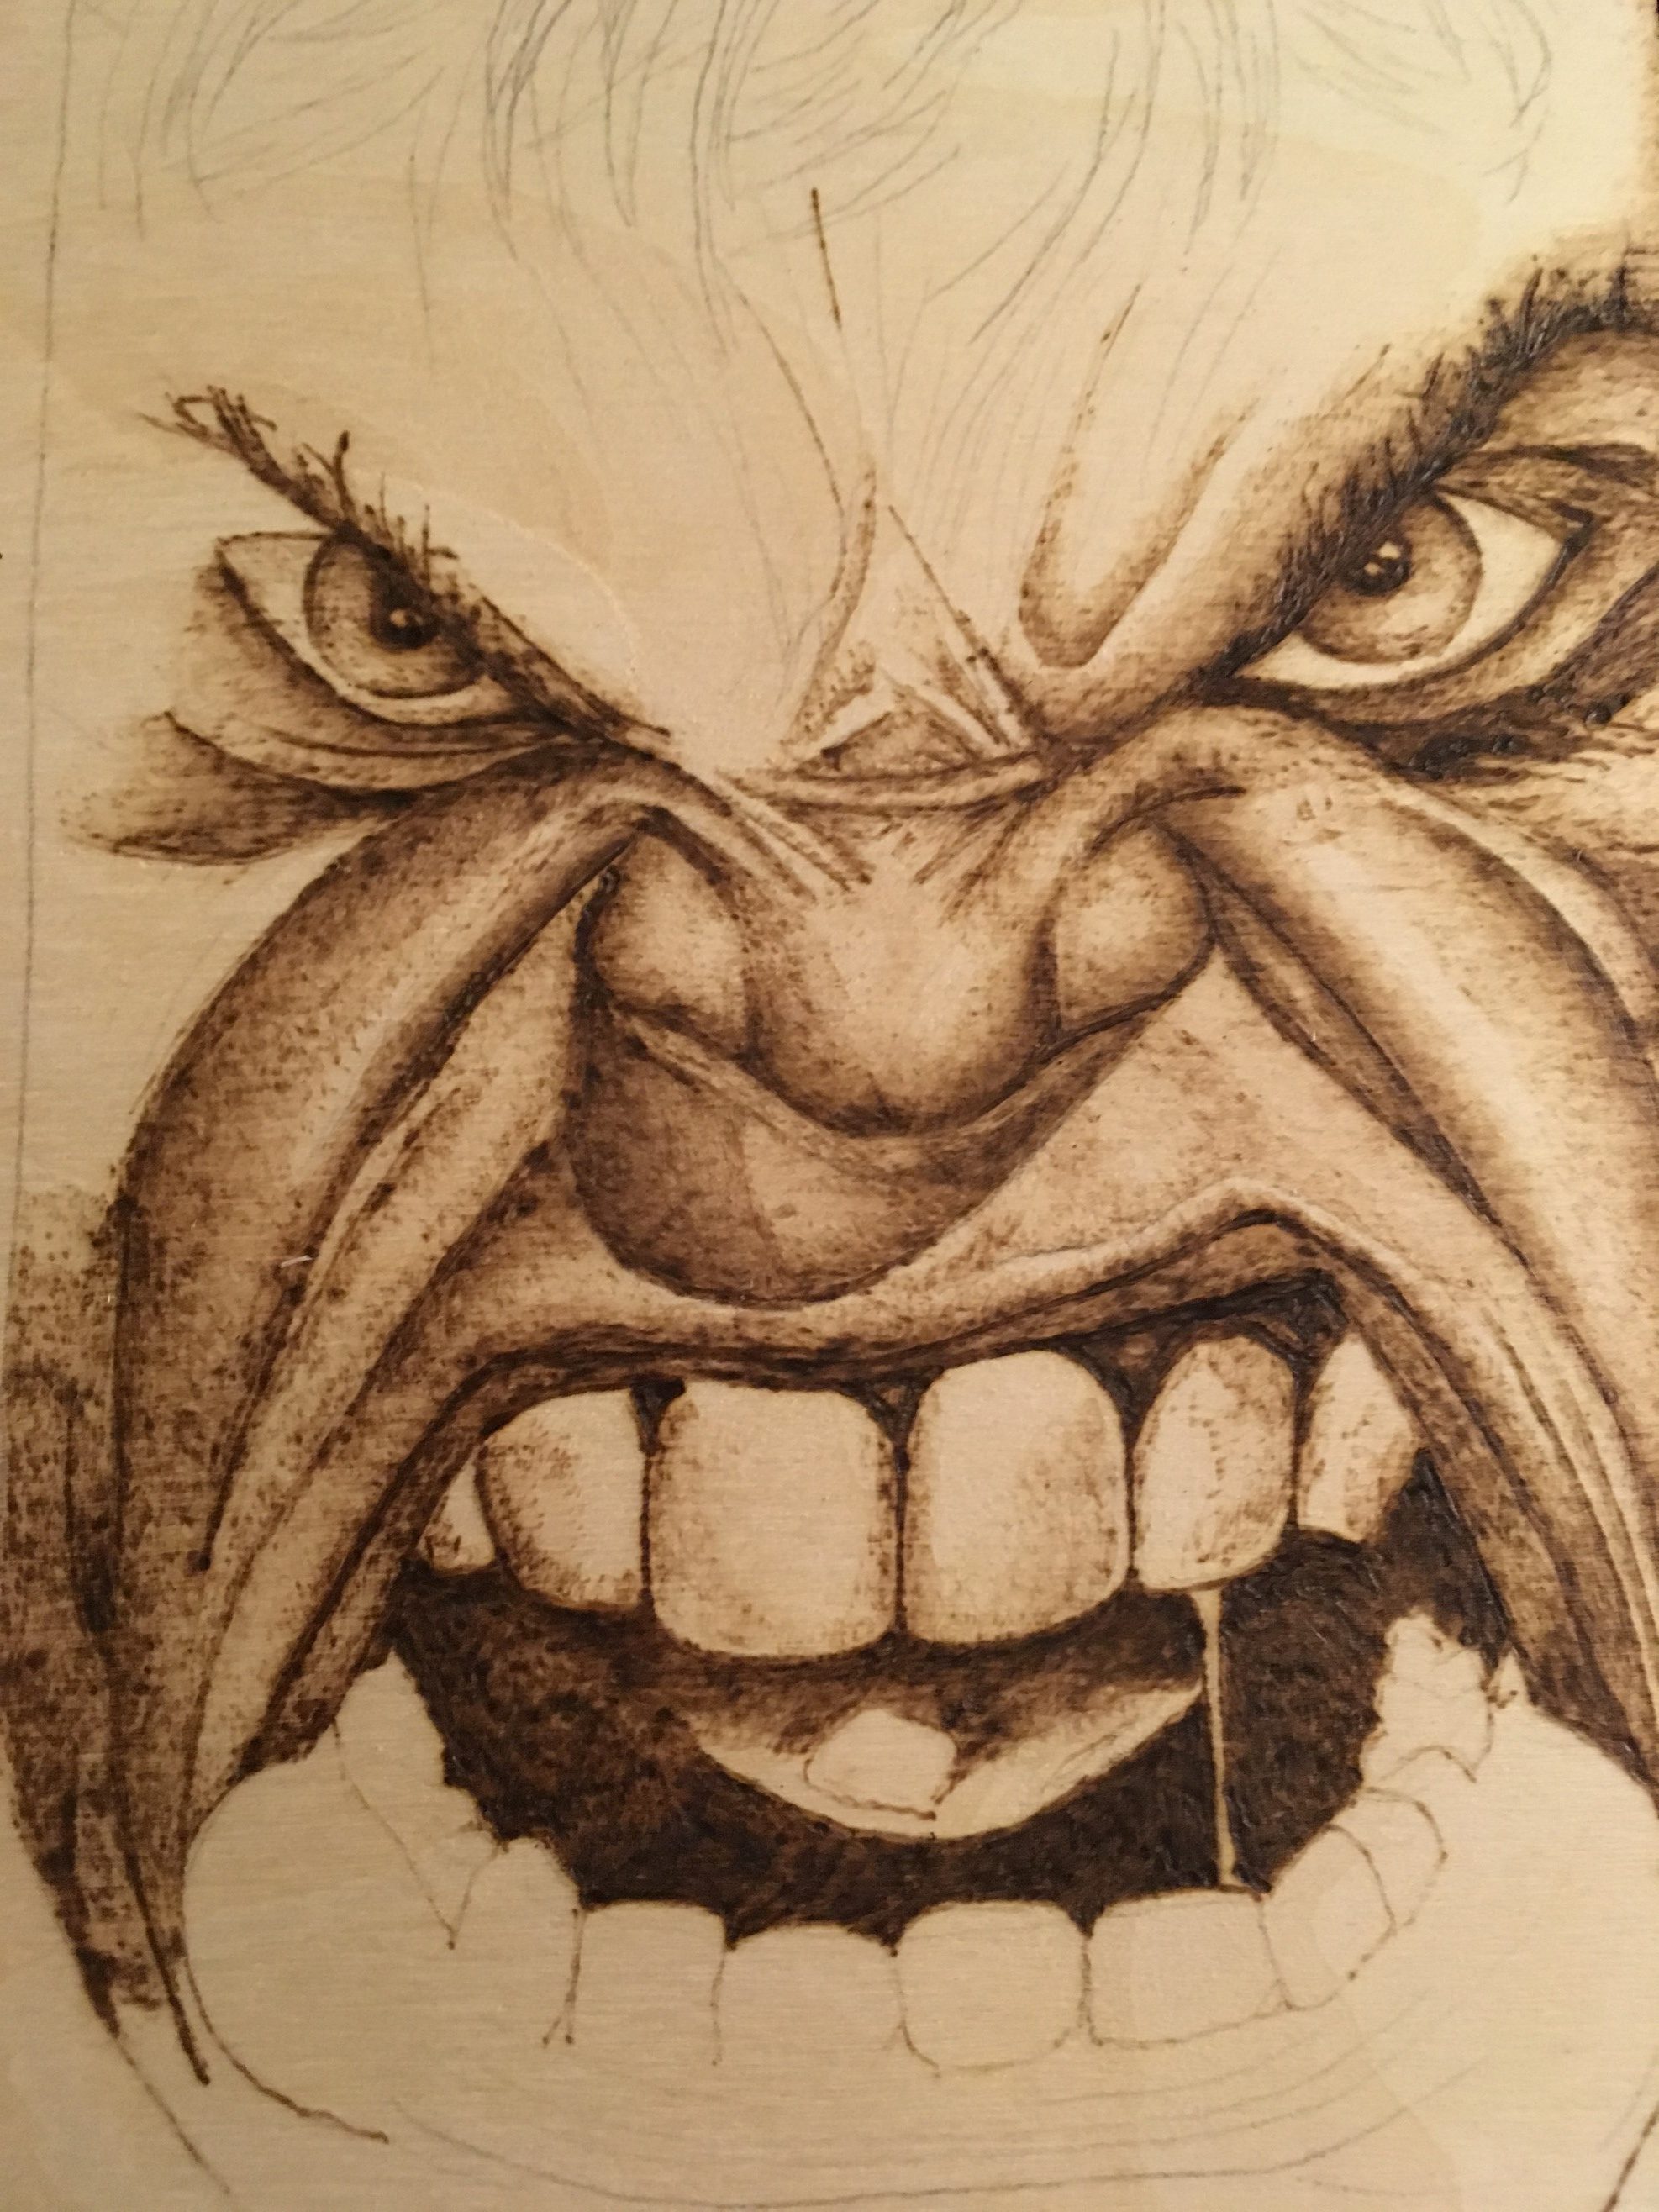
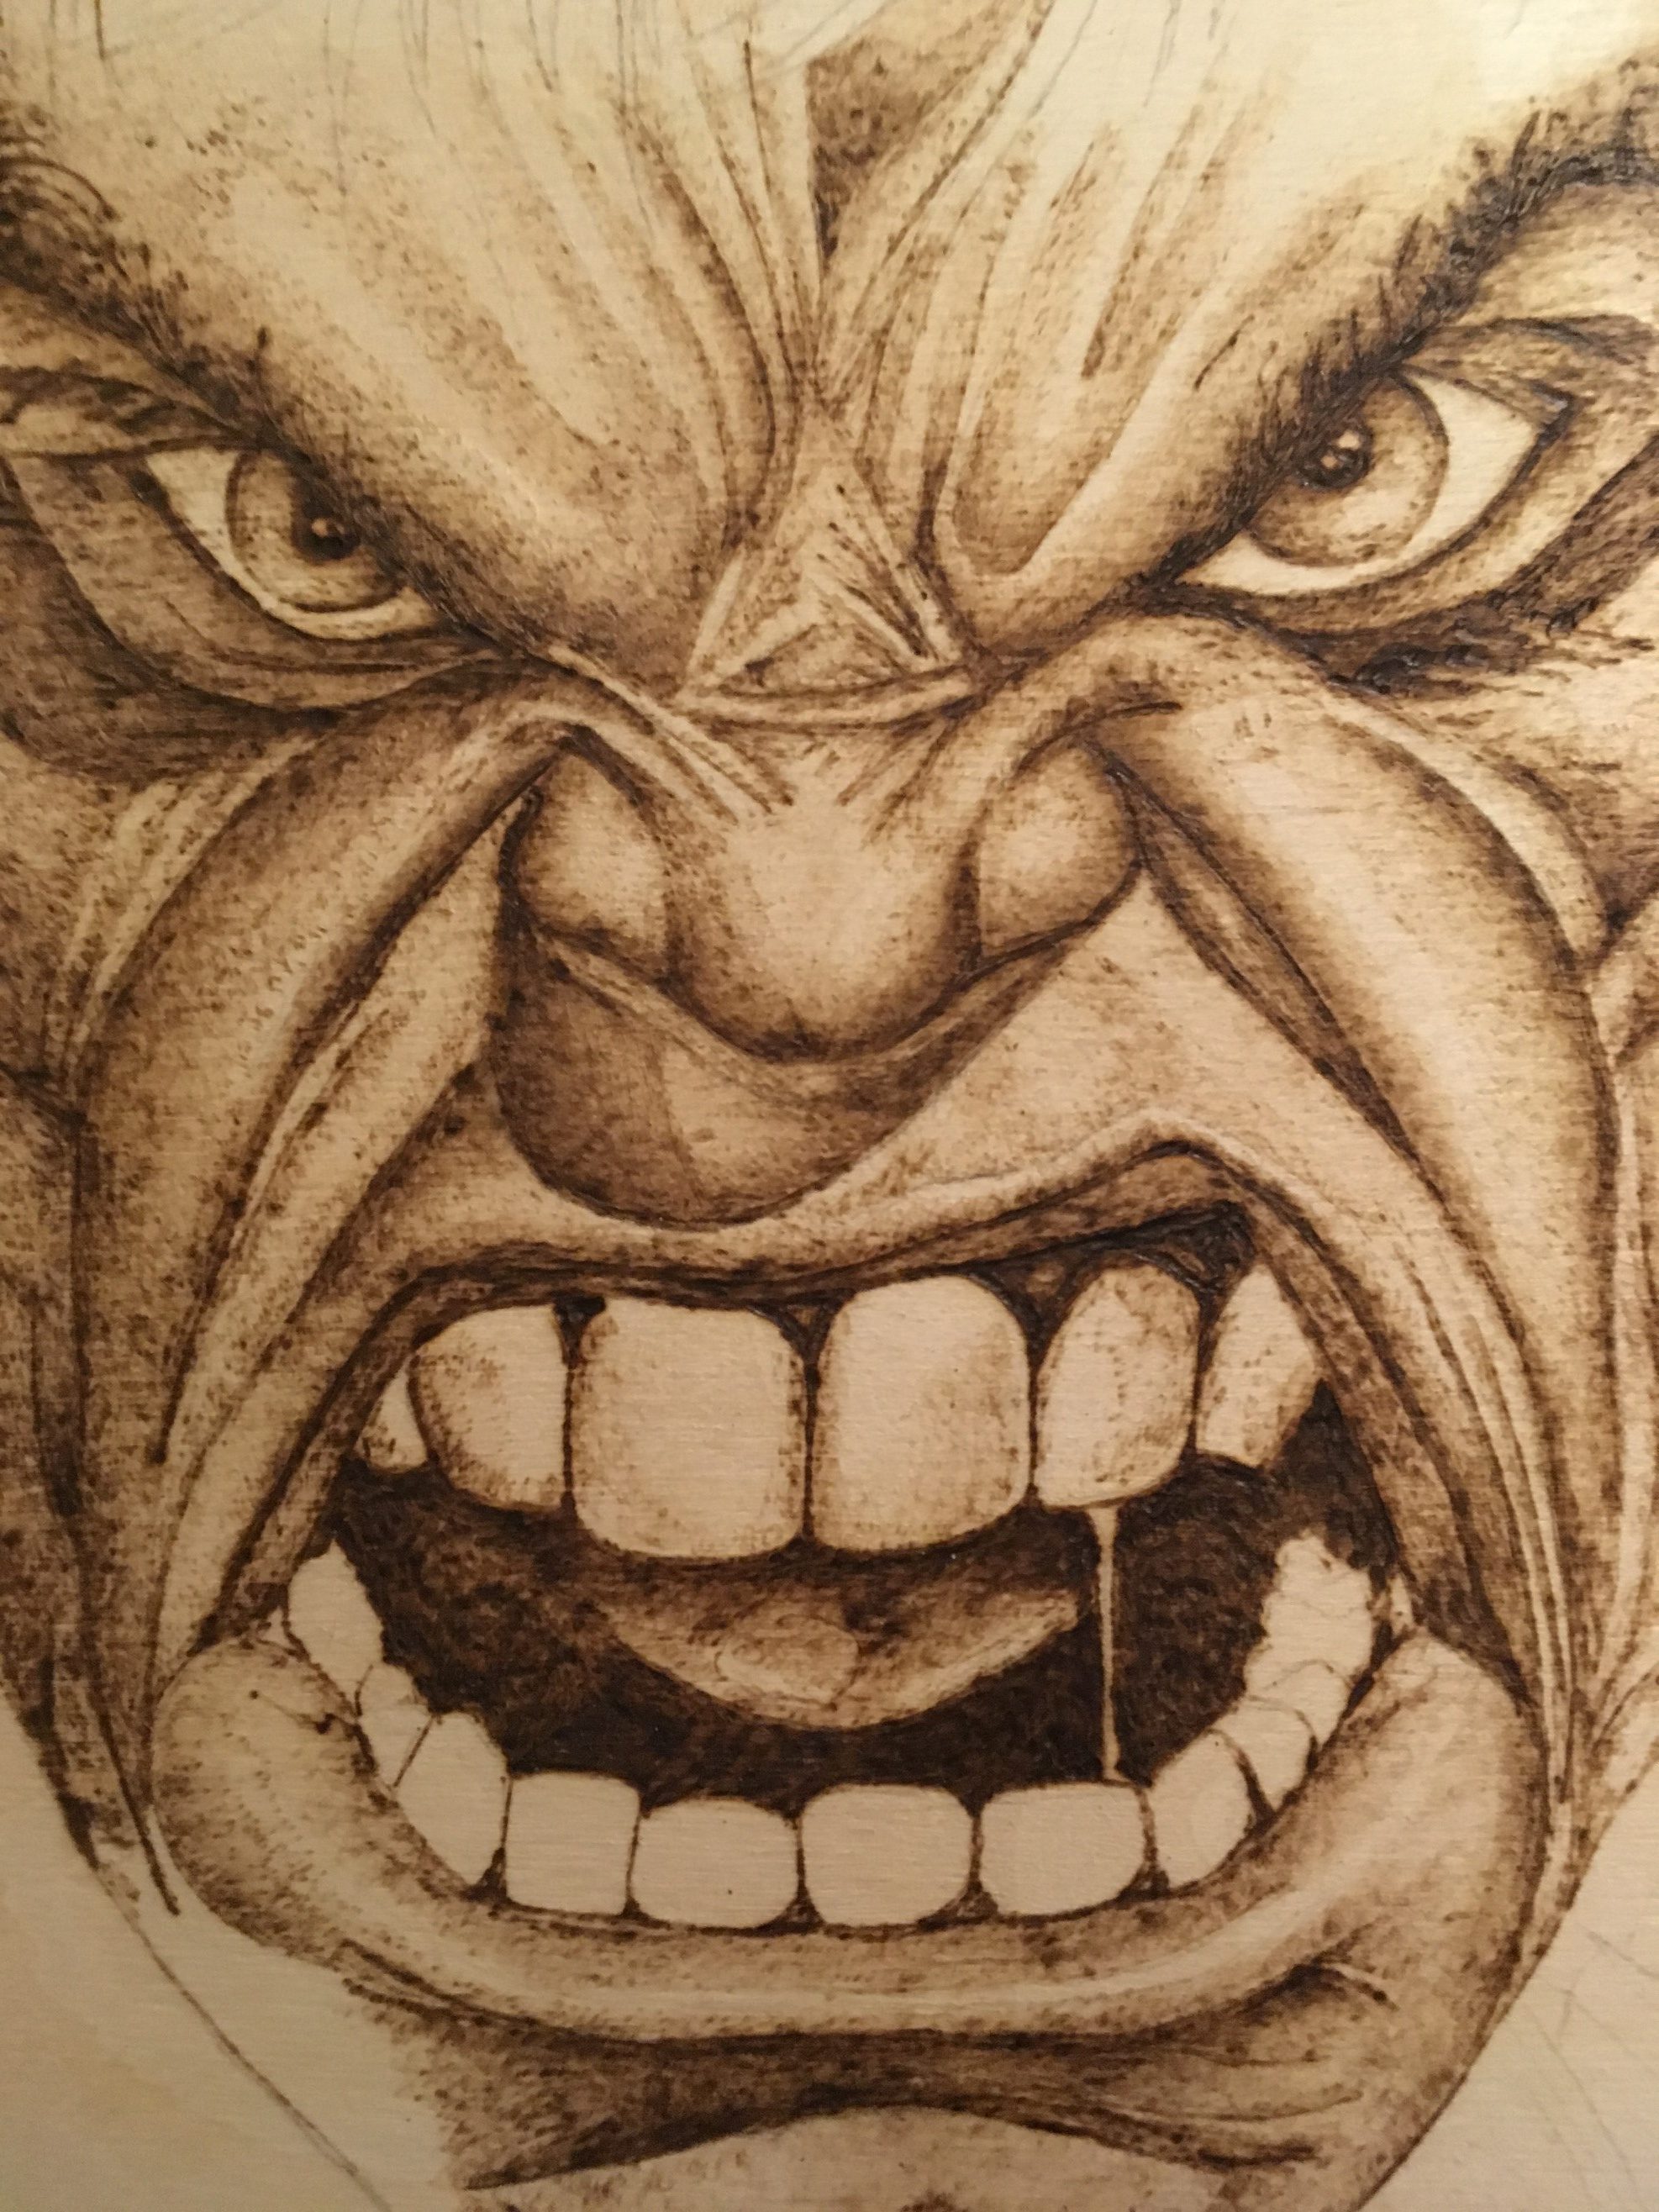
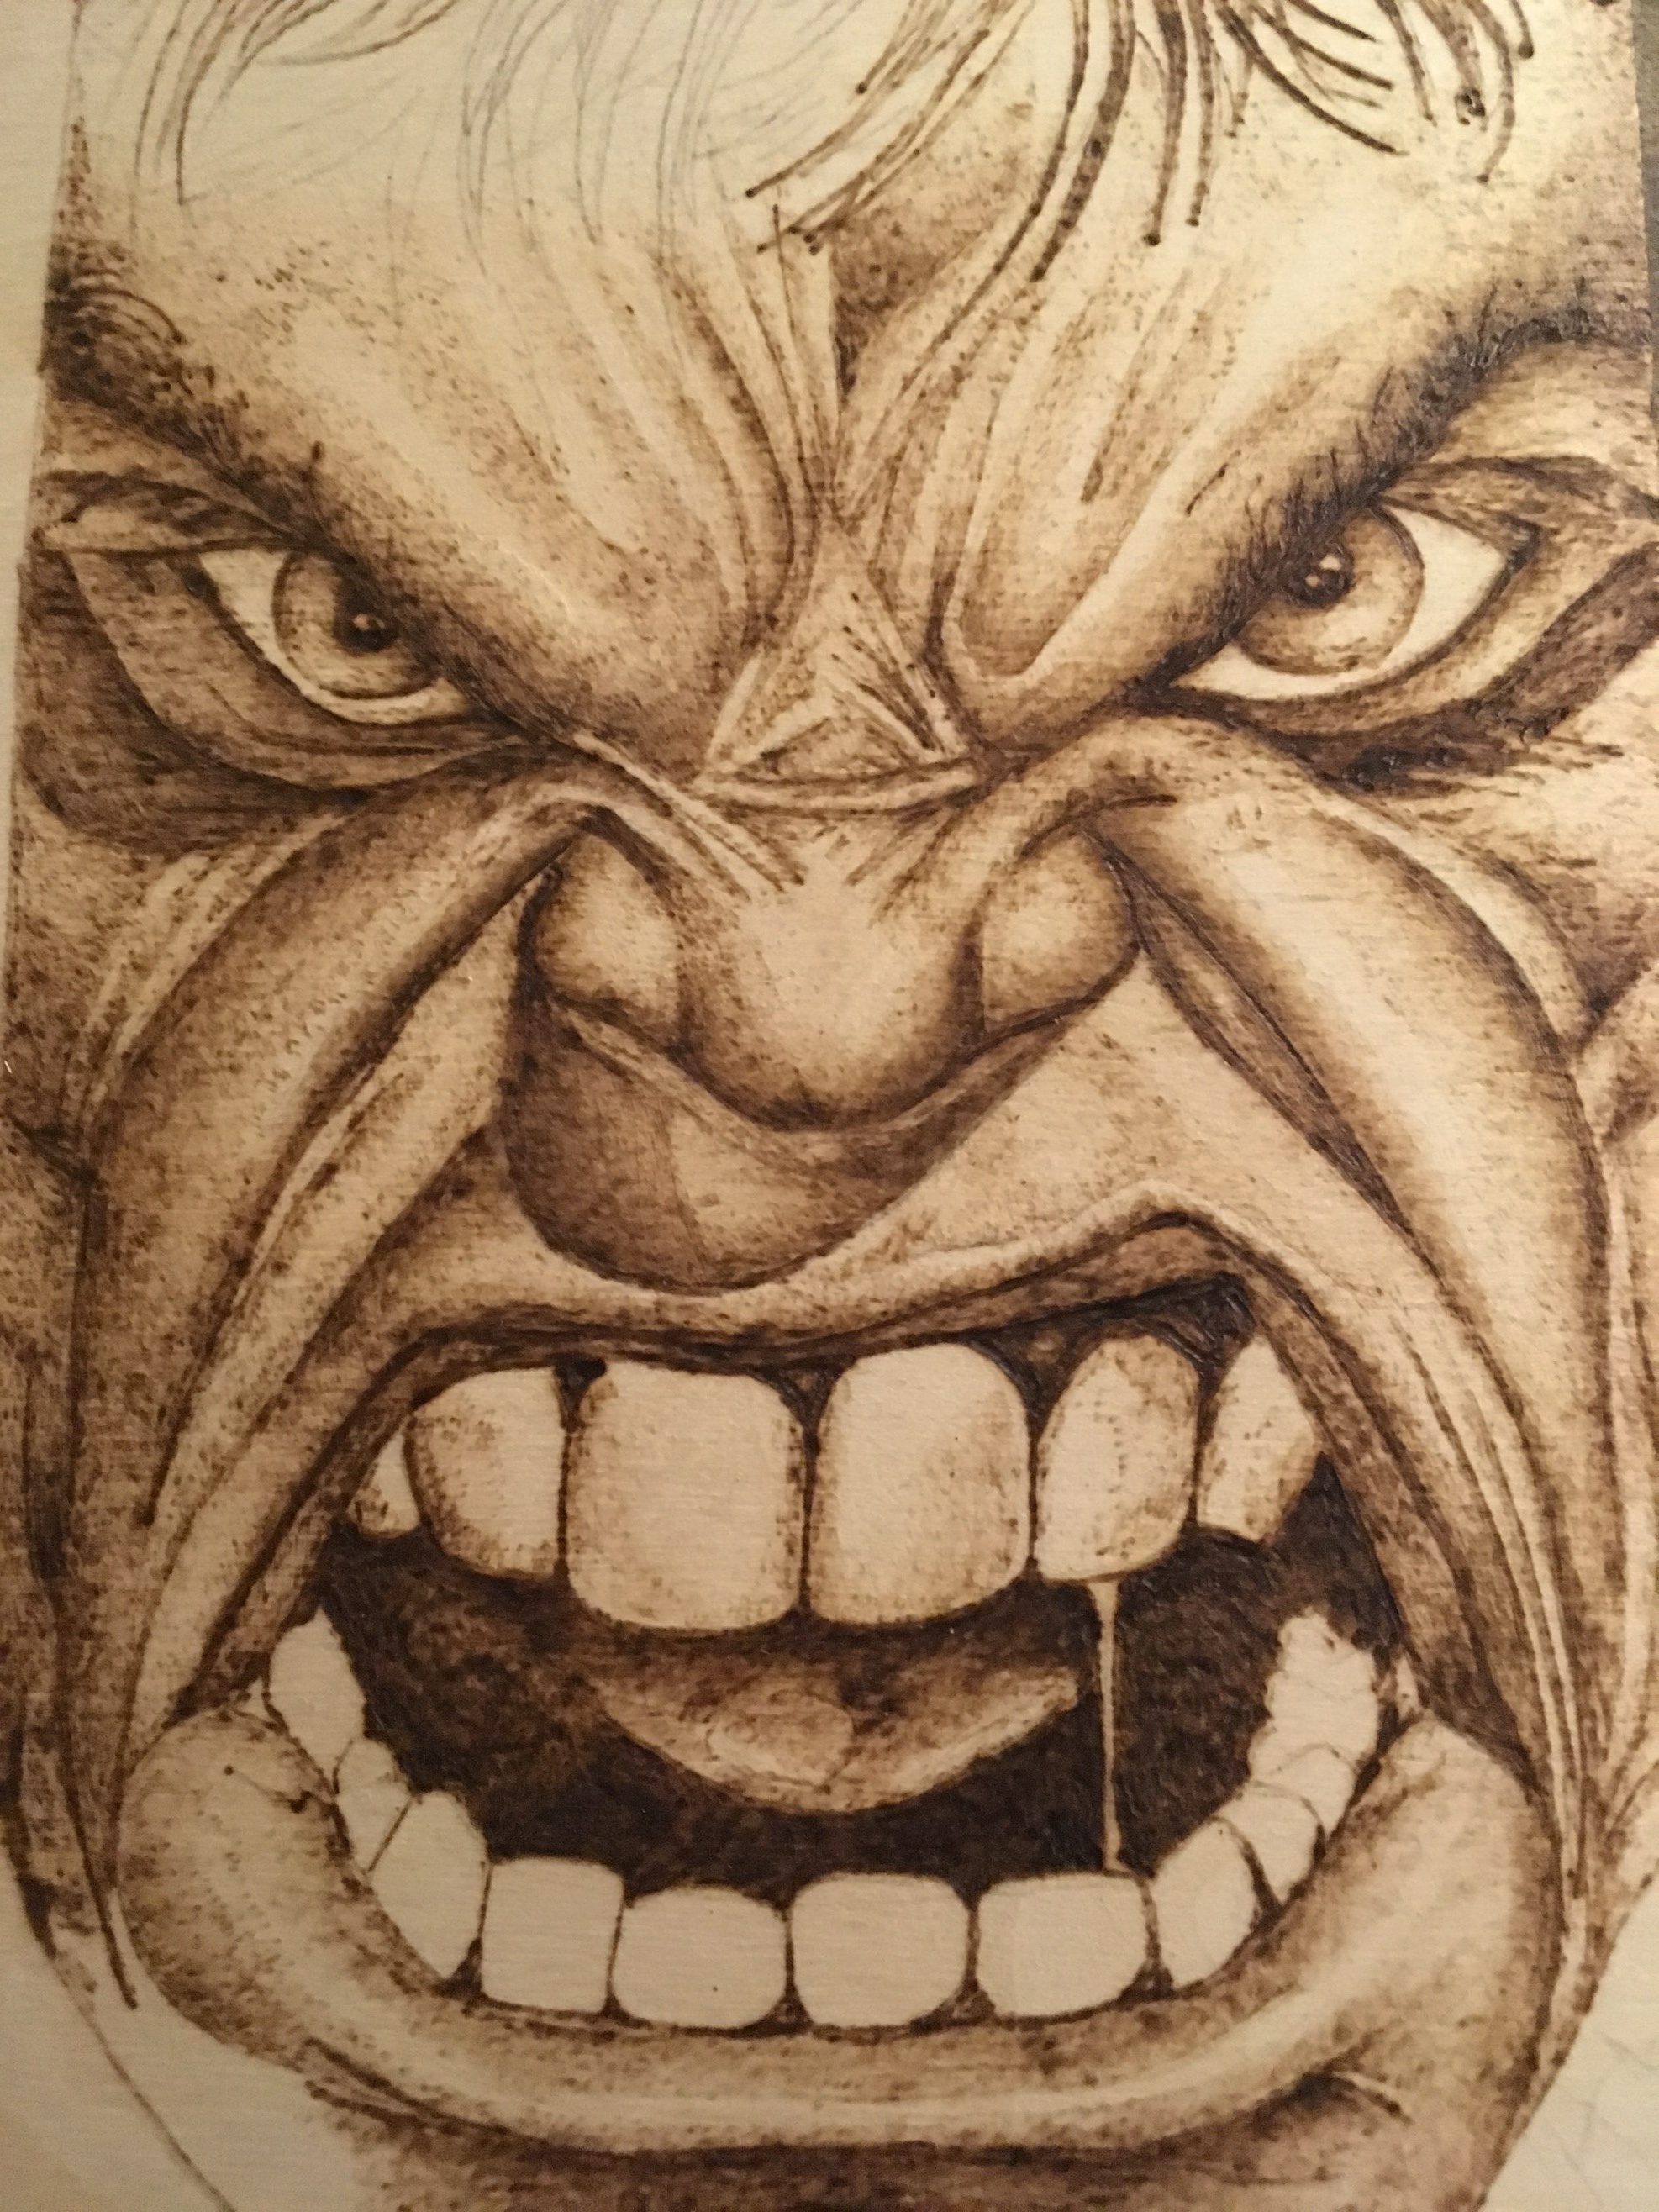
When burning, always burn softly. To do this, do not press down hard with your pen or make solid harsh lines. I like to burn on a low temperature and make small, tight, circular motions on the wood. I continuously do this until I blend my markings into a light, even shade. You should not be able to distinguish where the shading started or ended, you want it to all flow together. Do not outline your image completely with dark, solid lines. The point of shading is to give your art realism and it also helps define an object.
 |
 |
 |
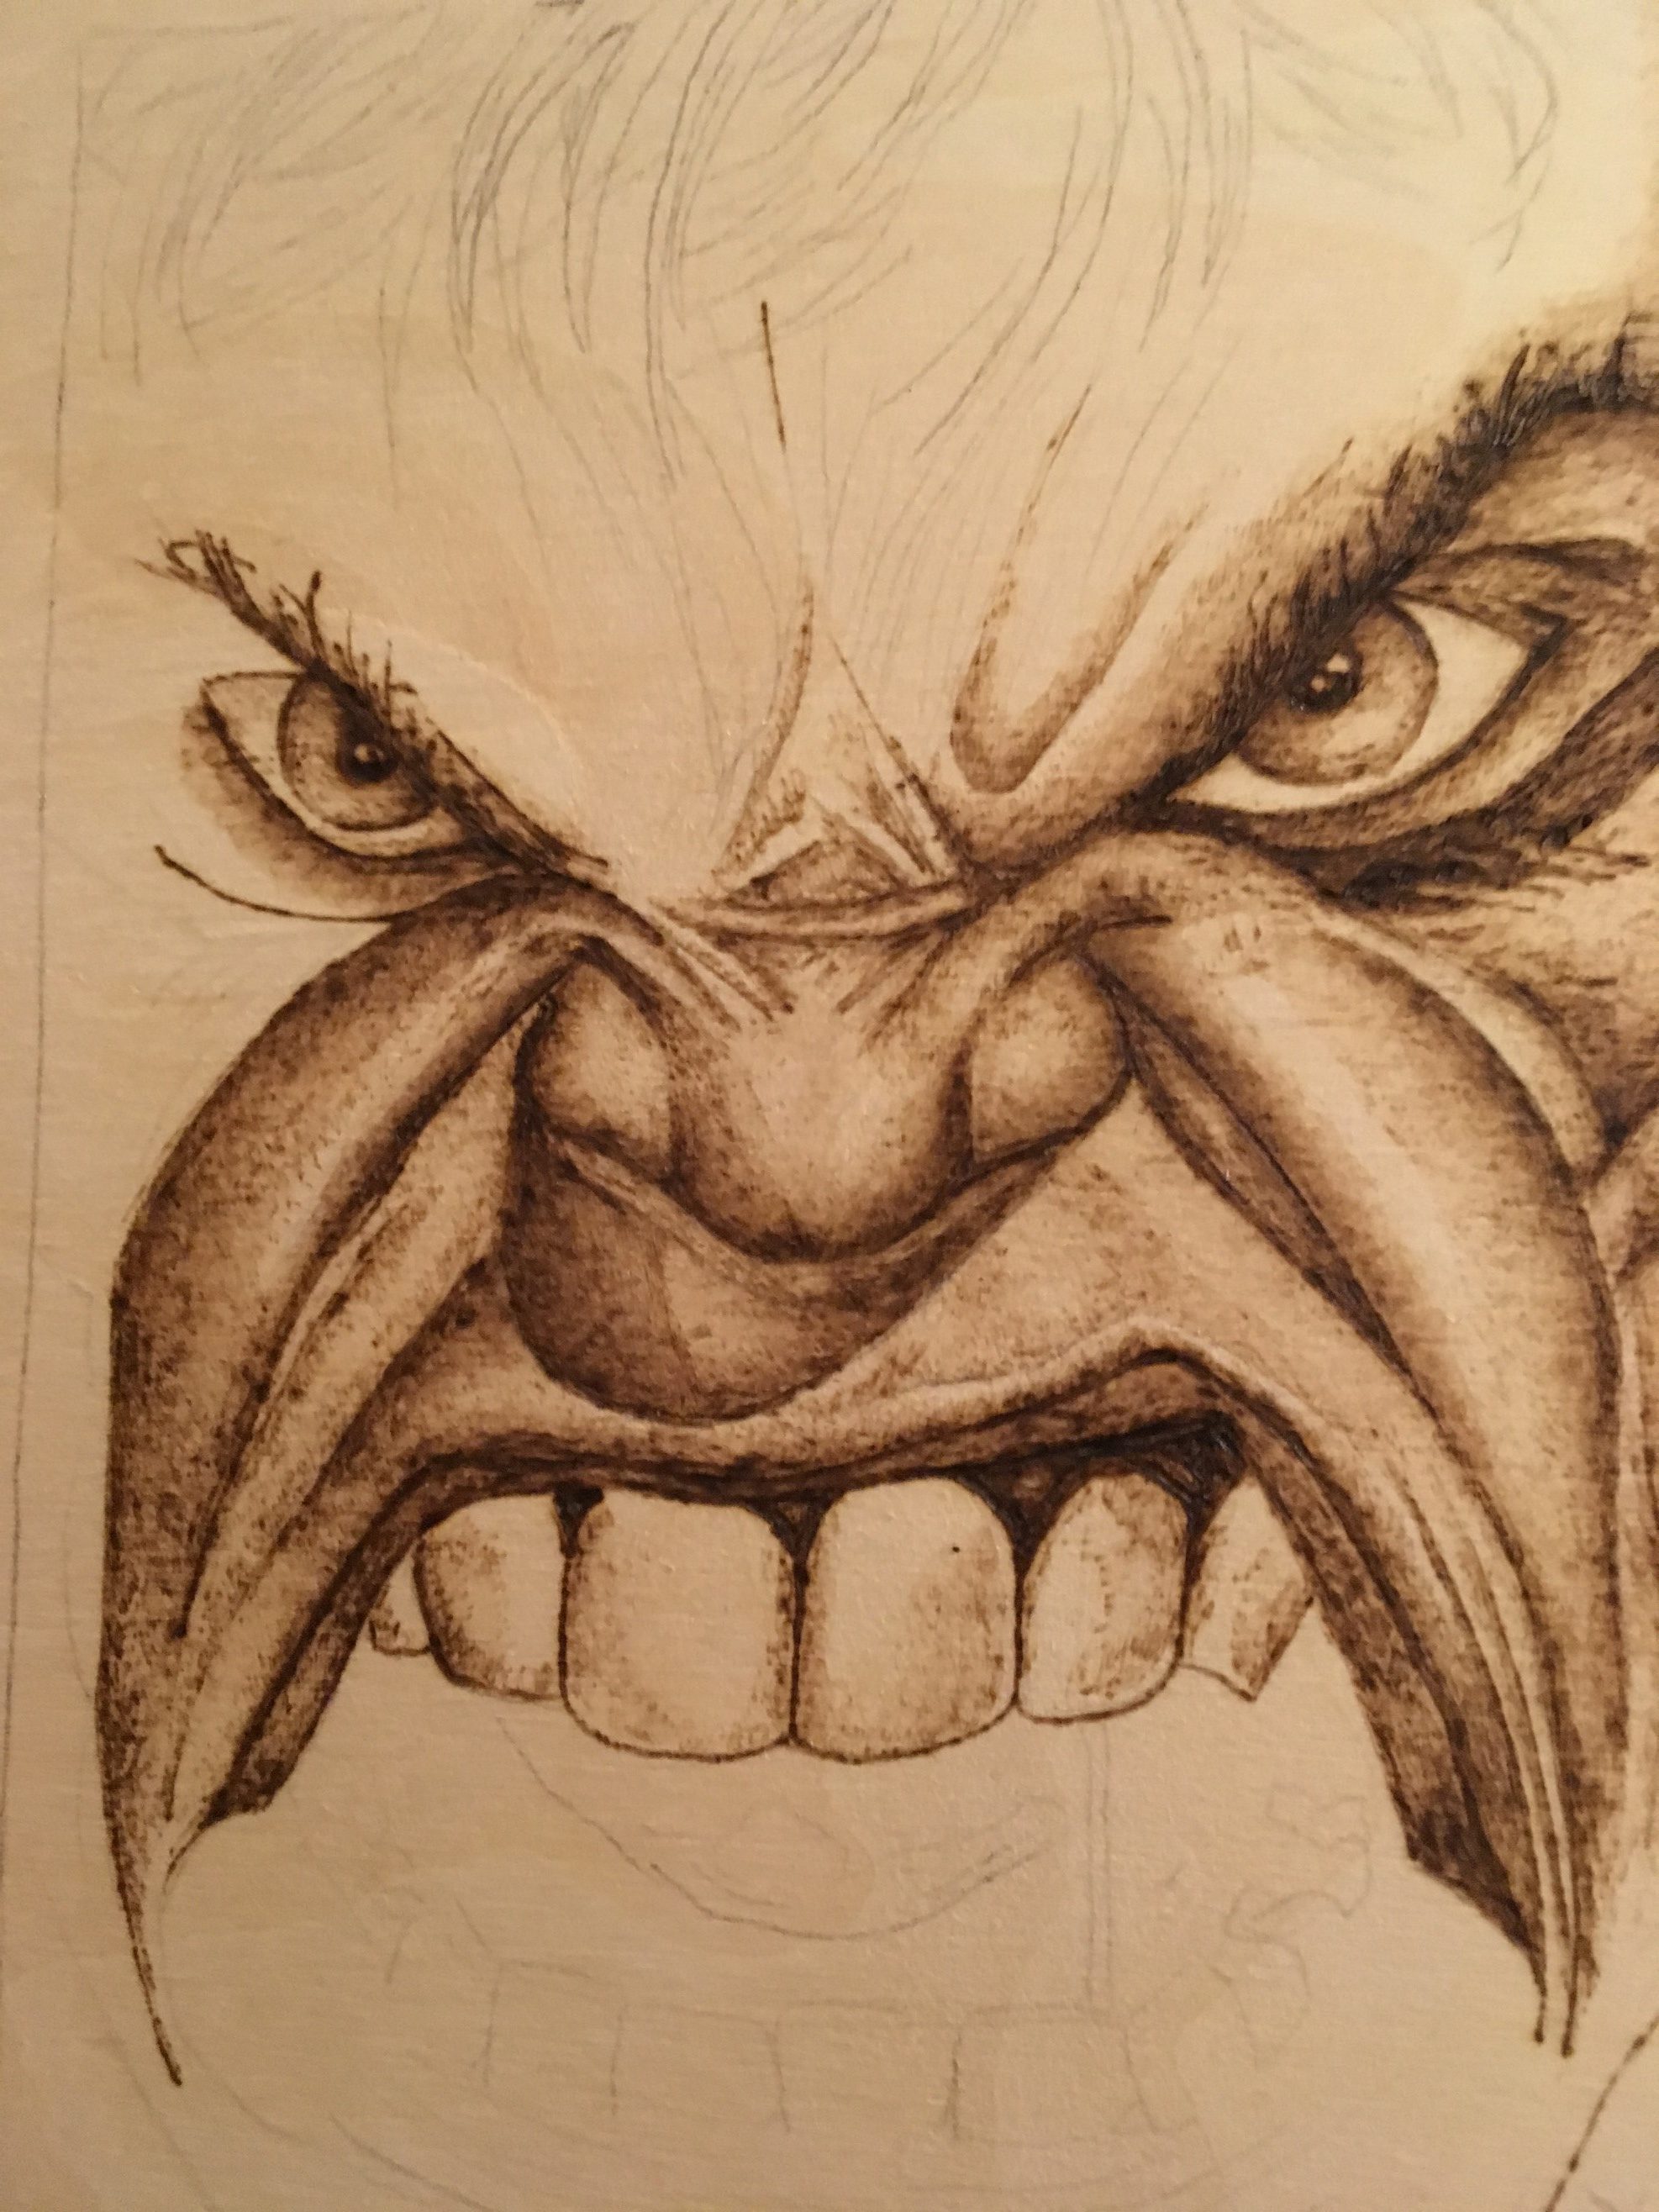 |
When shading, you don’t want your dark value to be too similar of a shade to your lighter value. Sometimes, it helps to practice shading on paper with a pencil first. This can help you get a feel of how to transition from dark to light values.
When burning, move your pen in a slow, even motion. Add layers to your burning to give it depth. Increase your burner from a low temperature to a medium low temperature to the areas needing a darker value.
 |
 |
 |
 |

I hope these tips will help you master the art of shading. Practice frequently and find what works for you. Experiment with the different tips that are provided with your pyrography pen. Different tips may help assist you with your technique. Most importantly, take your time. This is not an easy thing to do if you are not familiar with this skill.
If you have any questions regarding this technique or anything about pyrography shading, please leave them in the comments below and I’ll get back to it as soon as possible.
Good luck and see you next time.
Andrea Pate
[…] To make your image pop, I recommend burning the background. You can make the background a solid dark burn or you can do some light shading (for shading tips, check out my tutorial Shading Technique). […]
Hi Andrea. Is the tip shown the one you like for the shading? I just ordered your pen that you are holding. Want to do a basswood guitar and I’m having a hard time shading. I’m a pretty good artist, but this is throwing me. I guess you have to have the patience of Jobe!
Hello Bert,
I do use the tip that was shown in the photos. It does take more time to burn using this tip for that particular technique however, it’s just my personal preference. I do recommend using alternate tips to do a darker, more even shade. I have created a guide with several examples of the various tips available along with the best techniques to maximize their usage. Click on the attached link to access this guide. Please do not hesitate to reach out to me with any other questions. I wish you the best of luck!
https://truart.co/free-manual-download-for-60w-wood-burner/
[…] When burning fine, delicate lines into your wood, be careful not to press too hard. This will create a splotchy, uneven image. Also, don’t start burning with your pen at a high temperature, start low and work your way up so your strokes don’t run outside of your design ( for more how to instructions see Shading Technique in Pyrography). […]
[…] the patterns completed, I began the shading process (please see previous post for shading instructions). If this technique is too difficult, you can always fill in the empty […]
[…] Once everything has been transferred, start your shading process. I started in the nasal cavity. Be aware of where light will hit and cast shadows. I started working on the darker end and slowly lightened my shading as I moved up. This is not an easy skill to master. For shading tips, please view my shading tutorial here. […]