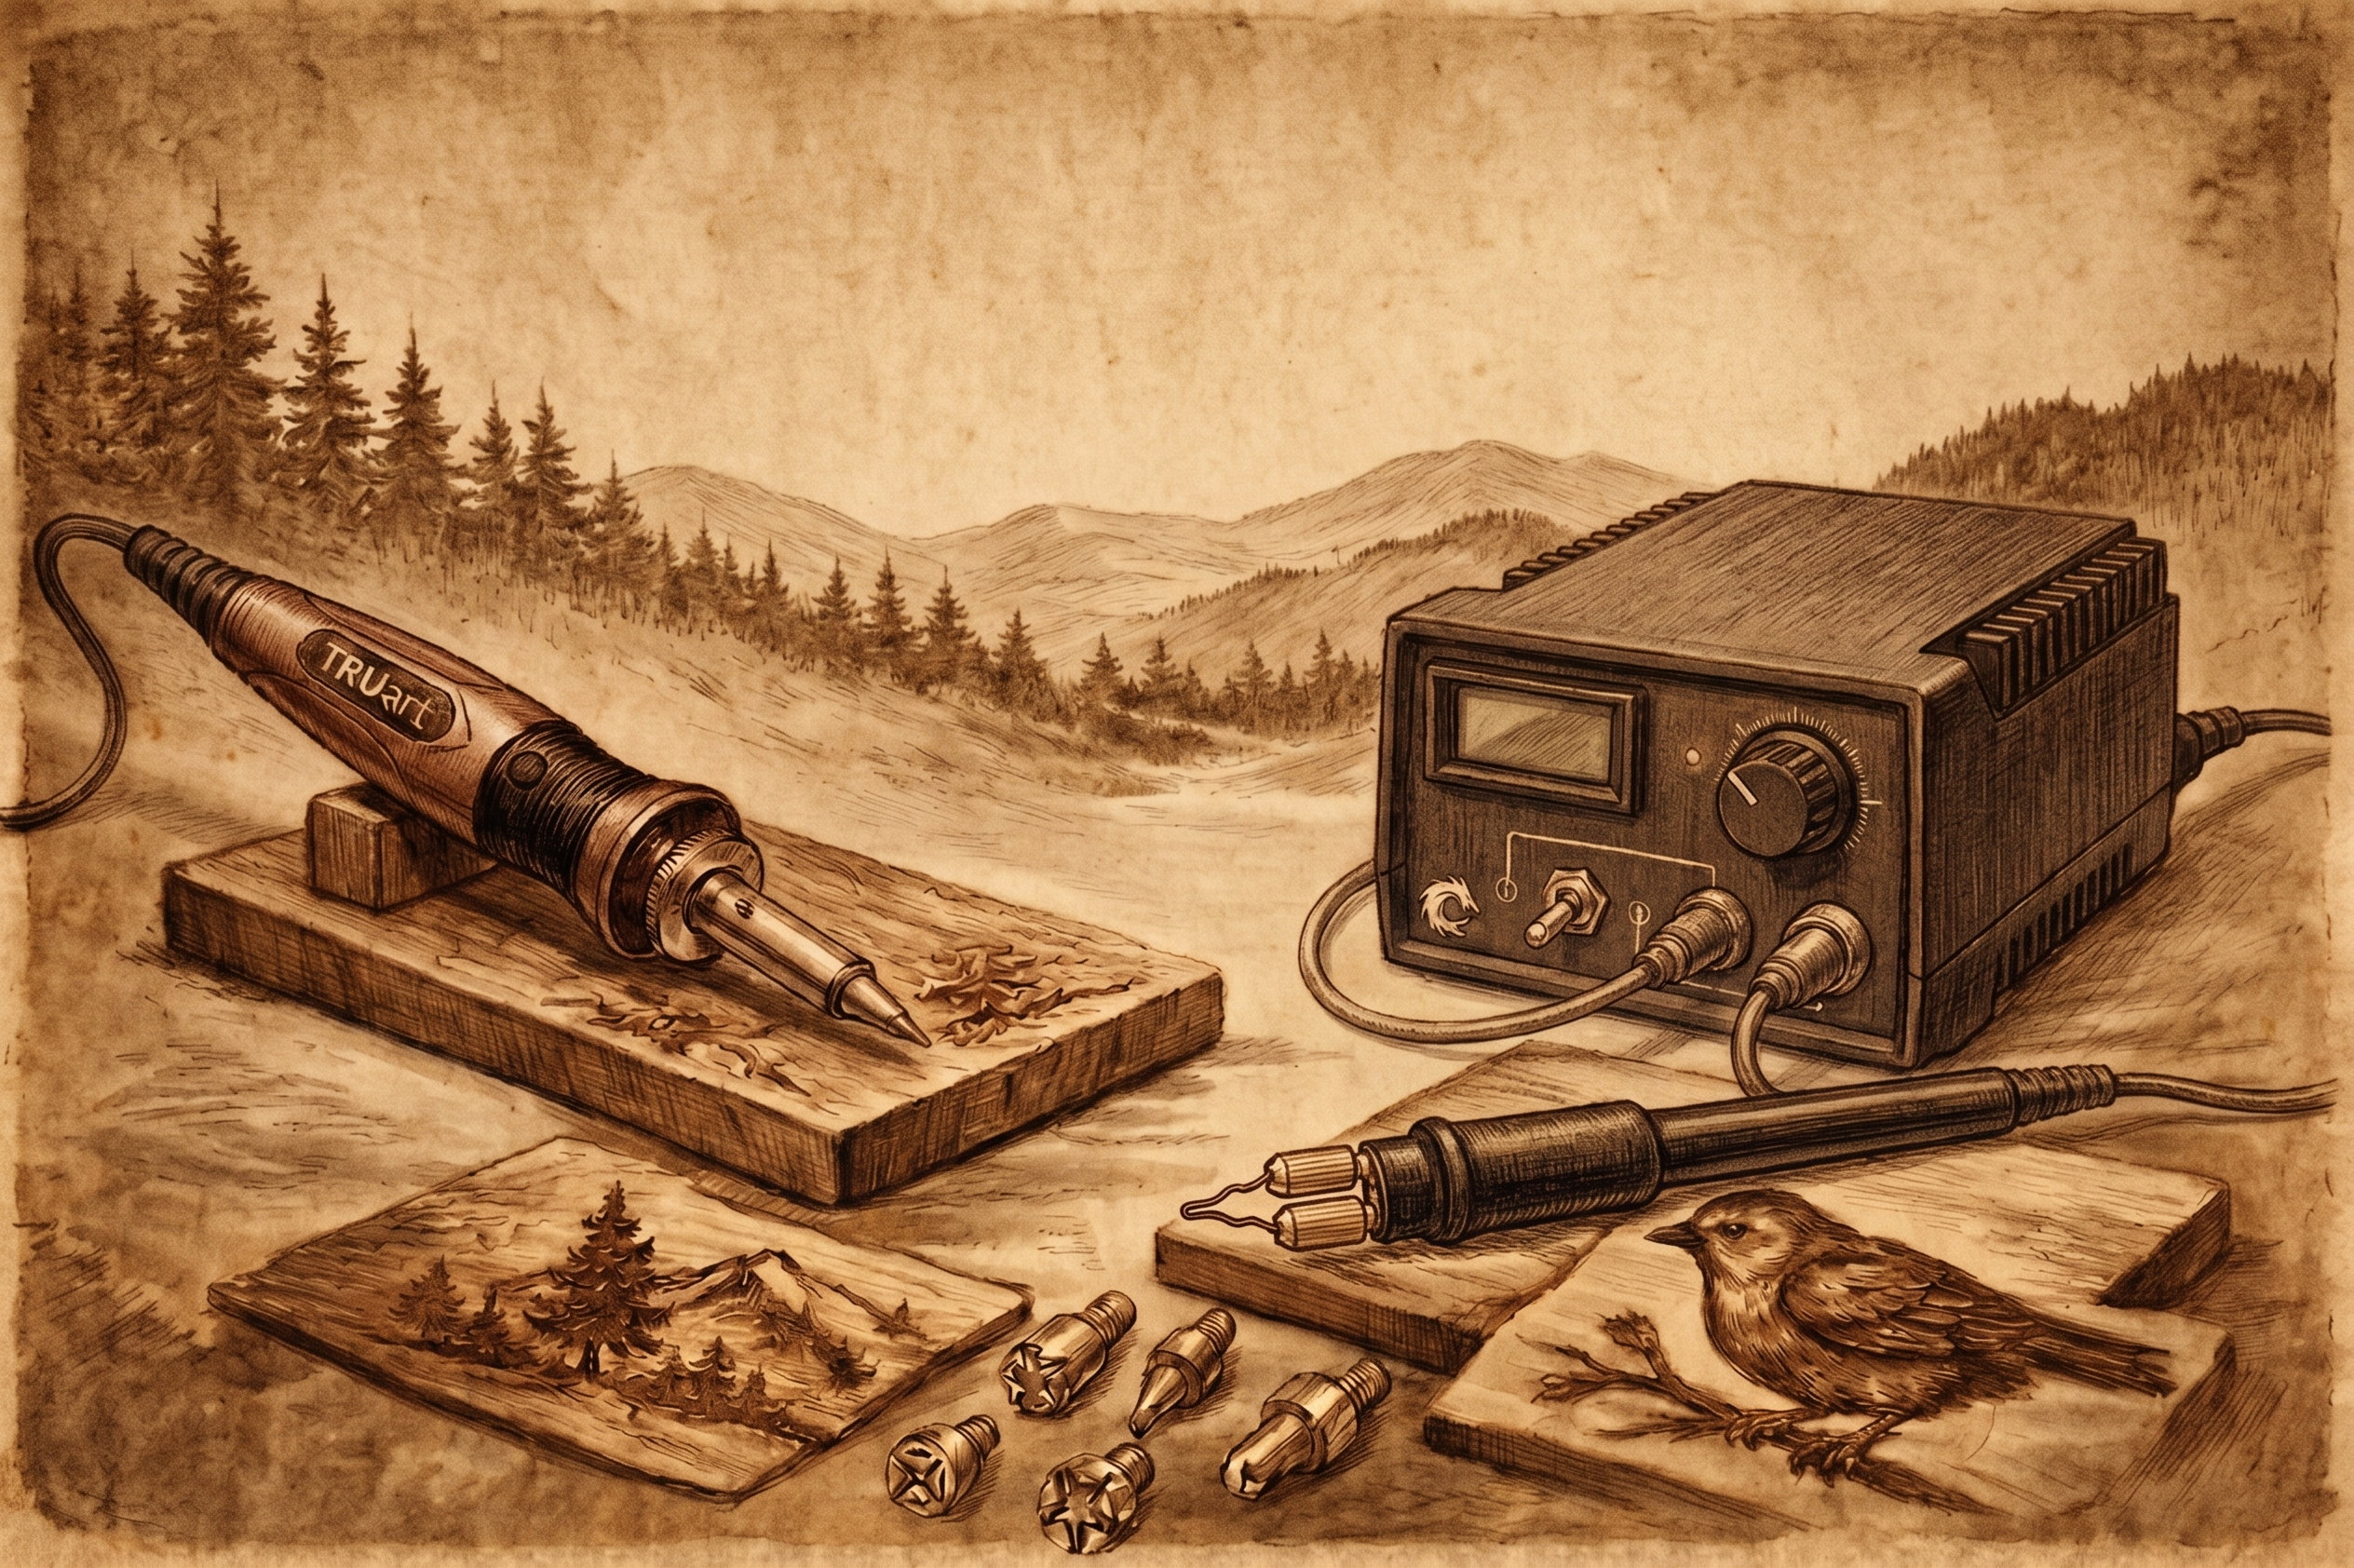
A digital temperature control pyrography pen gives you something a basic fixed-heat tool cannot: repeatable heat. Instead of adjusting your hand speed to compensate for a pen that runs too hot or too cool, you can set the output for the wood, leather, tip shape, and effect you want. That control makes a visible difference when a project moves from simple outlines to fur, feathers, lettering, portraits, or layered shading.
For a first-time maker, digital control can shorten the trial-and-error phase. For an experienced artist, it can make detailed work faster and more consistent across a long session. The right setup is not automatically the highest-powered one, though. It should match the type of work you want to create and leave room for your skills to grow.
What Digital Temperature Control Changes
Heat is one of the main variables in pyrography. The other two are tip choice and speed. When the temperature stays consistent, you can better predict how a line or shaded area will develop. A hot setting combined with a slow pass creates a deeper, darker mark. A lower setting or quicker pass produces a lighter result. Once the heat is stable, your hand movement becomes a creative choice rather than a constant correction.
Digital controls are especially useful when working across different natural, unfinished surfaces. Softer woods often accept a mark quickly, while denser woods may need more heat or a slower stroke. Leather also responds differently from wood and benefits from a careful test on a scrap piece first. A precise temperature setting lets you make small adjustments instead of jumping between broad, unpredictable heat levels.
This is also where a professional-style wire-nib detailer differs from a solid-tip craft pen. Fine wire nibs heat quickly and respond quickly when you change the setting. That responsiveness supports delicate textures, controlled gradients, and crisp details. Solid-tip tools remain a practical choice for beginners, bold lettering, and general hobby projects, but their tips retain more heat and can feel less immediate in highly detailed work.
Choosing a Digital Temperature Control Pyrography Pen
Start with the kind of marks you want to make most often. If you are learning basic line work, decorative signs, simple ornaments, or rustic designs, an entry-level woodburning kit may be the right place to begin. A complete kit with a comfortable pen, several brass tips, a stand, and useful accessories gives you room to practice without overcomplicating the setup.
If your goal is realistic wildlife, portrait work, fine calligraphy, detailed leather designs, or subtle background shading, a higher-output detailer is worth considering. A 60W system with digital temperature control is designed for serious pyrography work, with the reserve power needed to keep a fine nib performing as you work. The benefit is not simply hotter heat. It is controlled heat that supports a wider range of marks.
Look at the full tool system rather than the control box alone. A good purchase decision includes the pen configuration, compatible tips, comfort of the handpiece, included pen holder, replacement availability, and whether the kit supports the projects you actually plan to make. A large accessory count is helpful when it includes useful tip shapes, but a smaller selection of quality tips can be better than a crowded case of shapes you will never use.
Single-Pen or Dual-Pen System?
A single-pen detailer is a focused choice for artists who work through one tip at a time. It is straightforward, takes up less space, and gives you the precision needed for a wide range of projects. It also makes sense if you are still discovering which nib shapes fit your style.
A dual-pen system is built for workflow. You can keep one pen fitted with a writing or spear tip for lines while a second pen holds a shader, spoon, or ball tip for tonal work. That reduces cooling time and tip changes during detailed projects. It is particularly useful for artists who regularly switch between fine outlines and broad shading.
There is a trade-off. Dual-pen equipment is a larger investment, and it delivers its best value when you genuinely use two tip profiles during the same session. If most of your work is simple monogramming or bold sign lettering, a single pen and a thoughtfully chosen tip set may serve you better.
Heat Range Is Only Part of the Story
Temperature numbers matter, but they do not tell the whole story. The working feel of a pen depends on the power supply, nib material, nib gauge, tip shape, cord flexibility, and the surface being burned. A heavy shader transfers heat differently from a fine writing tip, even at the same setting.
That is why test marks are part of a reliable process. Before beginning a finished piece, use a scrap from the same unfinished wood or a similar piece of natural vegetable-tanned leather. Try several settings and strokes. Make a small reference strip with light, medium, and dark marks. This takes only a few minutes, and it gives you a practical heat map for the project in front of you.
Match Tips to the Marks You Need
A digital tool performs best when paired with the right tip. For simple projects, a universal point, rounded shader, and lettering tip can cover a lot of ground. As your work becomes more detailed, premium wire nibs offer more specialized control.
Fine writing and spear-style tips are useful for clean outlines, hair, veins, and small lettering. Shader tips create smooth tonal transitions and background areas. Ball tips can add controlled texture, while knife and skew-style nibs can make sharp lines or patterned strokes. The goal is not to collect every available shape. Choose tips that reduce strain and help you create your most common marks with fewer repeated passes.
Tip care also affects performance. Let the pen cool fully before changing a nib, and keep tips clean according to the tool instructions. Residue can interfere with heat transfer and leave uneven marks. Store cooled tips where their fine points will not be bent or damaged.
A Better Workflow for Cleaner Results
Digital heat control is most effective when your process is organized. Transfer or lightly sketch your design before heating the pen. Set up on a stable, heat-safe work surface with clear space around the control unit and cord. Keep the handpiece in its proper metal or ceramic stand whenever it is not in your hand.
Begin with the lowest practical setting for the mark you need. It is easier to deepen a burn with another pass than to erase a line that became too dark too quickly. Work from lighter values to darker values, especially with portraits, landscapes, and realistic animal subjects. This protects highlights and gives your shading more dimension.
For line work, use a relaxed grip on the insulated handle and pull the pen in the direction that feels most natural. Avoid forcing the nib into the surface. A properly heated tip should glide with light pressure. If you need to press hard, adjust the heat slightly, slow your pace, or reconsider the tip shape.
For shading, think in layers rather than one dark pass. Use overlapping strokes, gentle circular movement, or controlled sweeps depending on the nib. Let each layer establish the value gradually. This approach can keep wood grain from becoming distracting and helps preserve a more even finish.
Common Problems Digital Control Can Solve
When marks are scorching too fast, lower the temperature before changing your technique. If the tip drags or leaves faint, scratchy lines, raise the setting in small increments or move more slowly. If a broad shader creates streaks, reduce the heat a little and build the tone in multiple passes.
Uneven results are not always a temperature issue. Wood grain, moisture variation, and surface preparation can all change how a burn develops. Sand unfinished wood evenly before transferring a design, then test your settings on a scrap piece. For leather, make sure the material is suitable for pyrography and test an inconspicuous scrap before committing to the finished design.
A digital display should support your judgment, not replace it. The same setting can look different on two pieces of wood. Your test marks, hand speed, and chosen nib remain part of the equation.
When It Is Time to Step Up
You may be ready for a digital detailer when you are spending more time correcting inconsistent marks than creating, when your projects need finer shading, or when tip changes interrupt your momentum. Serious hobbyists often find that controlled heat makes practice more rewarding because the results better reflect the technique they are trying to learn.
TRUArt’s Stage 2 detailers are designed for makers who want that next level of precision, with digital temperature control, professional-style pens, and tip options that support refined work. A complete system can help you spend less time piecing together compatible parts and more time building skill.
Choose the tool that fits your next project, not just your current comfort zone. With a steady setting, a well-matched tip, and a few test marks on scrap material, every practice board can become a more confident step toward the work you want to make.