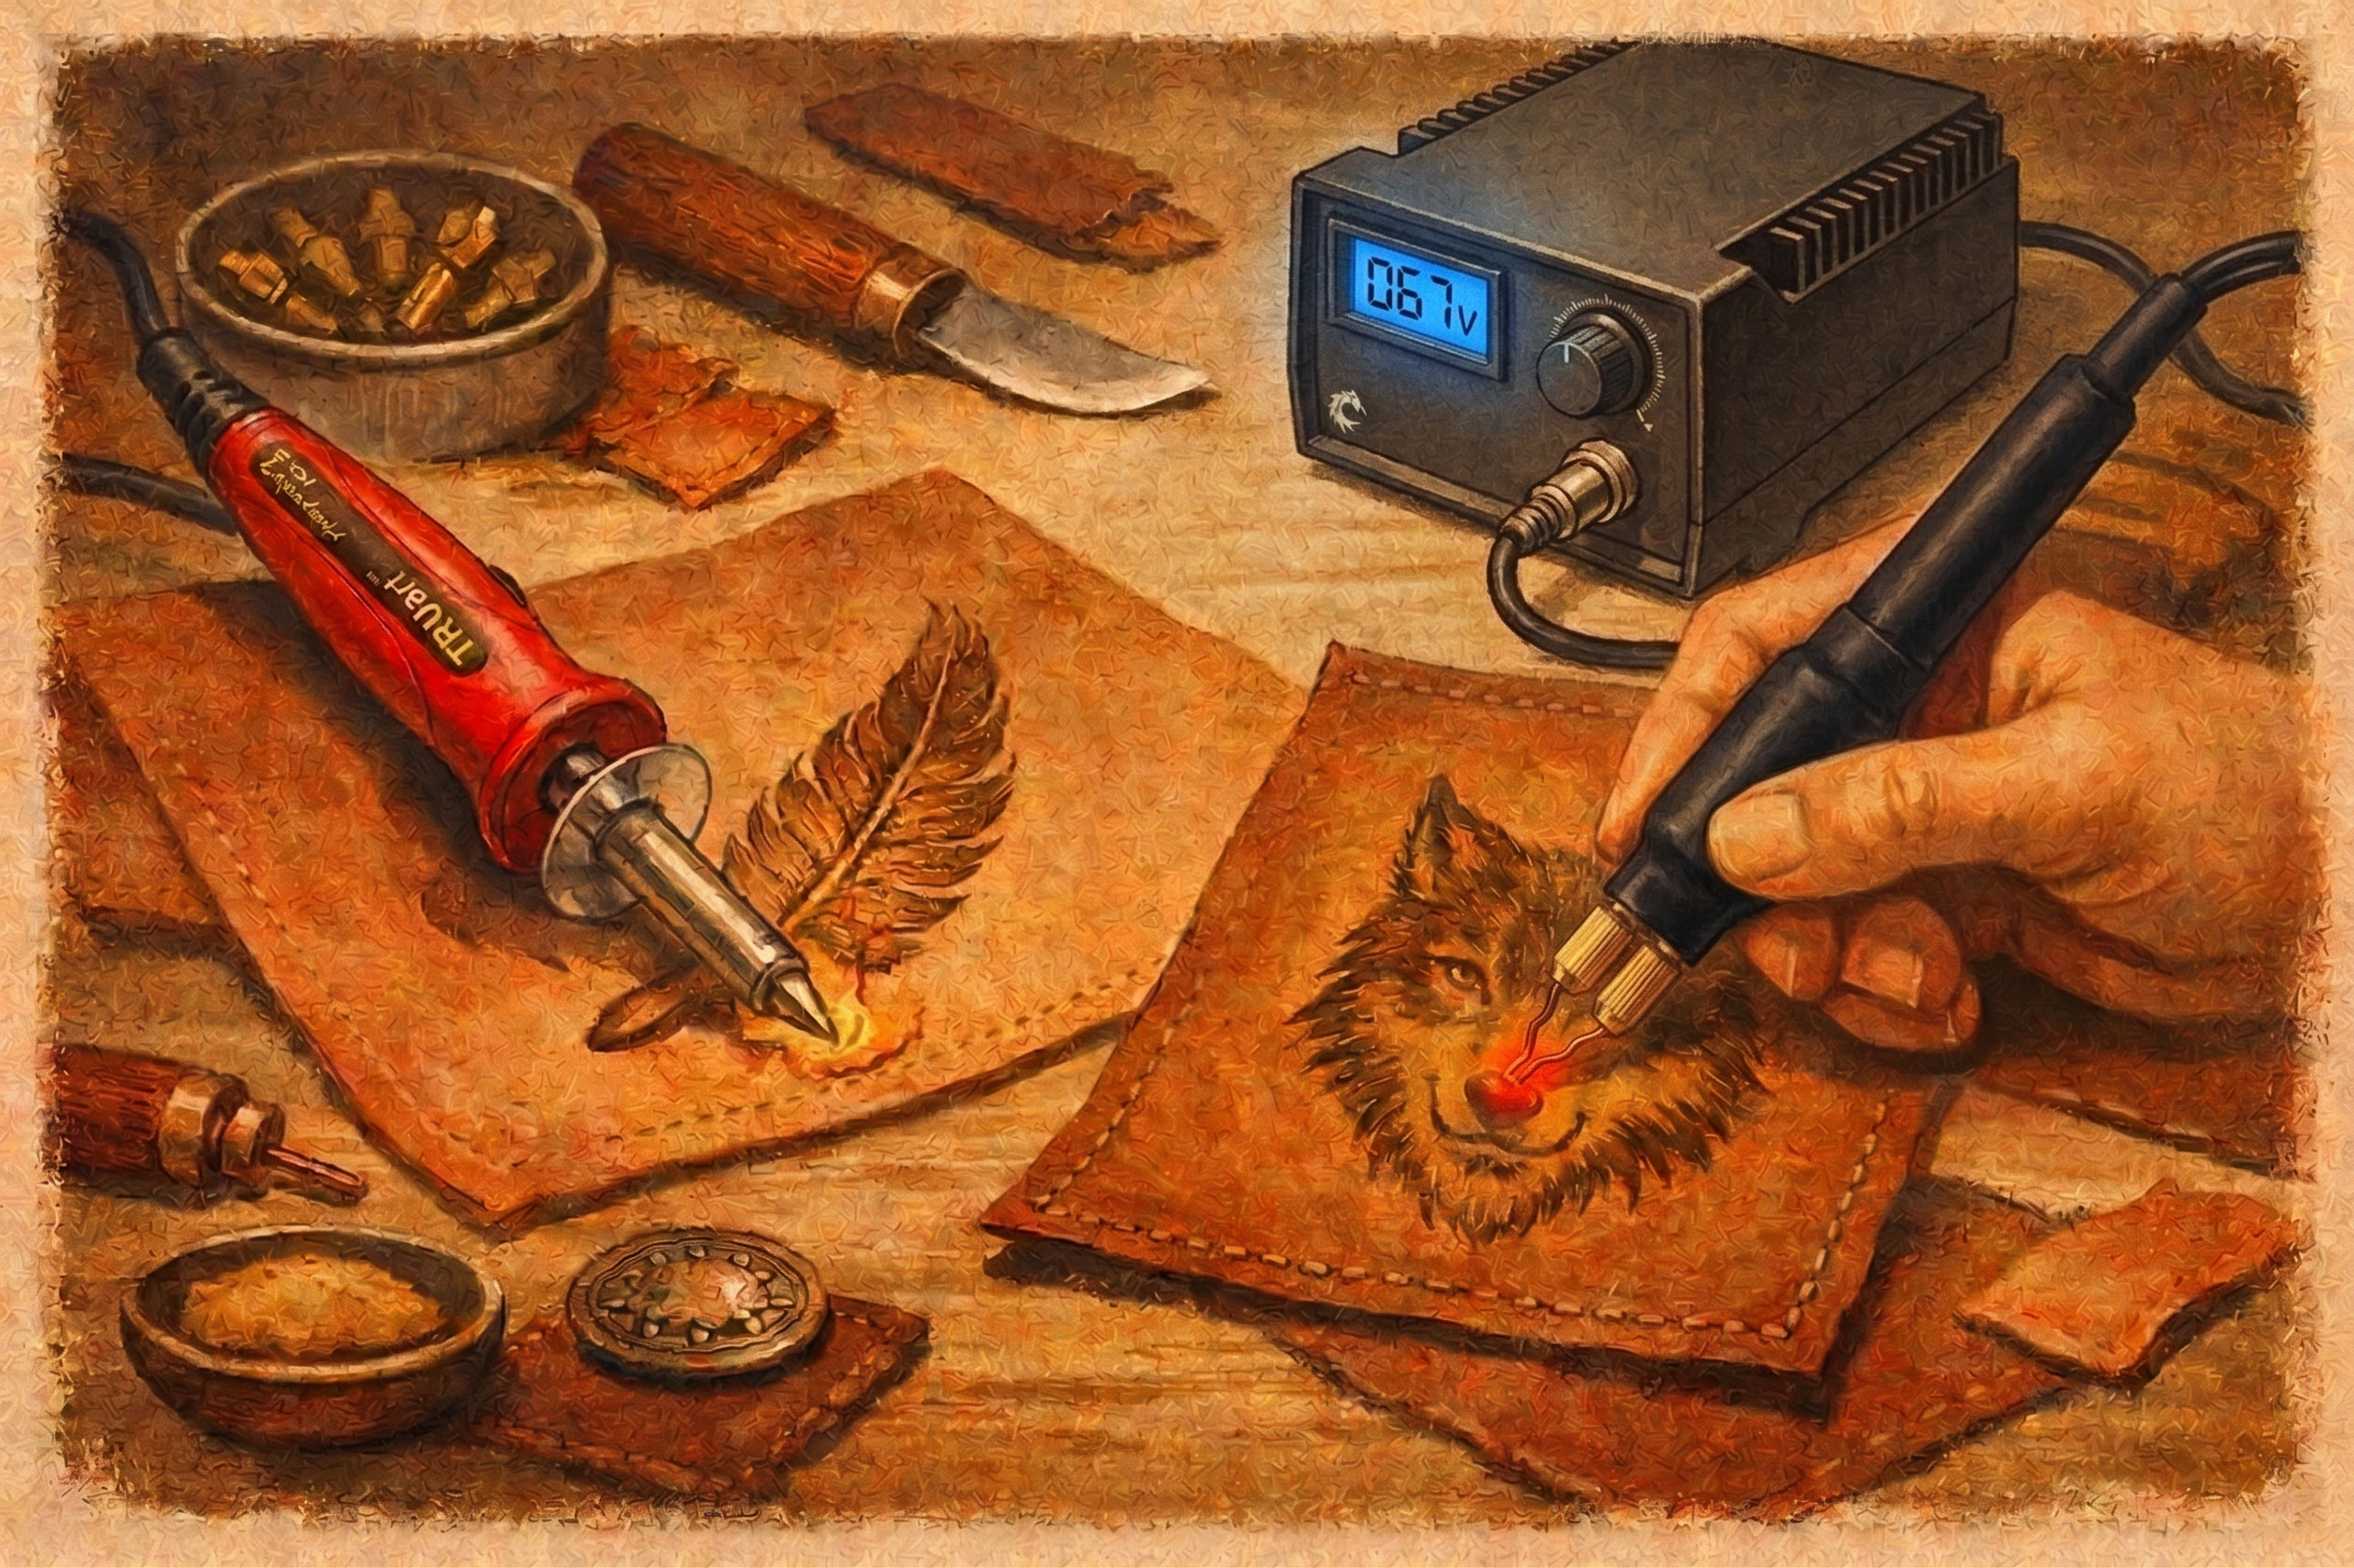
A crisp monogram on a wallet, a shaded floral panel on a journal cover, or a custom patch for a bag all start with the same decision: choosing a wood burning kit for leather that gives you control rather than just heat. Leather responds quickly, and it does not leave much room for correcting a line that is too dark, too wide, or accidentally scorched.
For most makers, the right tool depends less on the size of the project and more on the kind of marks they want to make. A simple nameplate has different demands than layered wildlife art, fine lettering, or repeated production work. Start with your material, your preferred style, and the level of heat control you need to work confidently.
What Makes Leather Burning Different
Leather burning, often called pyrography on leather, is best done on clean, natural vegetable-tanned leather. This surface accepts heat in a predictable way, allowing you to create dark outlines, soft shading, textures, borders, and lettering. Different hides, thicknesses, and finishes can react differently, so a scrap from the same piece is your best place to test before beginning the final design.
Unlike wood grain, leather has a smoother and more uniform surface. That can make detail work feel approachable, but it also means every hesitation is visible. Hold the pen steadily, move at a consistent pace, and let the heated tip create the mark. Pressing hard is not a substitute for proper temperature.
Heat, dwell time, and tip shape work together. Higher heat or a slower pass produces a darker mark. A lower setting and a faster hand produce lighter tones. Once you understand that relationship, leather becomes a highly expressive surface for custom accessories, keepsakes, and art panels.
Choosing a Wood Burning Kit for Leather
The best wood burning kit for leather is one that matches your current skill level while leaving enough room to grow. A beginner does not need every specialty tip on day one, but a kit should include the essentials needed to practice lines, letters, borders, and basic shading.
A Stage 1 style kit is a practical starting point for hobbyists. A 15W or 30W pen with interchangeable brass tips can handle introductory leather projects well, especially when you are building hand control and learning which tip shapes suit your designs. Look for a comfortable pen body, a stable pen stand, a useful tip selection, and a case that keeps your tools organized between projects.
Serious artists and frequent makers may outgrow a basic solid-point tool. A higher-output detailer with adjustable or digital temperature control offers more consistent results across different leather weights and project sizes. It also gives you the freedom to work with fine wire-style nibs designed for specific tasks, such as delicate outlining, broad shading, feathers, fur textures, or script lettering.
More wattage is not automatically better. The benefit of a professional 60W system is controlled, responsive heat, not simply burning at the highest setting. On leather, too much heat can create a harsh, overly dark mark before you have time to shape it. The goal is a tool that responds precisely to your hand and your chosen tip.
Start With the Tips You Will Actually Use
Tip variety matters because one point cannot do every job well. A small set of versatile tips is more useful than a large collection you never take out of the case.
For leather projects, a fine point is helpful for outlines, signatures, small lettering, and tiny accents. A shader creates gradual tonal areas in petals, leaves, backgrounds, and portrait work. A rounded or ball-style tip is useful for soft texture and decorative dots, while a flat or knife-style tip can create borders, clean strokes, and selective shading.
Interchangeable brass tips are an accessible option for many beginner kits. They are effective for stamping, lettering, and simple decorative work. Premium detailing tips on a variable-temperature system give experienced artists more flexibility because the tip shape, heat setting, and hand speed can be tuned for a specific effect.
Do not switch tips while the pen is hot. Allow the tool to cool fully first, then use the appropriate tip-changing tool if your kit includes one. Keeping tips clean and properly seated helps maintain consistent heat transfer and more predictable marks.
Heat Control Is the Feature That Builds Confidence
If you plan to burn leather regularly, temperature control is one of the most valuable features to consider. A fixed-temperature pen can teach you fundamental technique, but it asks you to manage darkness mostly through speed and pressure. That is workable for simple projects, yet it can become limiting as your designs become more detailed.
Adjustable temperature gives you a wider creative range. You can lower the heat for pale shading and controlled lettering, then increase it when a bolder outline or deeper contrast is needed. Digital temperature control is especially useful when you want repeatable results across a multi-piece project, such as a matching set of coasters, key fobs, or leather tags.
Test your setting before touching the finished piece. Make a few strokes on scrap leather, using the same tip, angle, and pace you intend to use in the design. This small step saves material and helps you identify the heat level that produces the color you want.
Match the Tool to Your Project Workflow
A compact pen kit is easy to bring to a worktable for an evening project. It is a good fit for occasional makers, personalized gifts, and beginners who want a clear introduction to pyrography without a complicated setup.
A professional detailer makes more sense when you spend extended sessions on artwork, take custom orders, or need refined control for intricate designs. Single-pen systems are excellent for focused work. Dual-pen systems can improve efficiency when you regularly alternate between two nibs, such as an outlining tip and a shader, without stopping to cool and change the pen.
Consider replacement parts and accessories, too. Tips are working components, and having the right shapes available keeps your projects moving. A dependable holder or metal or ceramic stand gives the hot pen a designated resting place. Stencils can speed up layout work, while unfinished practice pieces are useful for learning new patterns before committing to a final leather item.
TRUArt organizes its tools by skill level, making it easier to choose an approachable starter kit or step into a professional temperature-control system when your work calls for finer detail.
Set Up for Better Results
Your setup affects the quality of your work as much as your tool selection. Work on a stable, heat-safe surface in a well-ventilated area. Keep your leather flat and supported so it does not shift while you are outlining. Use the pen stand every time you pause, even if you only stop to reposition the project.
Good lighting is especially important for leather burning because subtle tonal changes can be hard to see until the surface cools. Position the light so it reveals the design without casting a shadow from your drawing hand. Keep scrap leather nearby for quick heat checks throughout the session.
Transfer your pattern lightly and begin with the least visible areas. That gives you a chance to settle into the tool before moving to the focal point of the design. For lettering, practice the word or monogram first. Letter spacing and stroke speed have a major effect on the finished look.
A Smart First Leather-Burning Project
Start with a project that teaches several core skills without requiring perfect realism. A small leather tag, bookmark, patch, or key fob is ideal. Choose a simple botanical outline, geometric border, initials, or a short word with open lettering.
Outline the design first using a fine tip and moderate heat. Then add a small amount of shading in one area rather than trying to shade the entire piece. This lets you compare light and dark values while keeping the design clean. A first project should build control, not test every technique at once.
As your hand becomes more consistent, experiment with layered shading, textures, and more varied tip shapes. Keep your early test pieces. They provide a useful record of how your control, line quality, and design choices improve over time.
The right kit does more than make marks on leather. It gives you a dependable way to turn a plain piece of material into something personal, useful, and unmistakably made by hand.