A tip can change the entire character of a burn. Swap a fine point for a shader and a delicate feather becomes a smooth shadow. Choose a rounded tip instead of a sharp one, and lettering can go from crisp to clumsy in a single stroke. Learning how to choose pyrography tips is less about collecting every shape available and more about matching the right contact surface, heat behavior, and tool system to the mark you want to make.
For a first project, a smaller selection is usually more useful than a crowded case of unfamiliar tips. As your skills grow, adding purpose-built tips gives you cleaner detail, faster coverage, and more control over the finished piece.
Start With the Mark You Want to Burn
Before choosing a tip, look at your design and identify its dominant marks. Fine outlines, broad shaded areas, handwritten names, fur texture, and repeating borders each call for a different working edge. A tip is not simply a decorative attachment. Its shape determines how much surface area touches the material, how heat transfers, and how easily you can steer the pen.
Fine-point tips are made for detail. Use them for controlled outlines, small curves, veins in leaves, whiskers, tiny lettering, and other narrow marks. Their small contact area helps create precise lines, but it also means they can burn deeply if you pause too long. They reward a lighter hand and steady movement.
Shading tips have a broader face that distributes heat across a larger area. They are the right choice for backgrounds, soft gradients, petals, skies, and dimensional form. A shader can cover more ground quickly, but it is not automatically easier to use. Smooth shading comes from consistent motion, deliberate overlap, and a heat setting that lets the tip glide instead of catching.
Writing tips are shaped to make lettering more natural. Depending on the design, they can create graceful script, bold block letters, or small decorative text. If personalization is the focus of your project, a writing tip is often more useful than several specialty shapes. It gives names, dates, and short messages a more intentional finish than trying to force every letter with a universal point.
Texture tips are best when the subject needs repeated marks. A spear or knife-style edge can suggest hair, feathers, grass, and grain. A ball tip can create dots, soft marks, and small accents. Patterned tips can be useful for borders and quick decorative effects, although they are less flexible than core detail and shading shapes.
The Essential Pyrography Tip Types
A capable starter setup does not need every tip style. Most makers can complete a wide range of woodburning projects with a small group of dependable shapes:
- Fine point tips handle outlines, small details, controlled curves, and fine lettering.
- Universal or cone tips offer a versatile edge for basic line work and beginner practice.
- Shader tips create broad fills, gradients, and soft transitions.
- Writing tips help with names, quotes, monograms, and decorative script.
- Spear, knife, or skew tips make directional texture, crisp edges, and expressive strokes.
Think of these as a working foundation, not a rulebook. A shader can create a bold edge when used on its side, while a fine point can add delicate texture. The best tip choice depends on the result you need, not the name printed on the package.
Match Tip Size to Your Design Scale
Tip size matters as much as tip shape. A large shader is efficient on a plaque, cutting board-style blank, or broad background, but it can overwhelm a small tag or ornament. A very fine point gives beautiful control on miniature work, yet it can make a large project slow and tiring.
Choose smaller tips when your design has tight curves, small lettering, detailed portraits, or close-together elements. Move up to wider tips for larger areas and bolder designs. If your project combines both, plan to change tips during the burn rather than asking one attachment to do every job.
This is one reason experienced artists keep multiple tips within reach. Tip changes are not a sign that a tool lacks versatility. They are how you give each part of a design the right treatment.
Choose Tips That Fit Your Burner System
Compatibility comes before style. Not every pyrography tip fits every pen, and forcing an attachment can damage threads, create poor contact, or leave you with an unstable working setup. Check your tool’s product specifications before adding replacement or specialty tips.
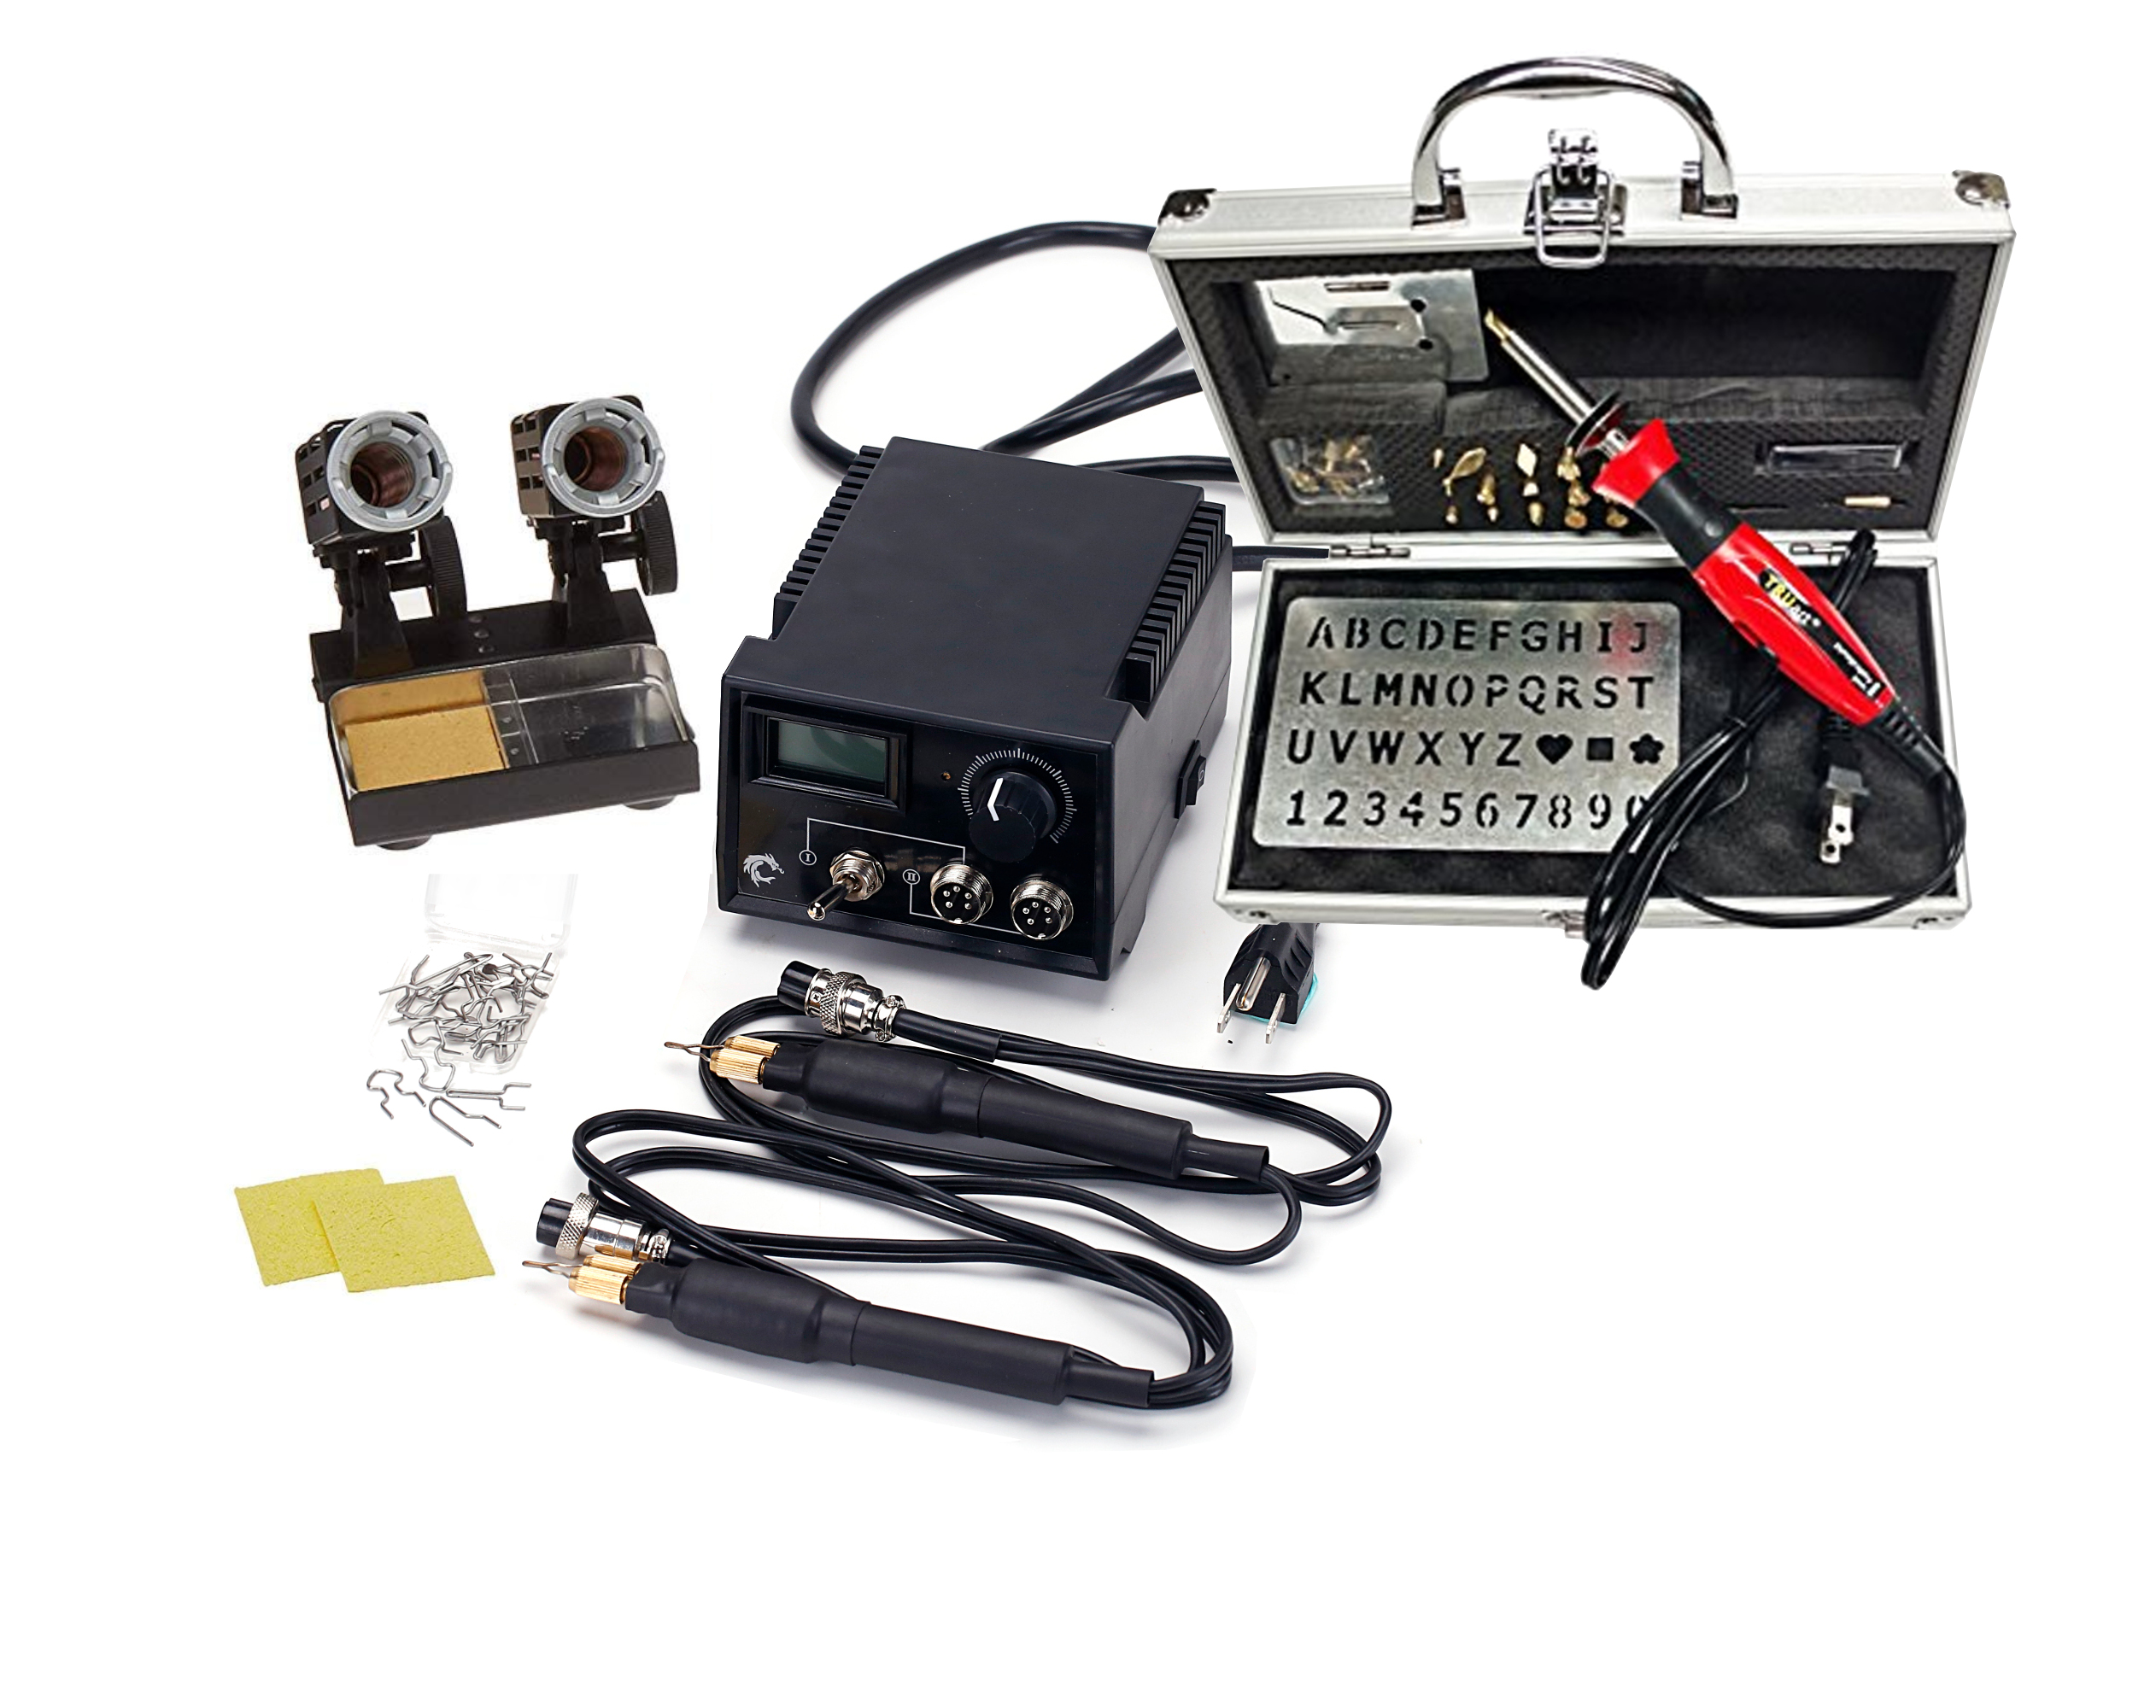
Solid brass tips are commonly used with interchangeable-tip woodburning pens. They are practical for hobbyists because they are easy to install and come in a broad variety of shapes. A 15W or 30W pen set can be an approachable choice for basic line work, lettering, simple shading, and learning how different tip profiles behave.
Professional wire-nib systems use a different approach. Rather than installing solid brass shapes, the artist works with formed wire tips that heat quickly and offer highly responsive control. On a higher-output tool with digital temperature control, premium detailing tips can make subtle shading, fine lines, and repeated textures easier to execute consistently. Dual-pen systems add efficiency when a project requires frequent switching between, for example, a detail point and a broad shader.
Do not assume a tip that looks similar is interchangeable. Match the tip type to the pen system it was designed for. If you are building a collection around a particular burner, choosing compatible tips from the beginning prevents wasted purchases and keeps your workflow simple.
Consider Heat Control Alongside Tip Shape
A tip does not work independently from your burner’s heat output. The same shader may produce a pale, slow-moving mark at one setting and a dark, fast mark at another. Higher heat is not always better. Too much heat can reduce your working time, make shading harder to control, and leave unwanted dark spots where the pen pauses.
For detailed work, use the lowest practical temperature that produces a clean mark at a comfortable pace. For broad shading, a slightly higher setting may help the tip move smoothly across the surface. The right setting also depends on the material, its density, and the depth of color you want.
Digital temperature control is especially valuable when repeatability matters. It lets you return to a useful setting after testing and makes it easier to develop a reliable approach for a favorite type of project. Still, even a controlled tool benefits from a quick test on a spare piece of the same unfinished material before you begin the final design.
Choose by Skill Level, Not Just by Ambition
Beginners often see specialty tips and assume more options will create better work. Usually, better results come from learning a few essential shapes well. A universal point, fine point, shader, and writing tip provide enough range to practice pressure, speed, line direction, and tonal variation without making selection feel overwhelming.
Once you can create even lines and controlled shading, specialty tips become more valuable. Add them when you can name the problem they solve. Perhaps you are making wildlife art and need a better feather texture. Maybe you sell personalized keepsakes and want lettering that looks cleaner at small sizes. Or you may be producing larger pieces where a wider shader saves meaningful time.
Serious artists should also consider workflow. If you regularly switch between fine detail and broad shading, a professional dual-pen setup can keep both tips ready at their preferred settings. That reduces interruption and helps preserve visual consistency across a detailed project.
Test Before You Commit to the Final Piece
Every new tip deserves a short practice session. Create a sample board with straight lines, curves, dots, light-to-dark shading, and a few letters. Try the tip at more than one heat setting and change your speed before changing your pressure. This shows you how the tip responds without risking your finished work.
Pay attention to what feels natural in your hand. A tip may be technically suited to a task yet feel awkward for your preferred grip or drawing style. Comfort matters because controlled pyrography depends on repeated, deliberate movement.
Keep your hot pen in a proper metal or ceramic stand whenever it is not in use, and allow tips to cool fully before changing or cleaning them. A clean tip also burns more predictably, so remove residue carefully with the method recommended for your specific tool and tip type.
Build a Tip Collection With a Purpose
The most useful tip collection grows with your projects. Start with shapes that cover line work, shading, and lettering. Then let your favorite subjects guide the next additions. A maker focused on monograms may prioritize writing tips; a landscape artist may add broader shaders and texture edges; a portrait artist may invest in fine detailing tips and precise heat control.
TRUArt’s Stage 1 and Stage 2 approach reflects that progression: begin with an accessible set that lets you practice core techniques, then move toward more refined tip choices and greater temperature control as your work demands it.
Your next tip should make a familiar task easier, cleaner, or more expressive. When it does, it is not just another accessory. It is a practical step toward work that looks more like the image you had in mind.