Posted on Leave a comment

Woodburning Workshop – The Giant Leap Towards Learning Pyrography!

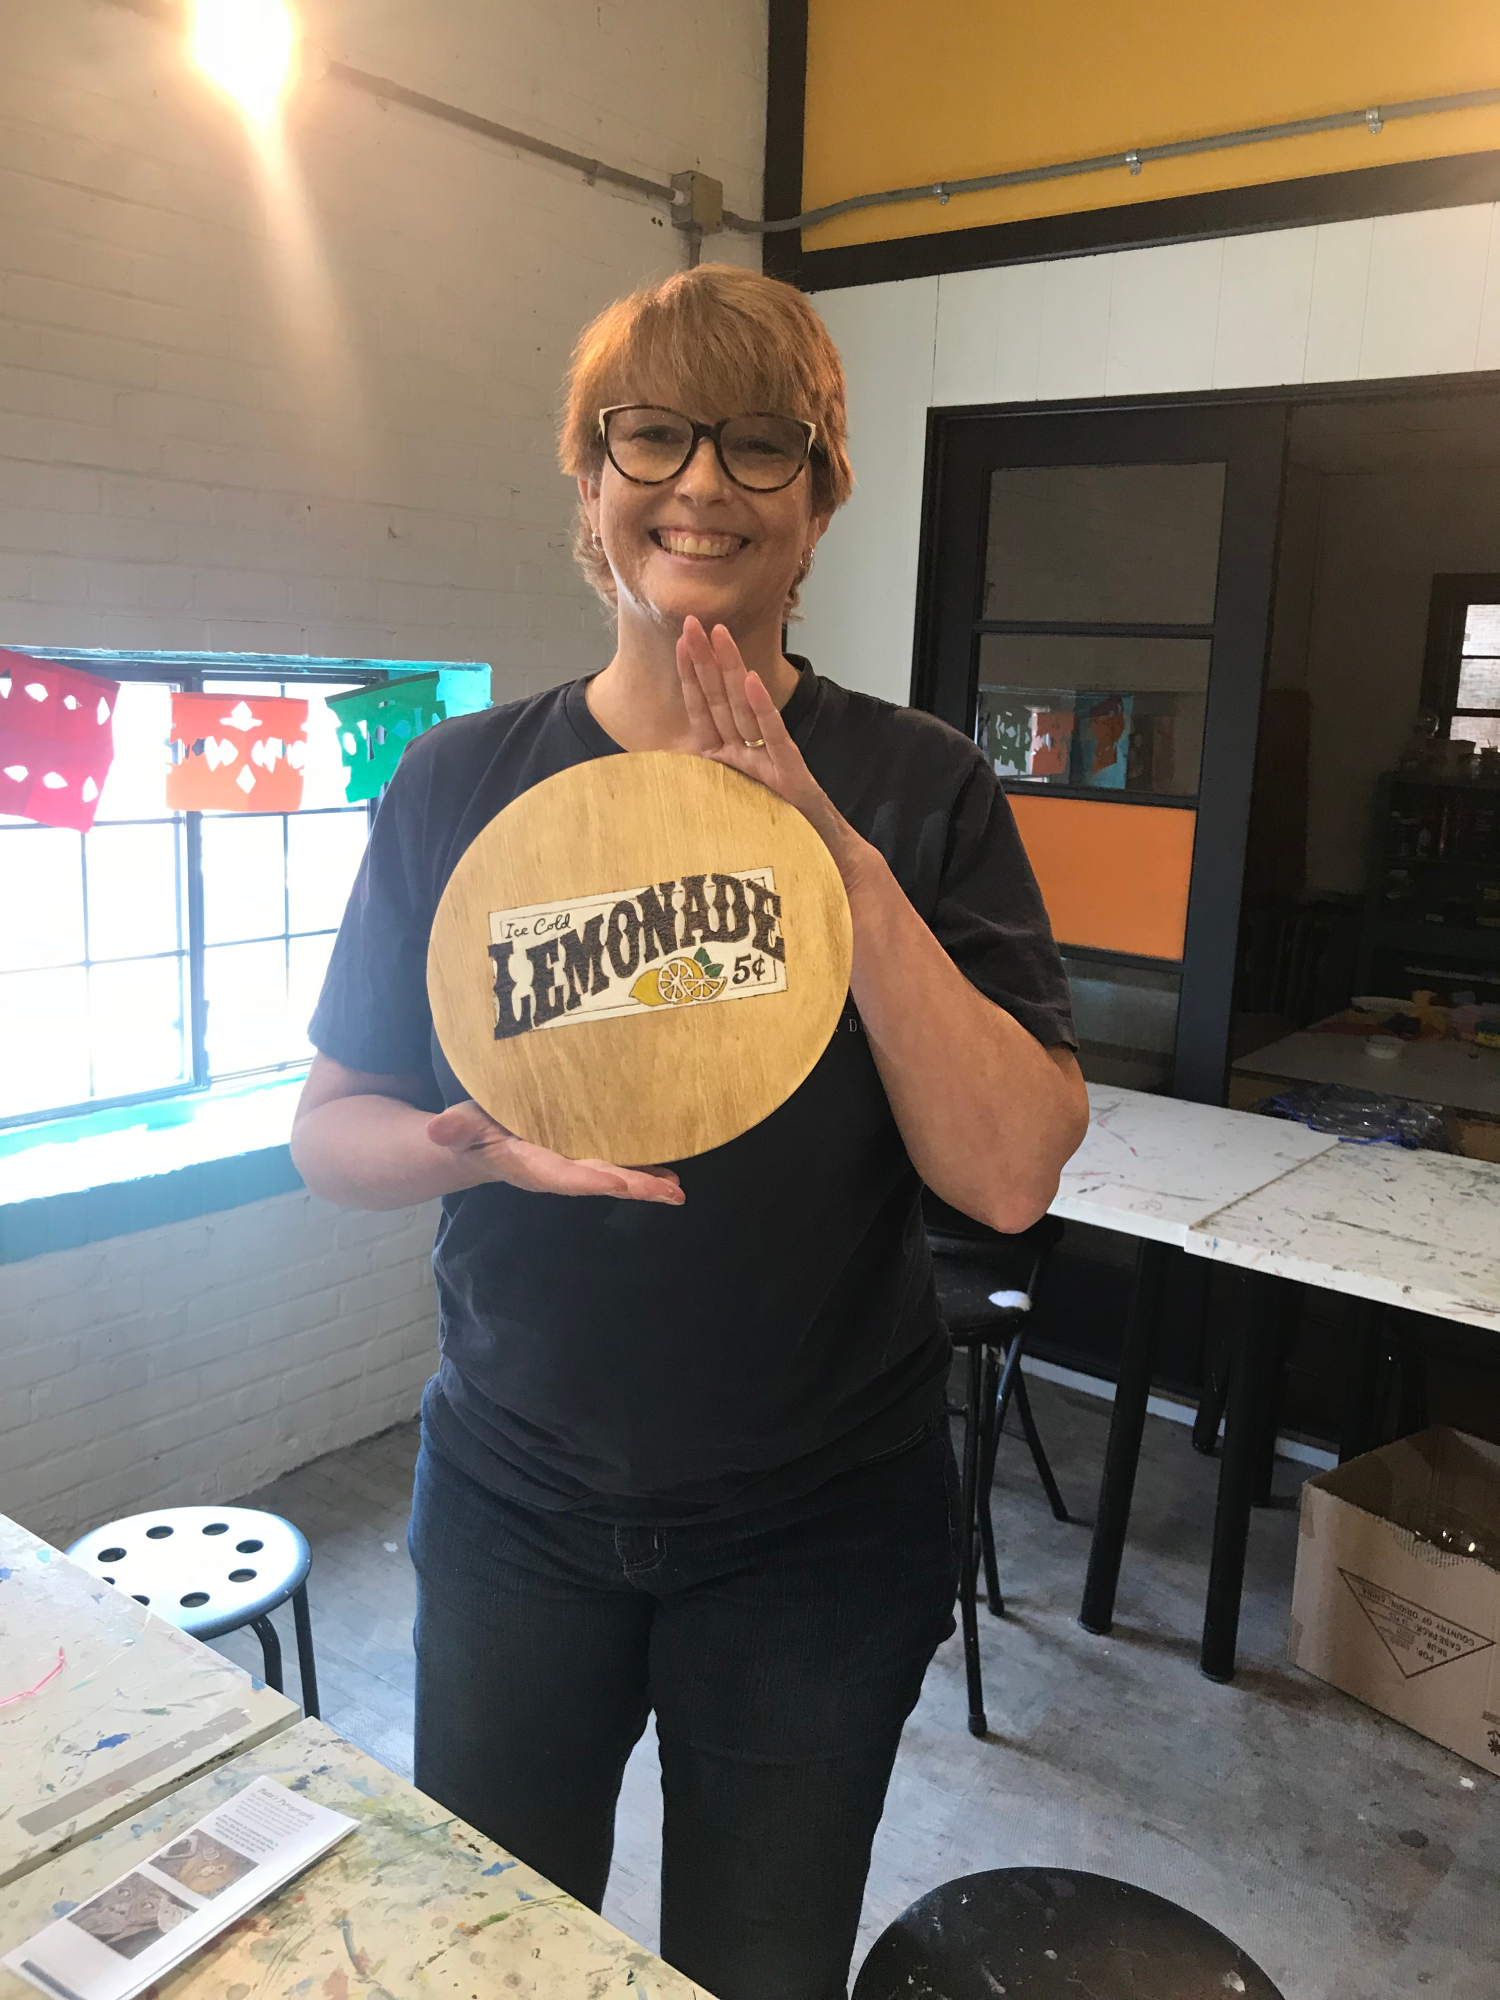
The TRUArt family extends its biggest “CONGRATULATIONS” to Andrea Pate for successfully hosting her first Pyrography Workshop at Stache Studios last August 18, 2018 and has effectively opened the doors to many budding artists looking for a unique and fun way to express their creativity!

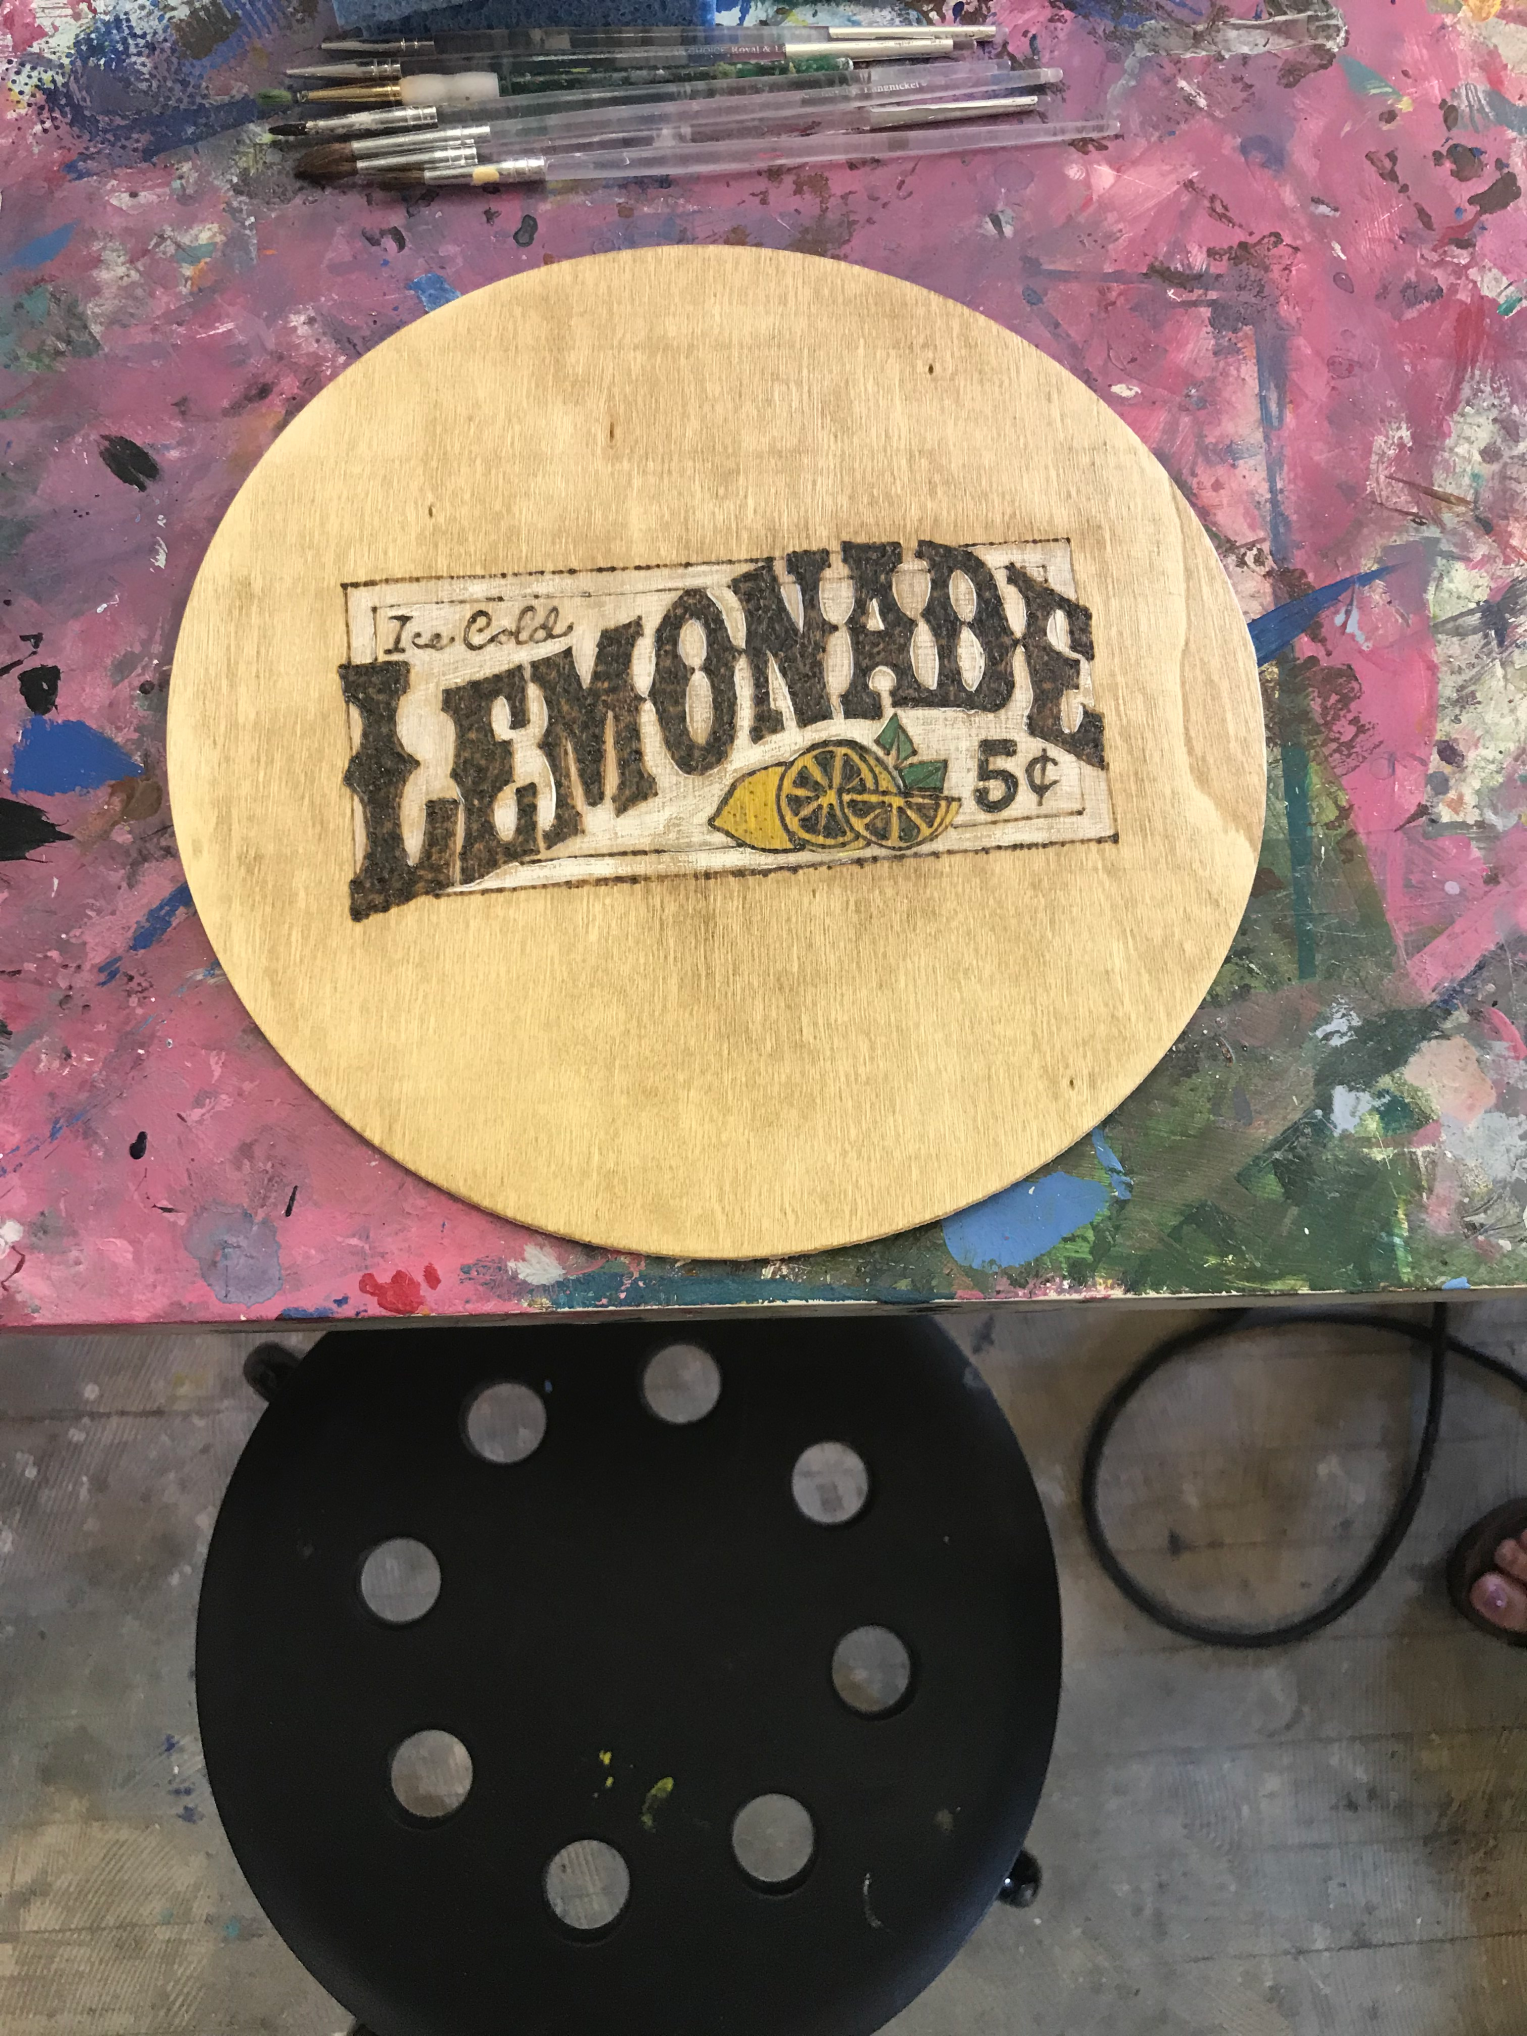
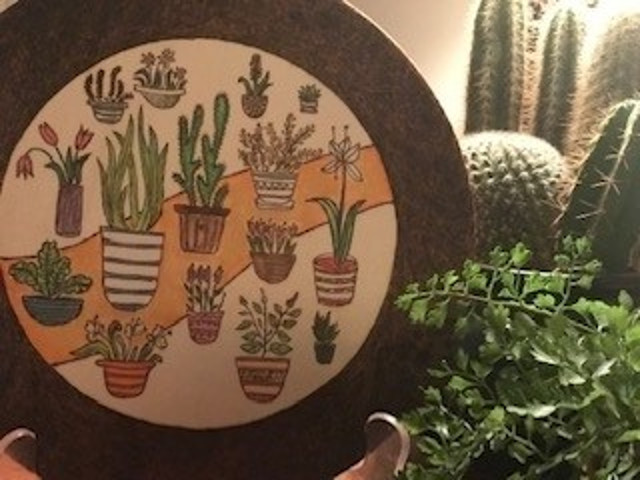
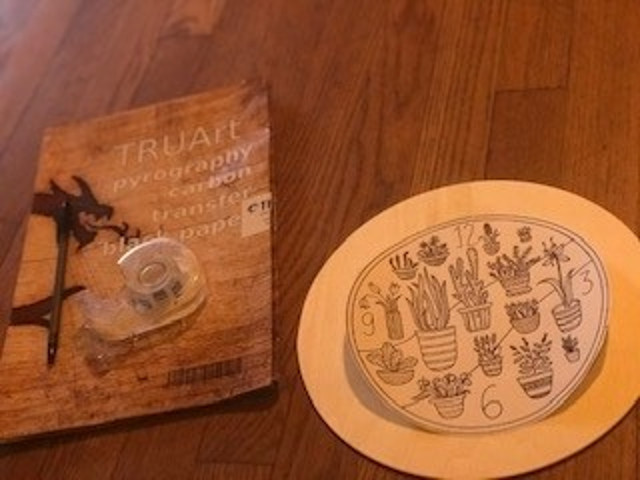
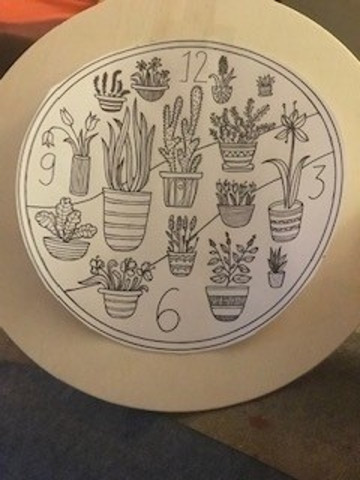
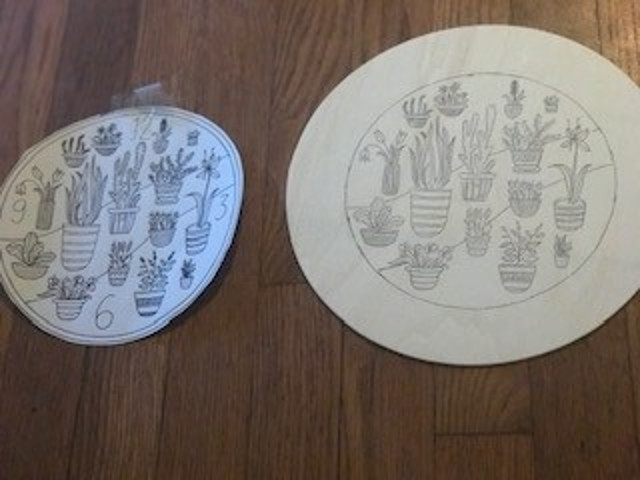
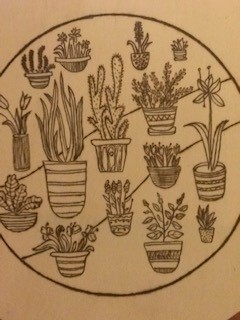
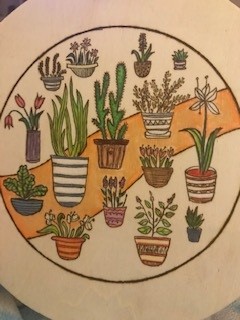
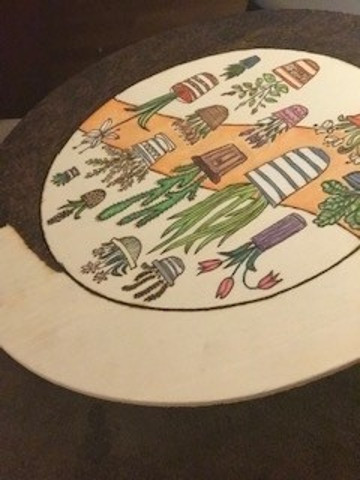
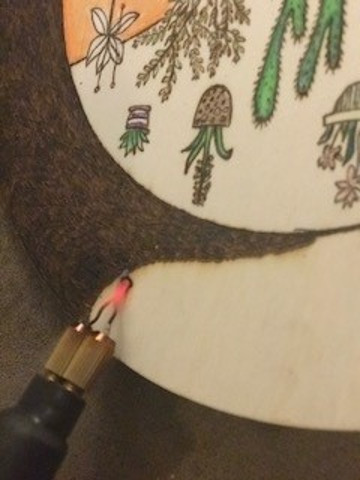
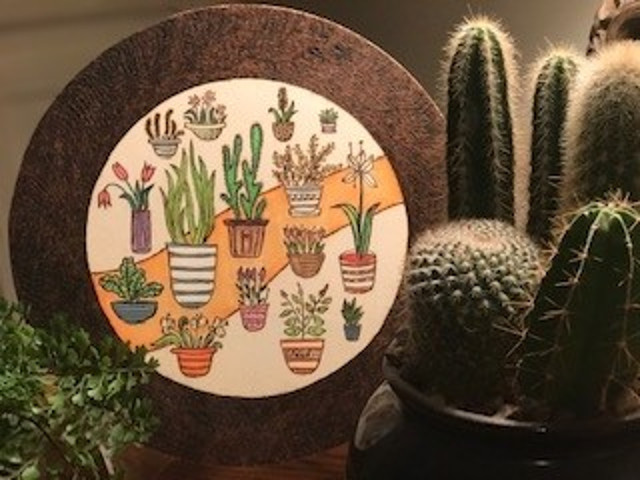
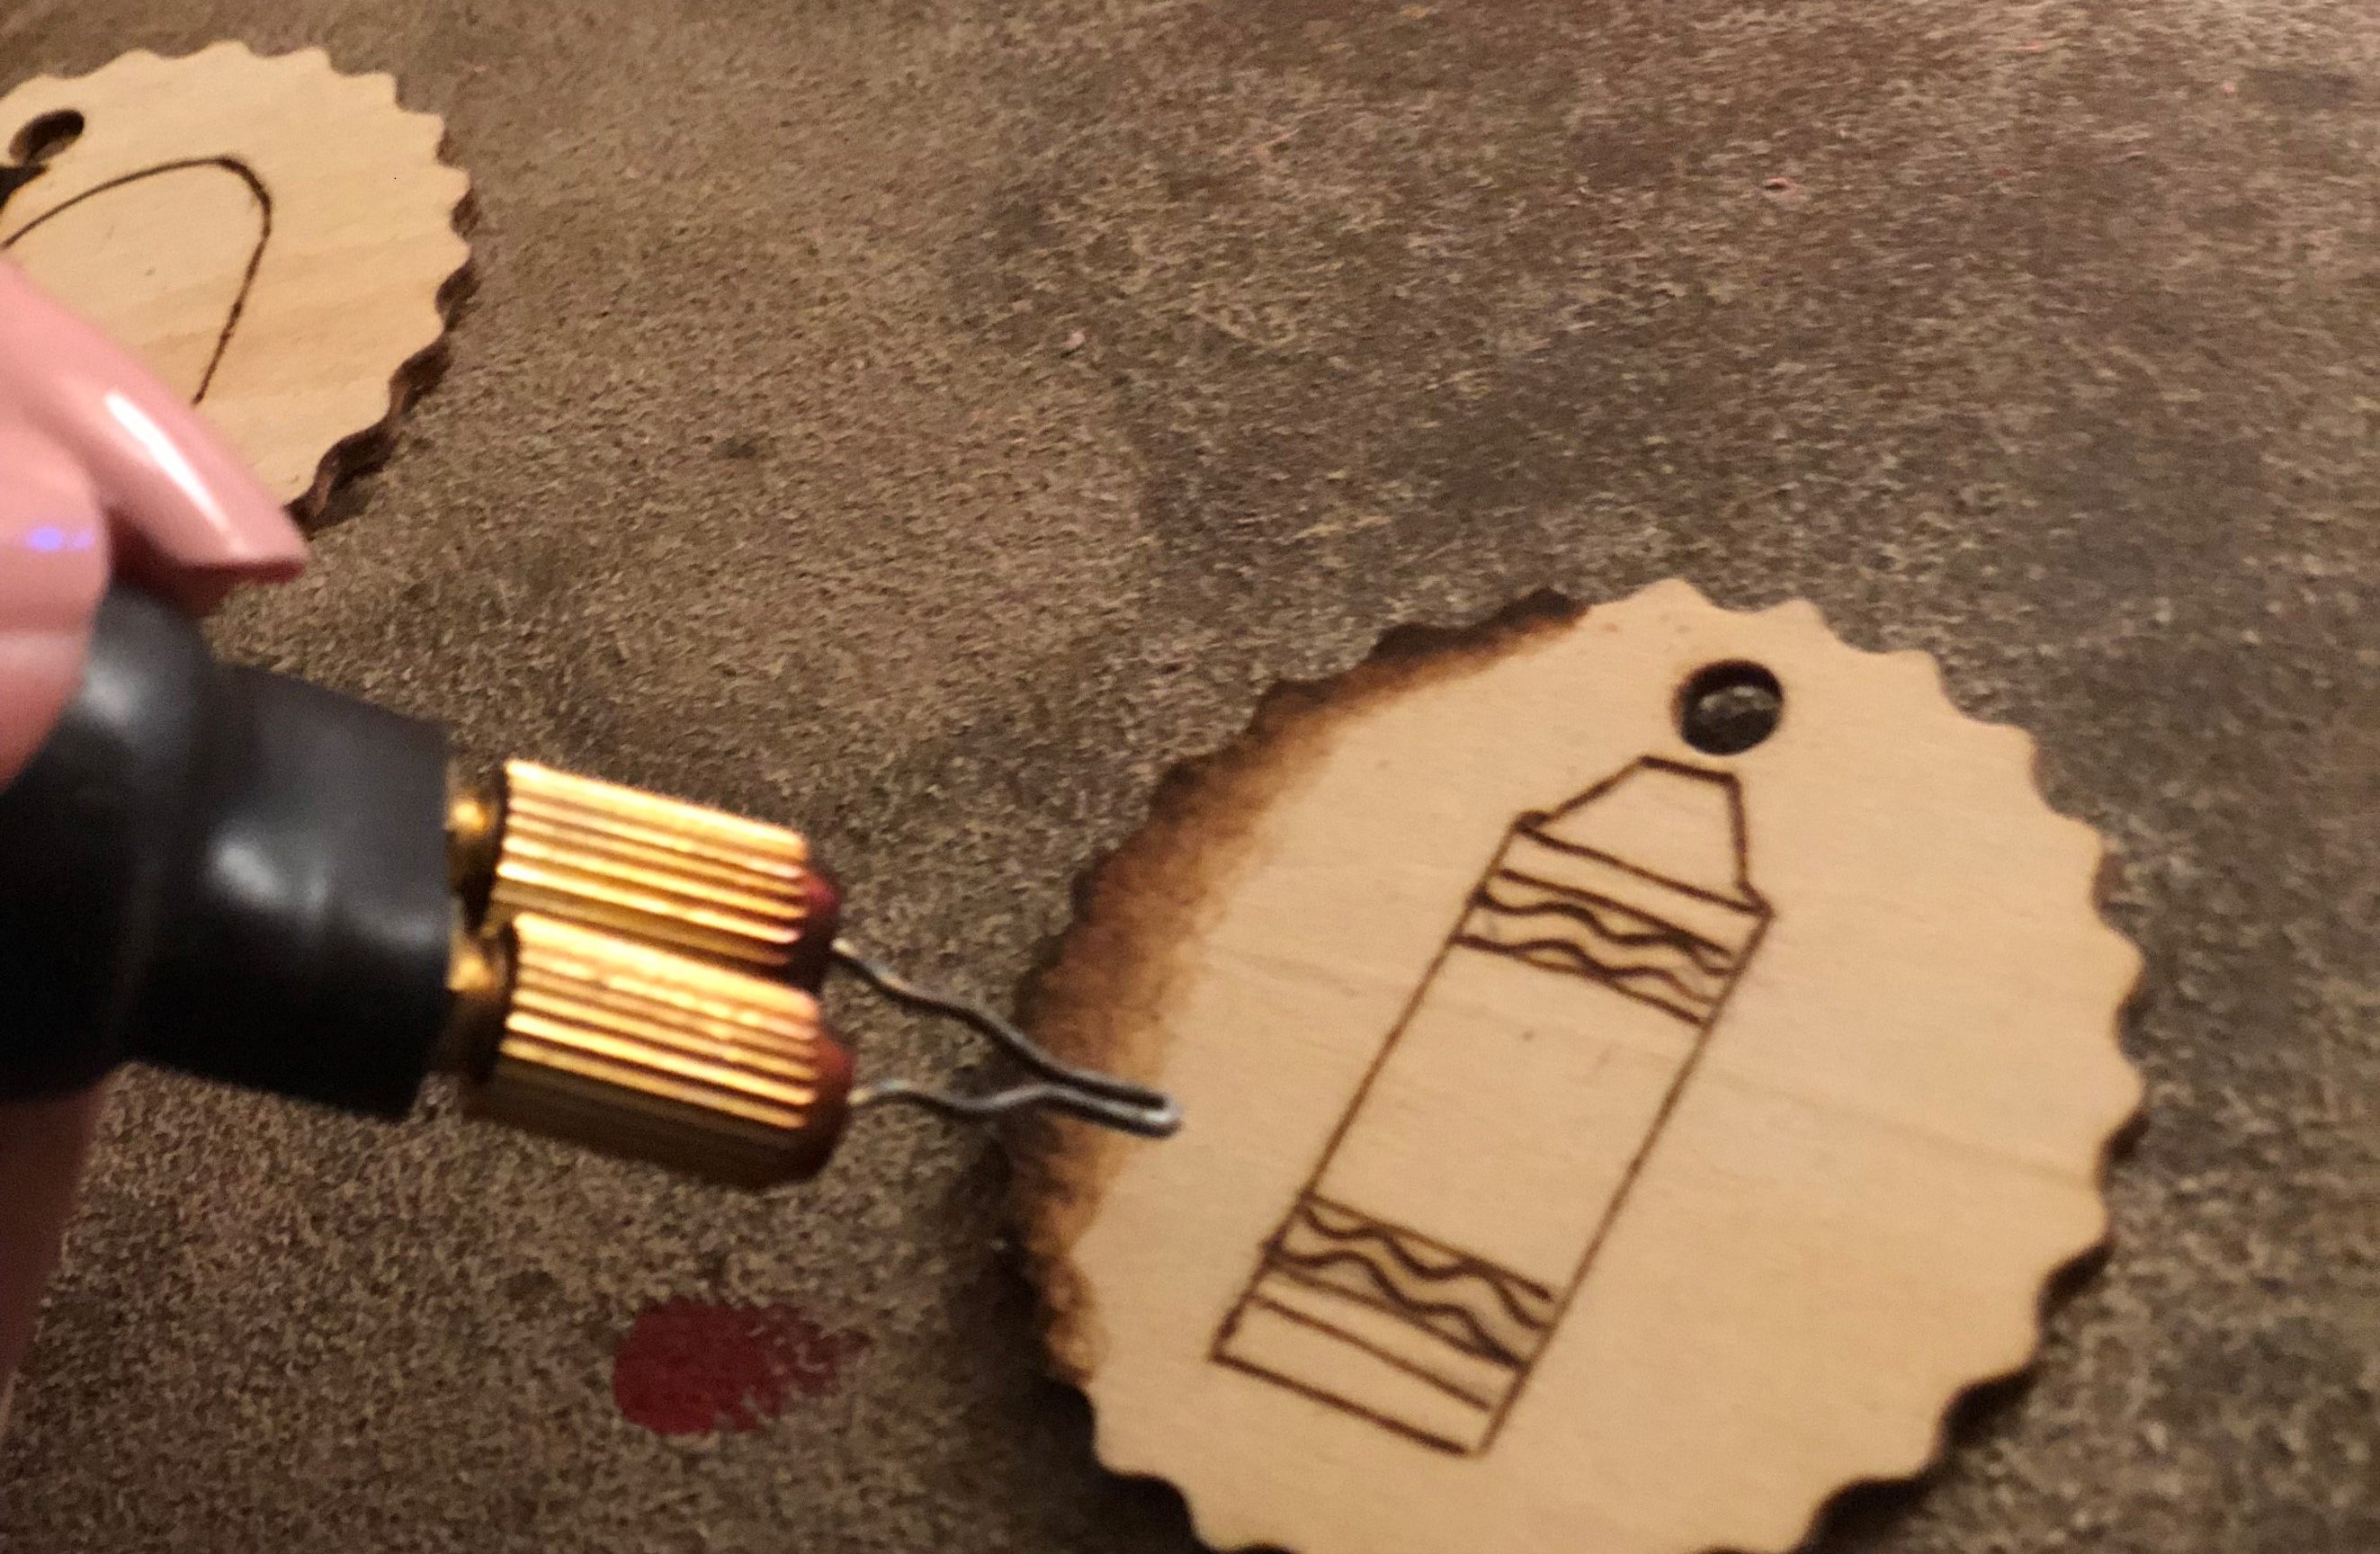
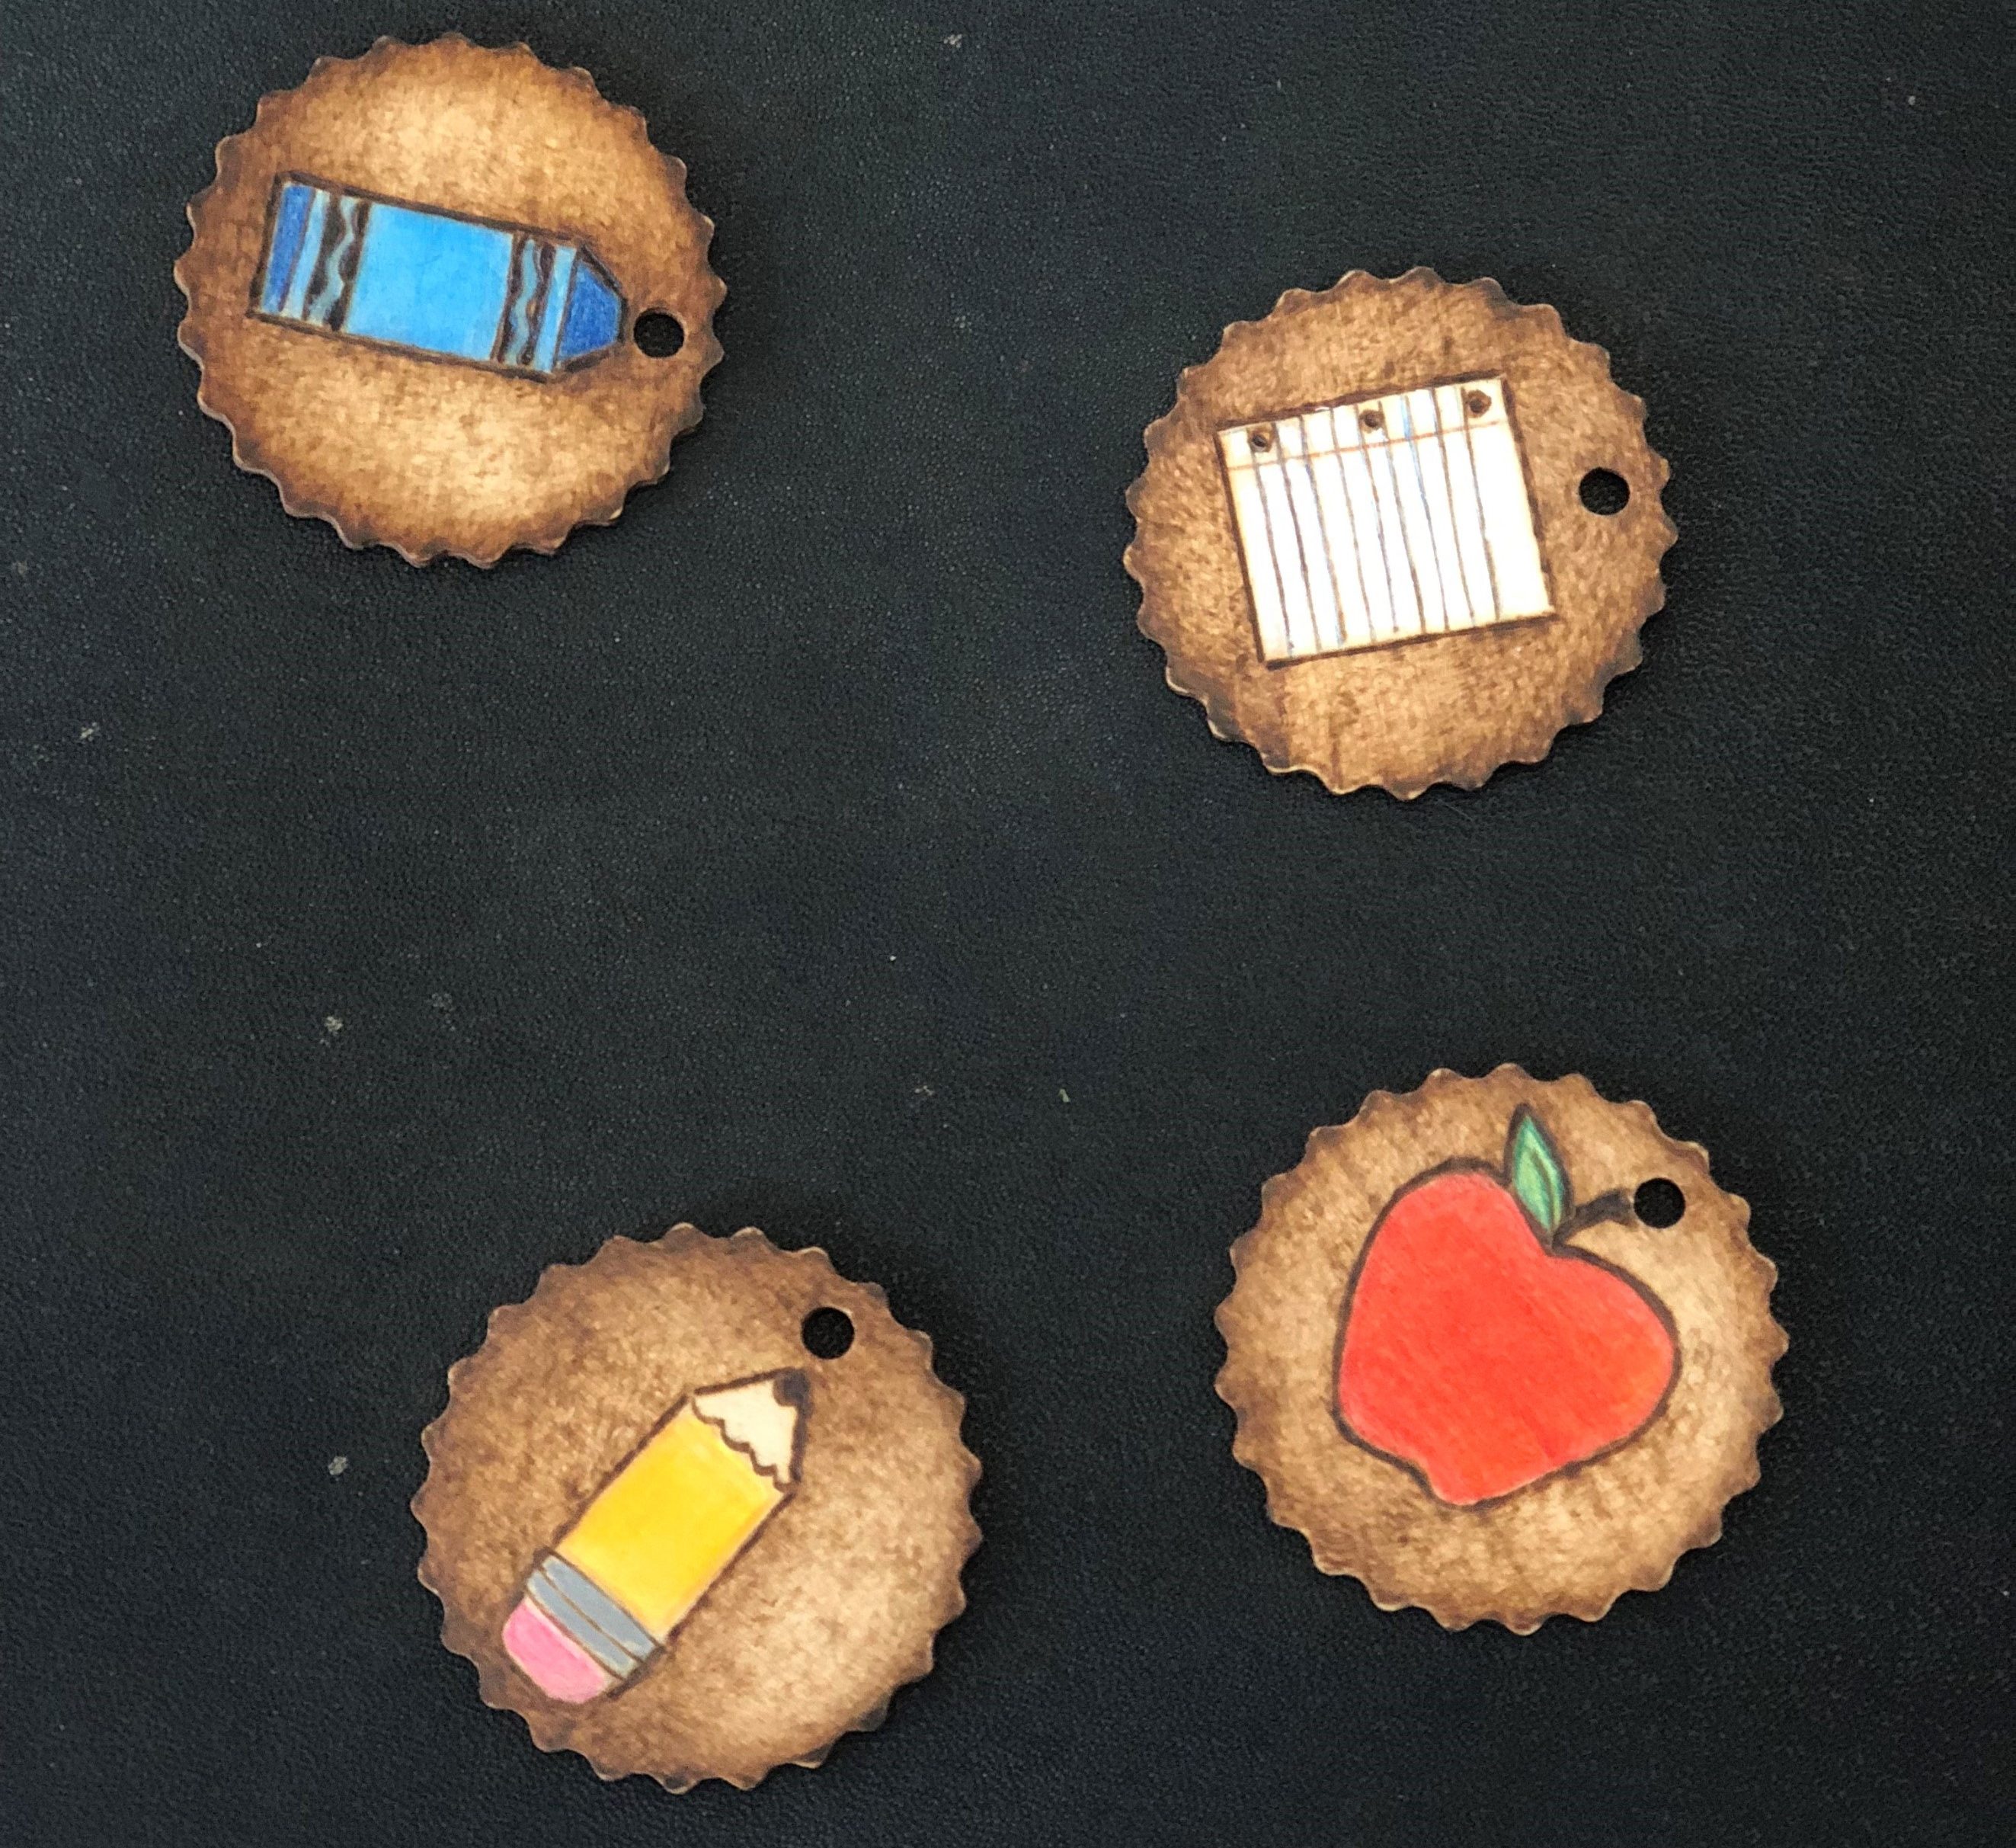
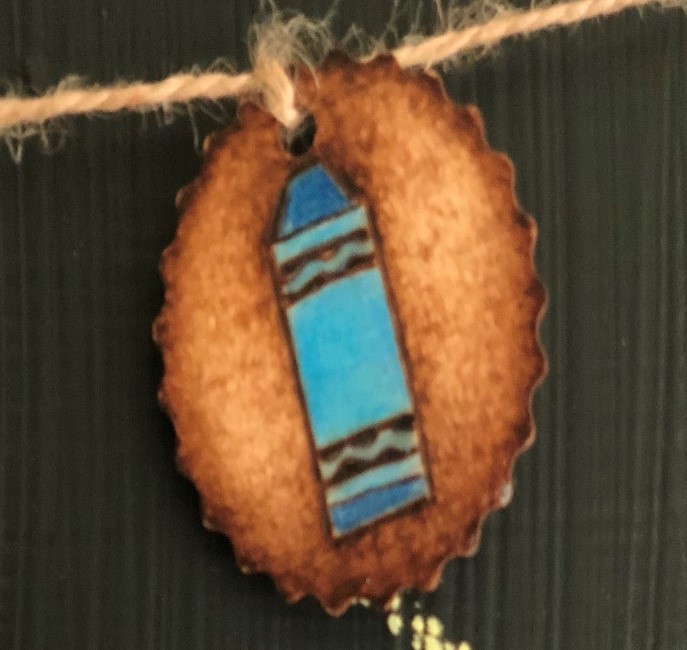
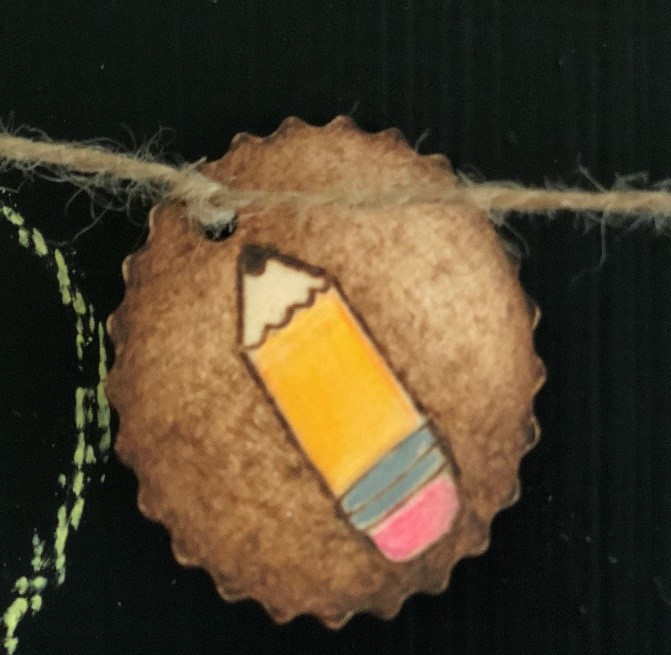
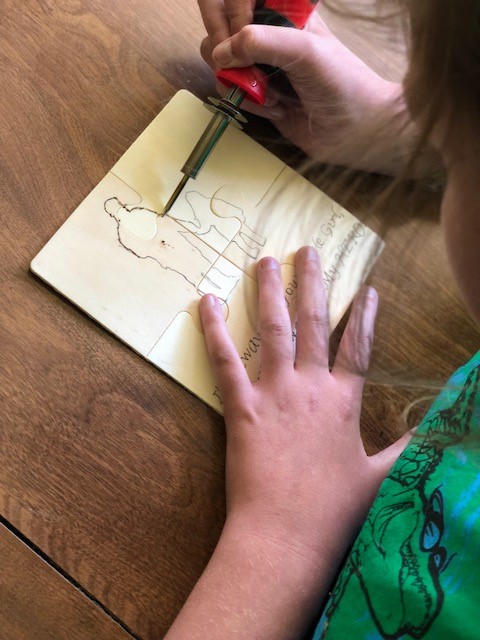
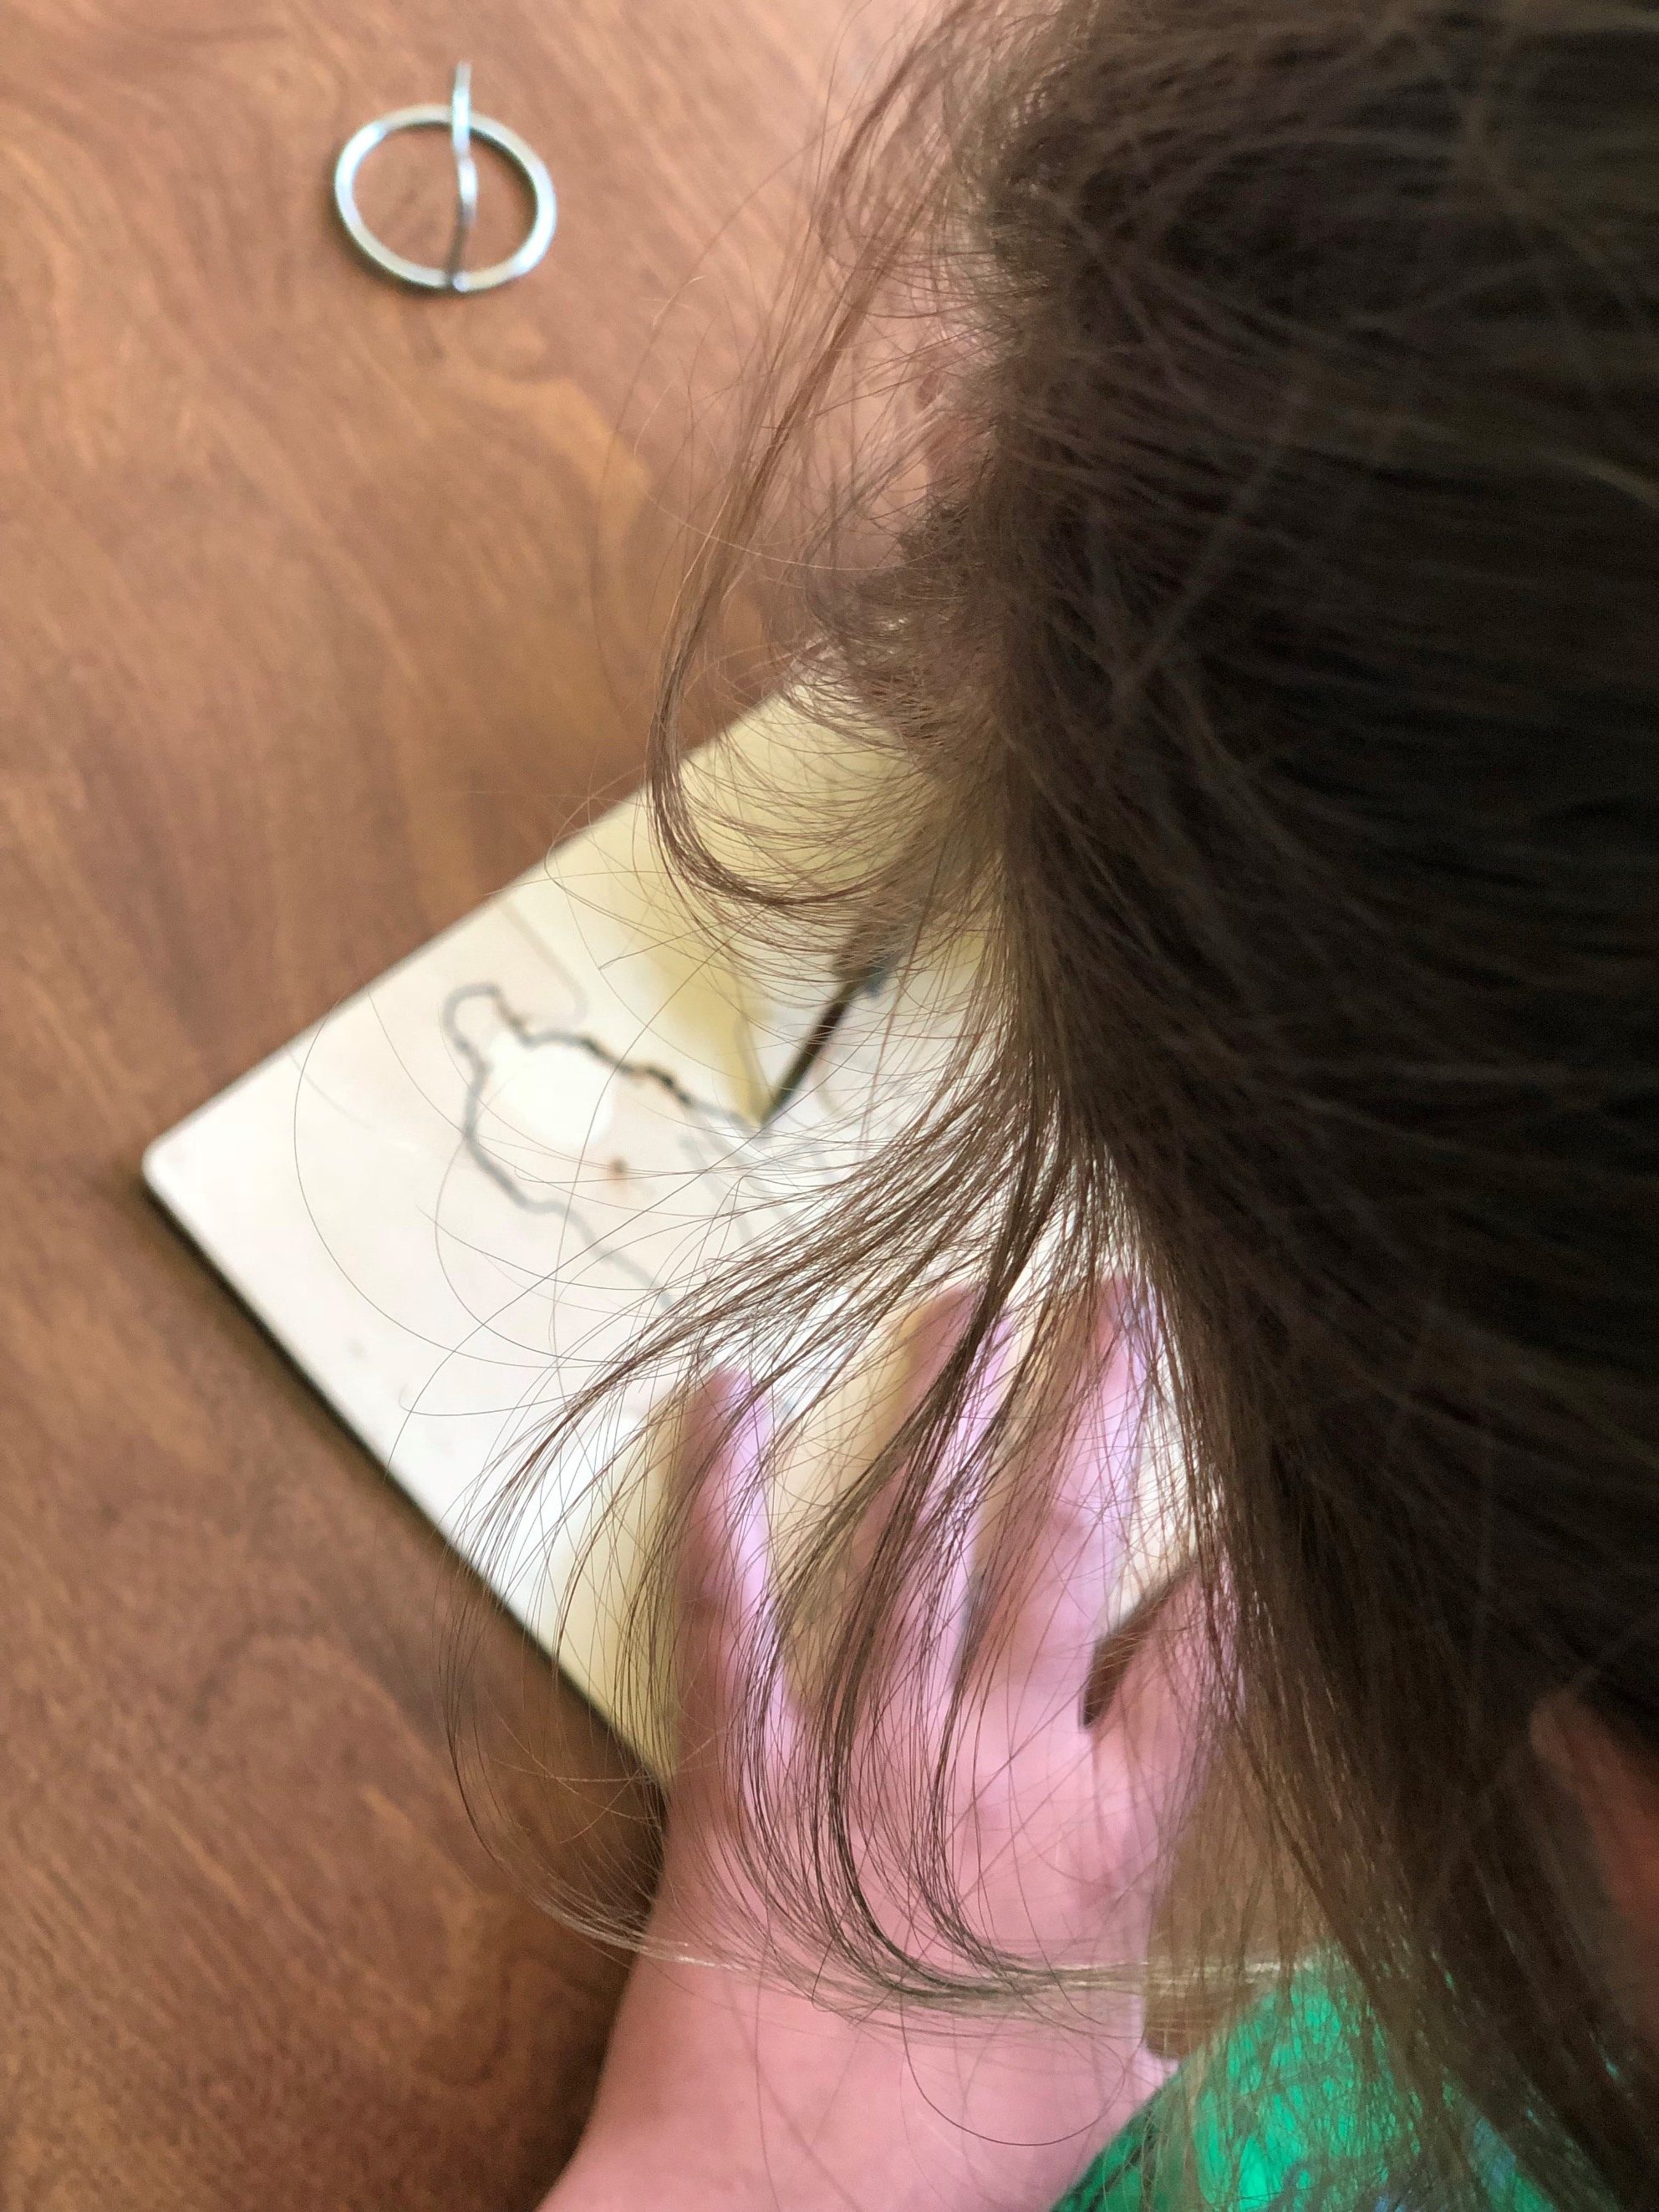
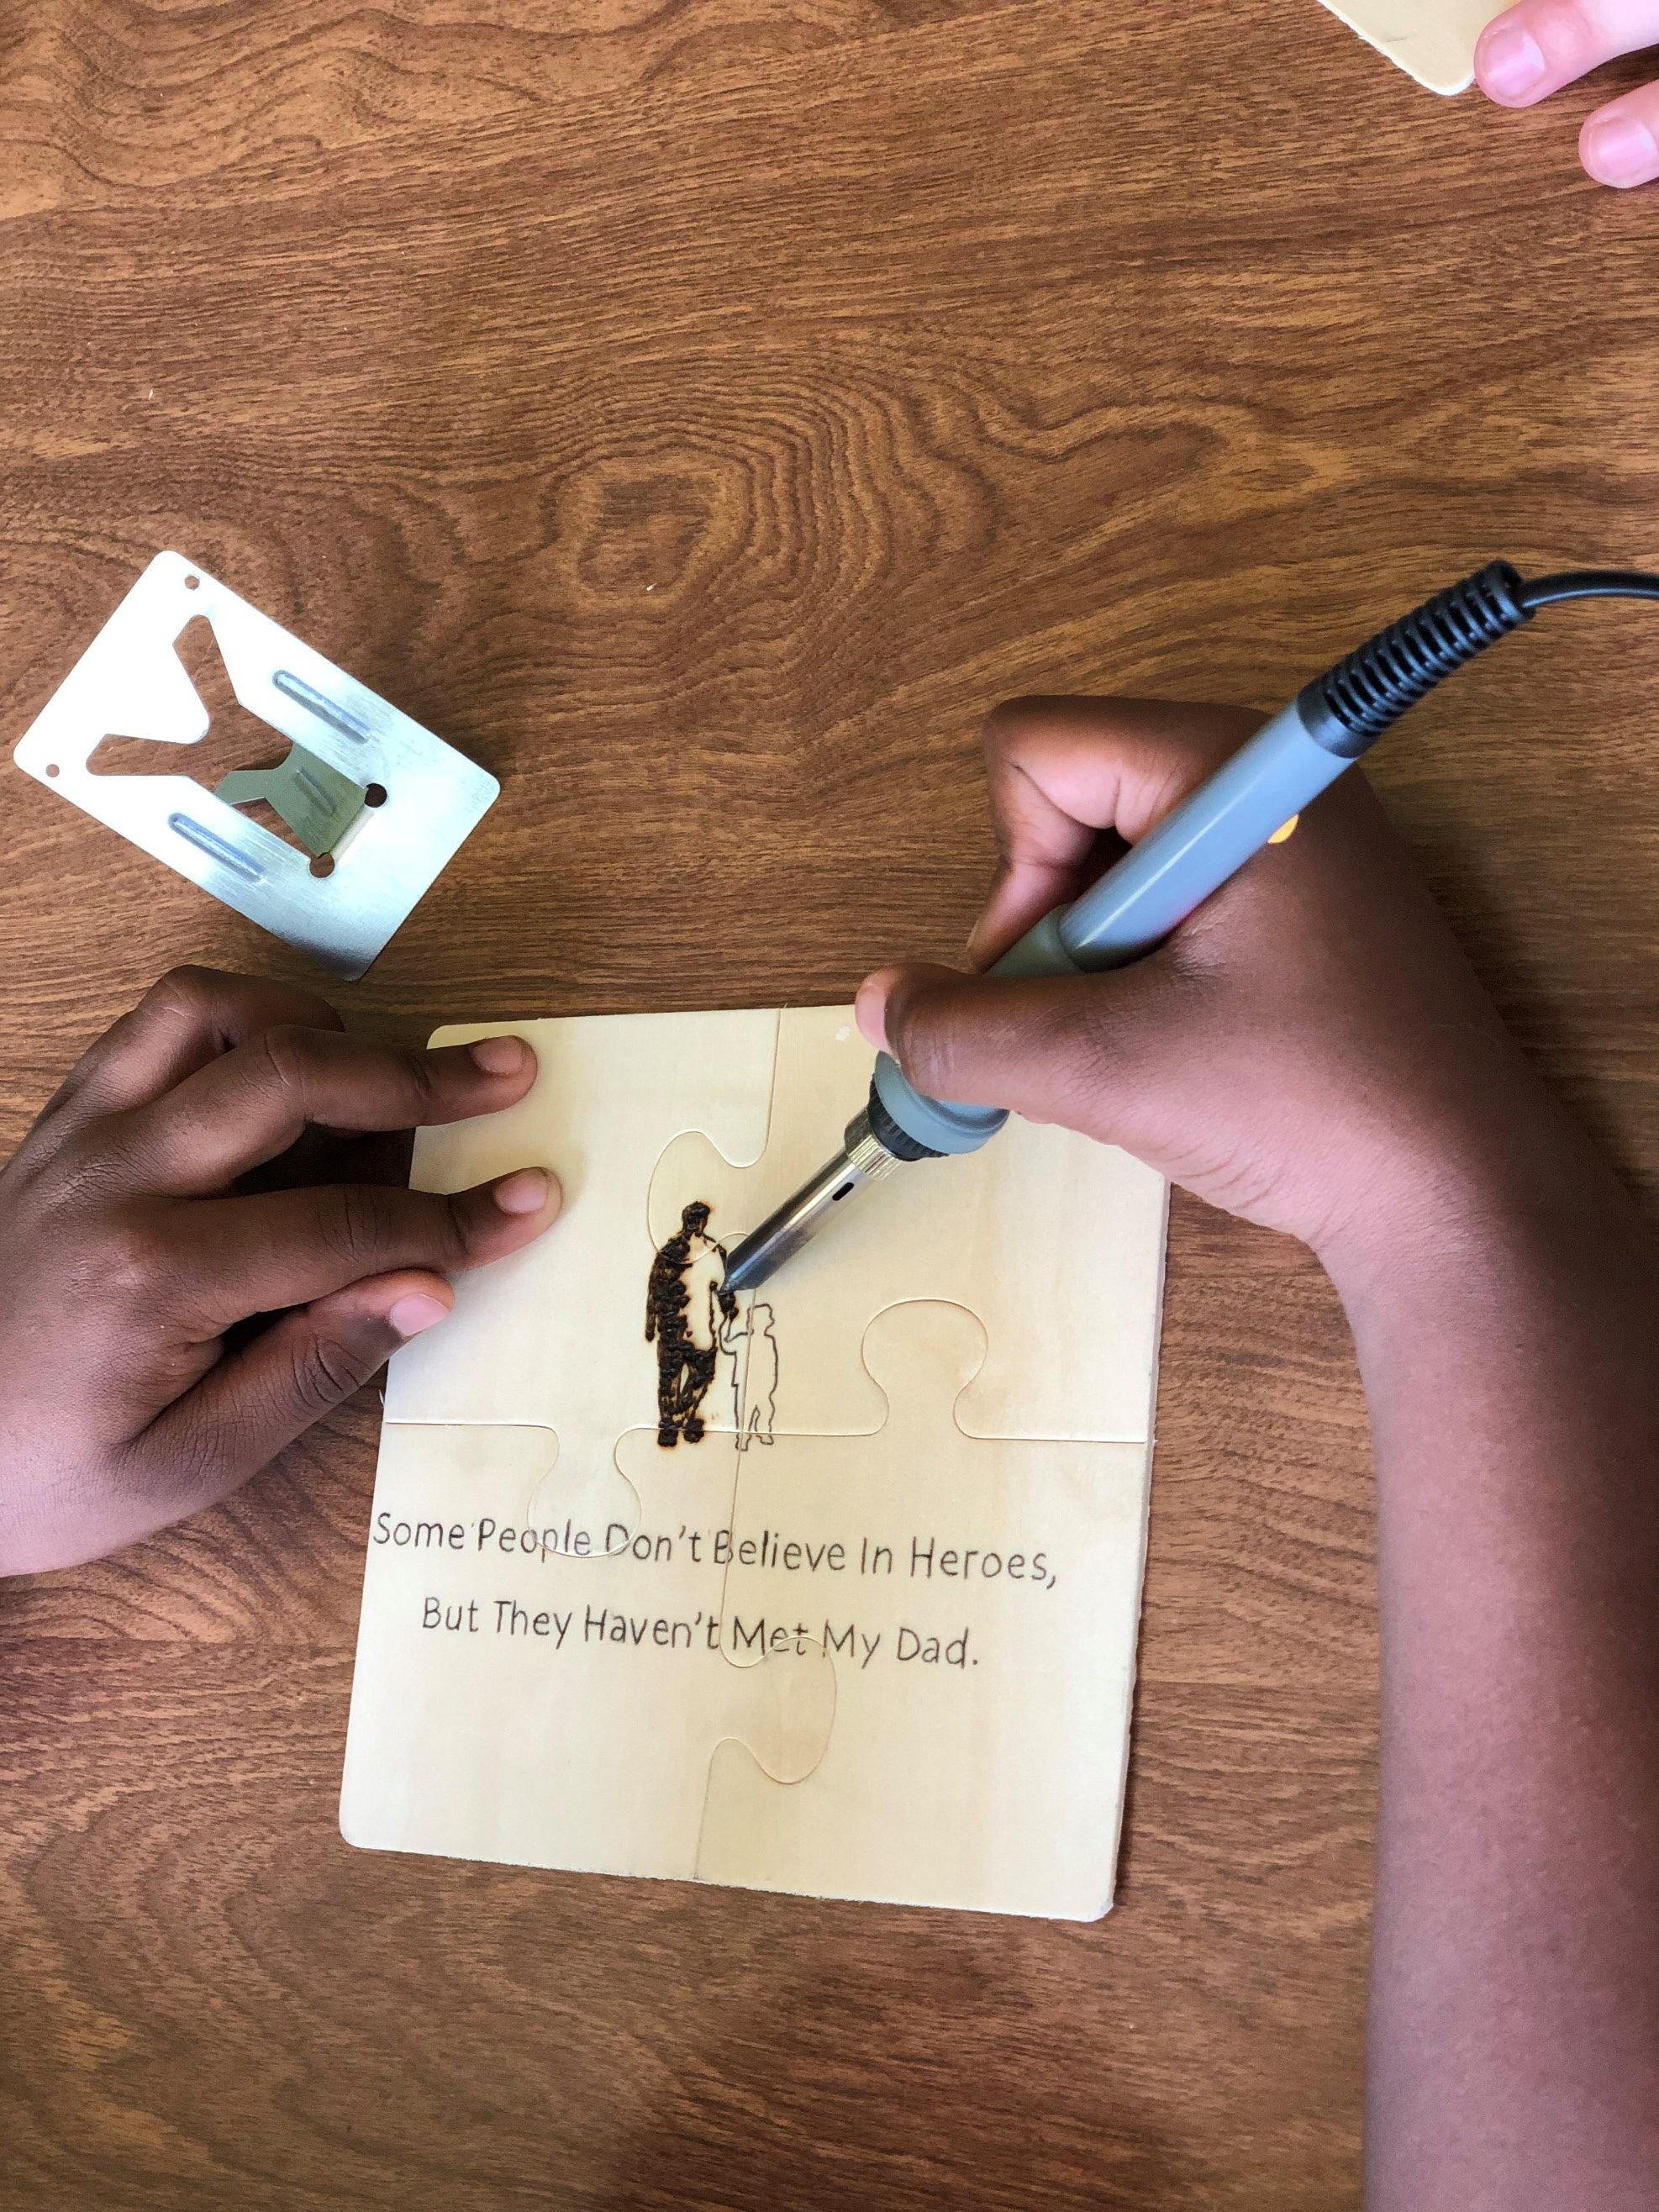
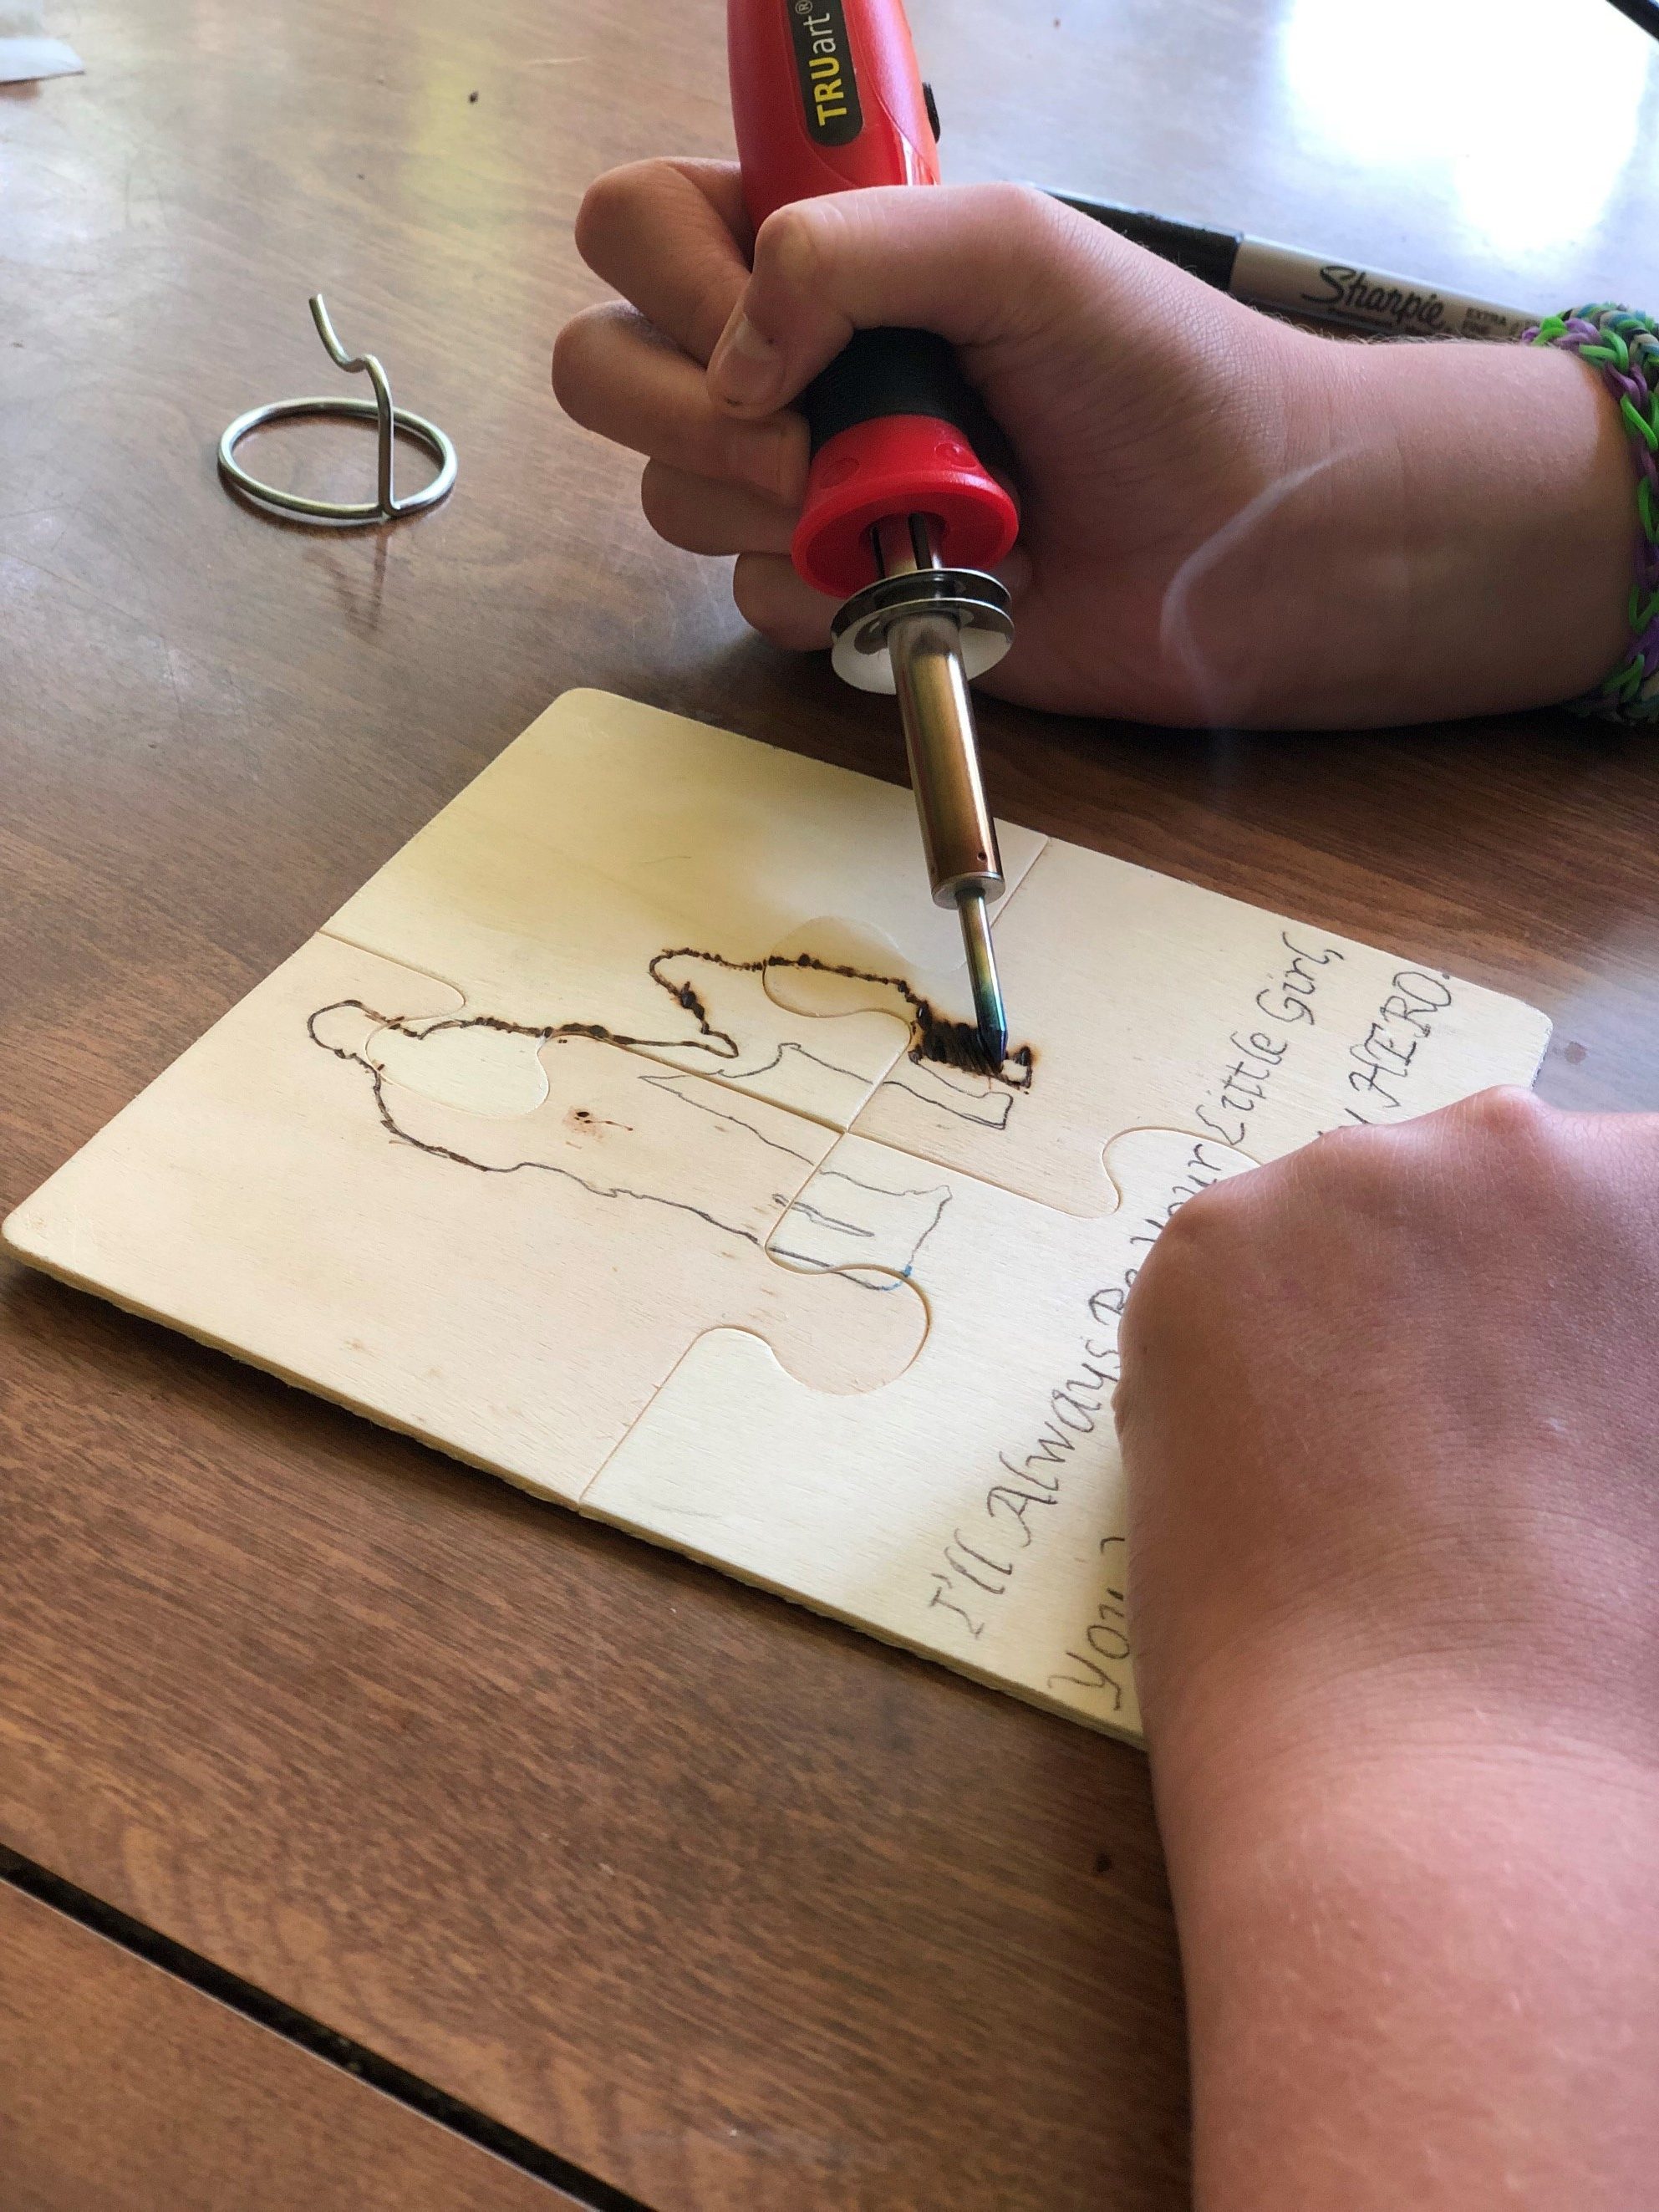
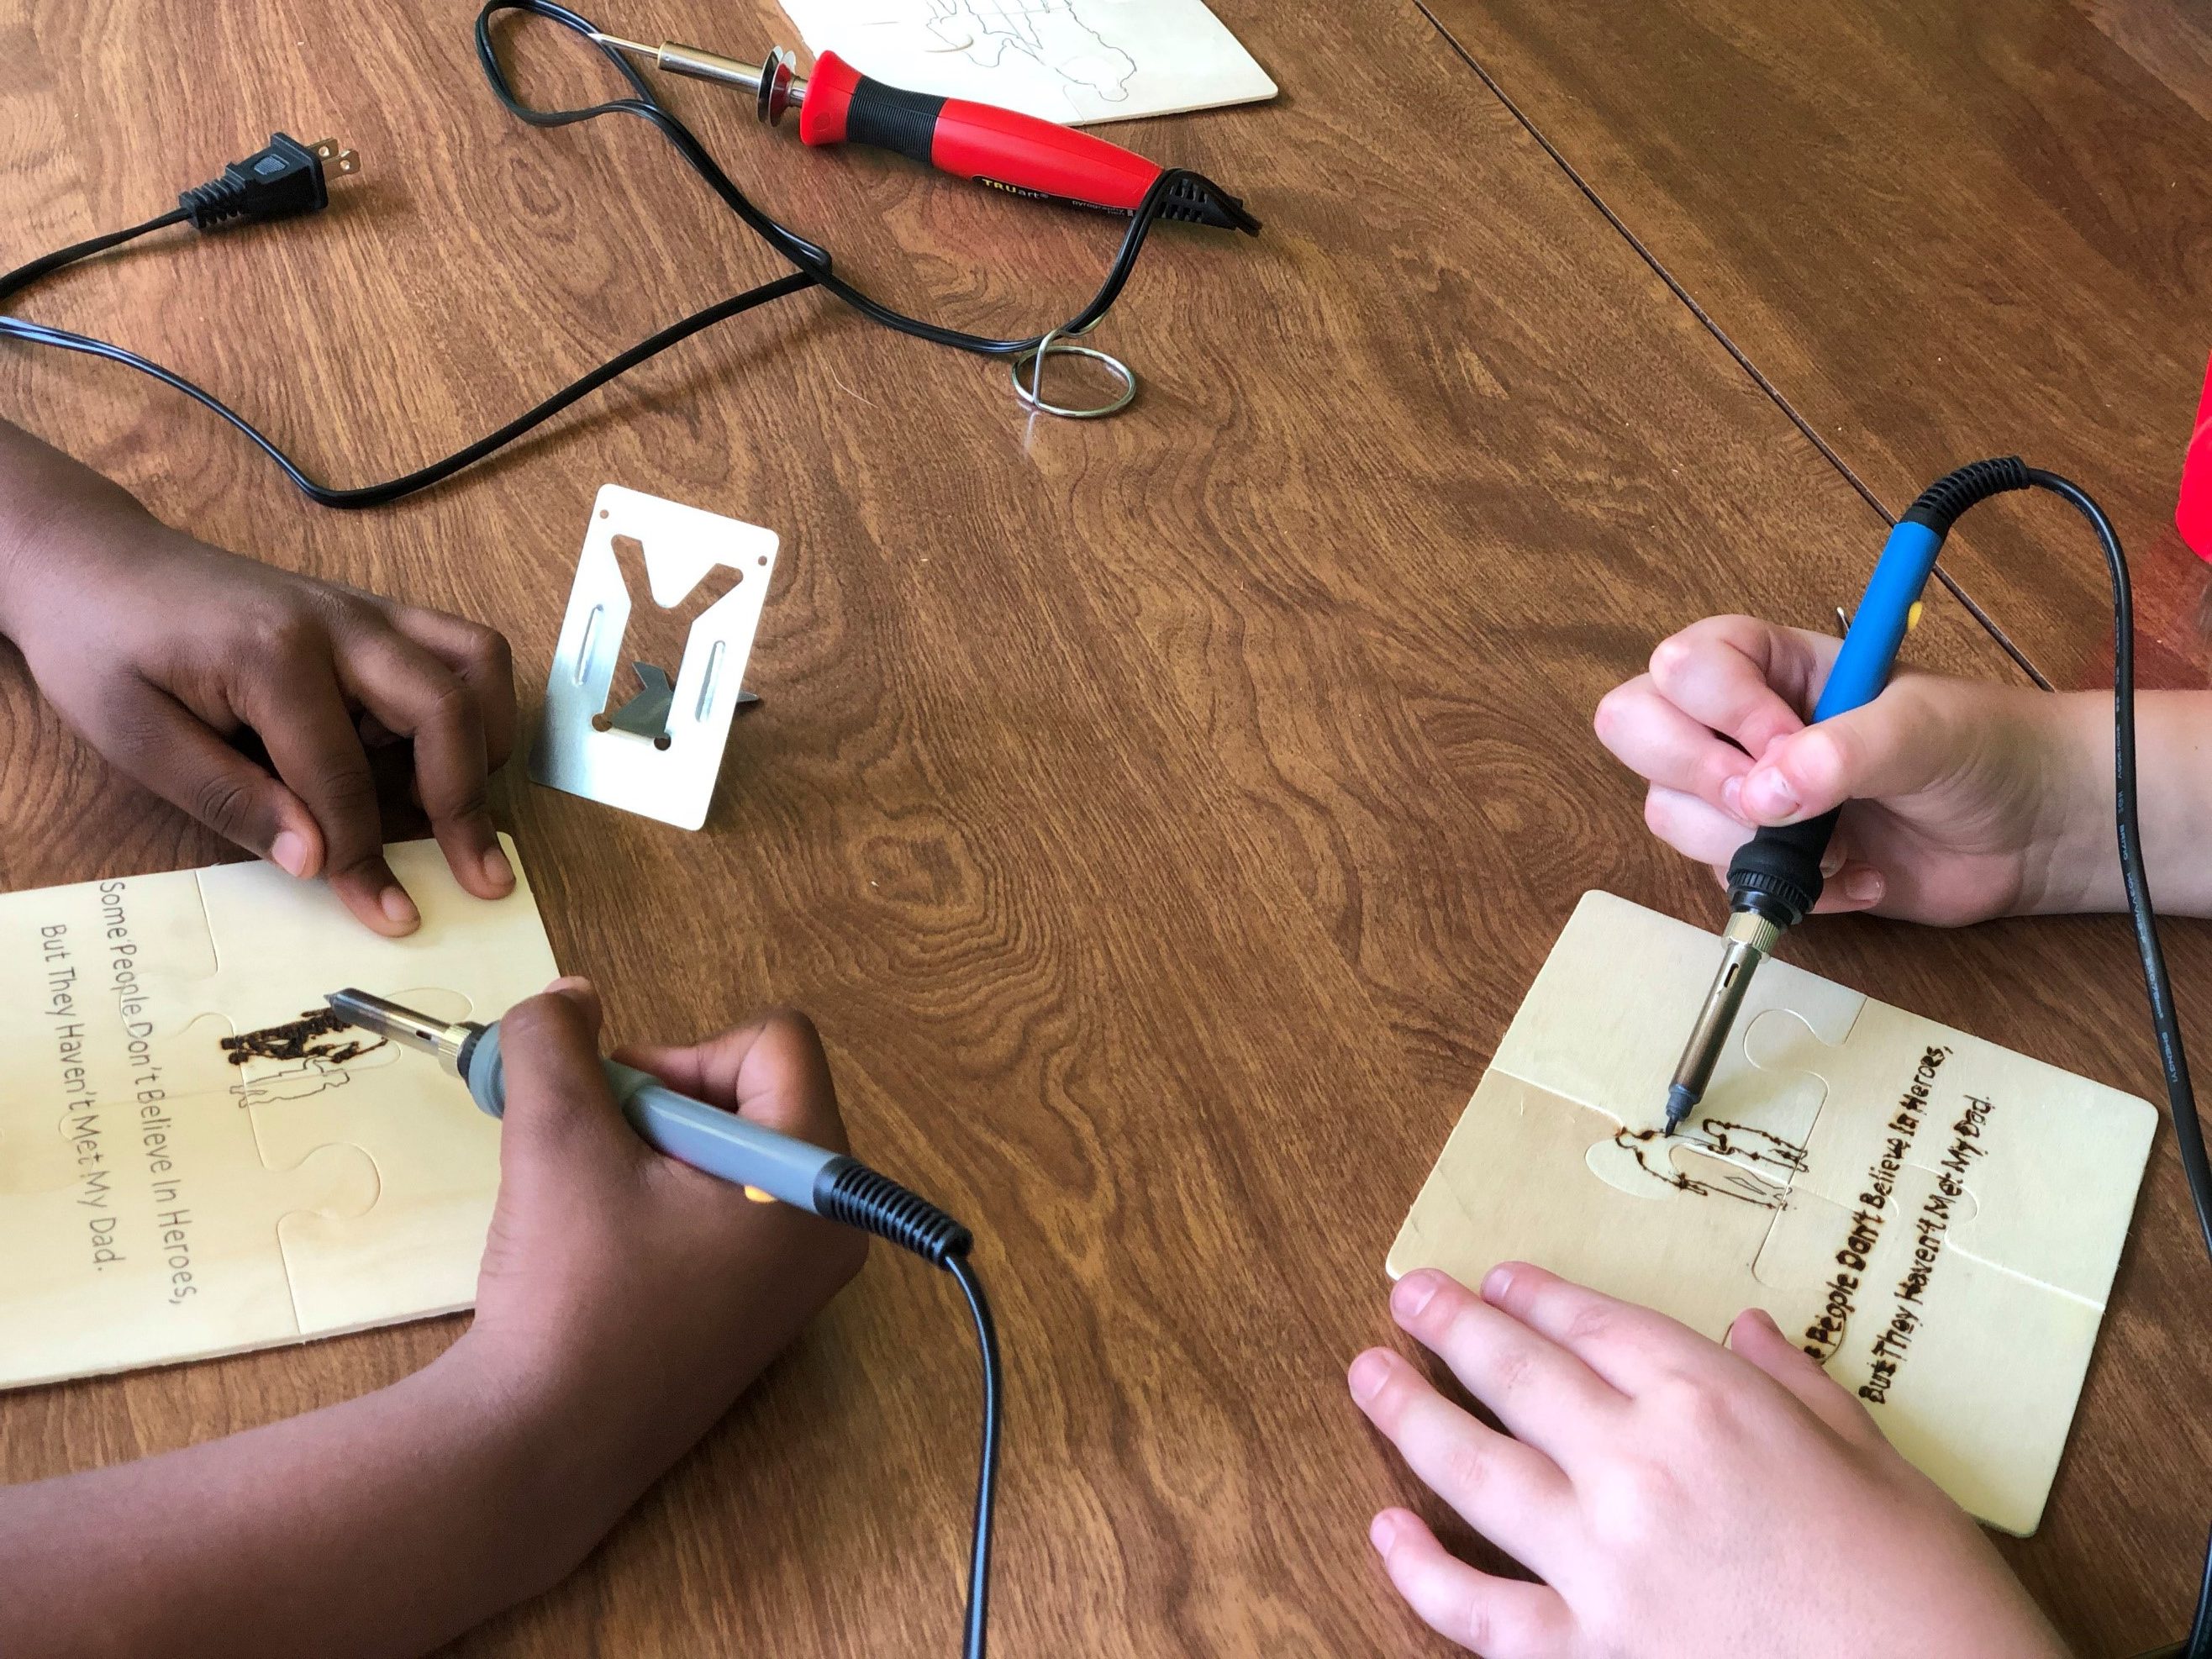
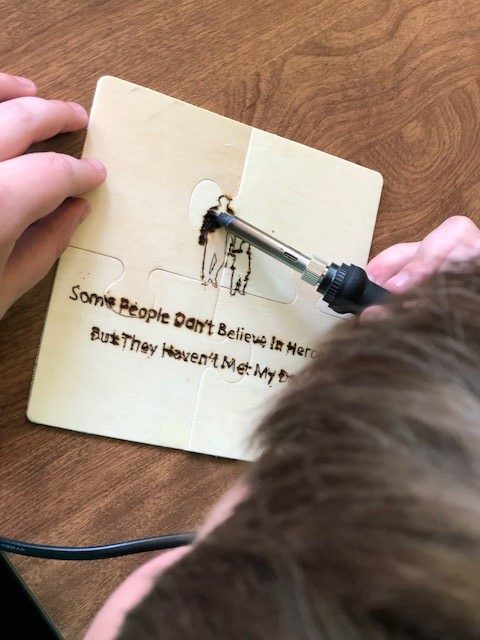
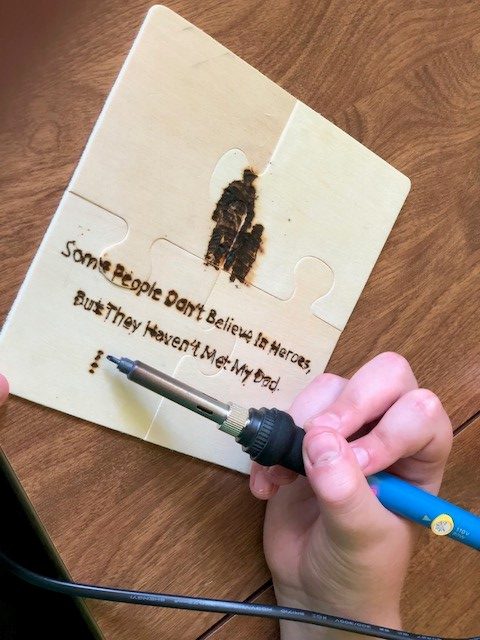
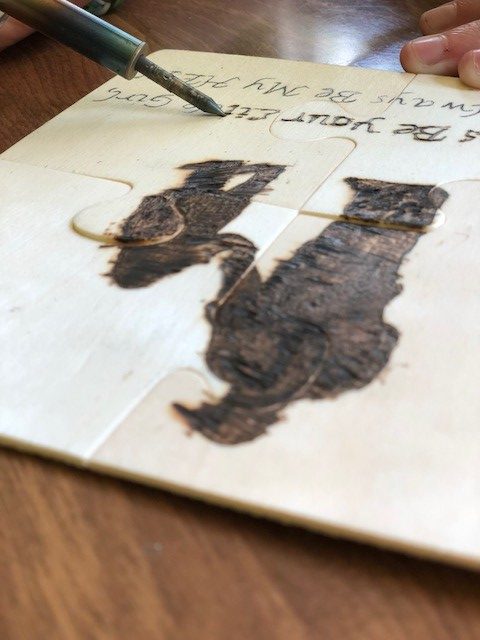
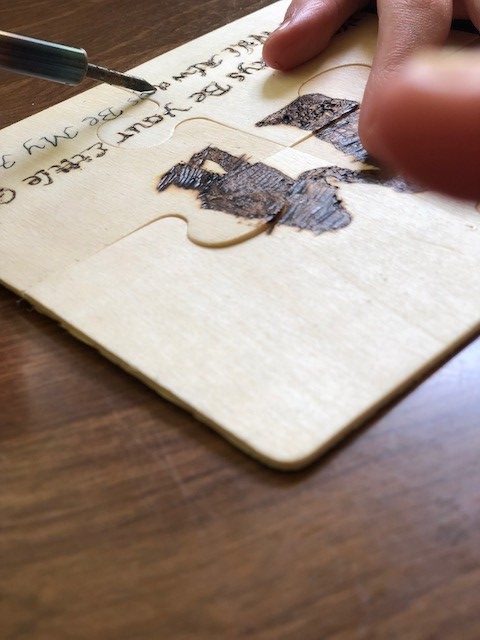
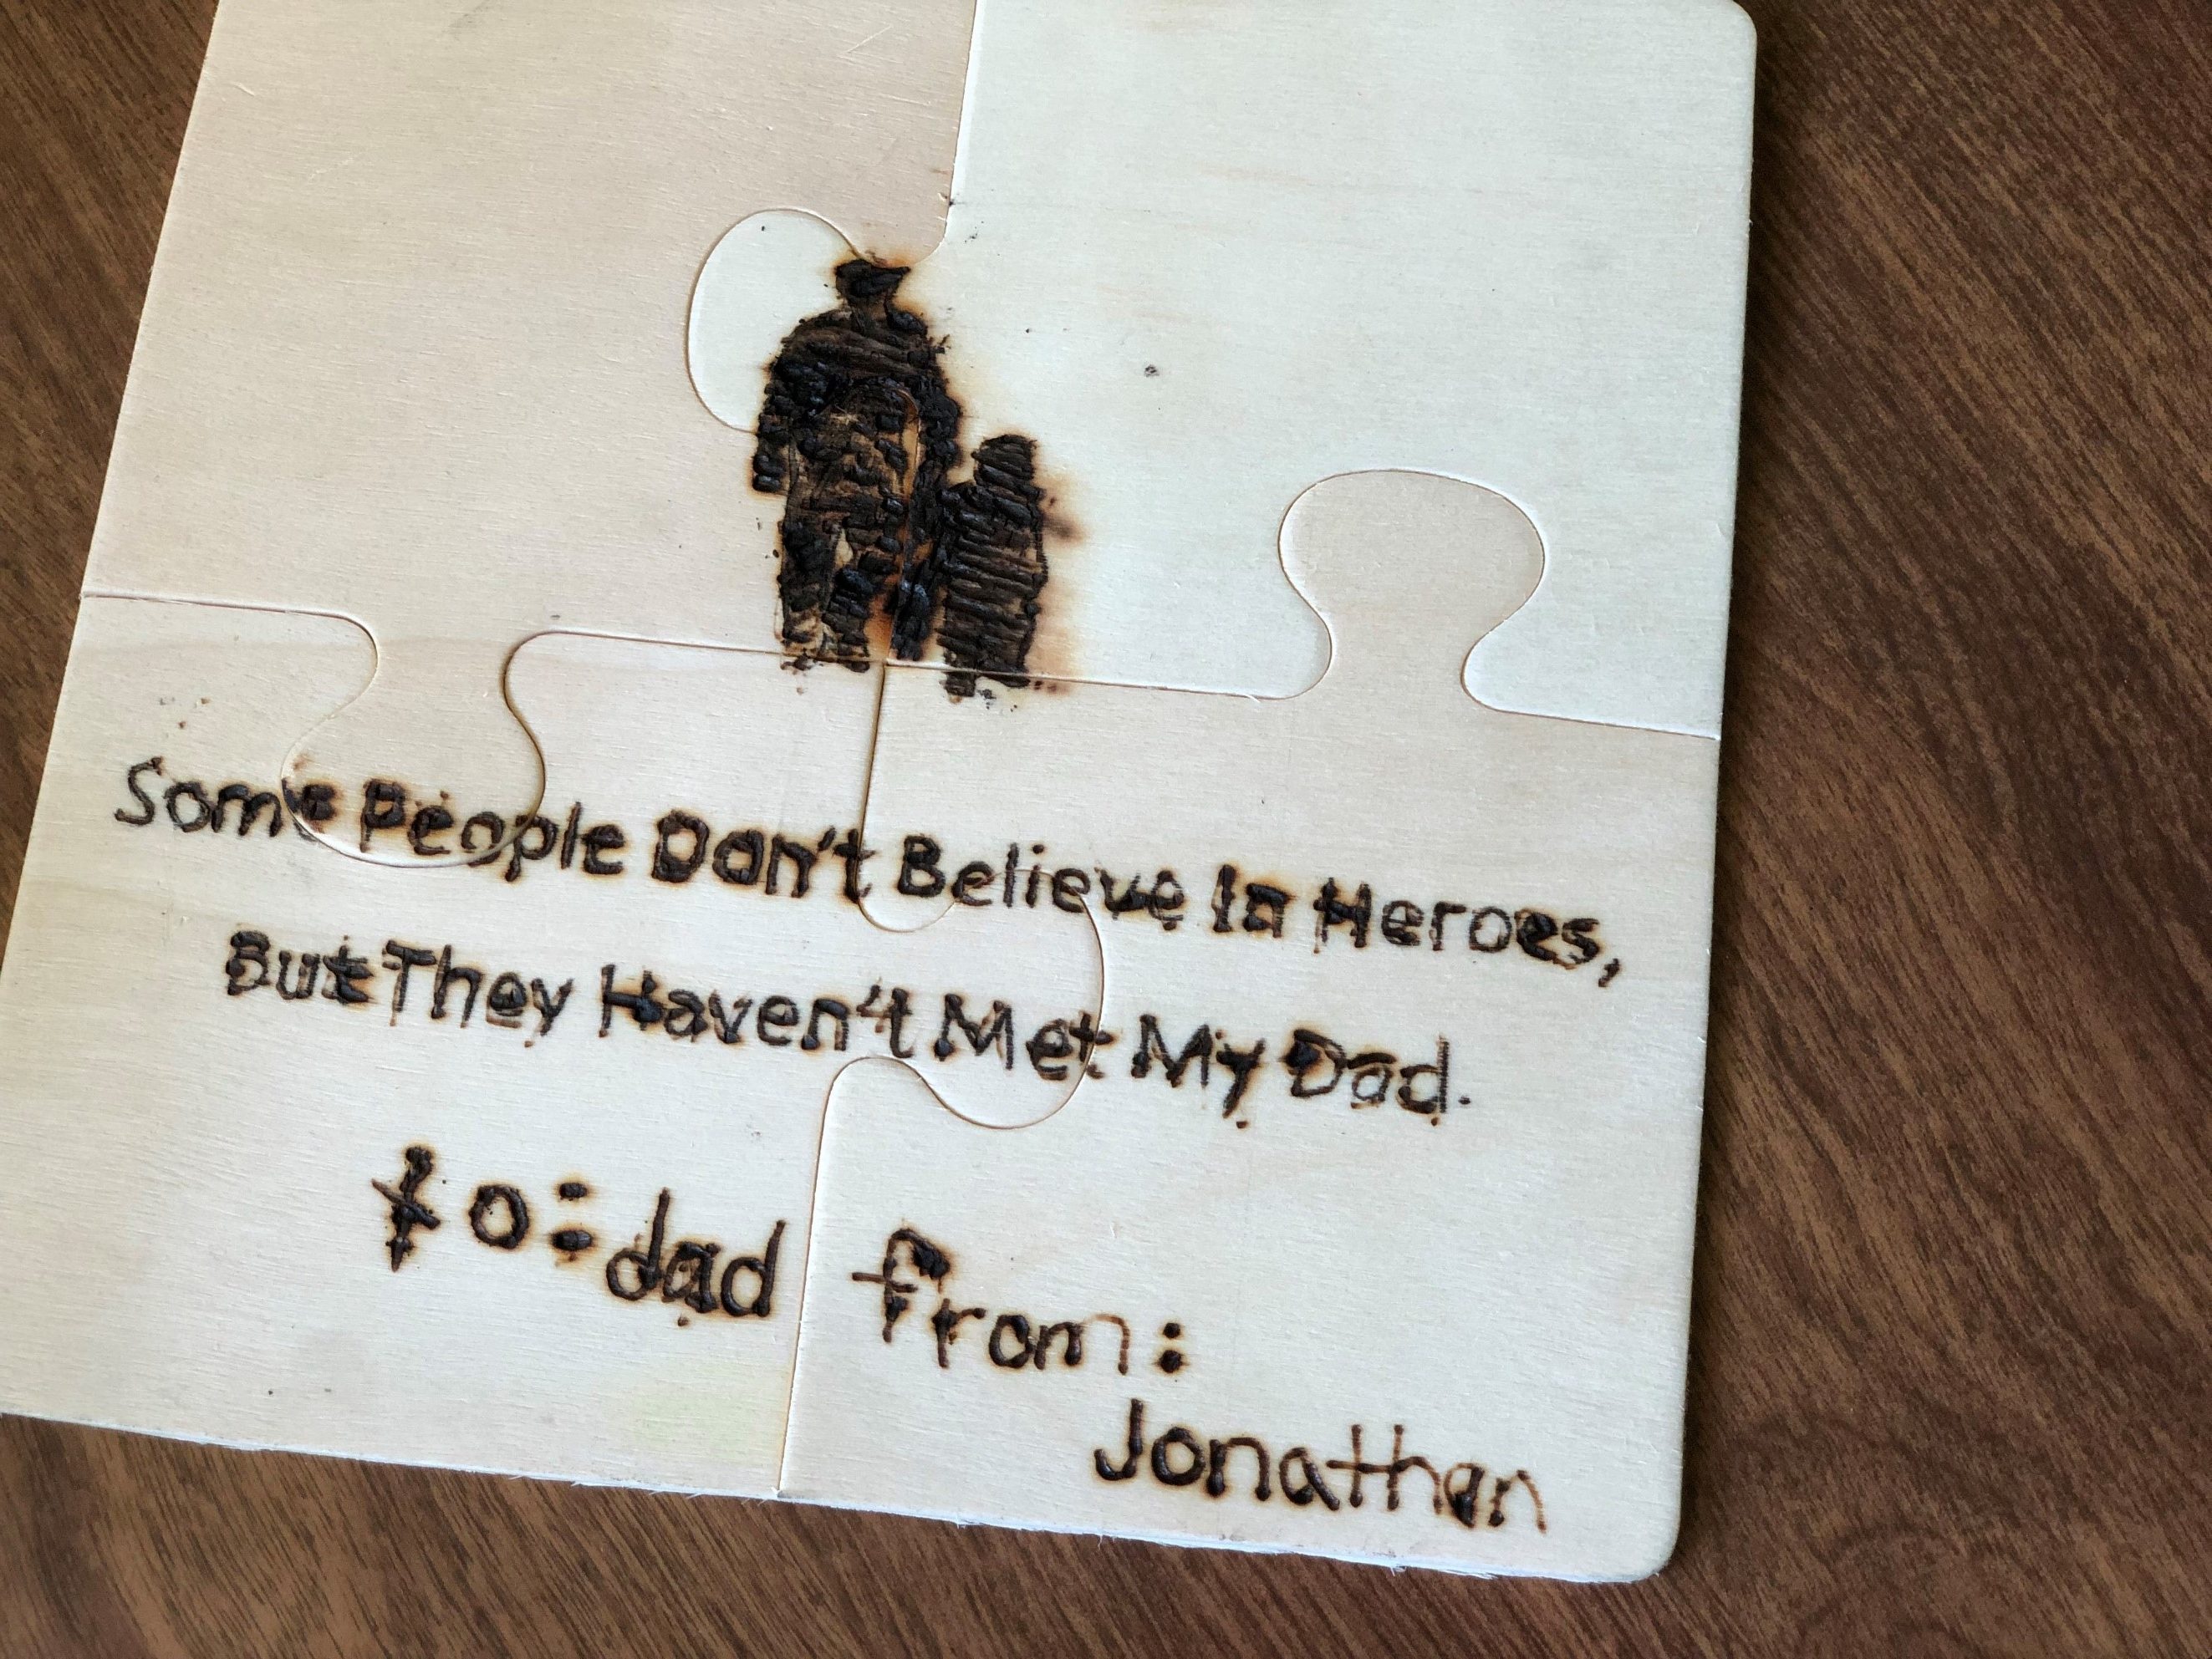
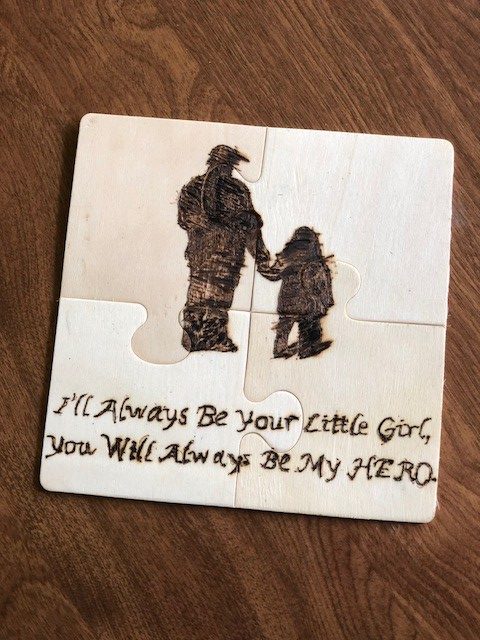
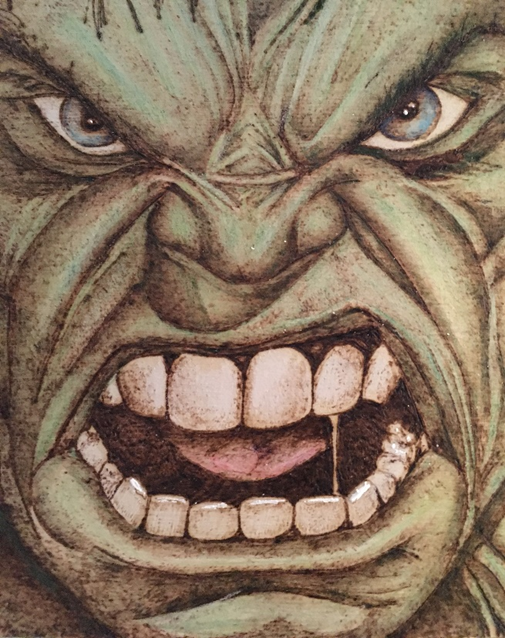
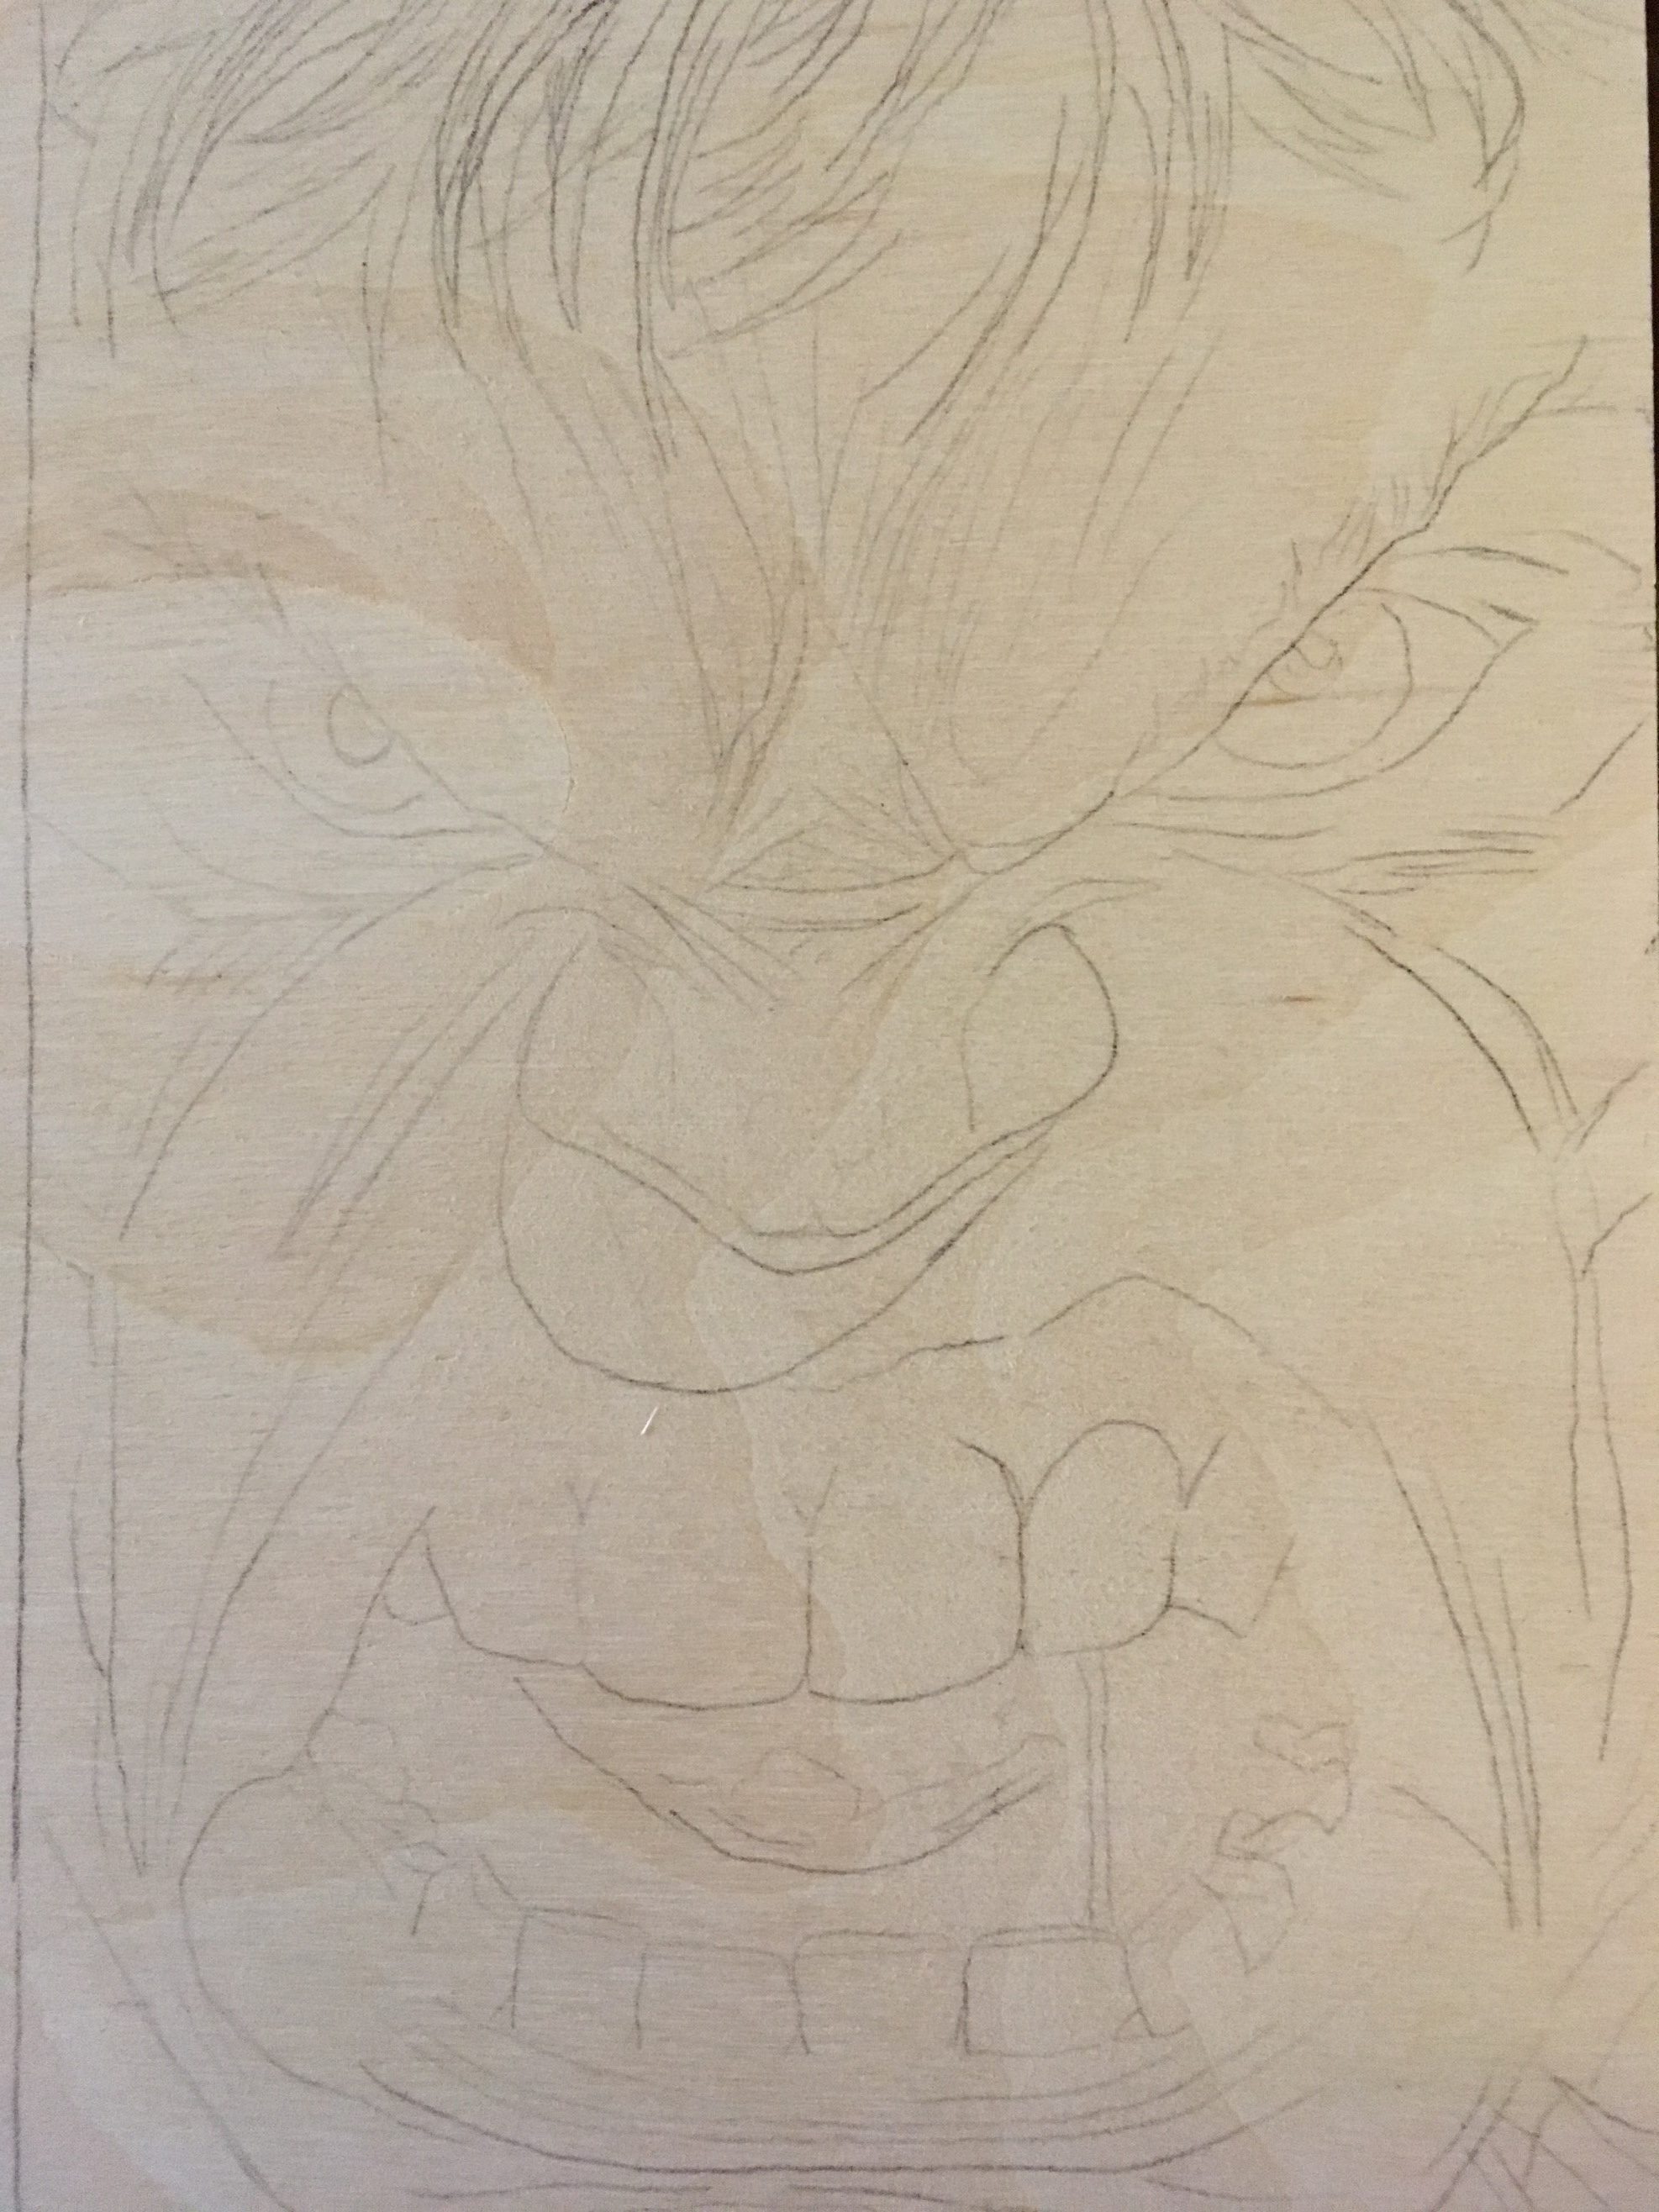
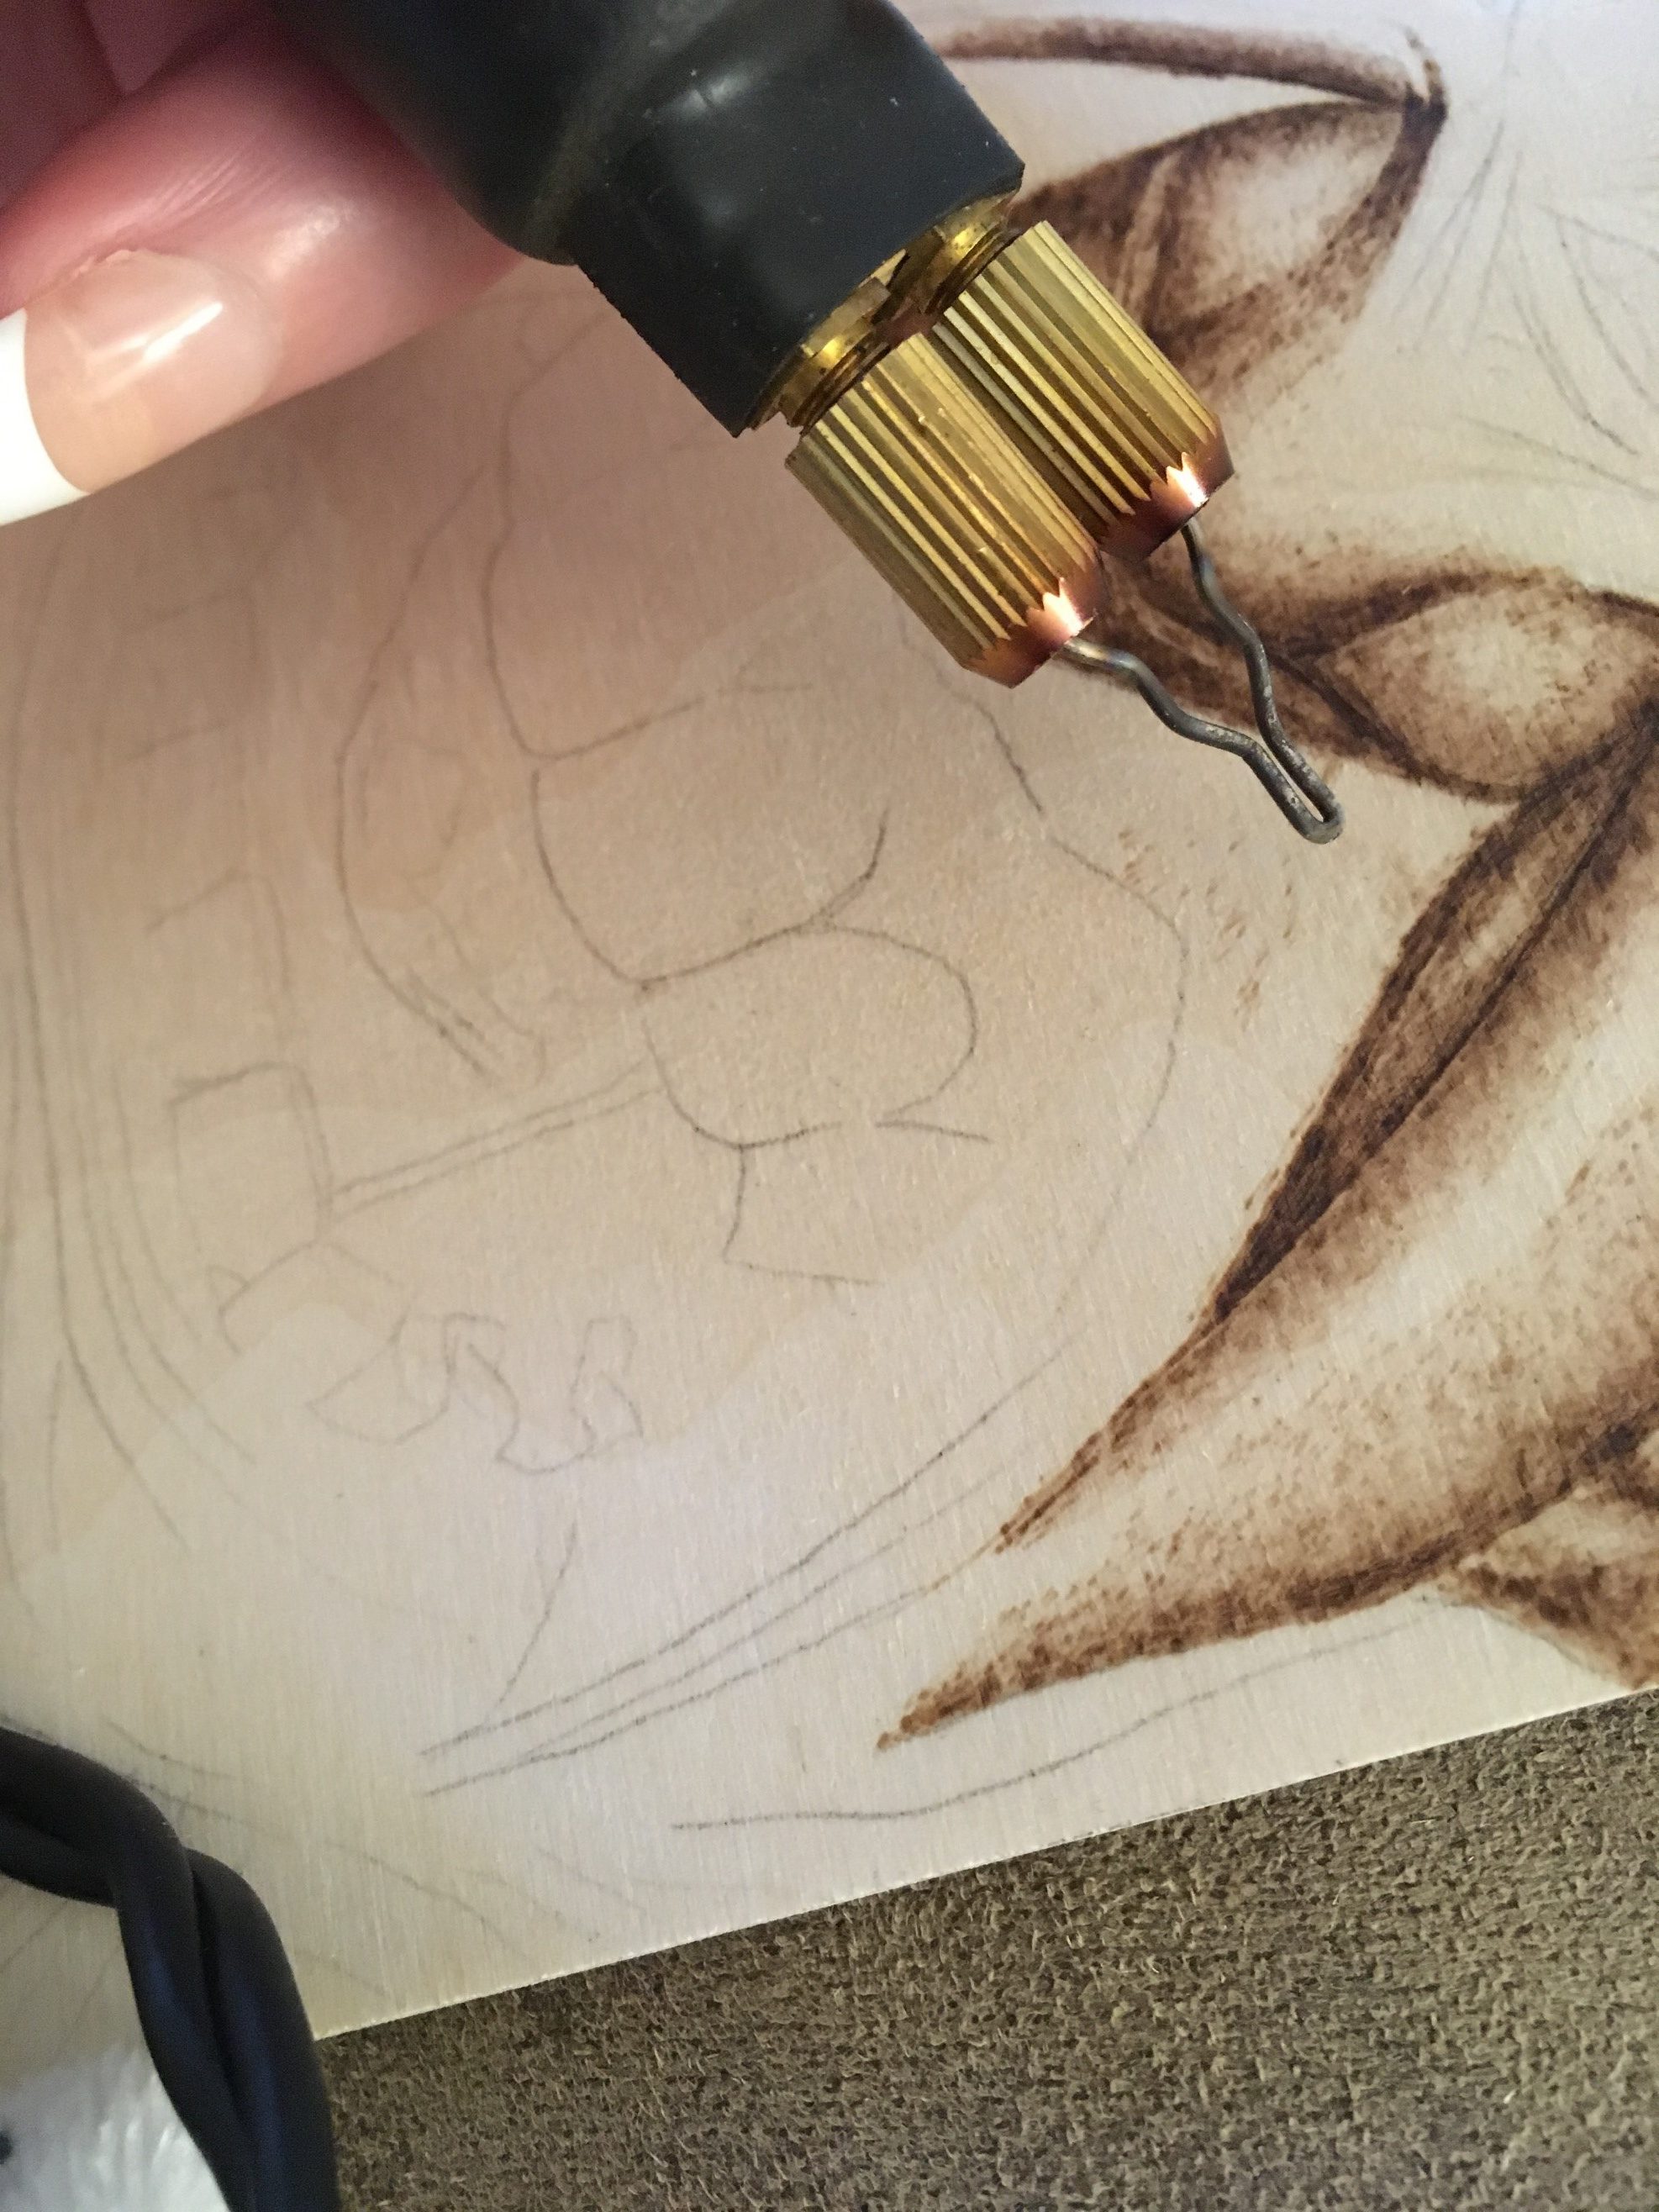
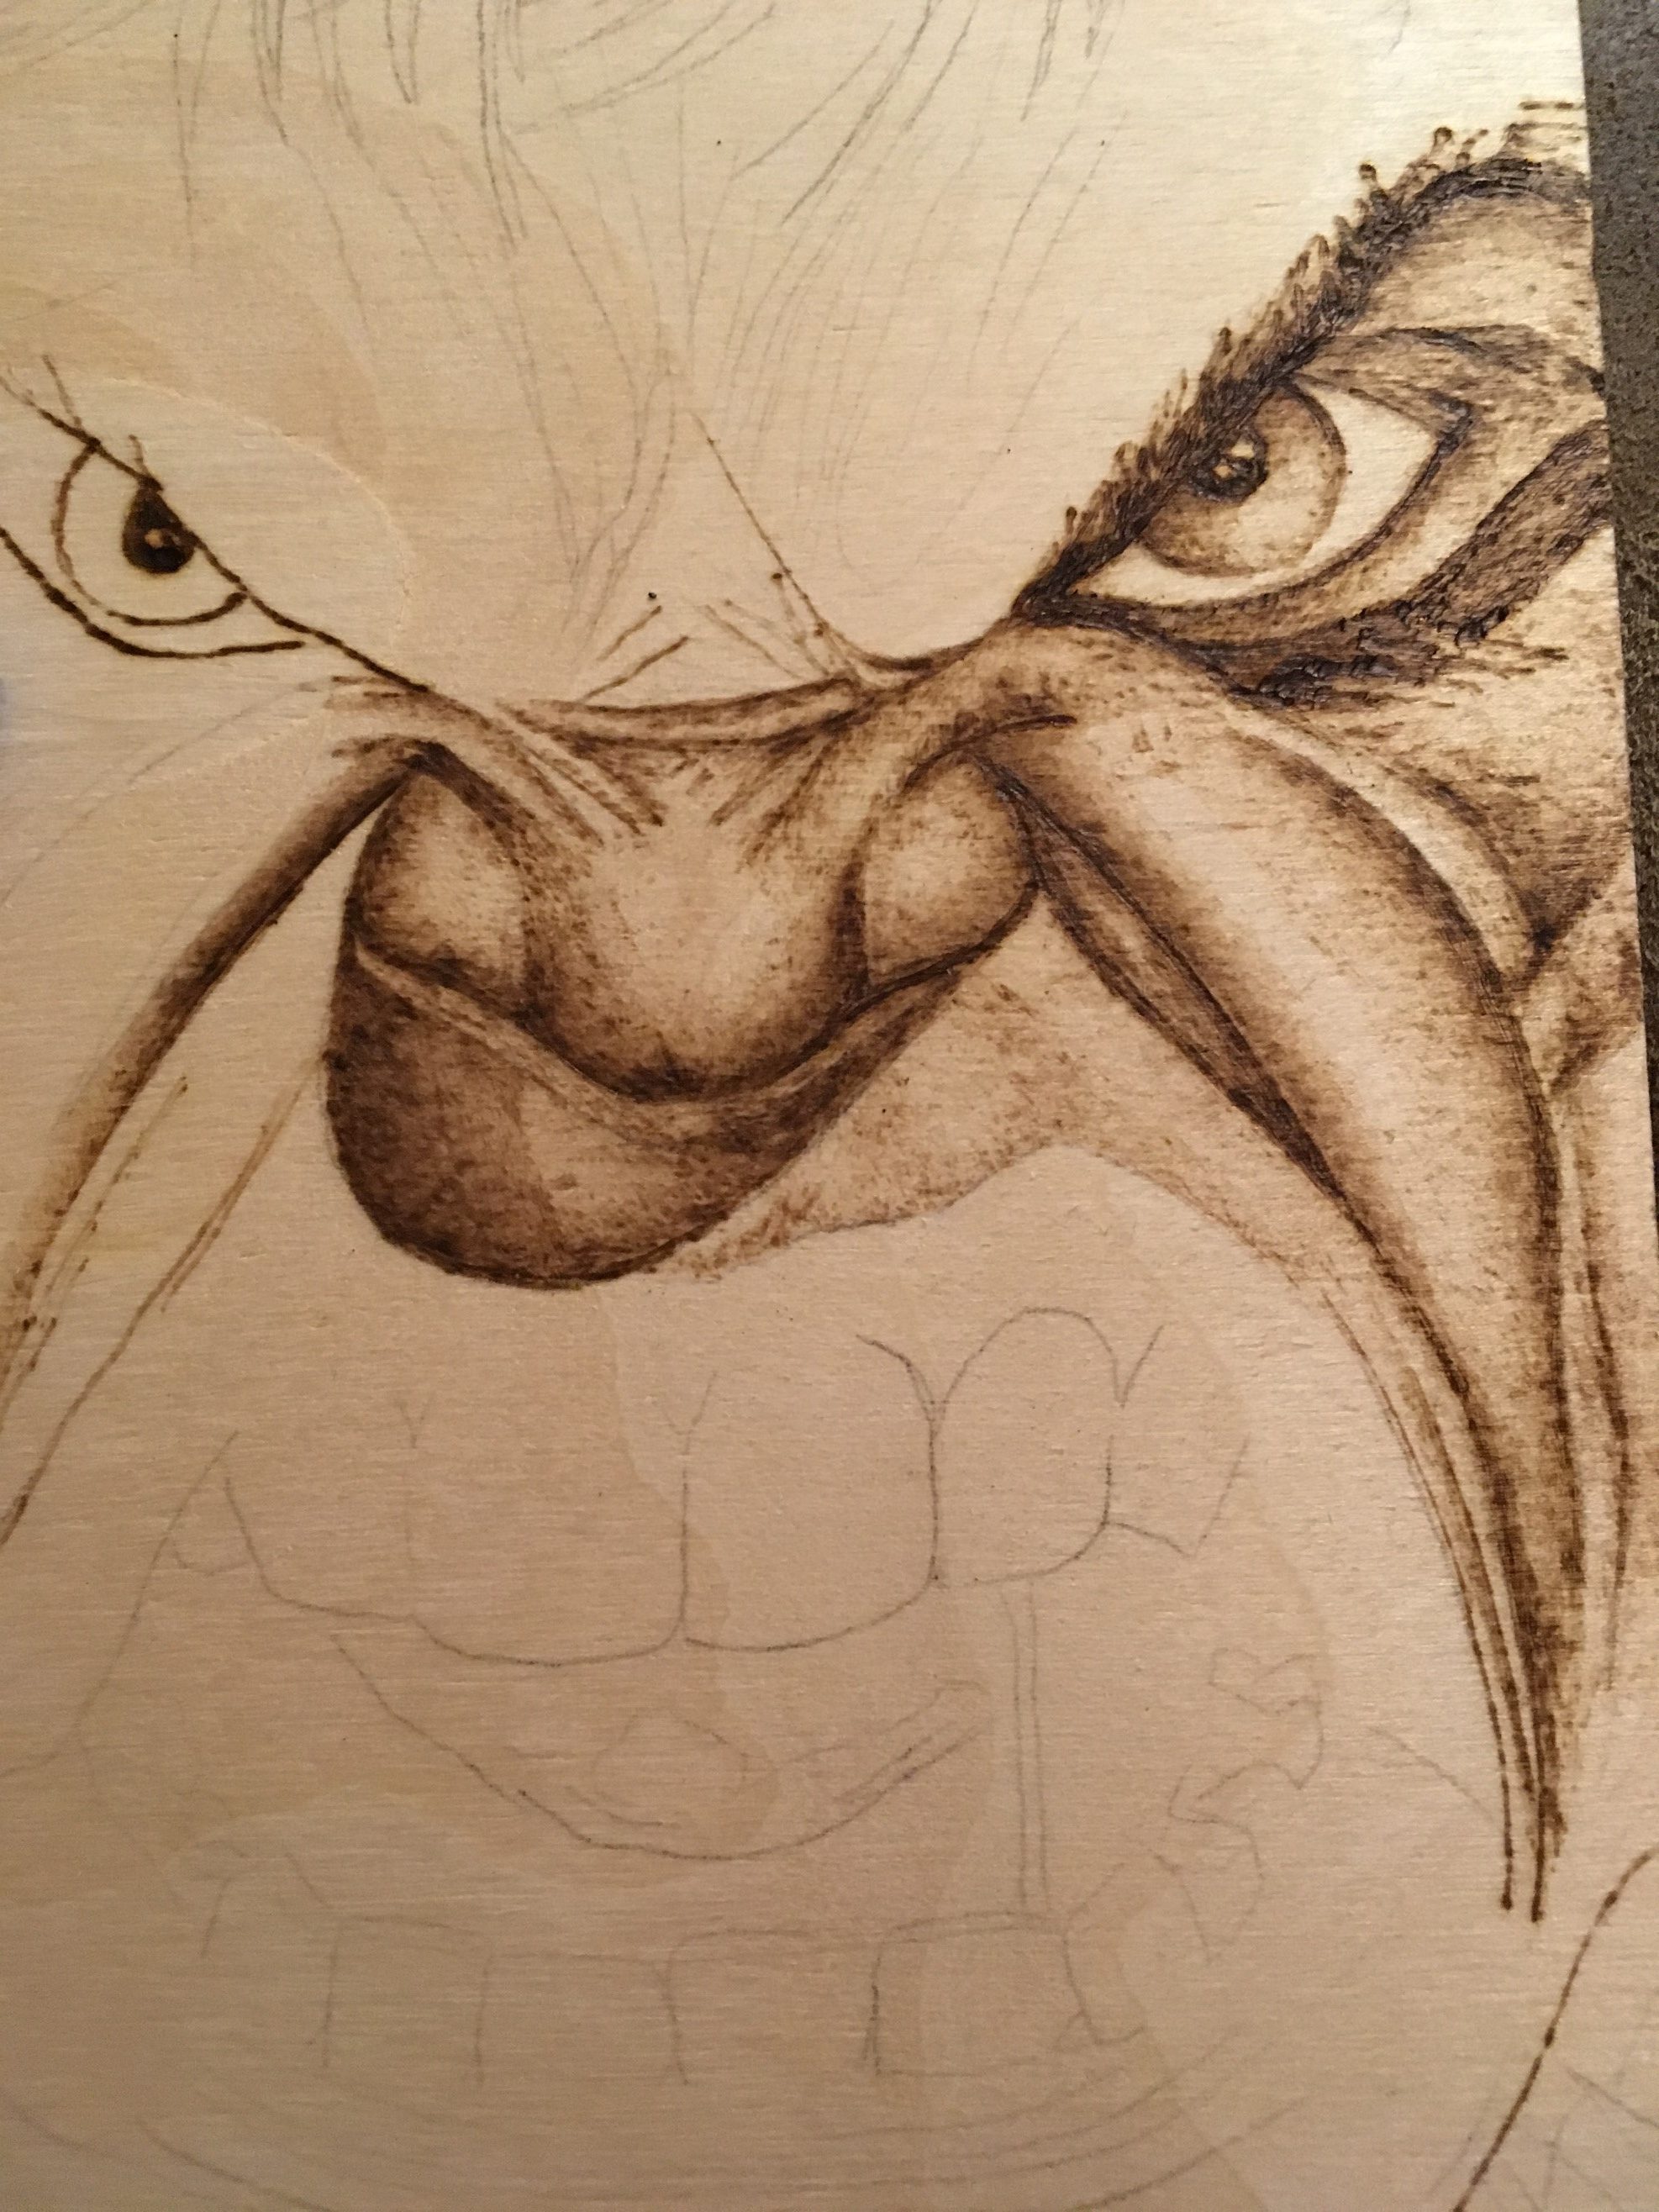
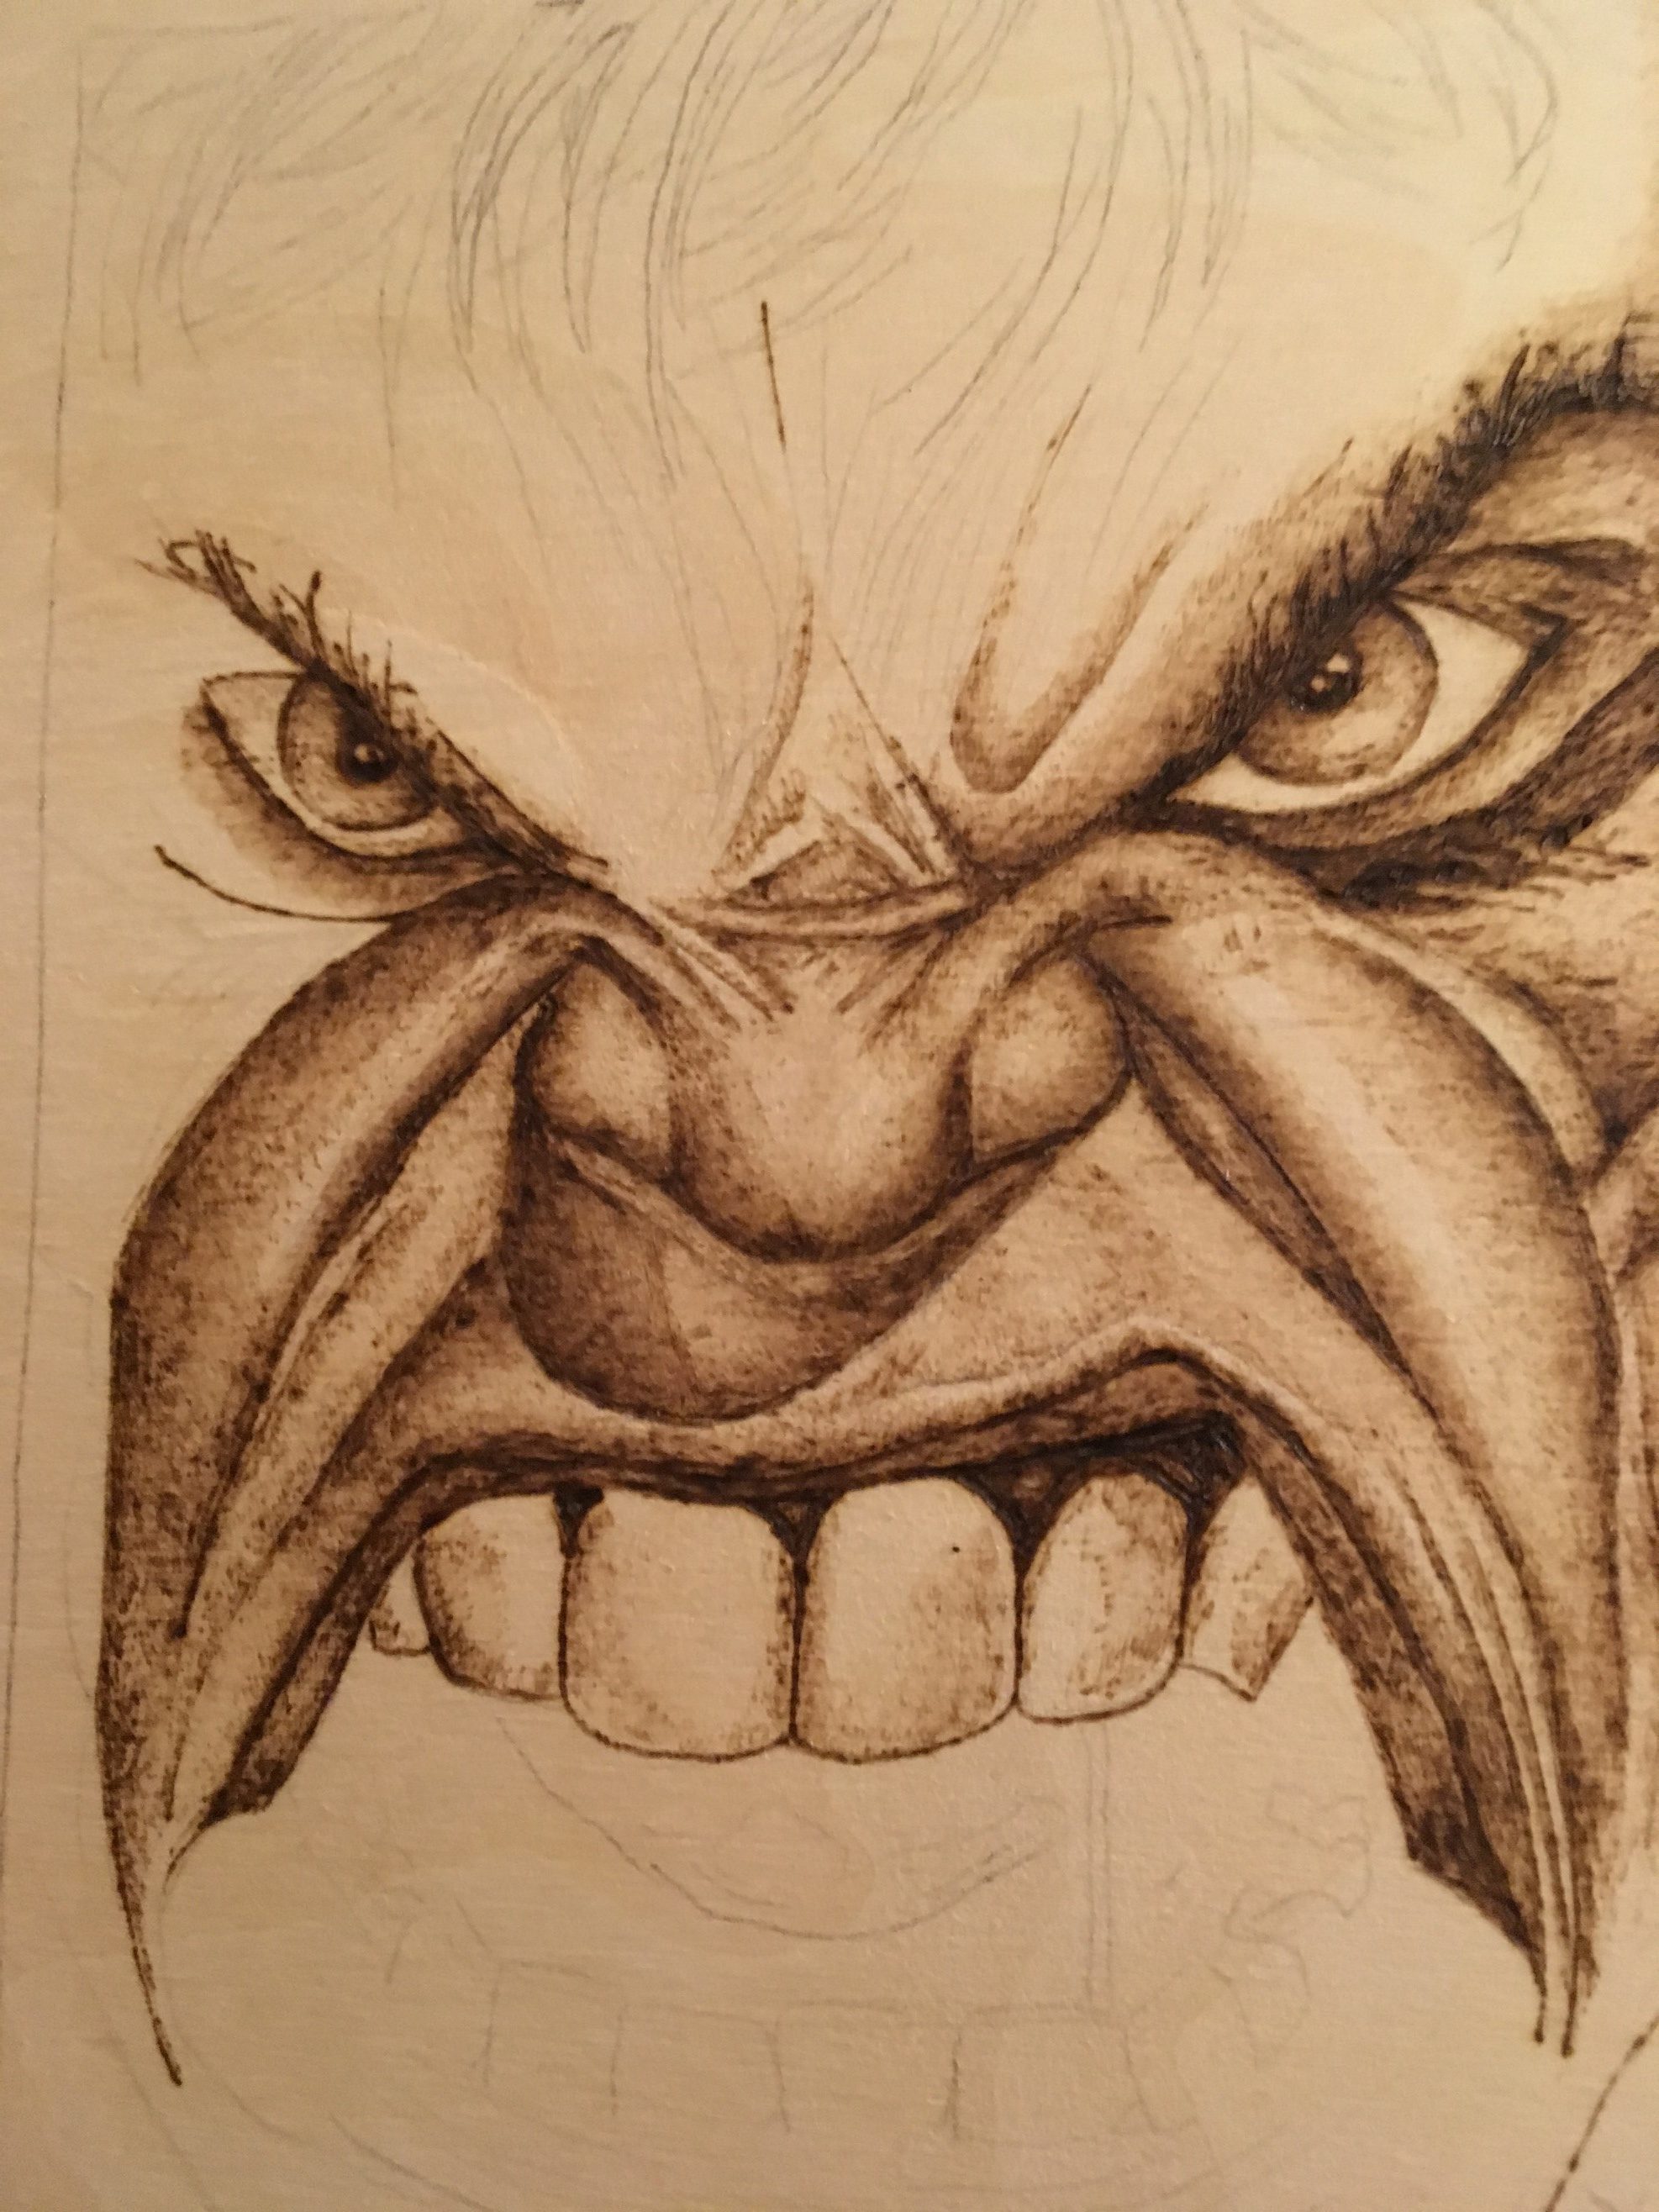
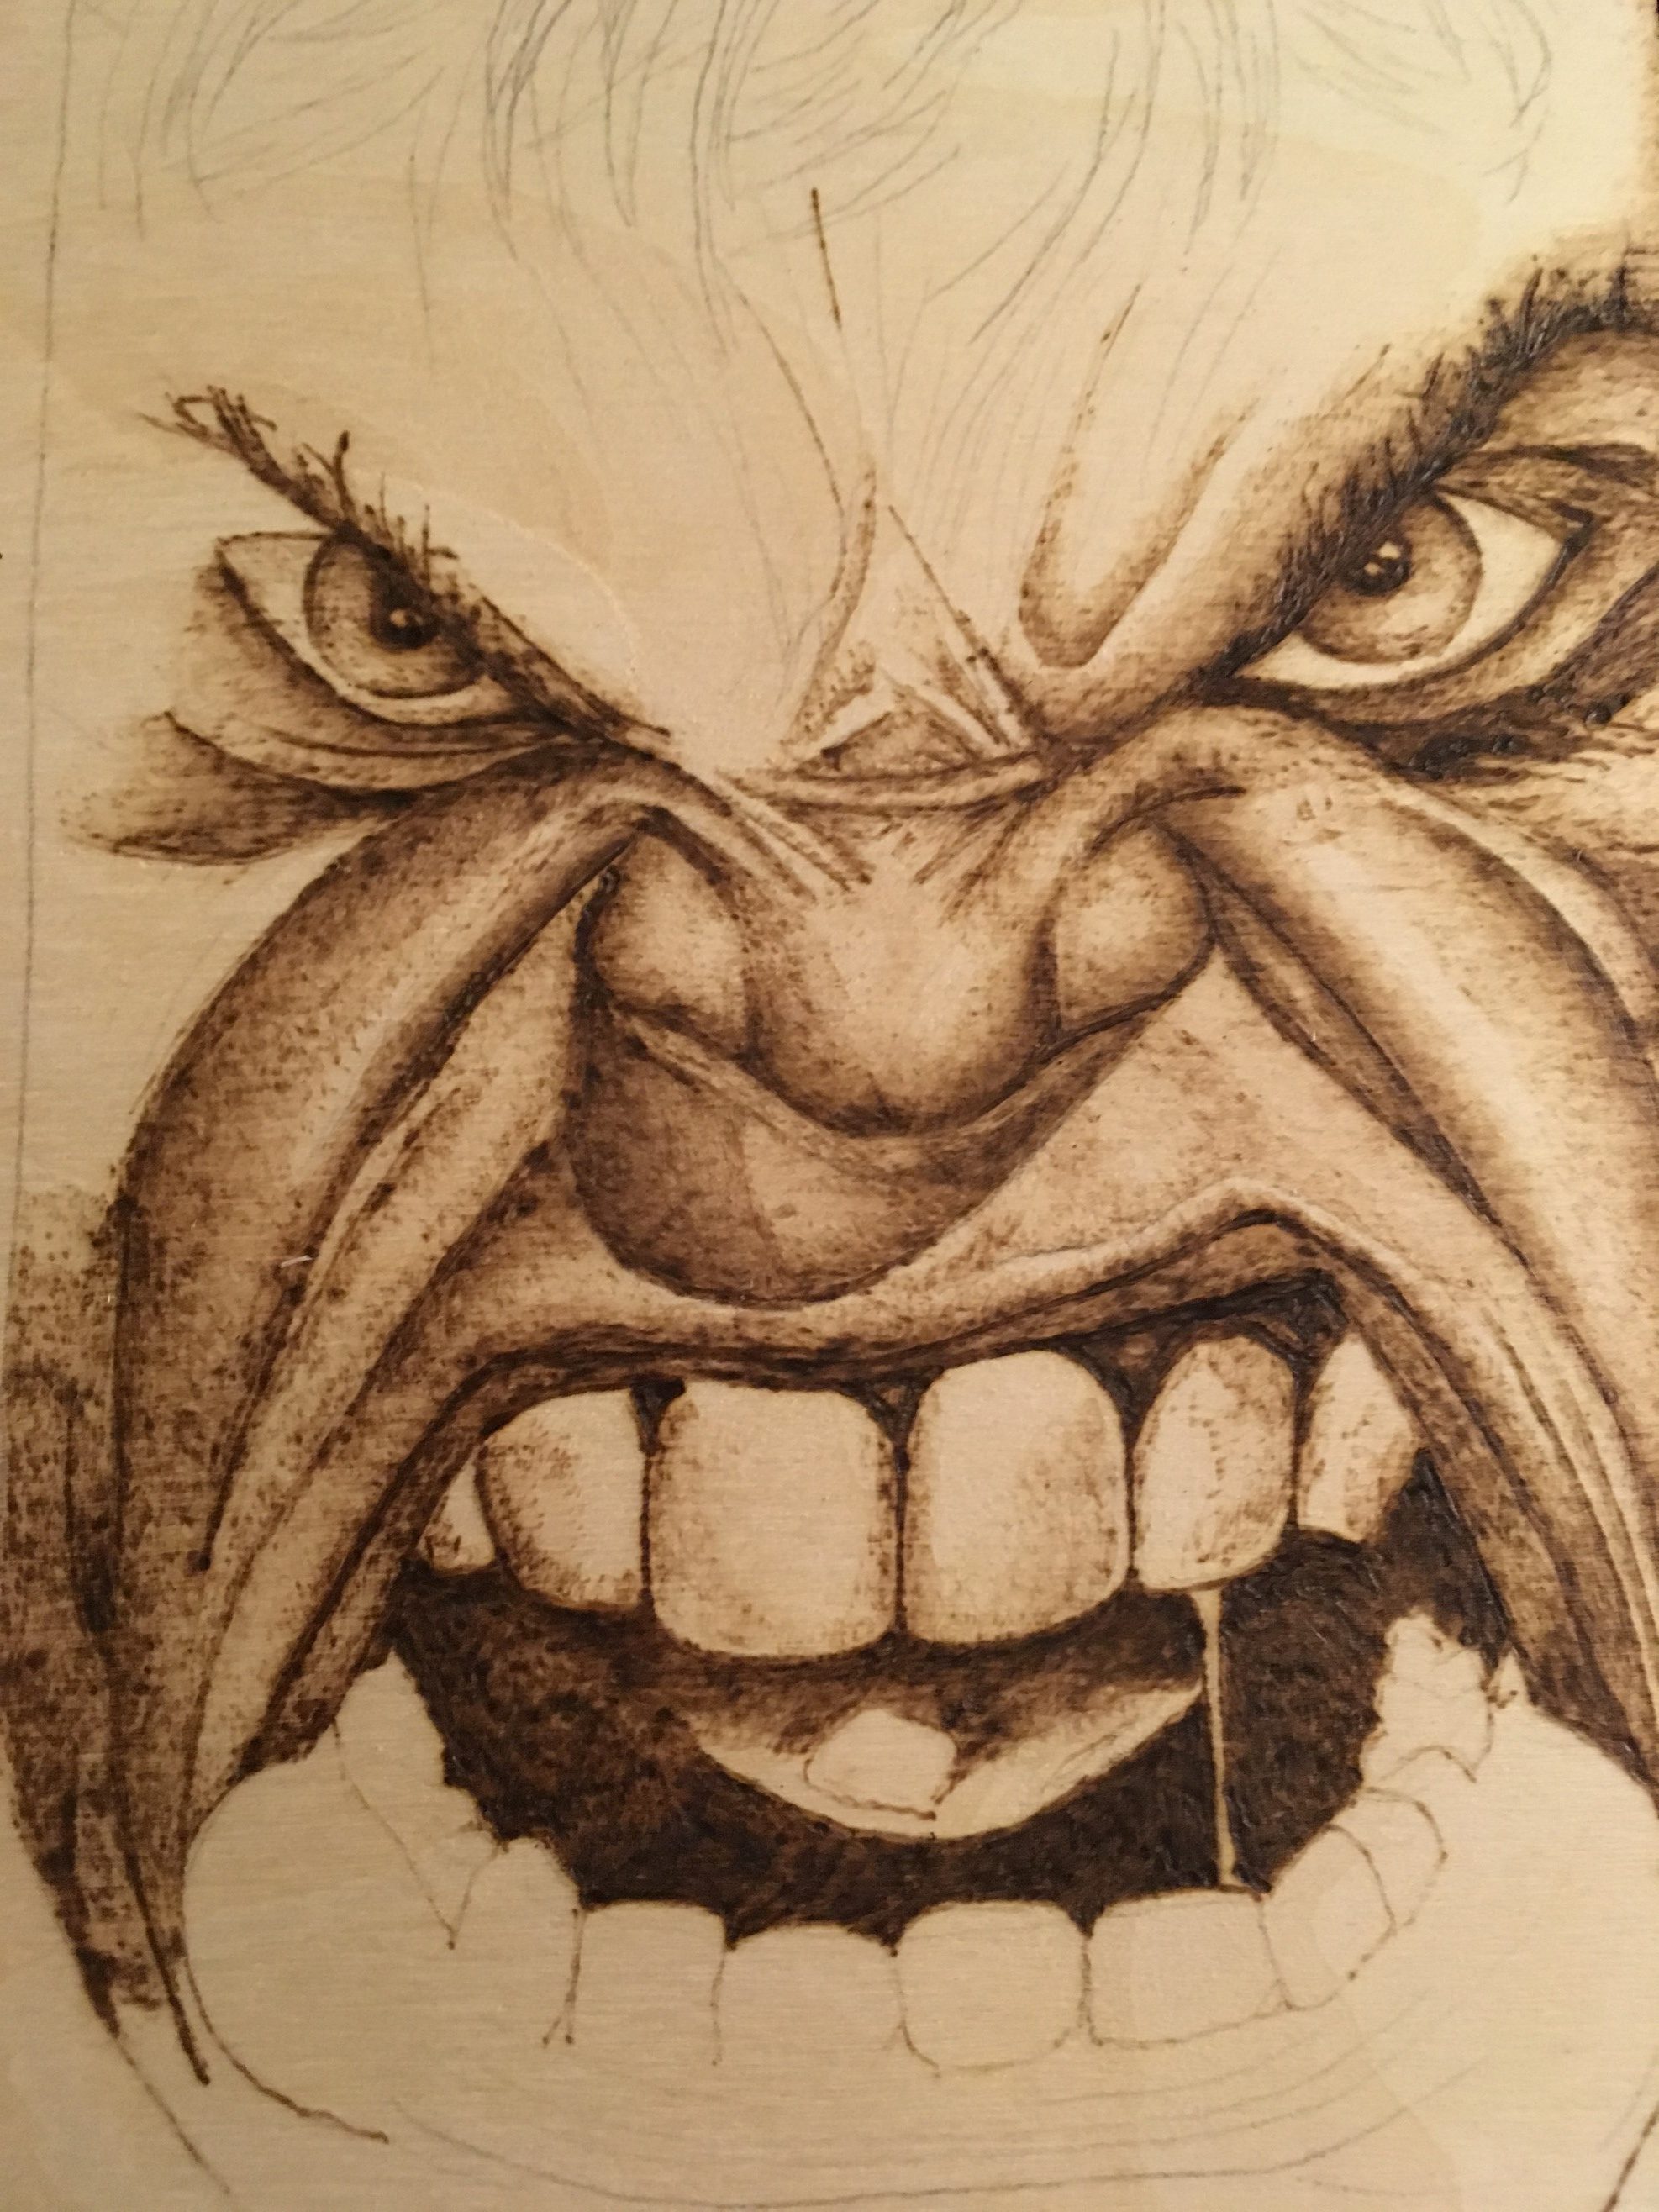
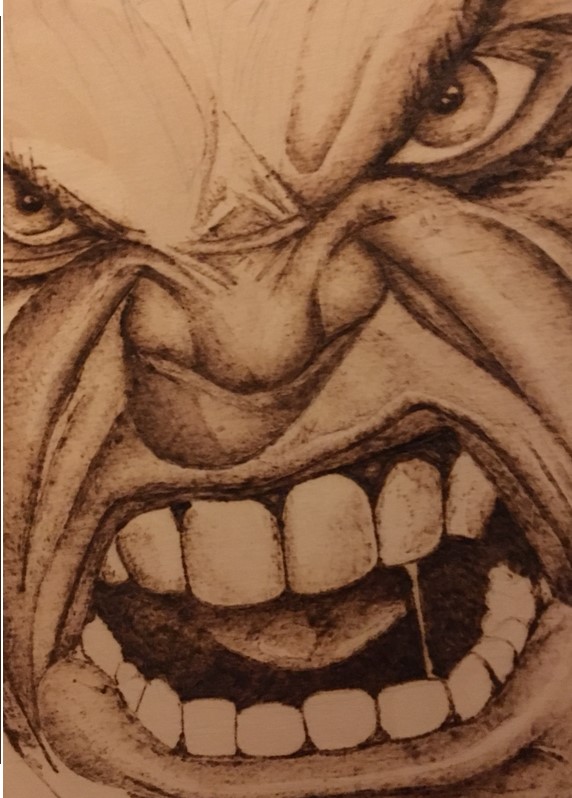
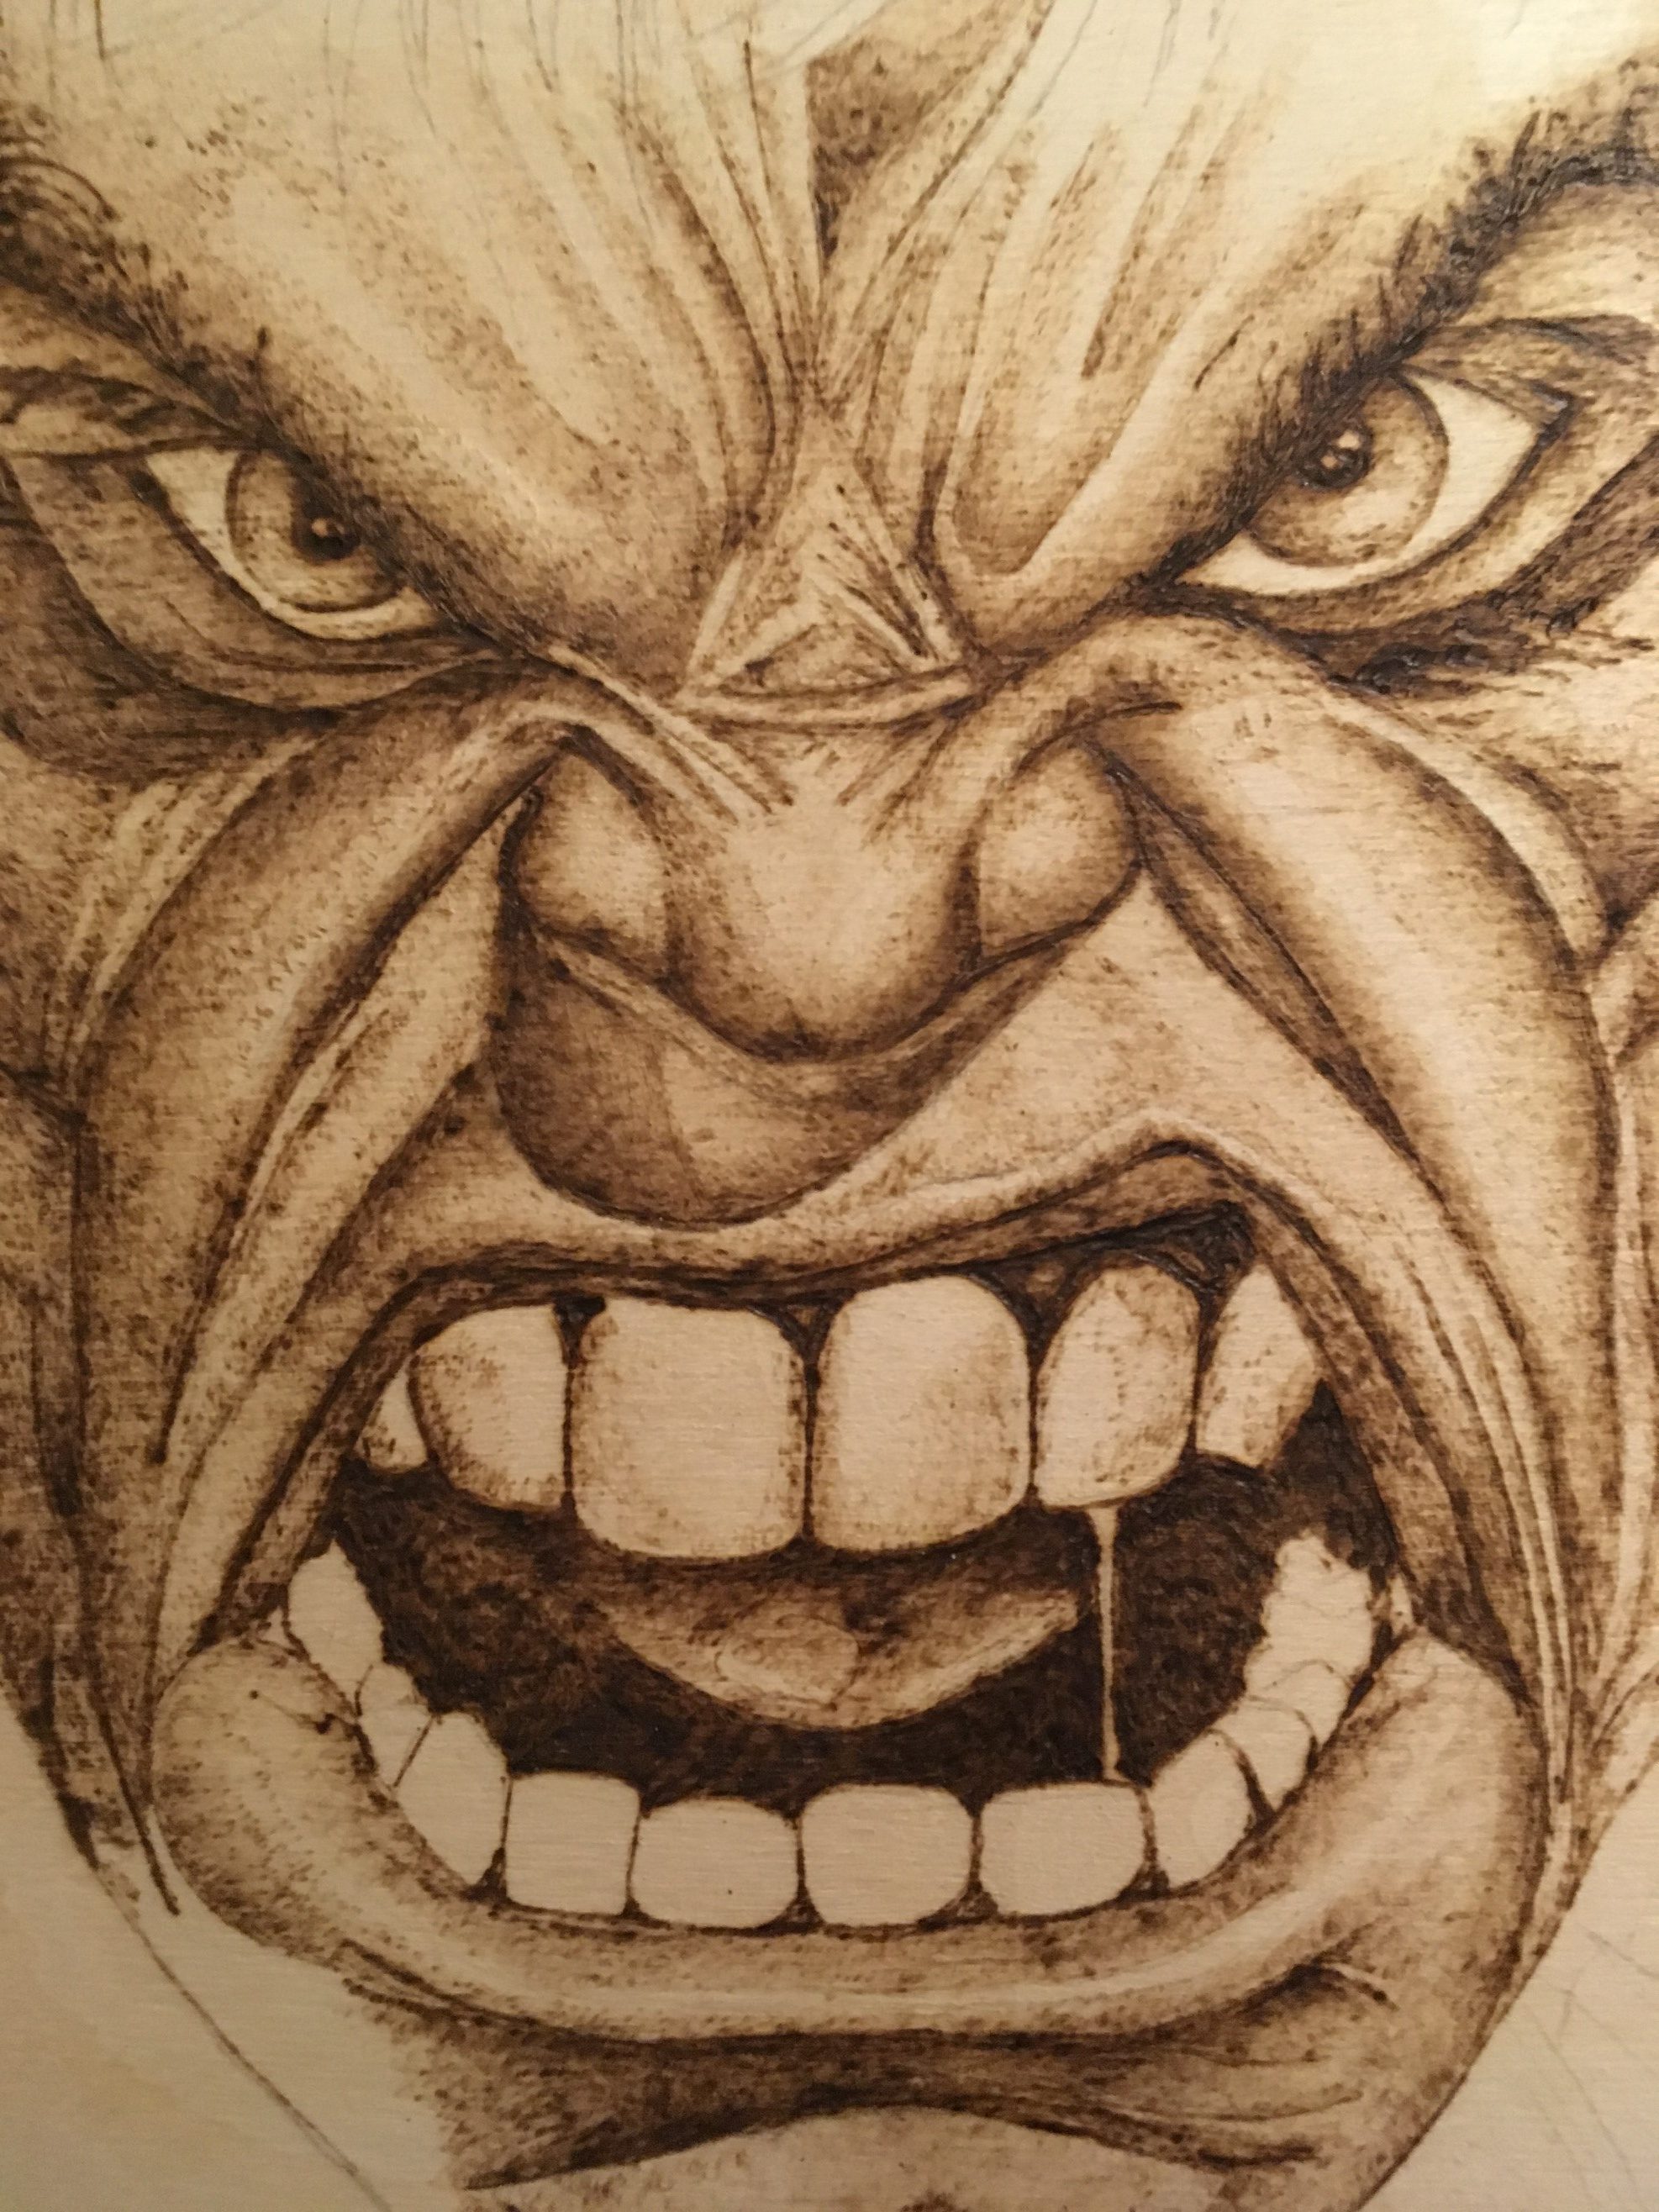
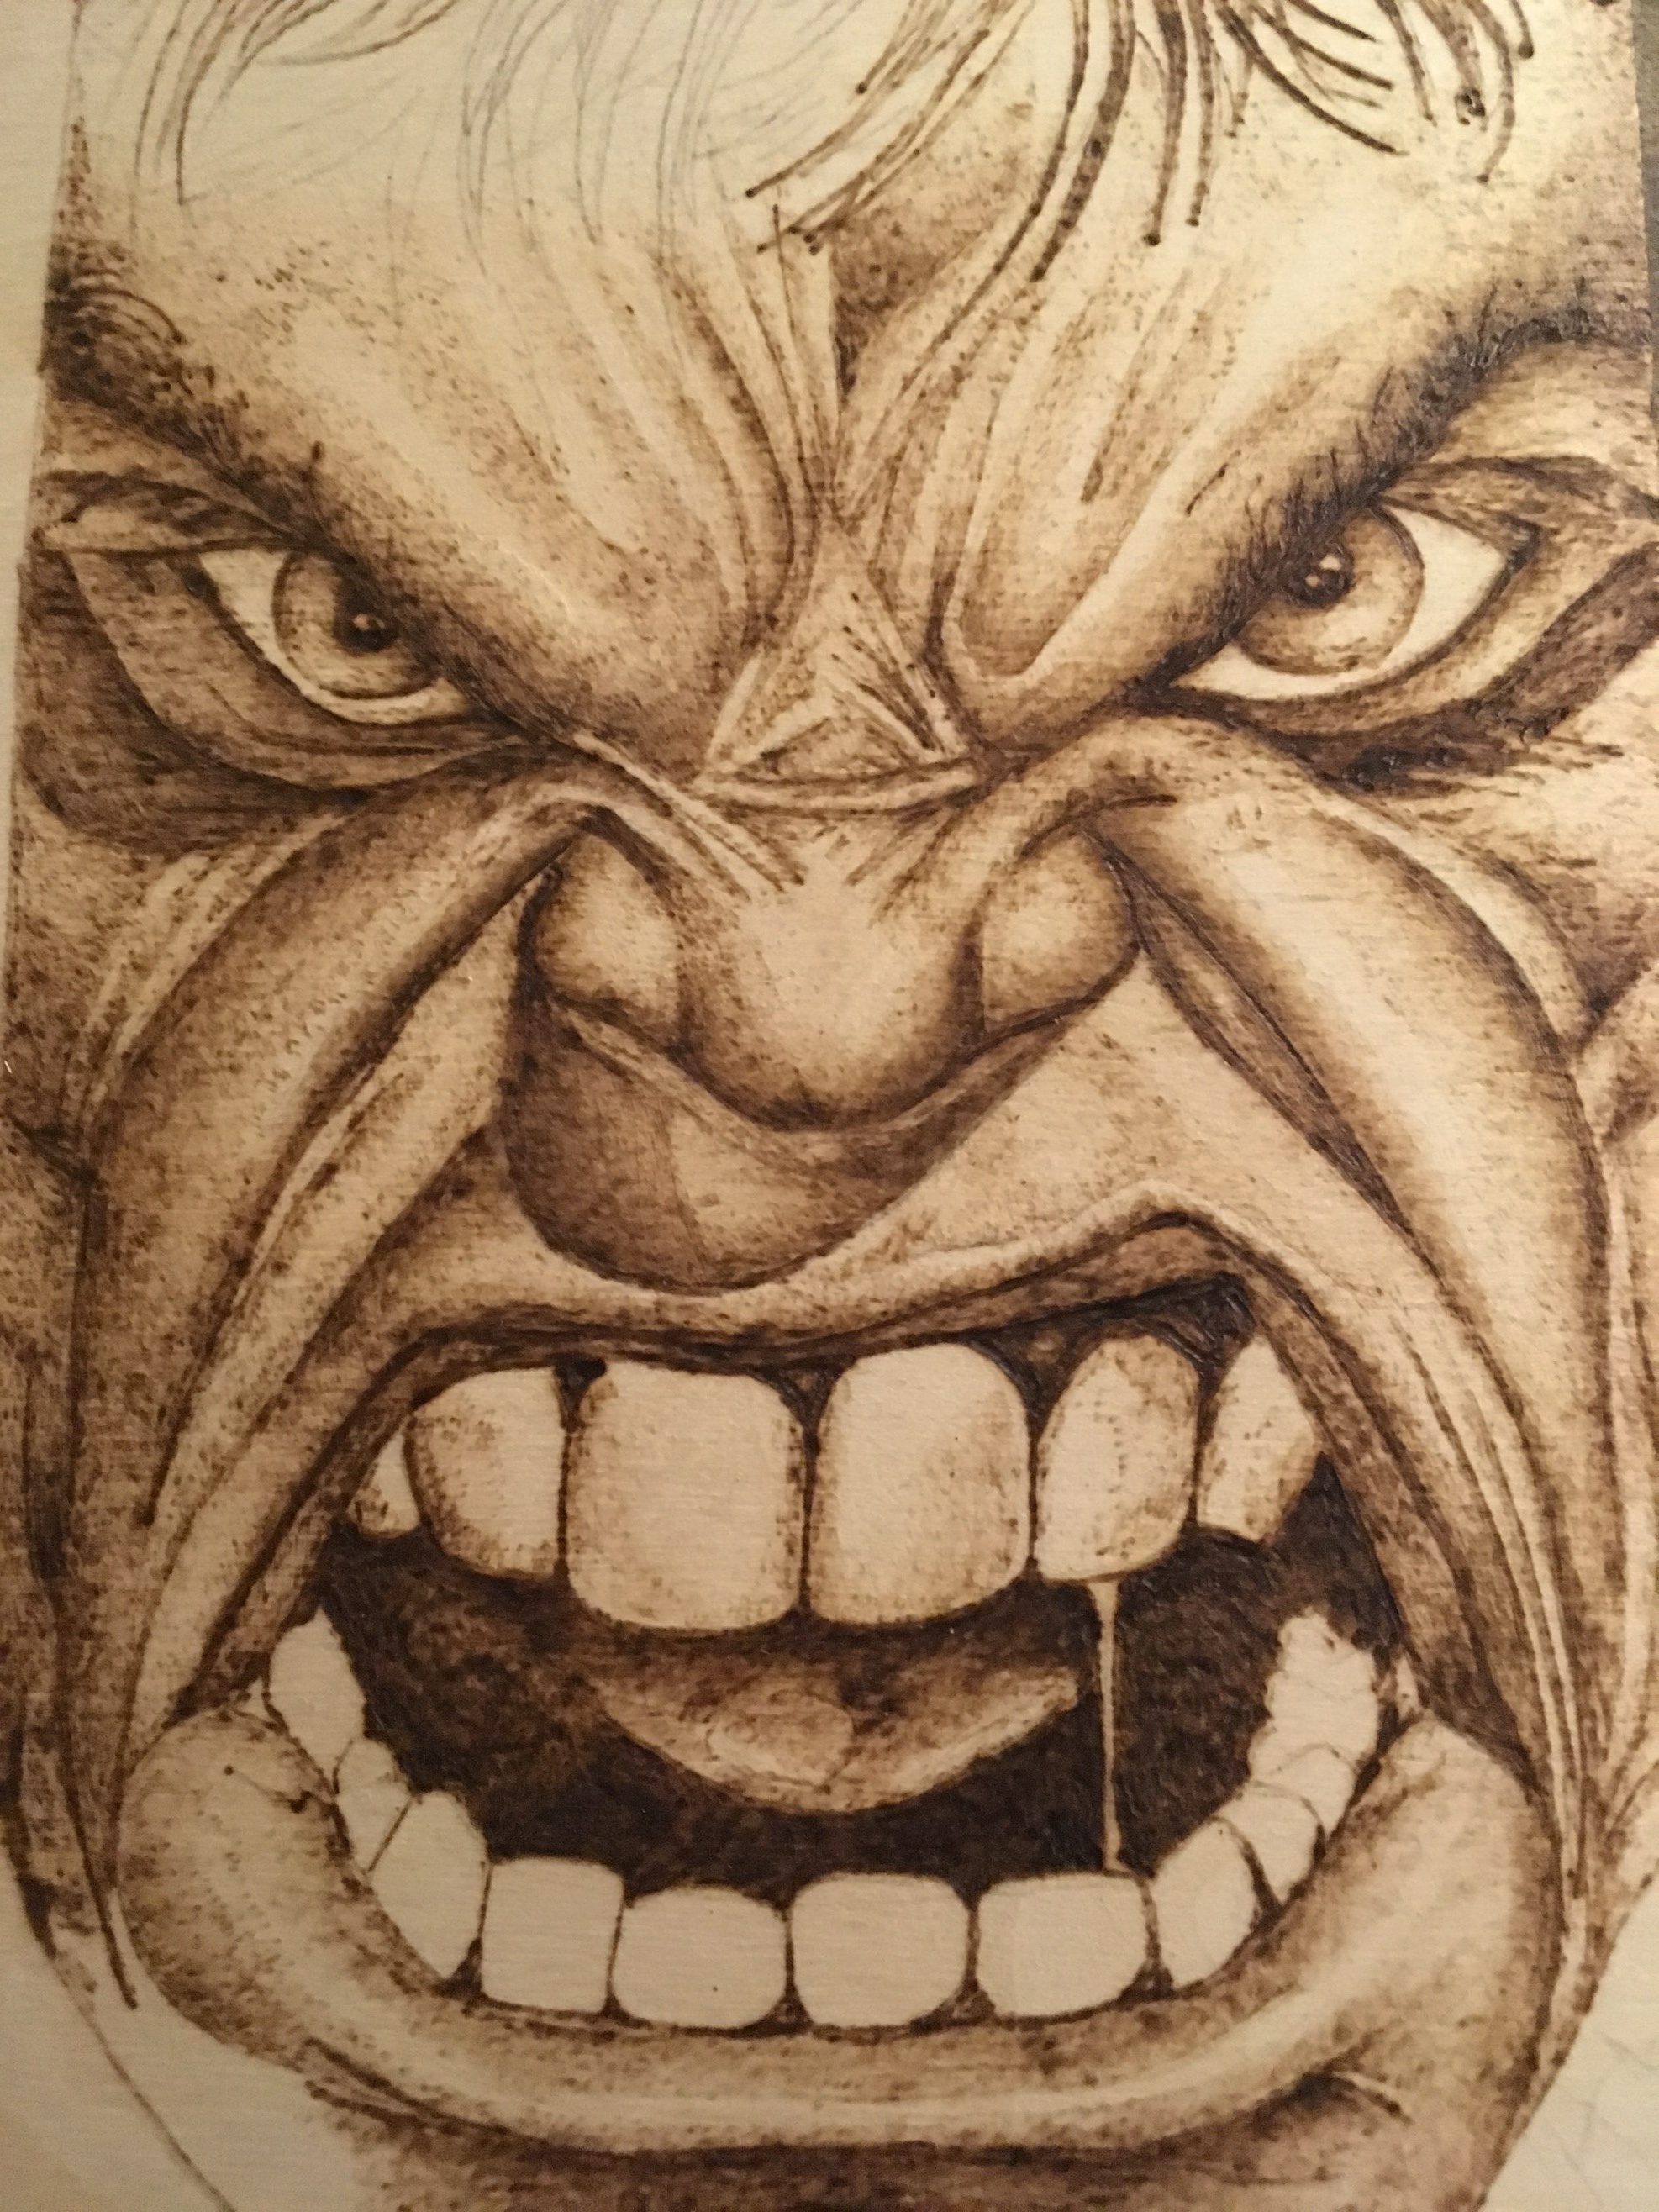
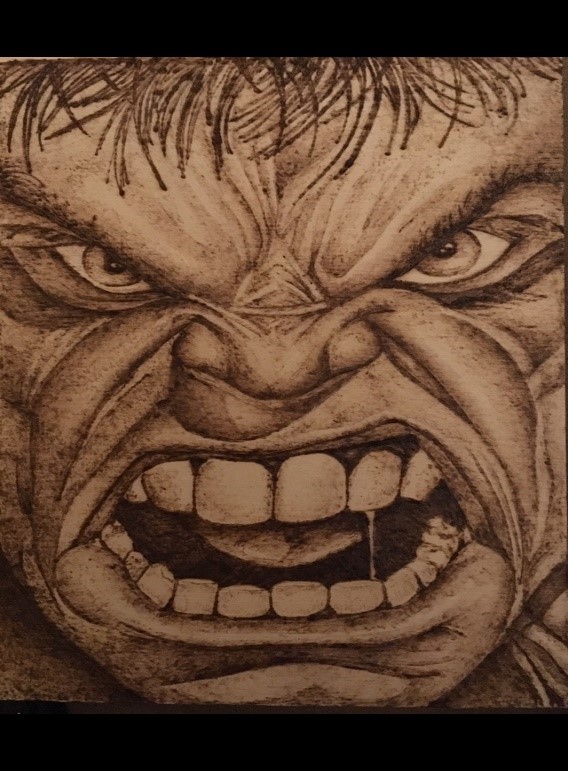
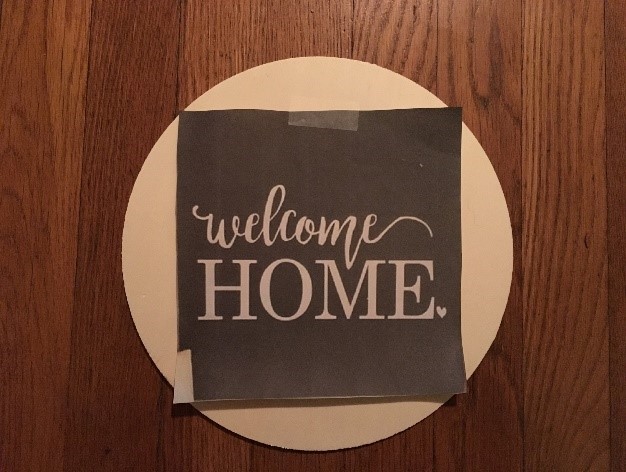
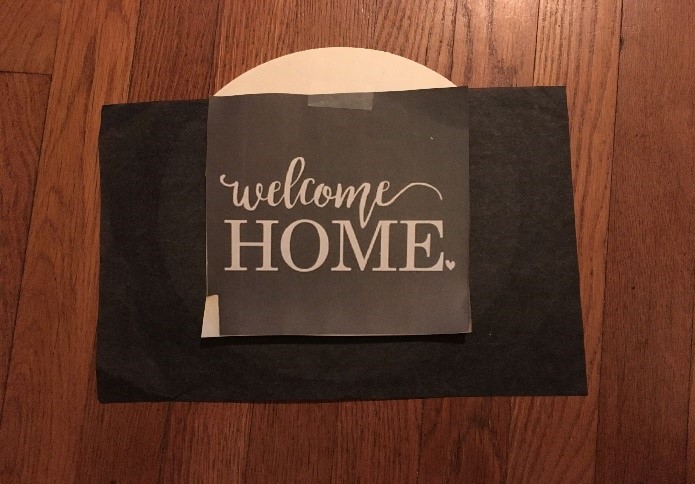
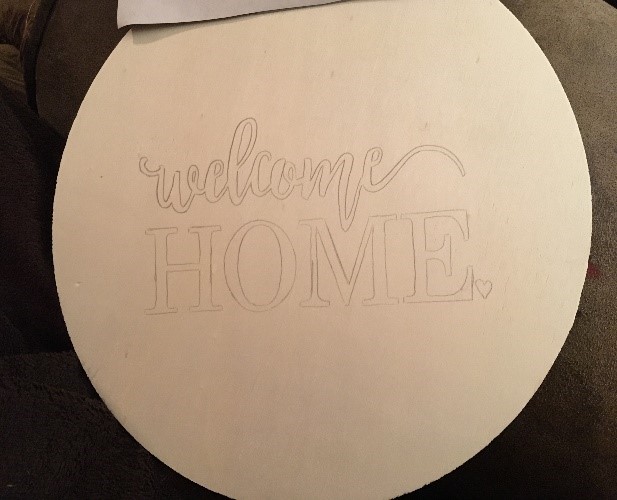
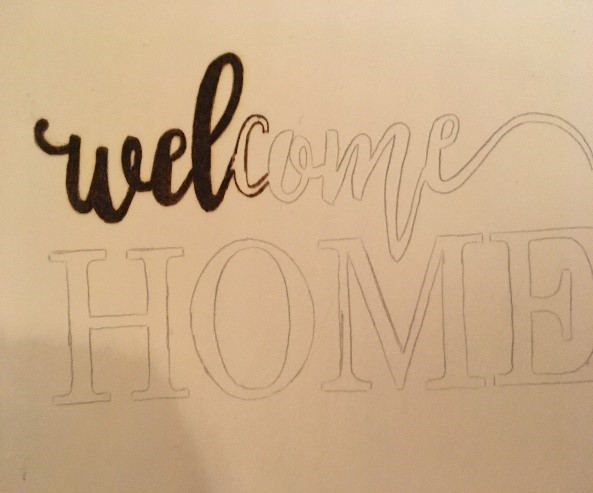
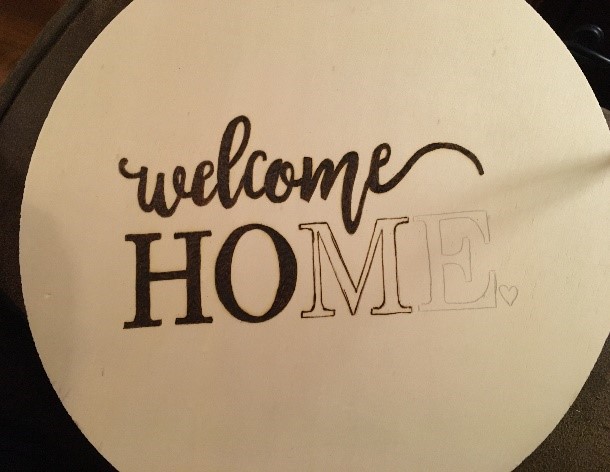
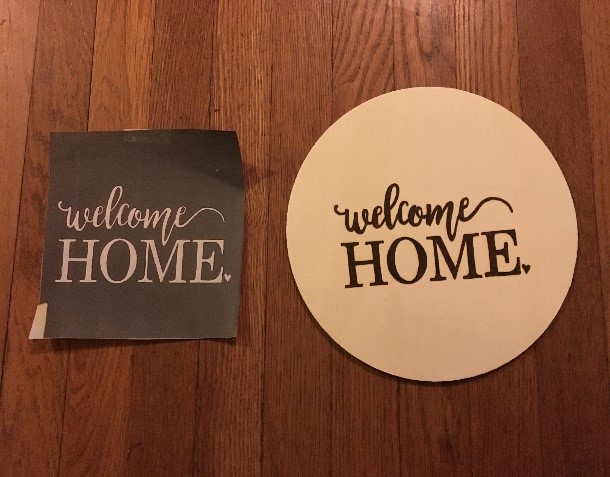
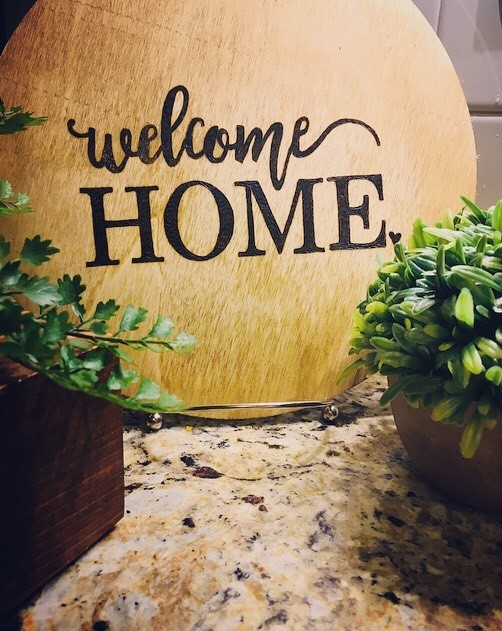
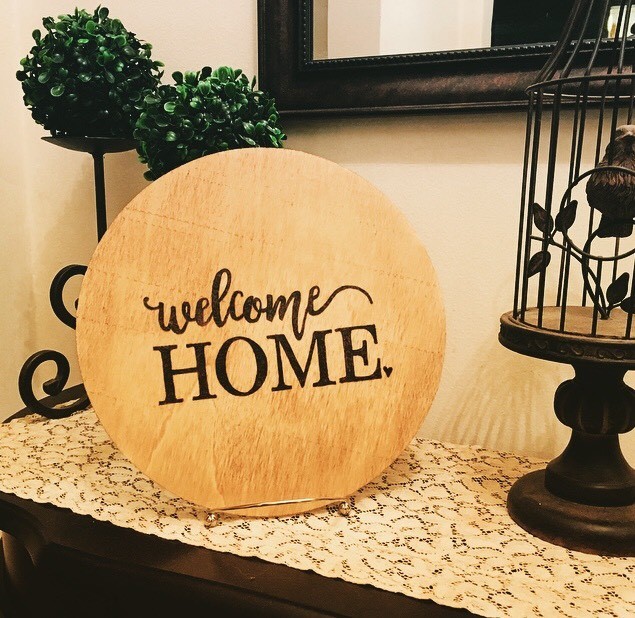
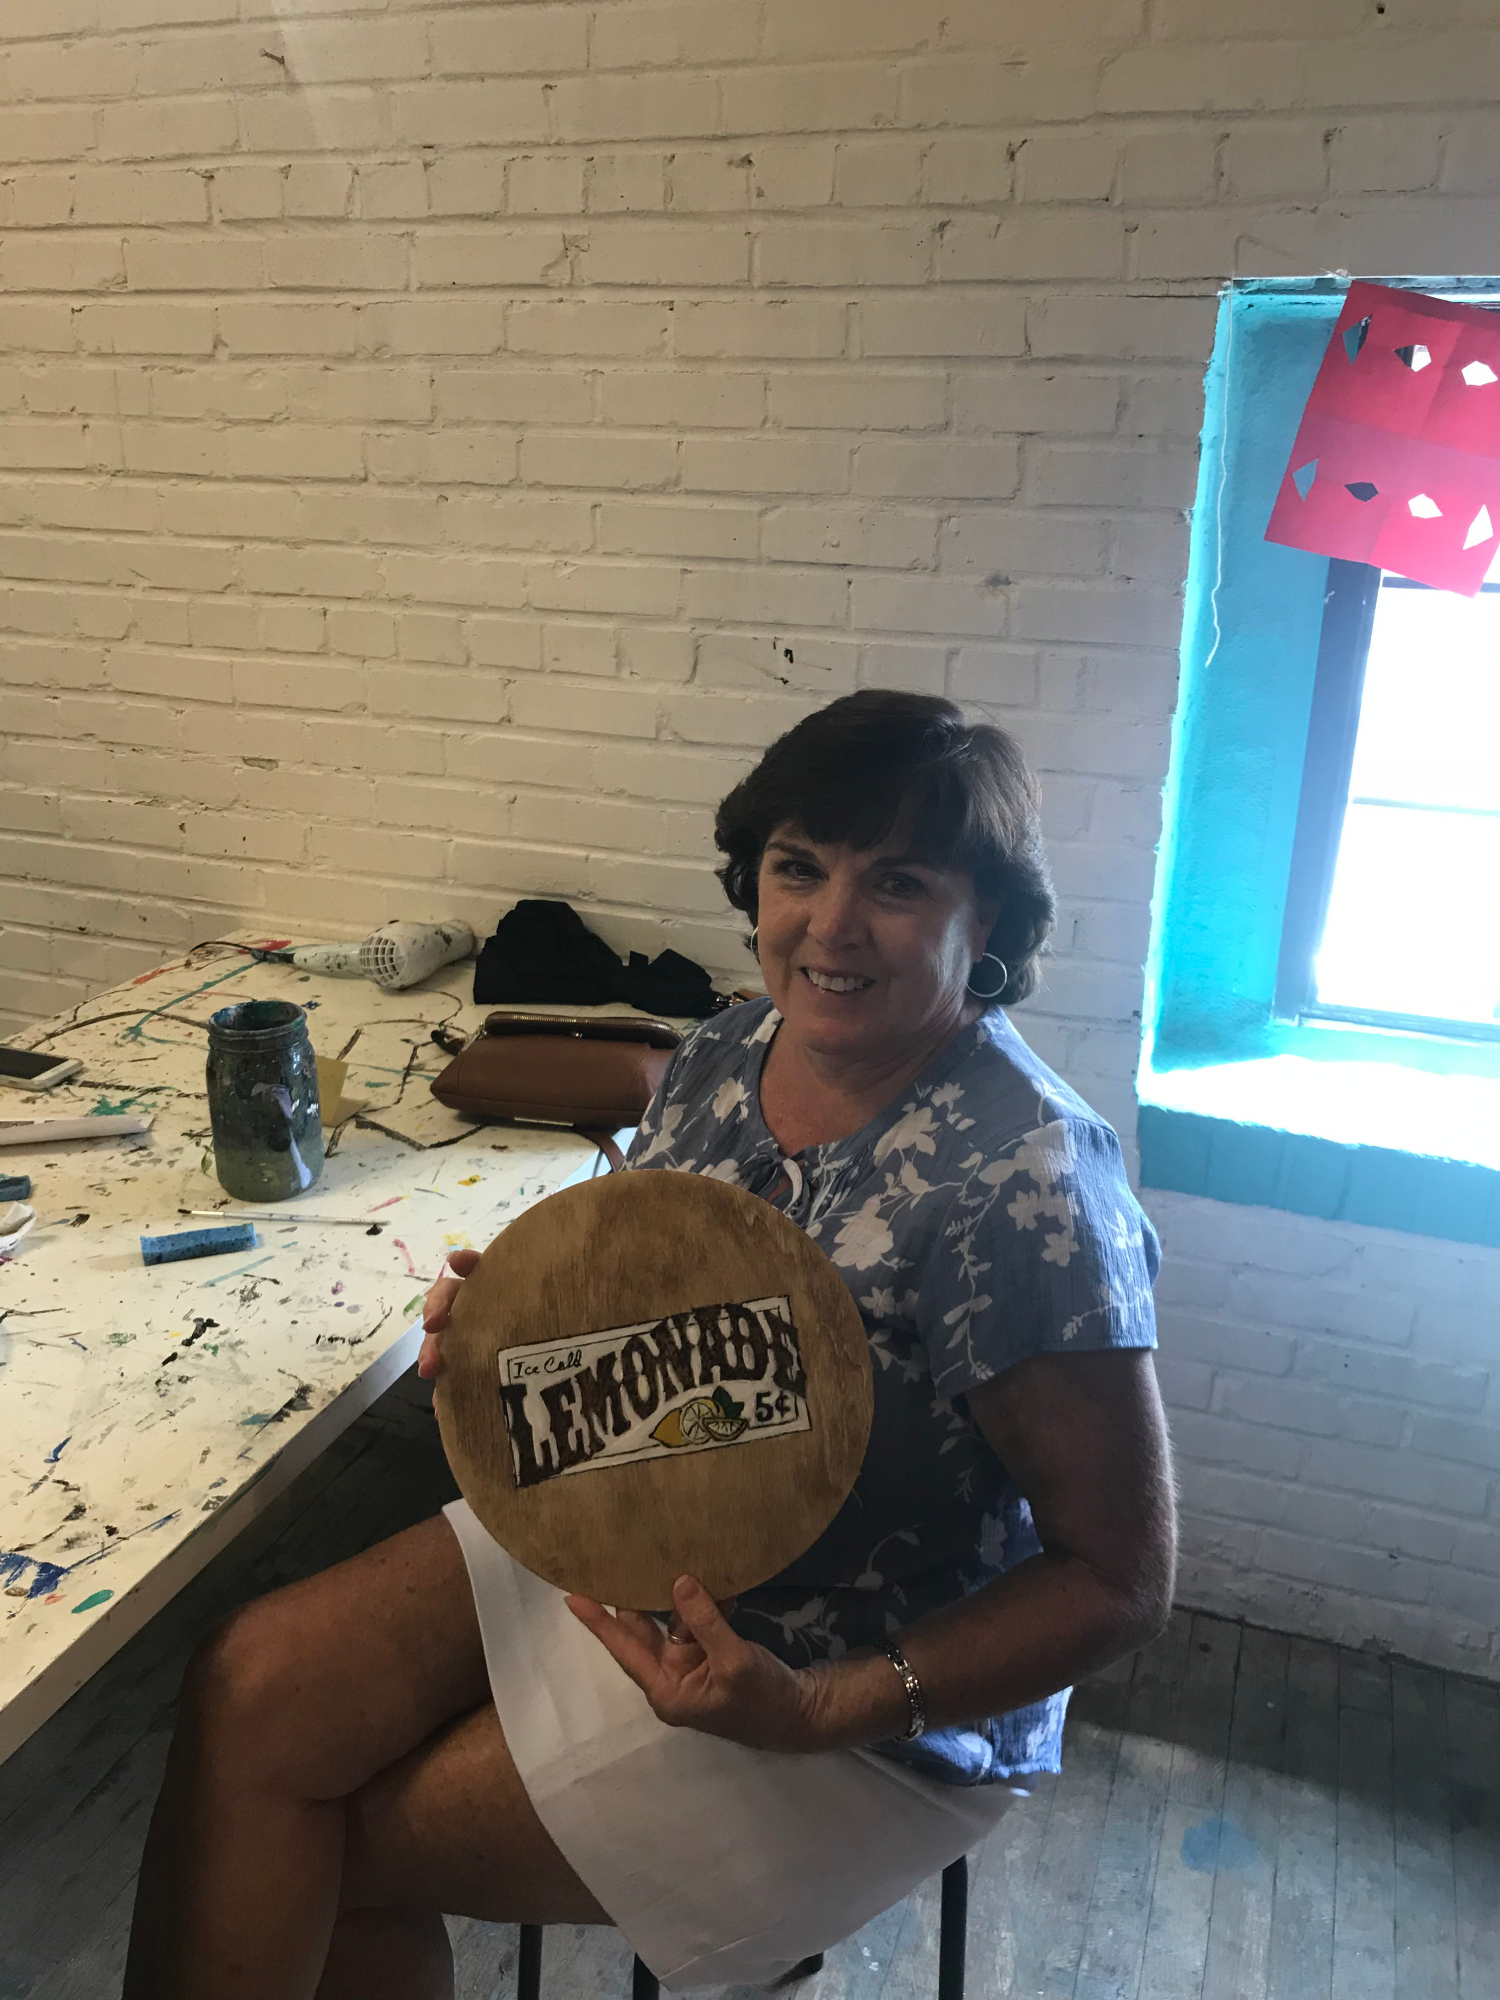
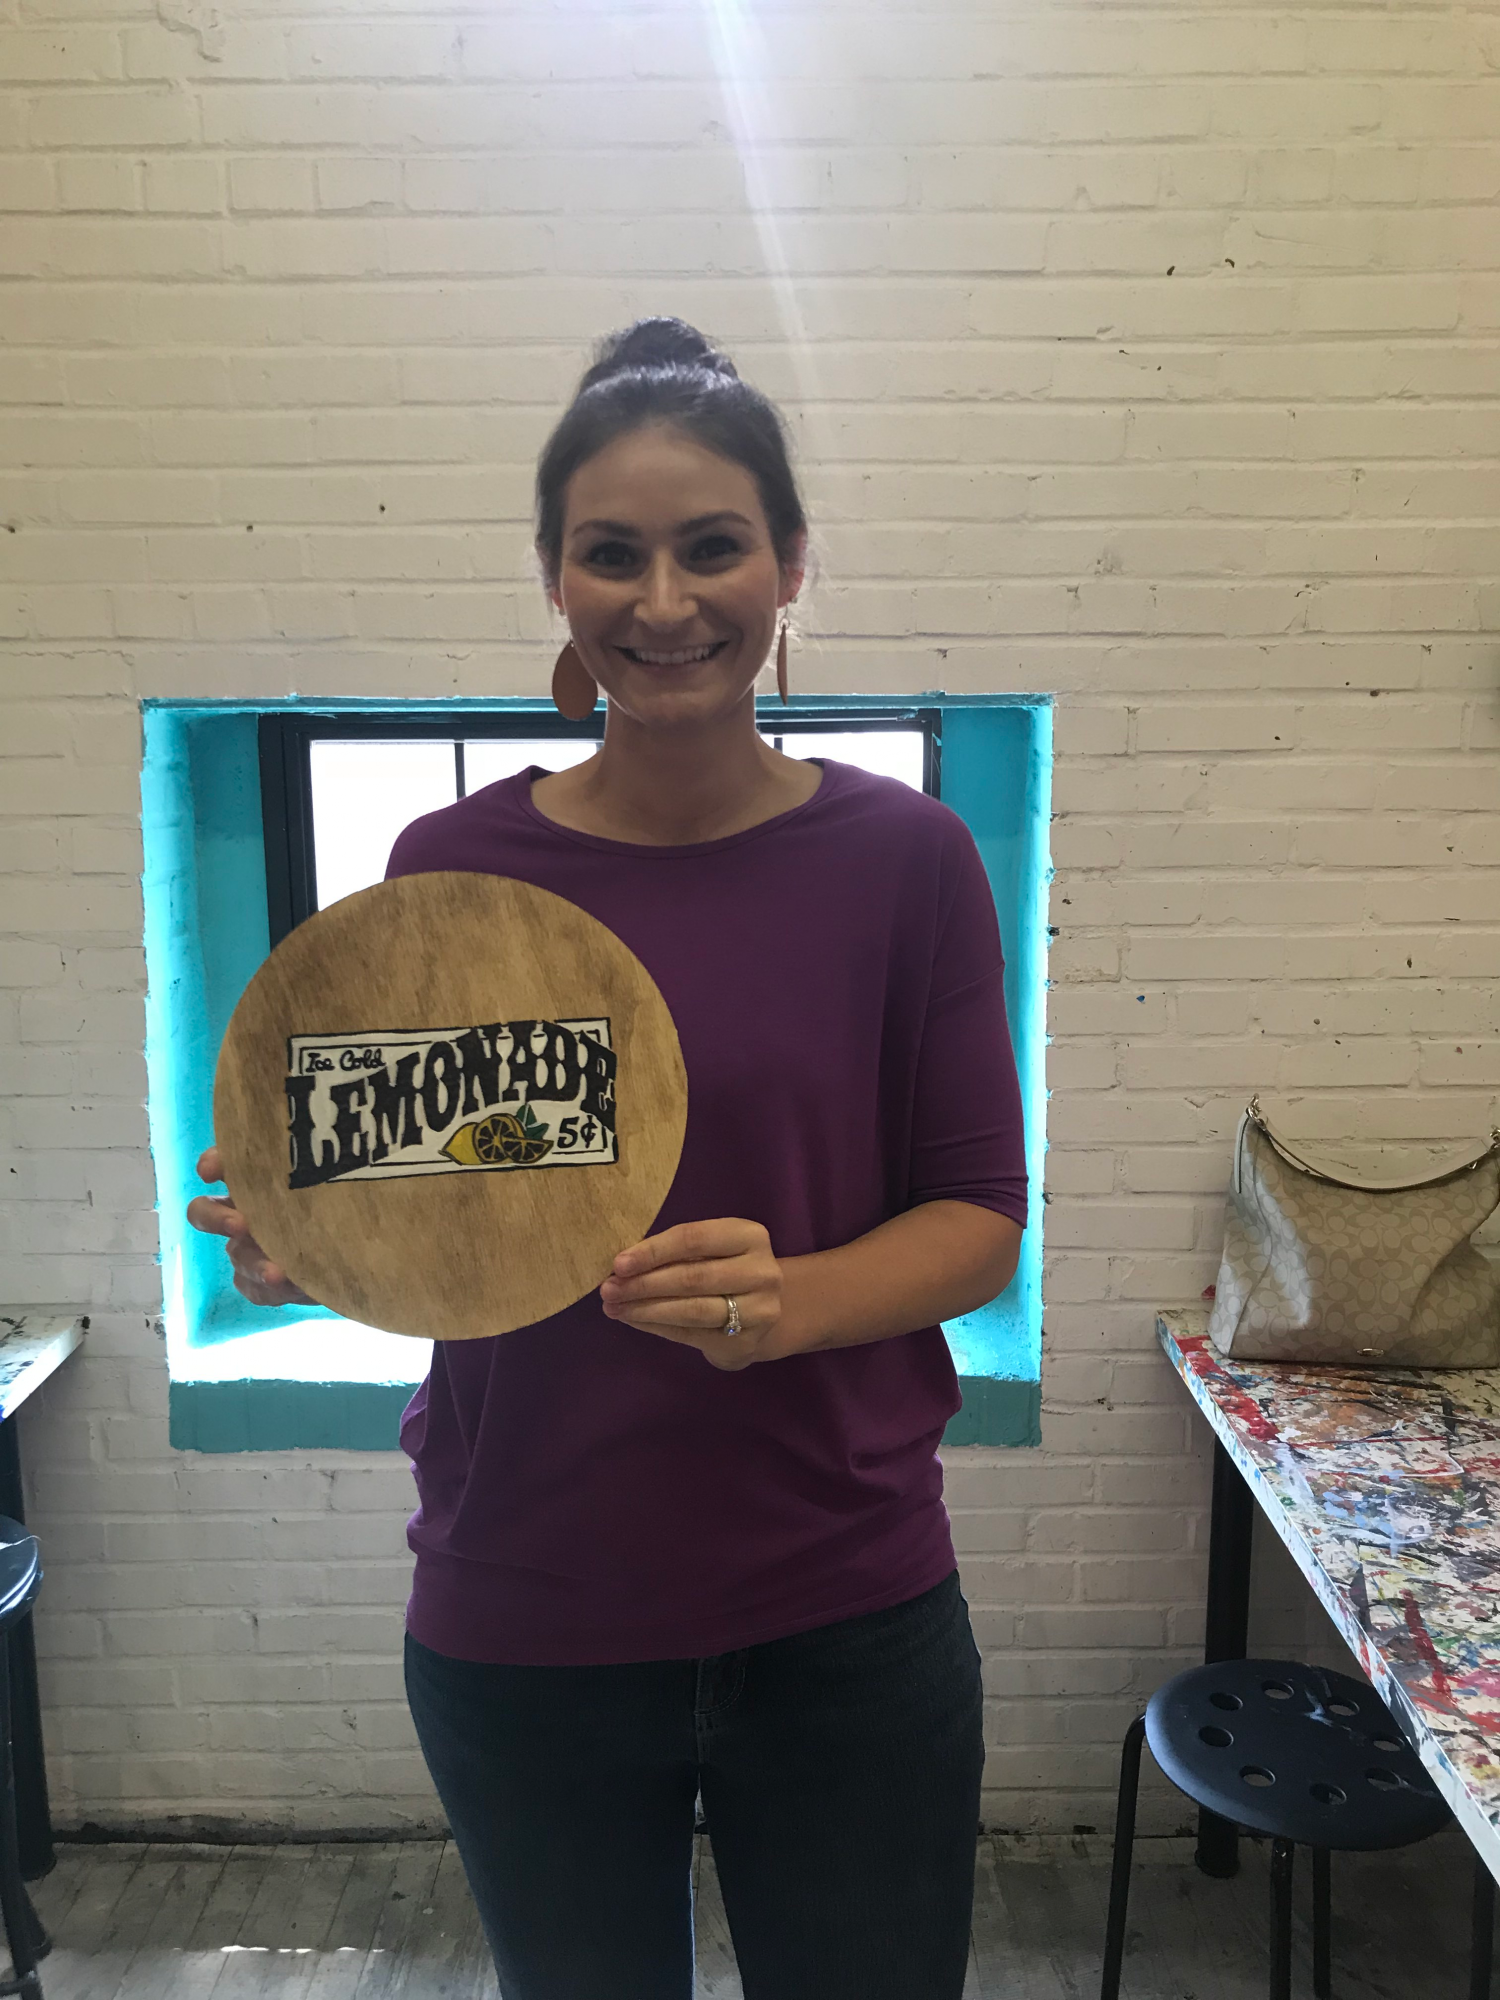
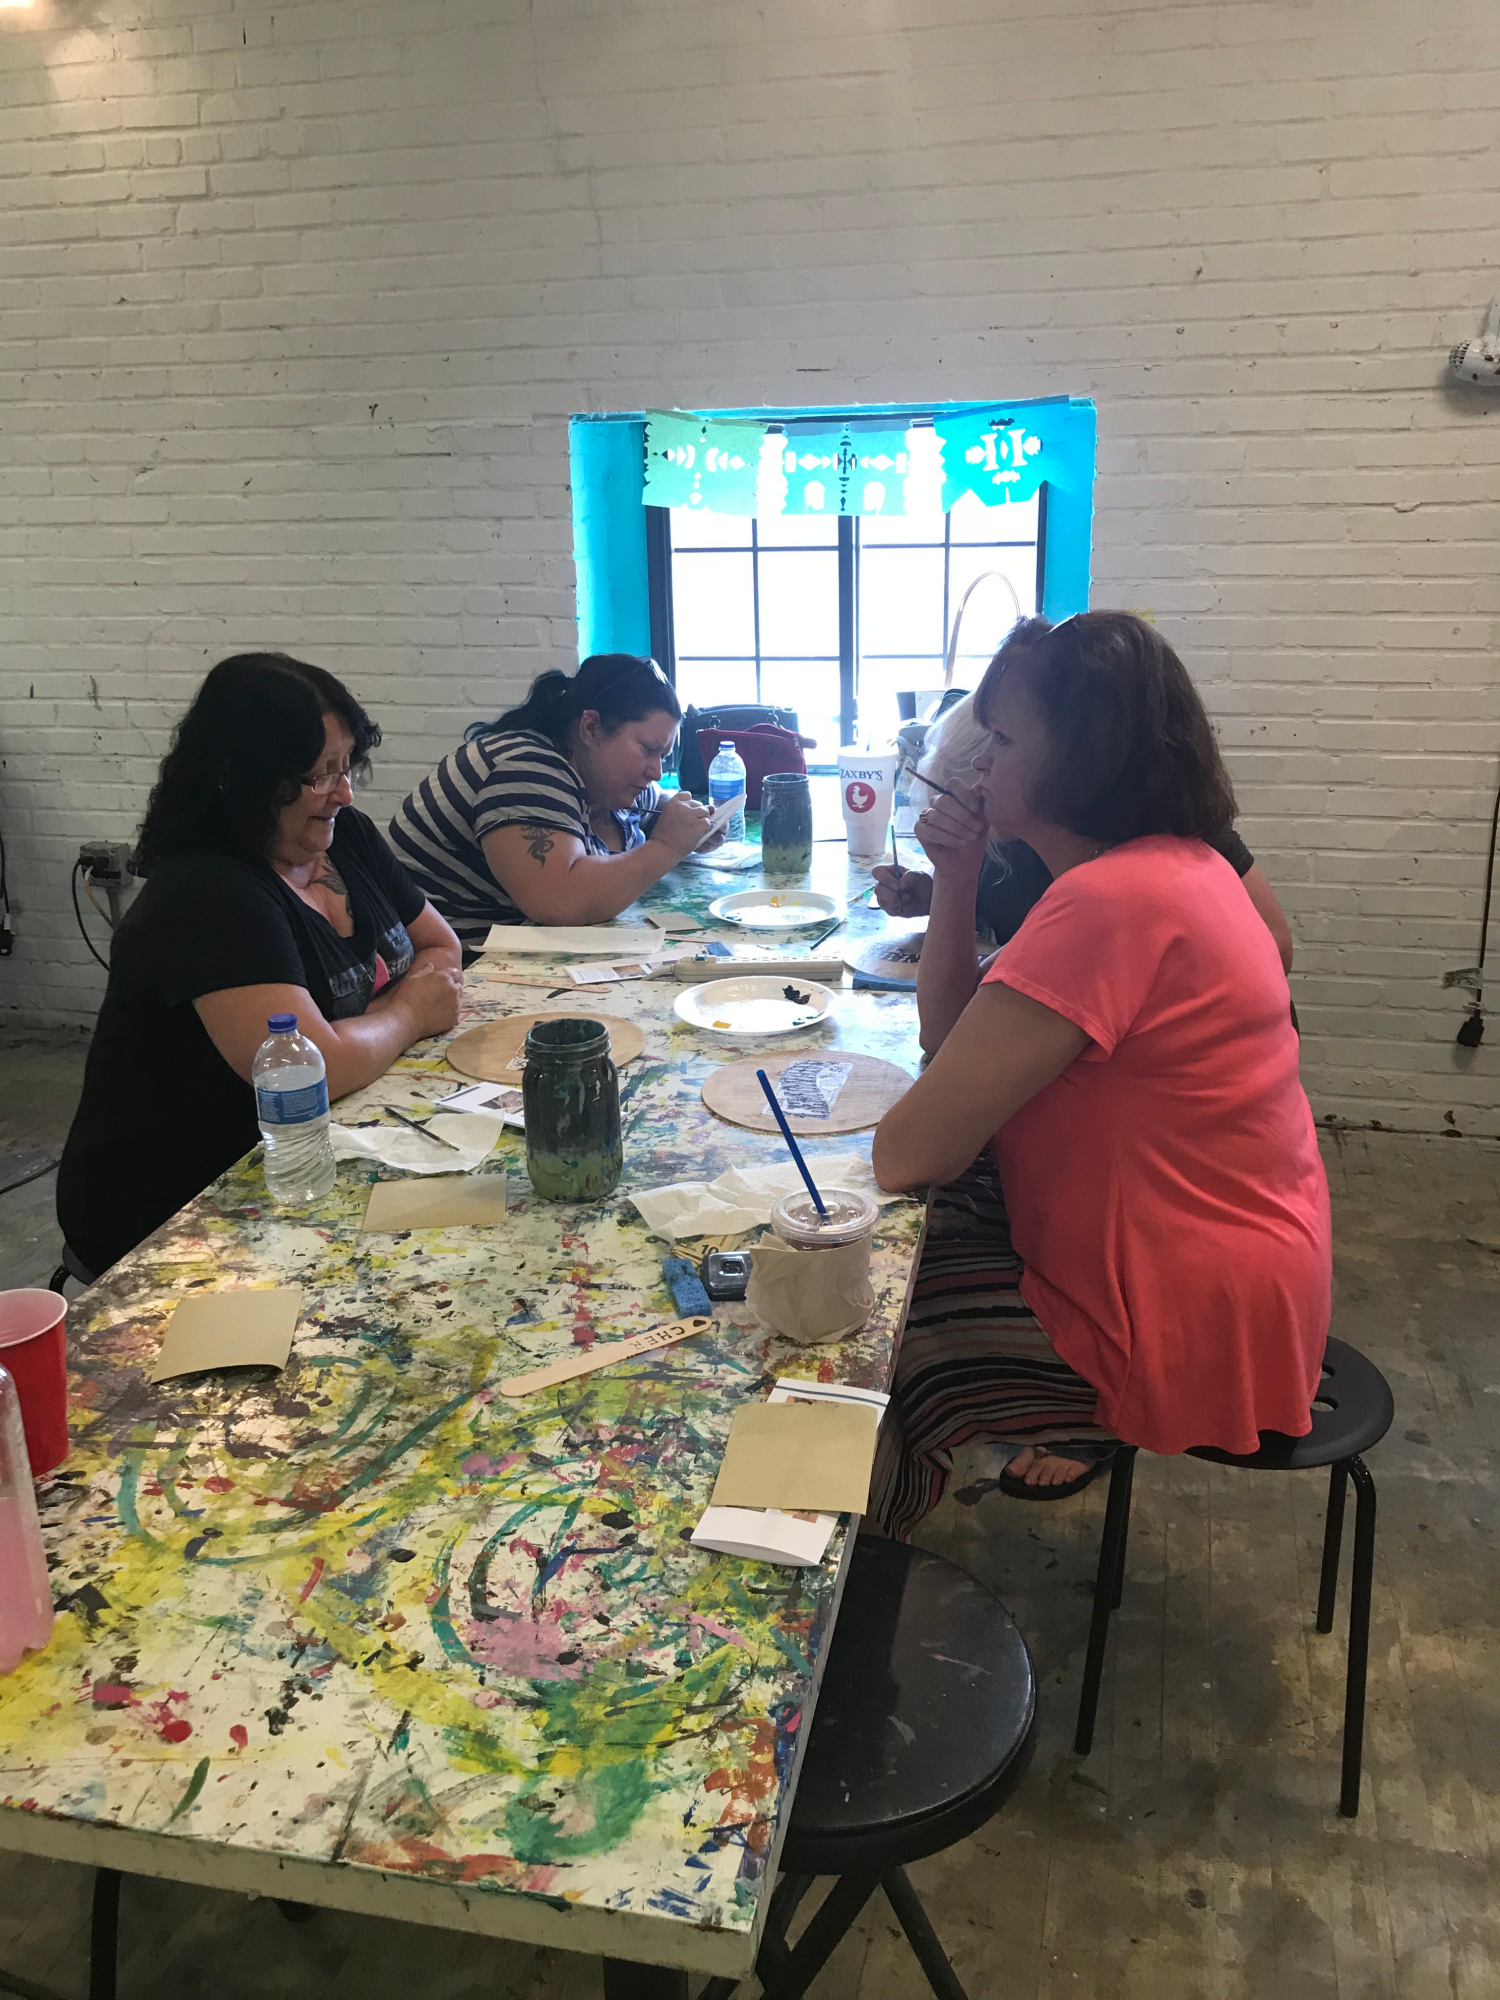
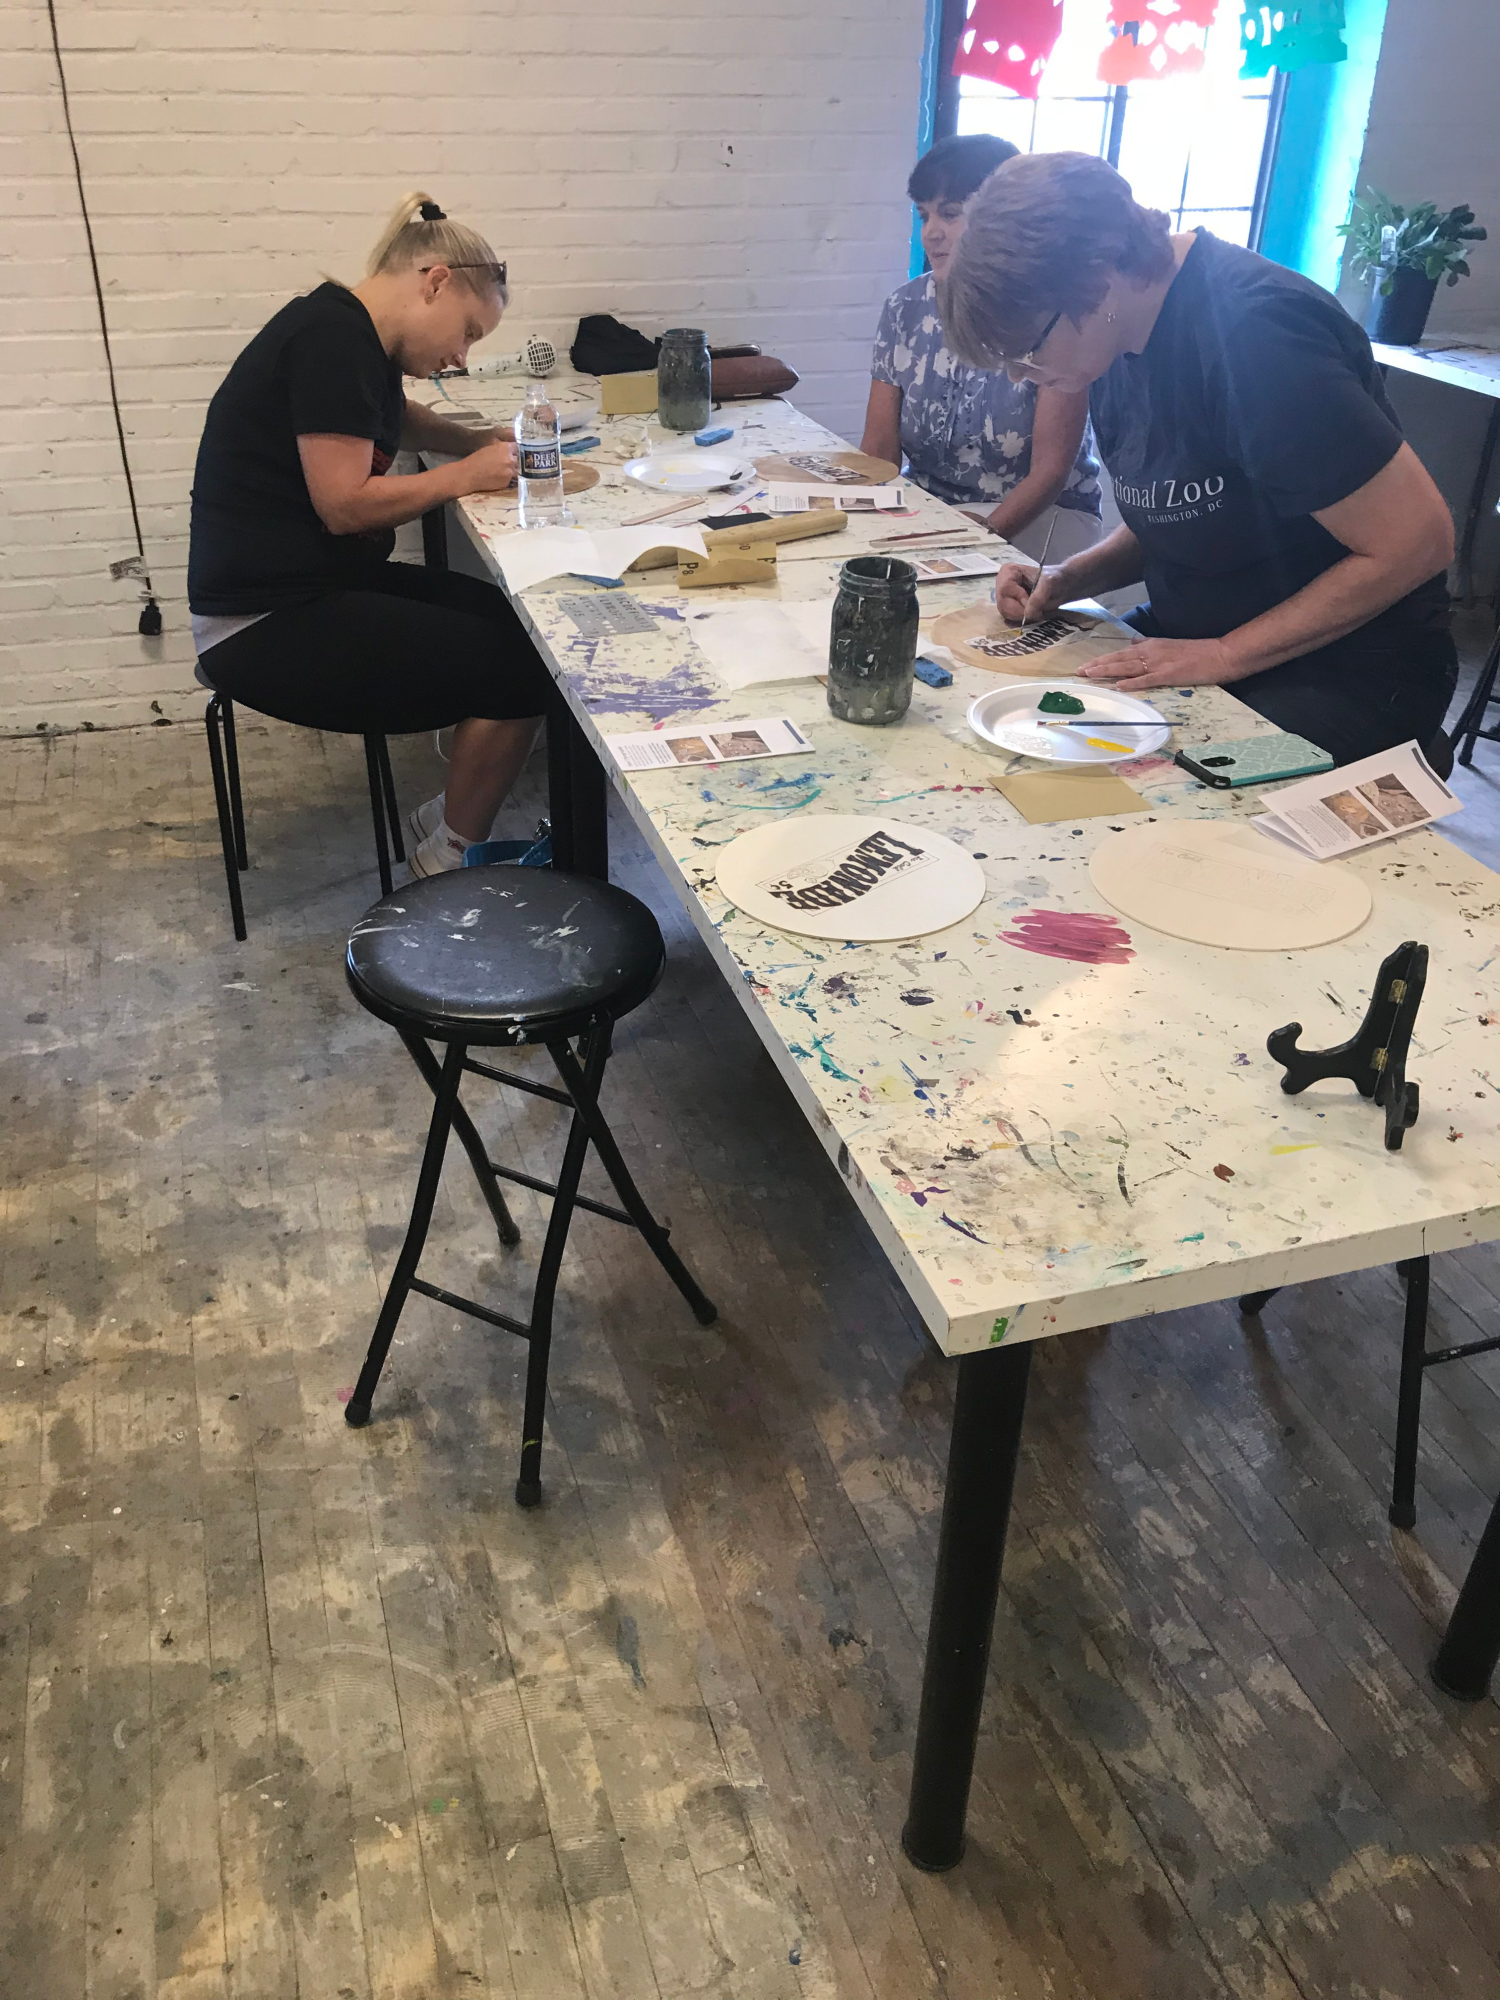
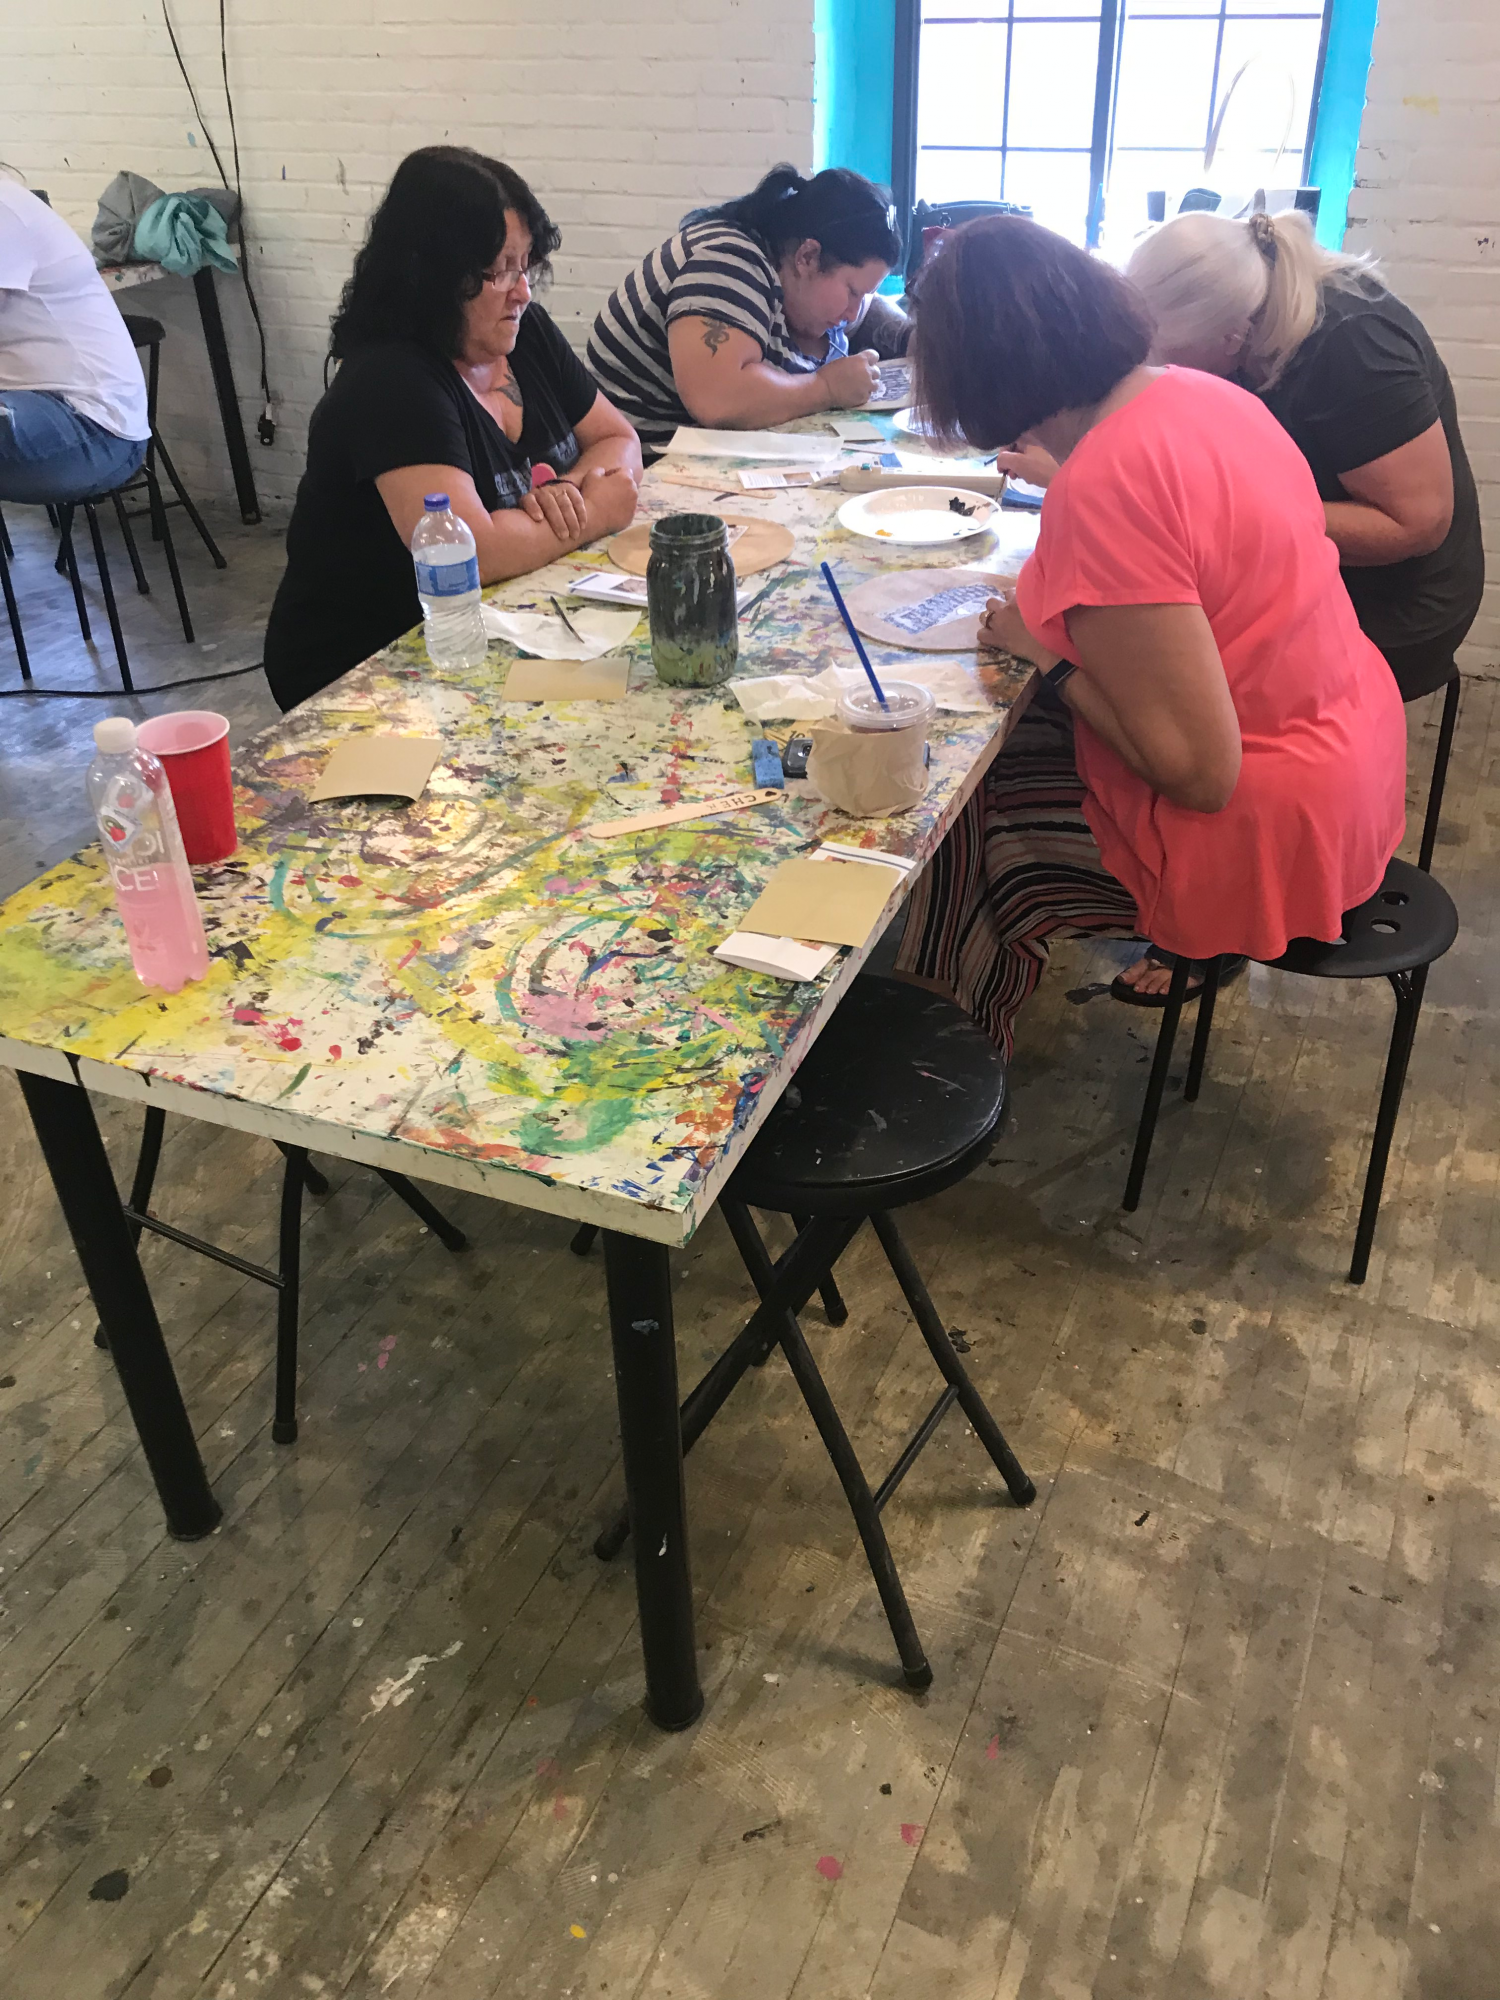
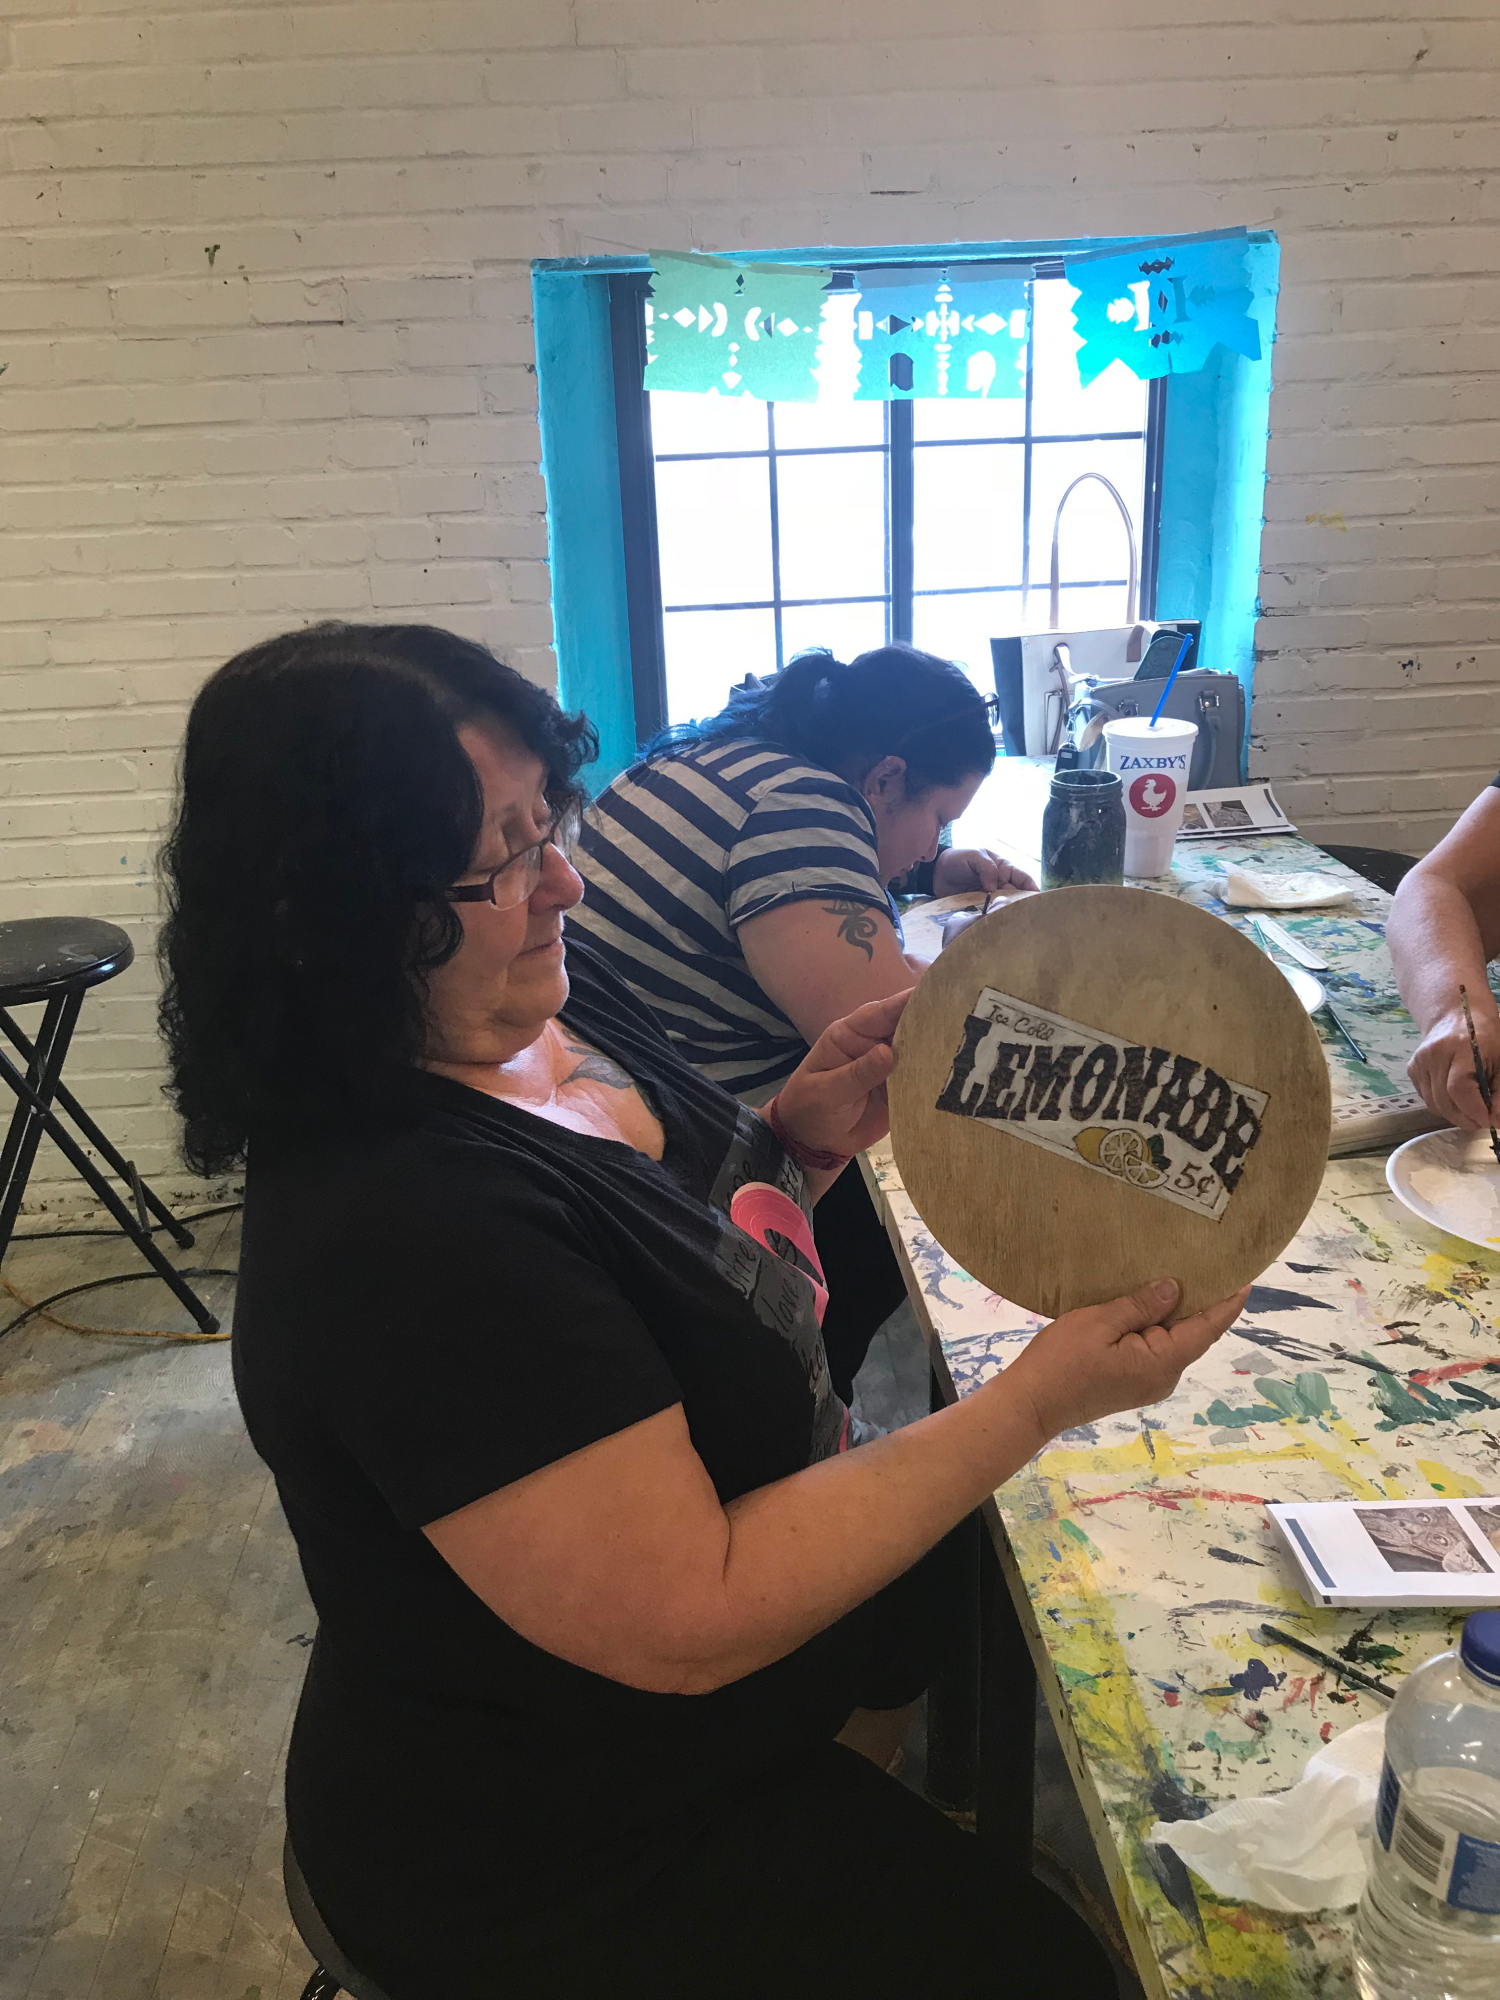
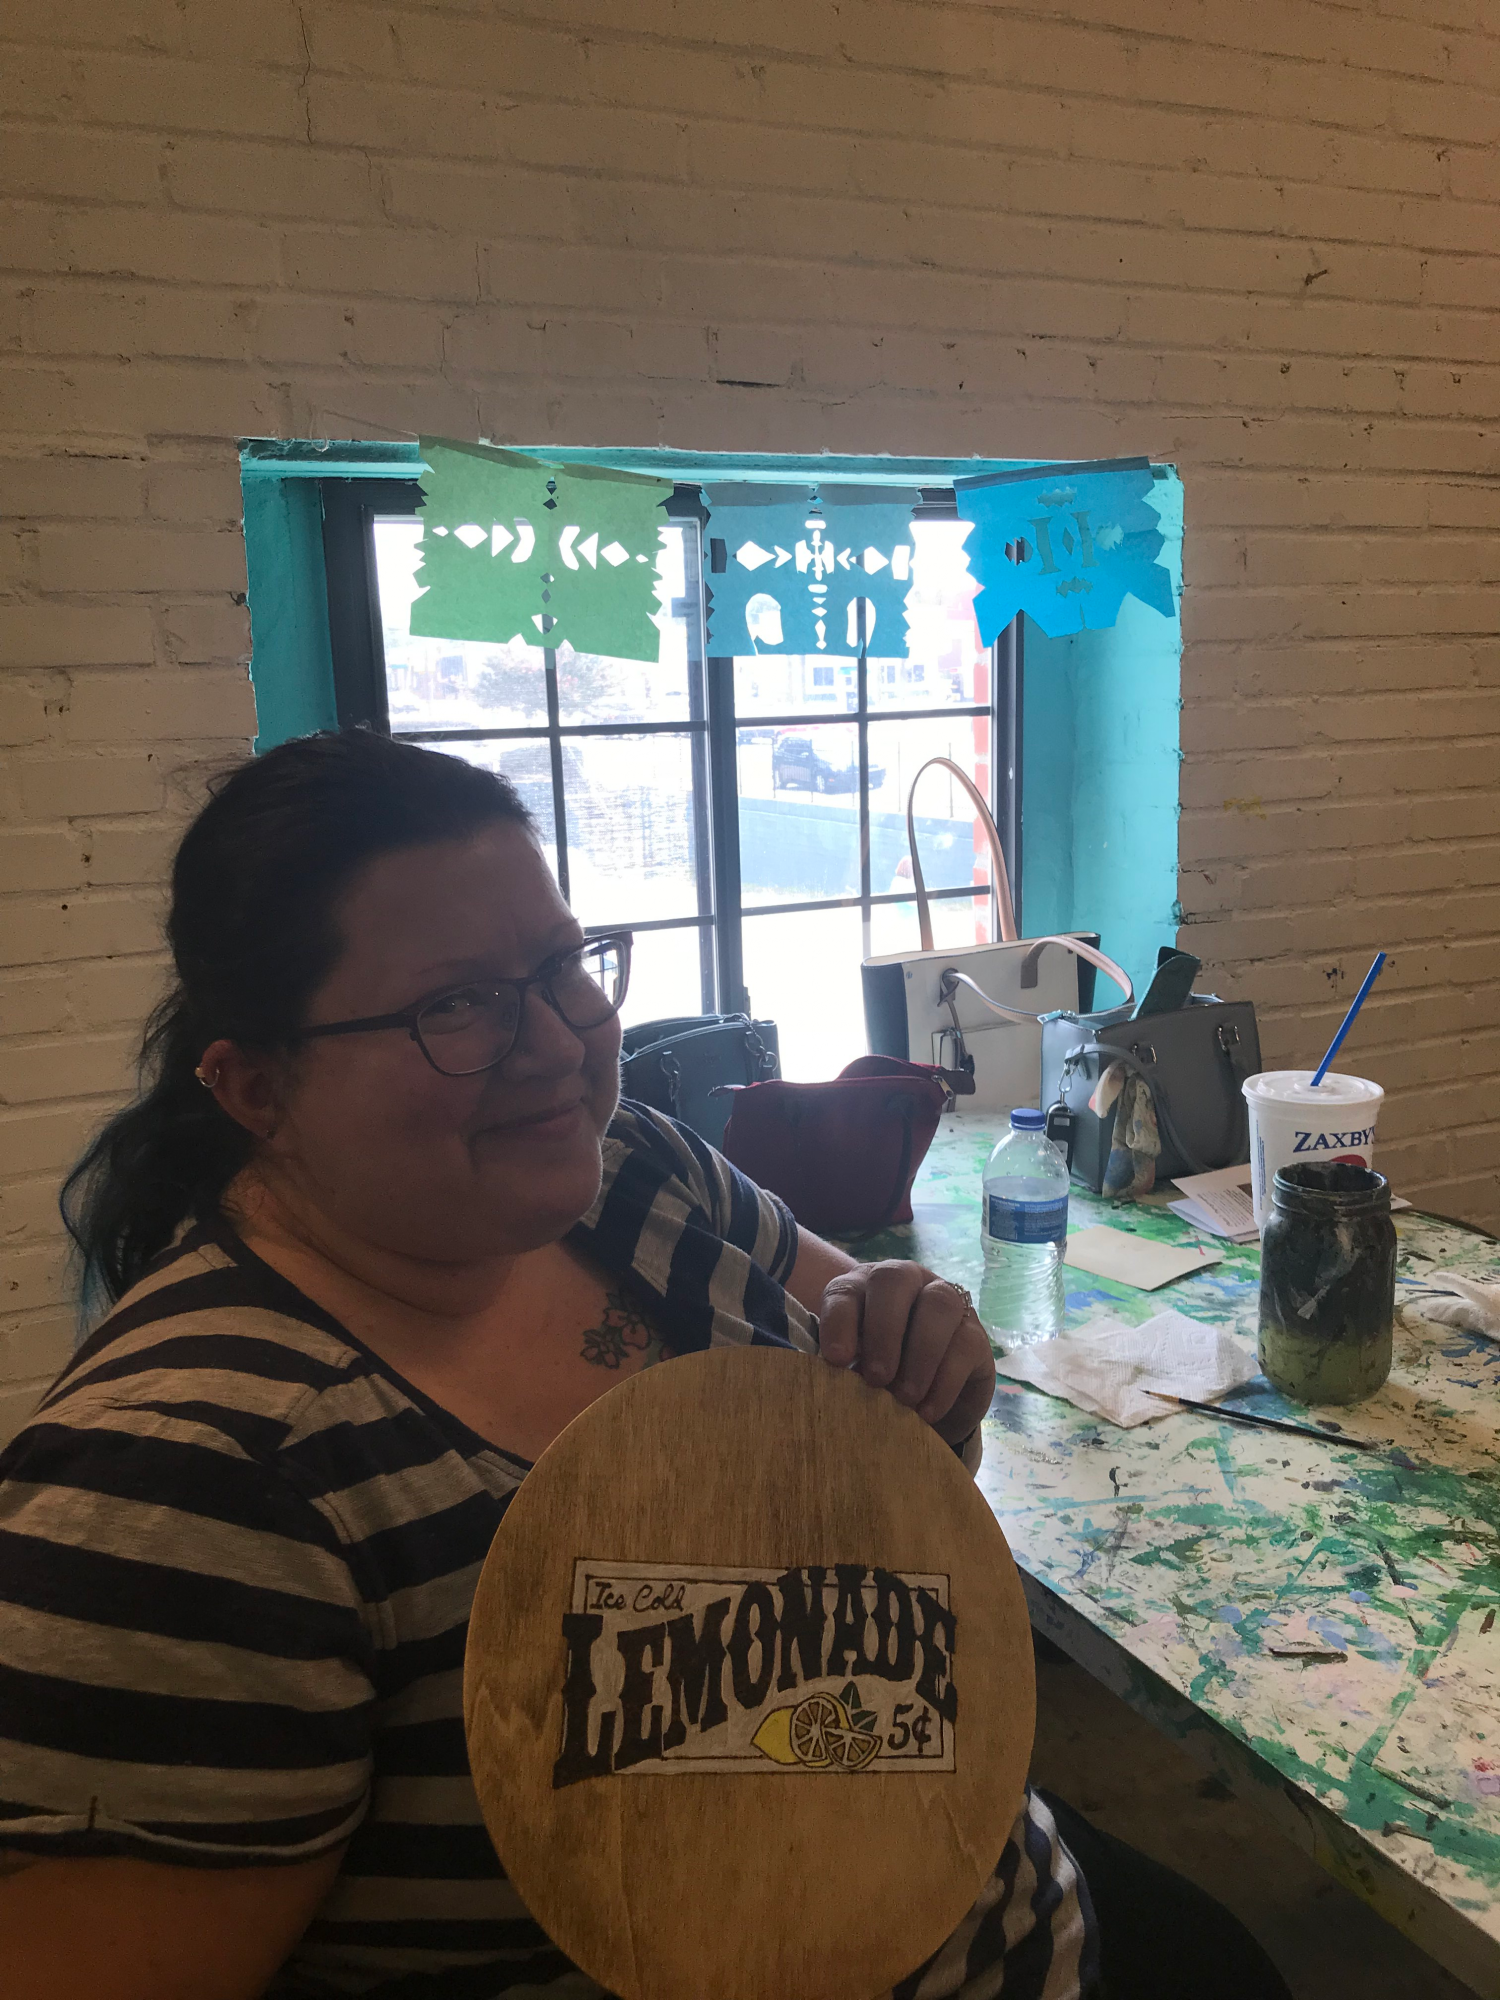
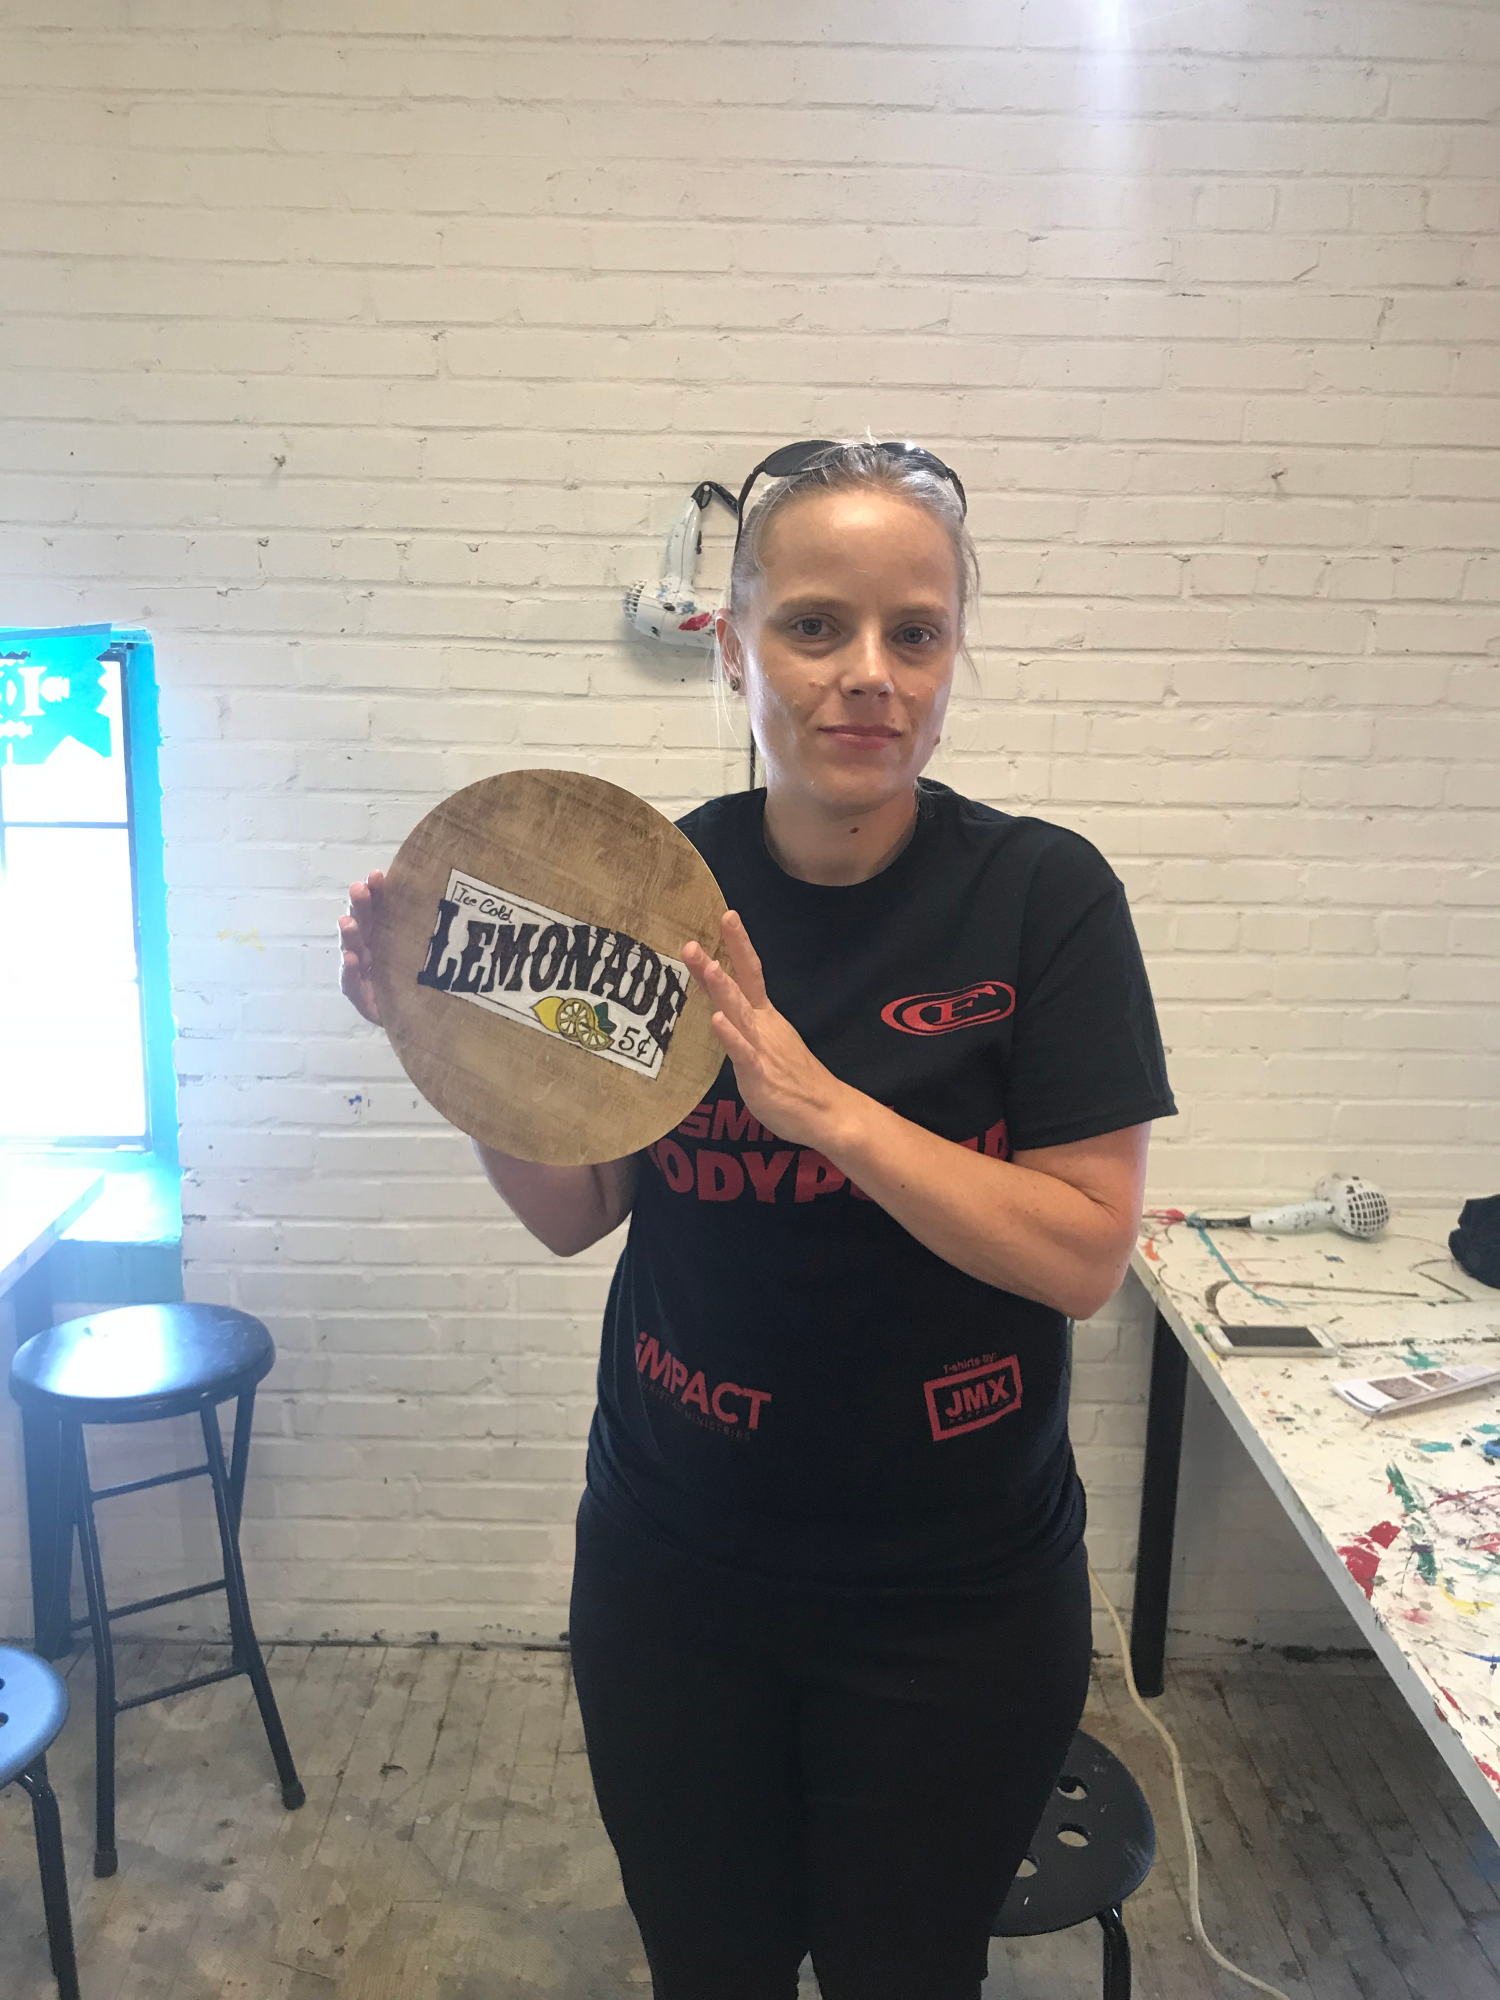
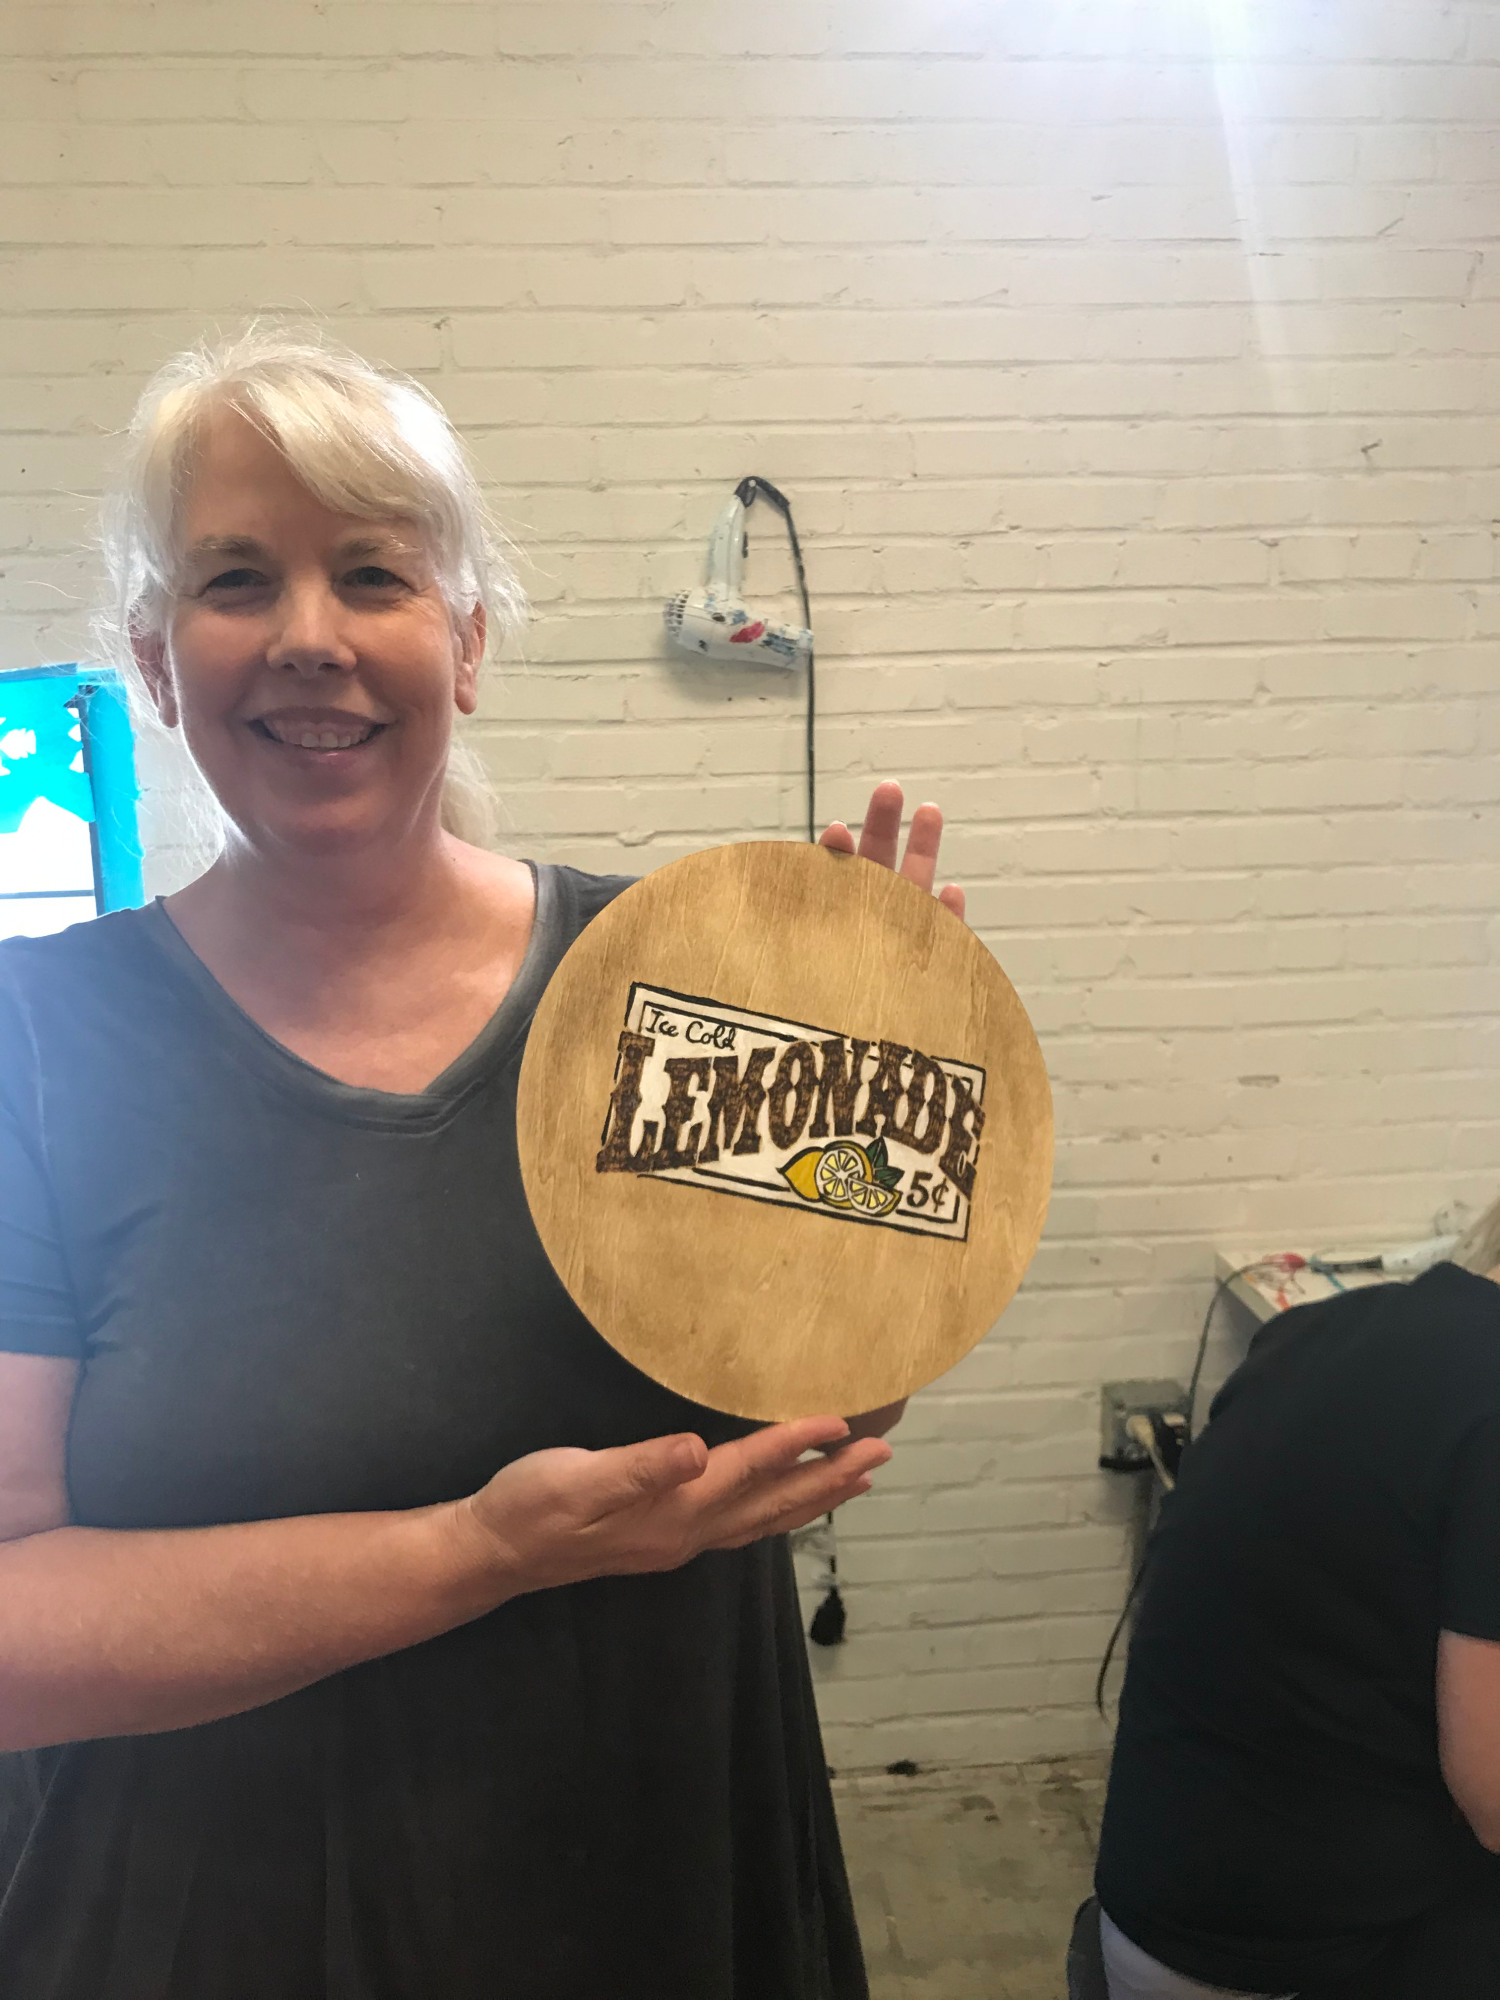
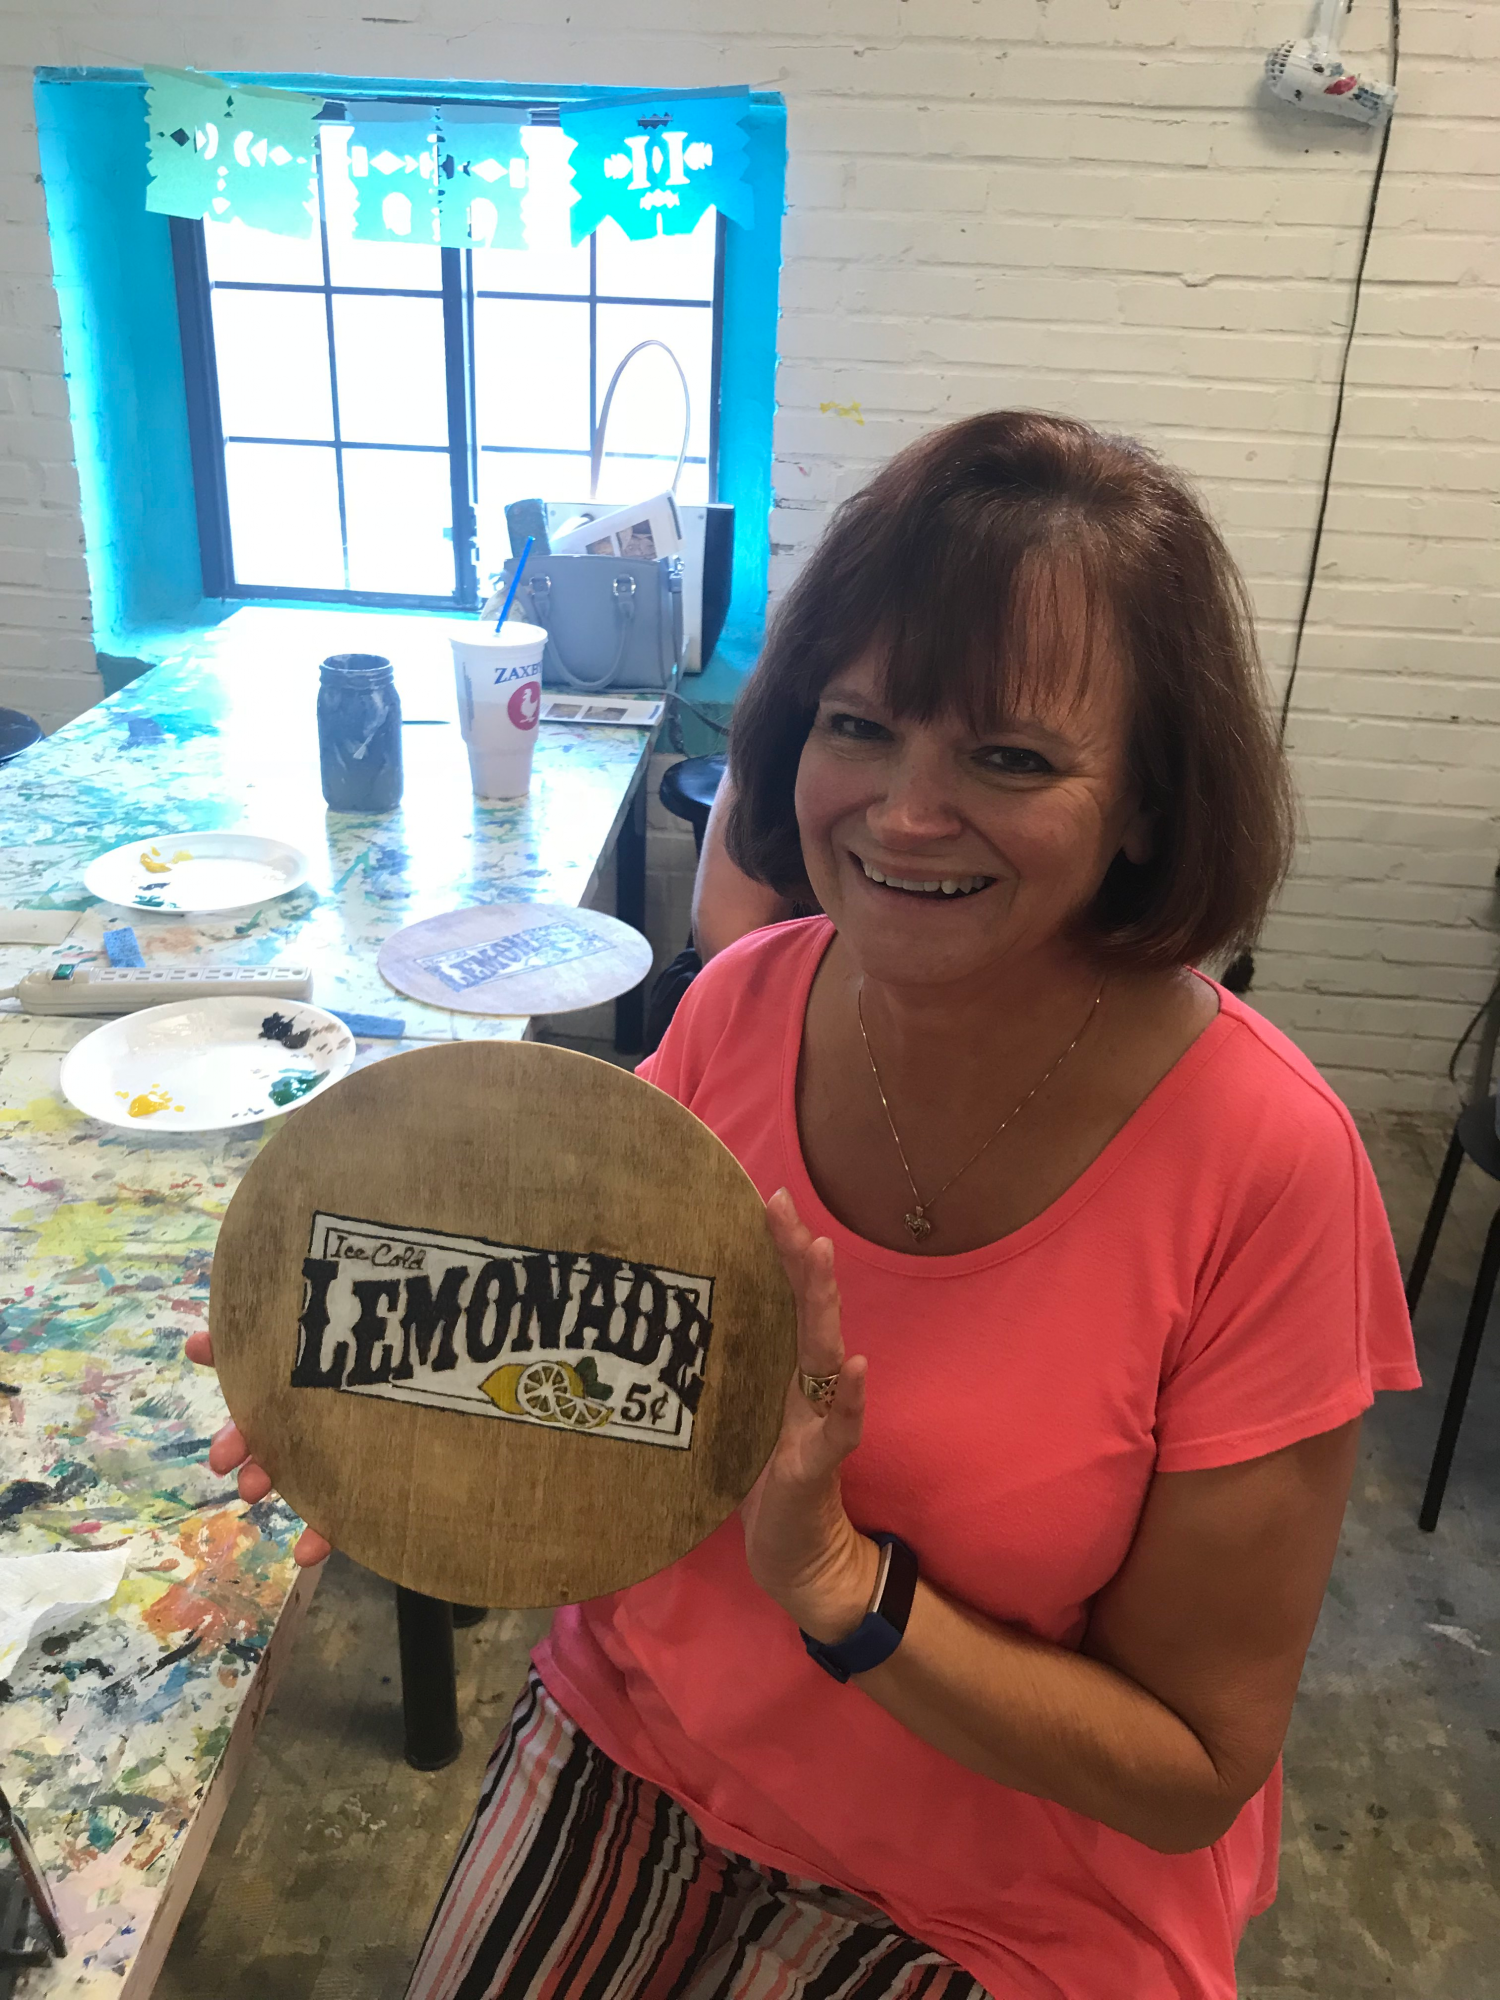
Stache Studios, the go-to place in Downtown Griffin for learning various forms of art medium such as painting, ceramics, mosaics and clay works, graciously welcomed Andrea’s suggestion to include a new form of artwork – pyrography. With Andrea’s long history and connection to art since childhood, coupled with more than two years of pyrography experience, she deftly introduced and guided everyone into the practically new art world of wood burning. Needless to say, all workshop attendees left with proud smiles and their finished projects. Just check out the pictures below!

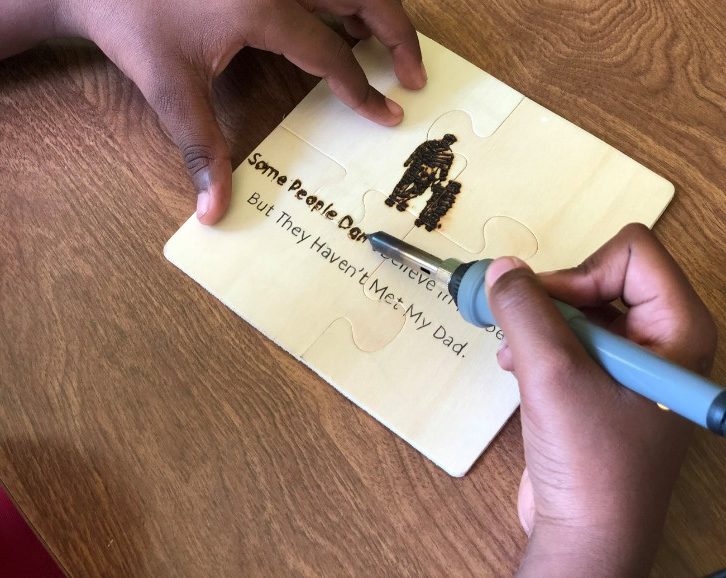
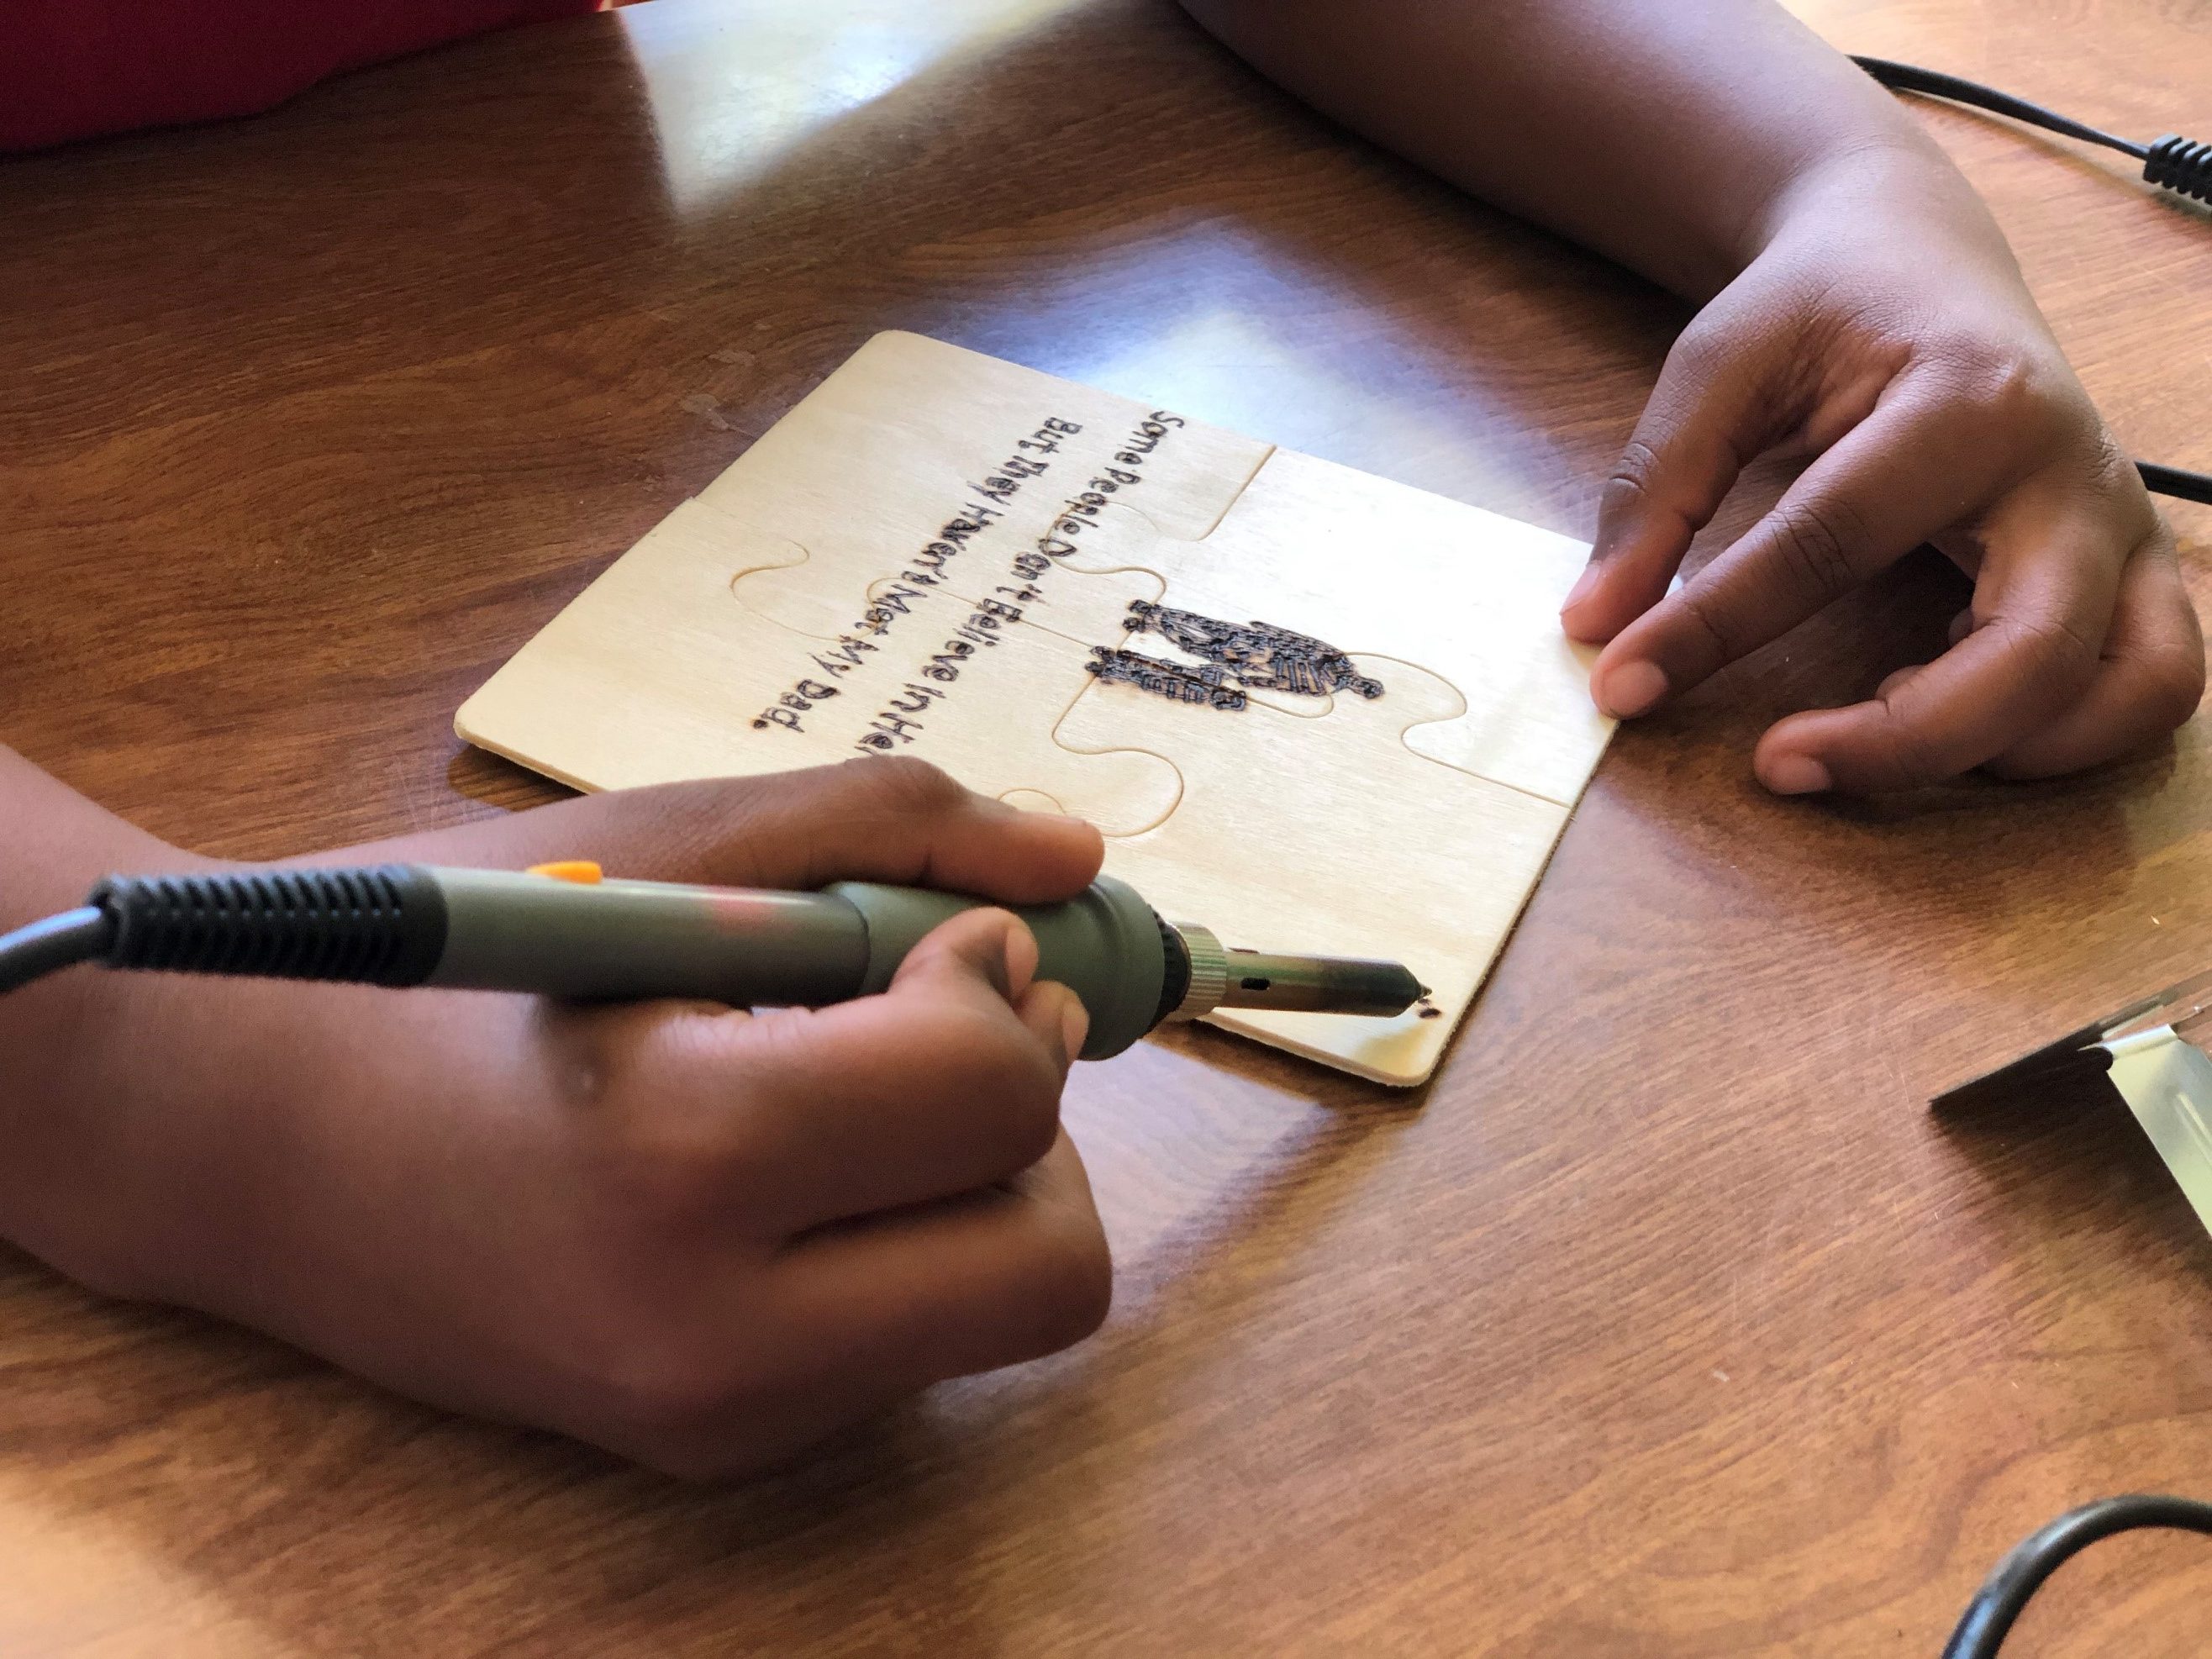
Andrea understands that pyrography isn’t a medium that is well known in the field of arts. In fact, she did not imagine herself hosting any workshop about it at all – being contented with creating beautiful pyrogrphy art work and selling them. That changed when we started commissioning her to create tutorials for us using our wood burning pens. In one of the tutorials, she was teaching some children how to create wood burnings for their loved ones. Watching their excitement in the process got her curious about creating classes for adults. She wanted to expose as many people to this art form as she could. Thinking of ways to get pyrography out there, she came across her local art studio. Although Stache Studio provides customers with amazing pottery and painting classes, she realized they didn’t have any on woodburning. In fact, there just aren’t many places around where one could learn Pyrography.

“Leave a permanent impression with pyrography”
Andrea Pate


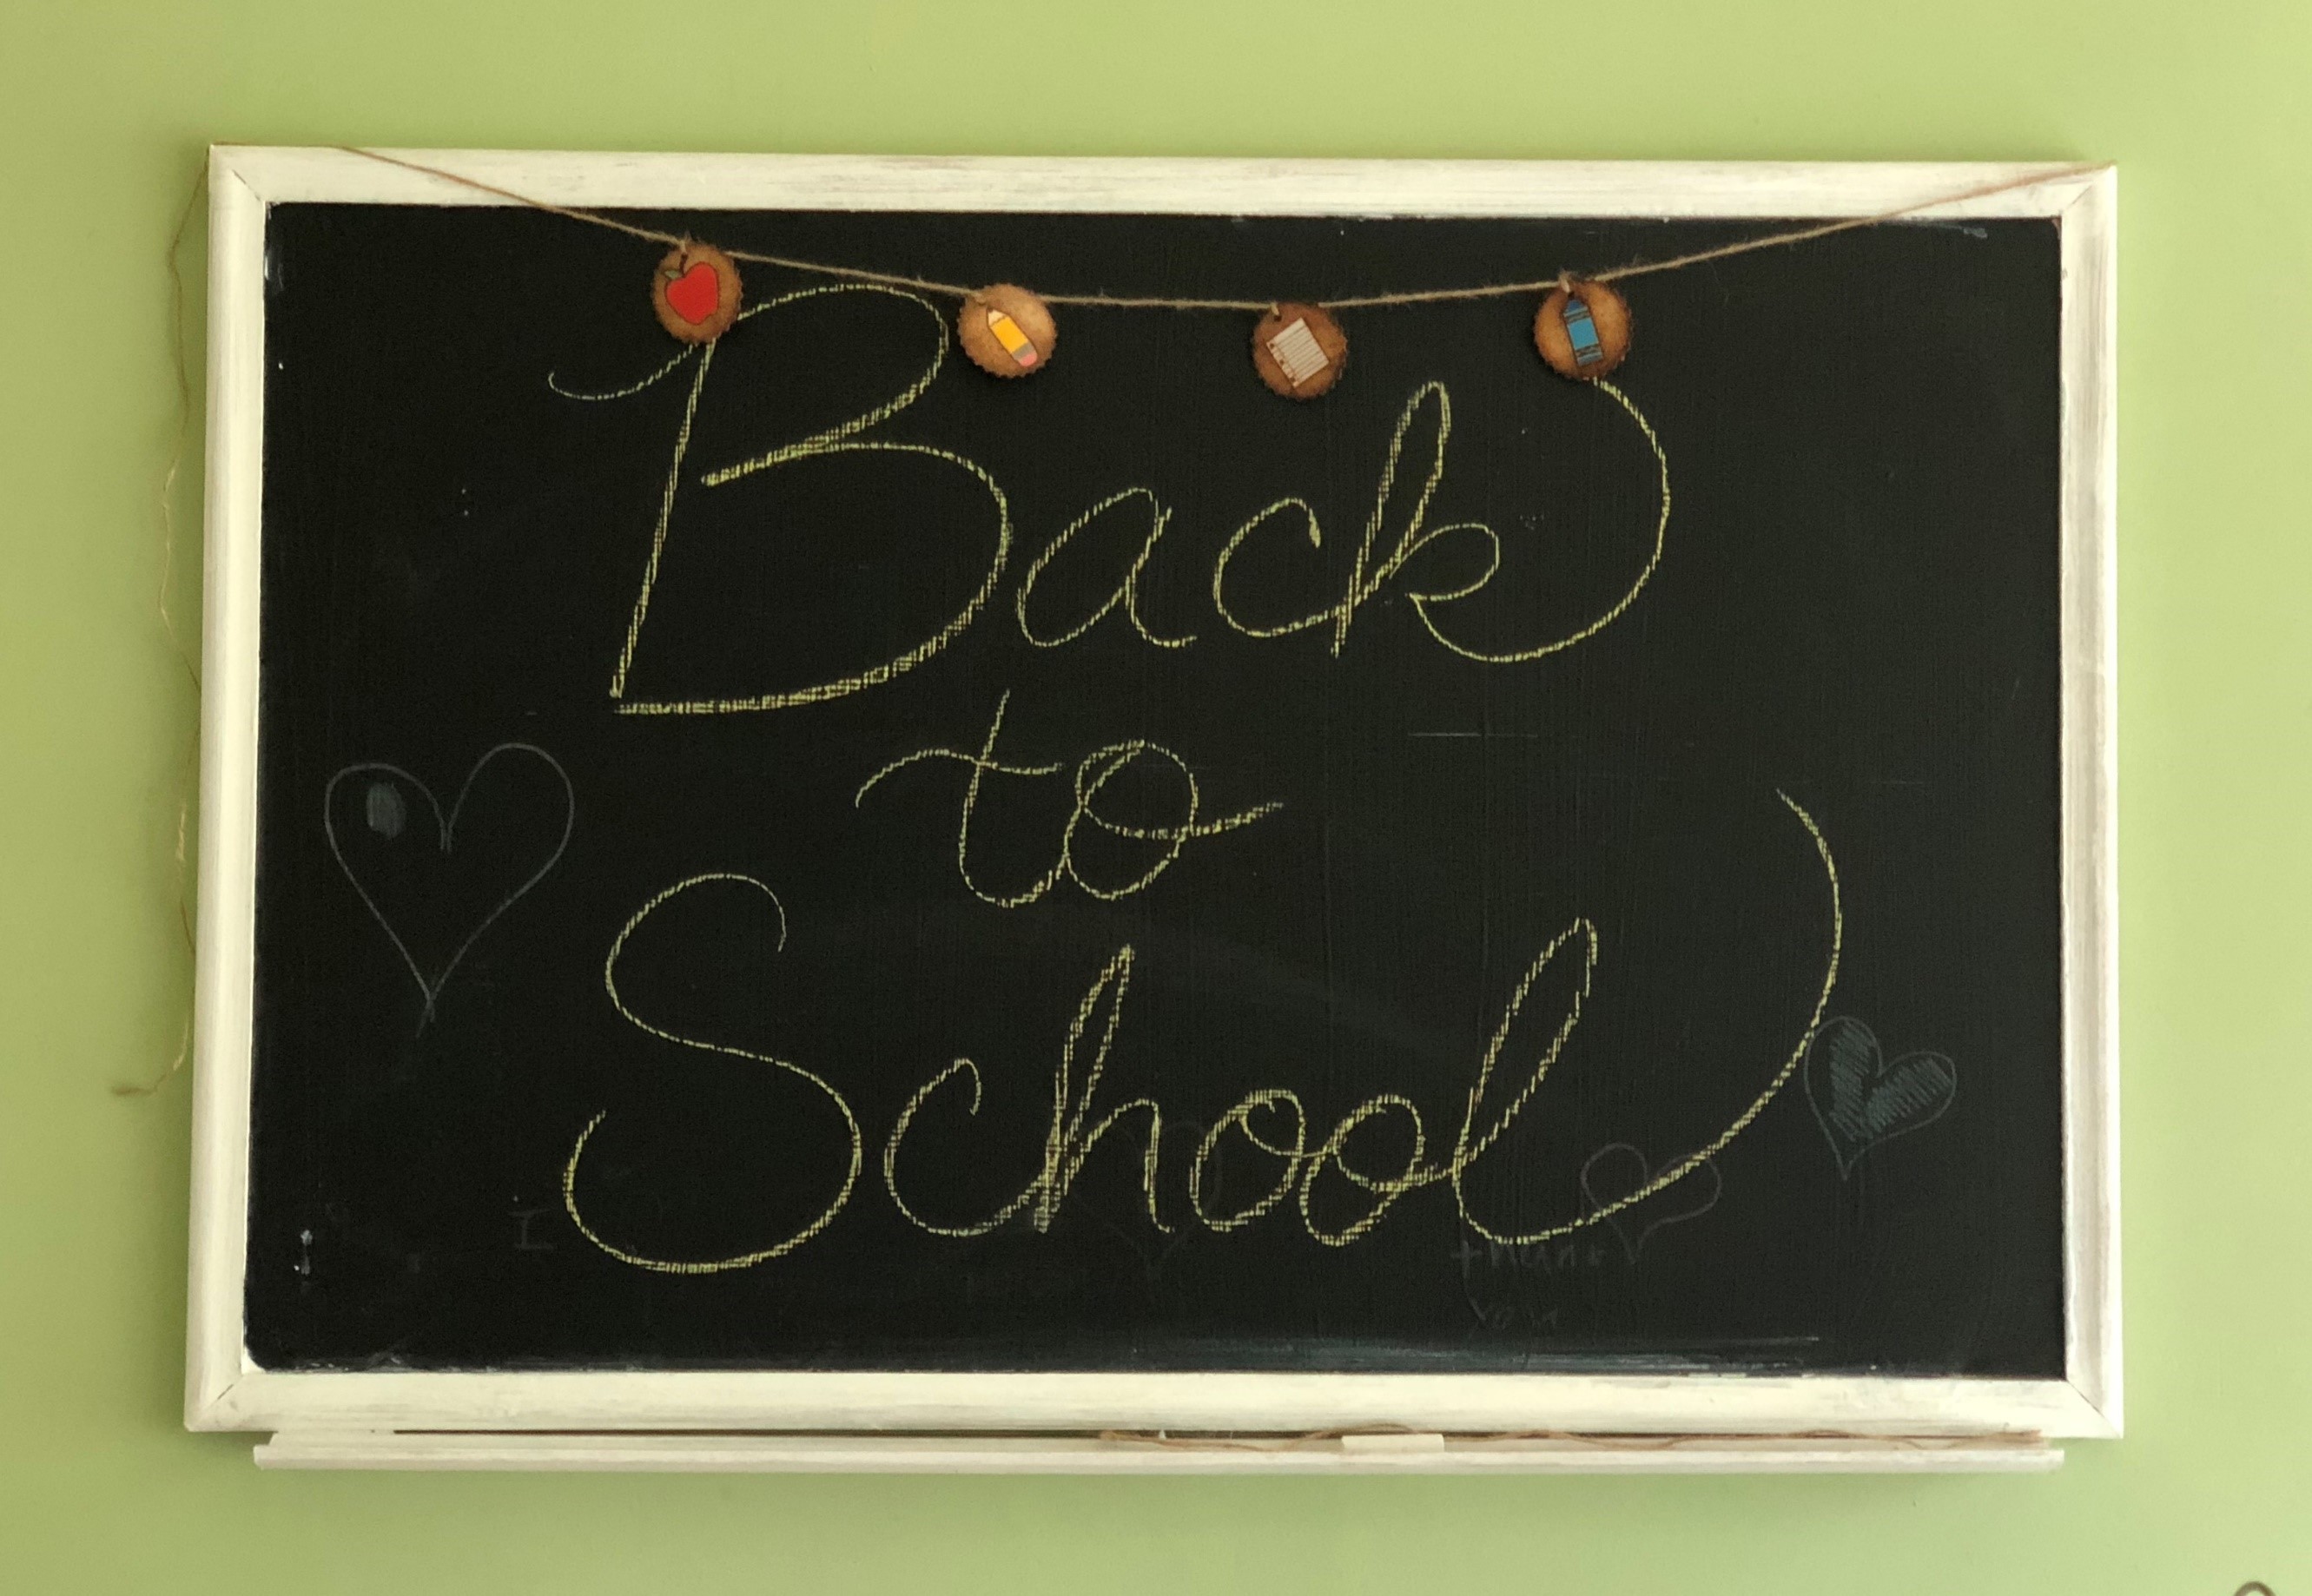
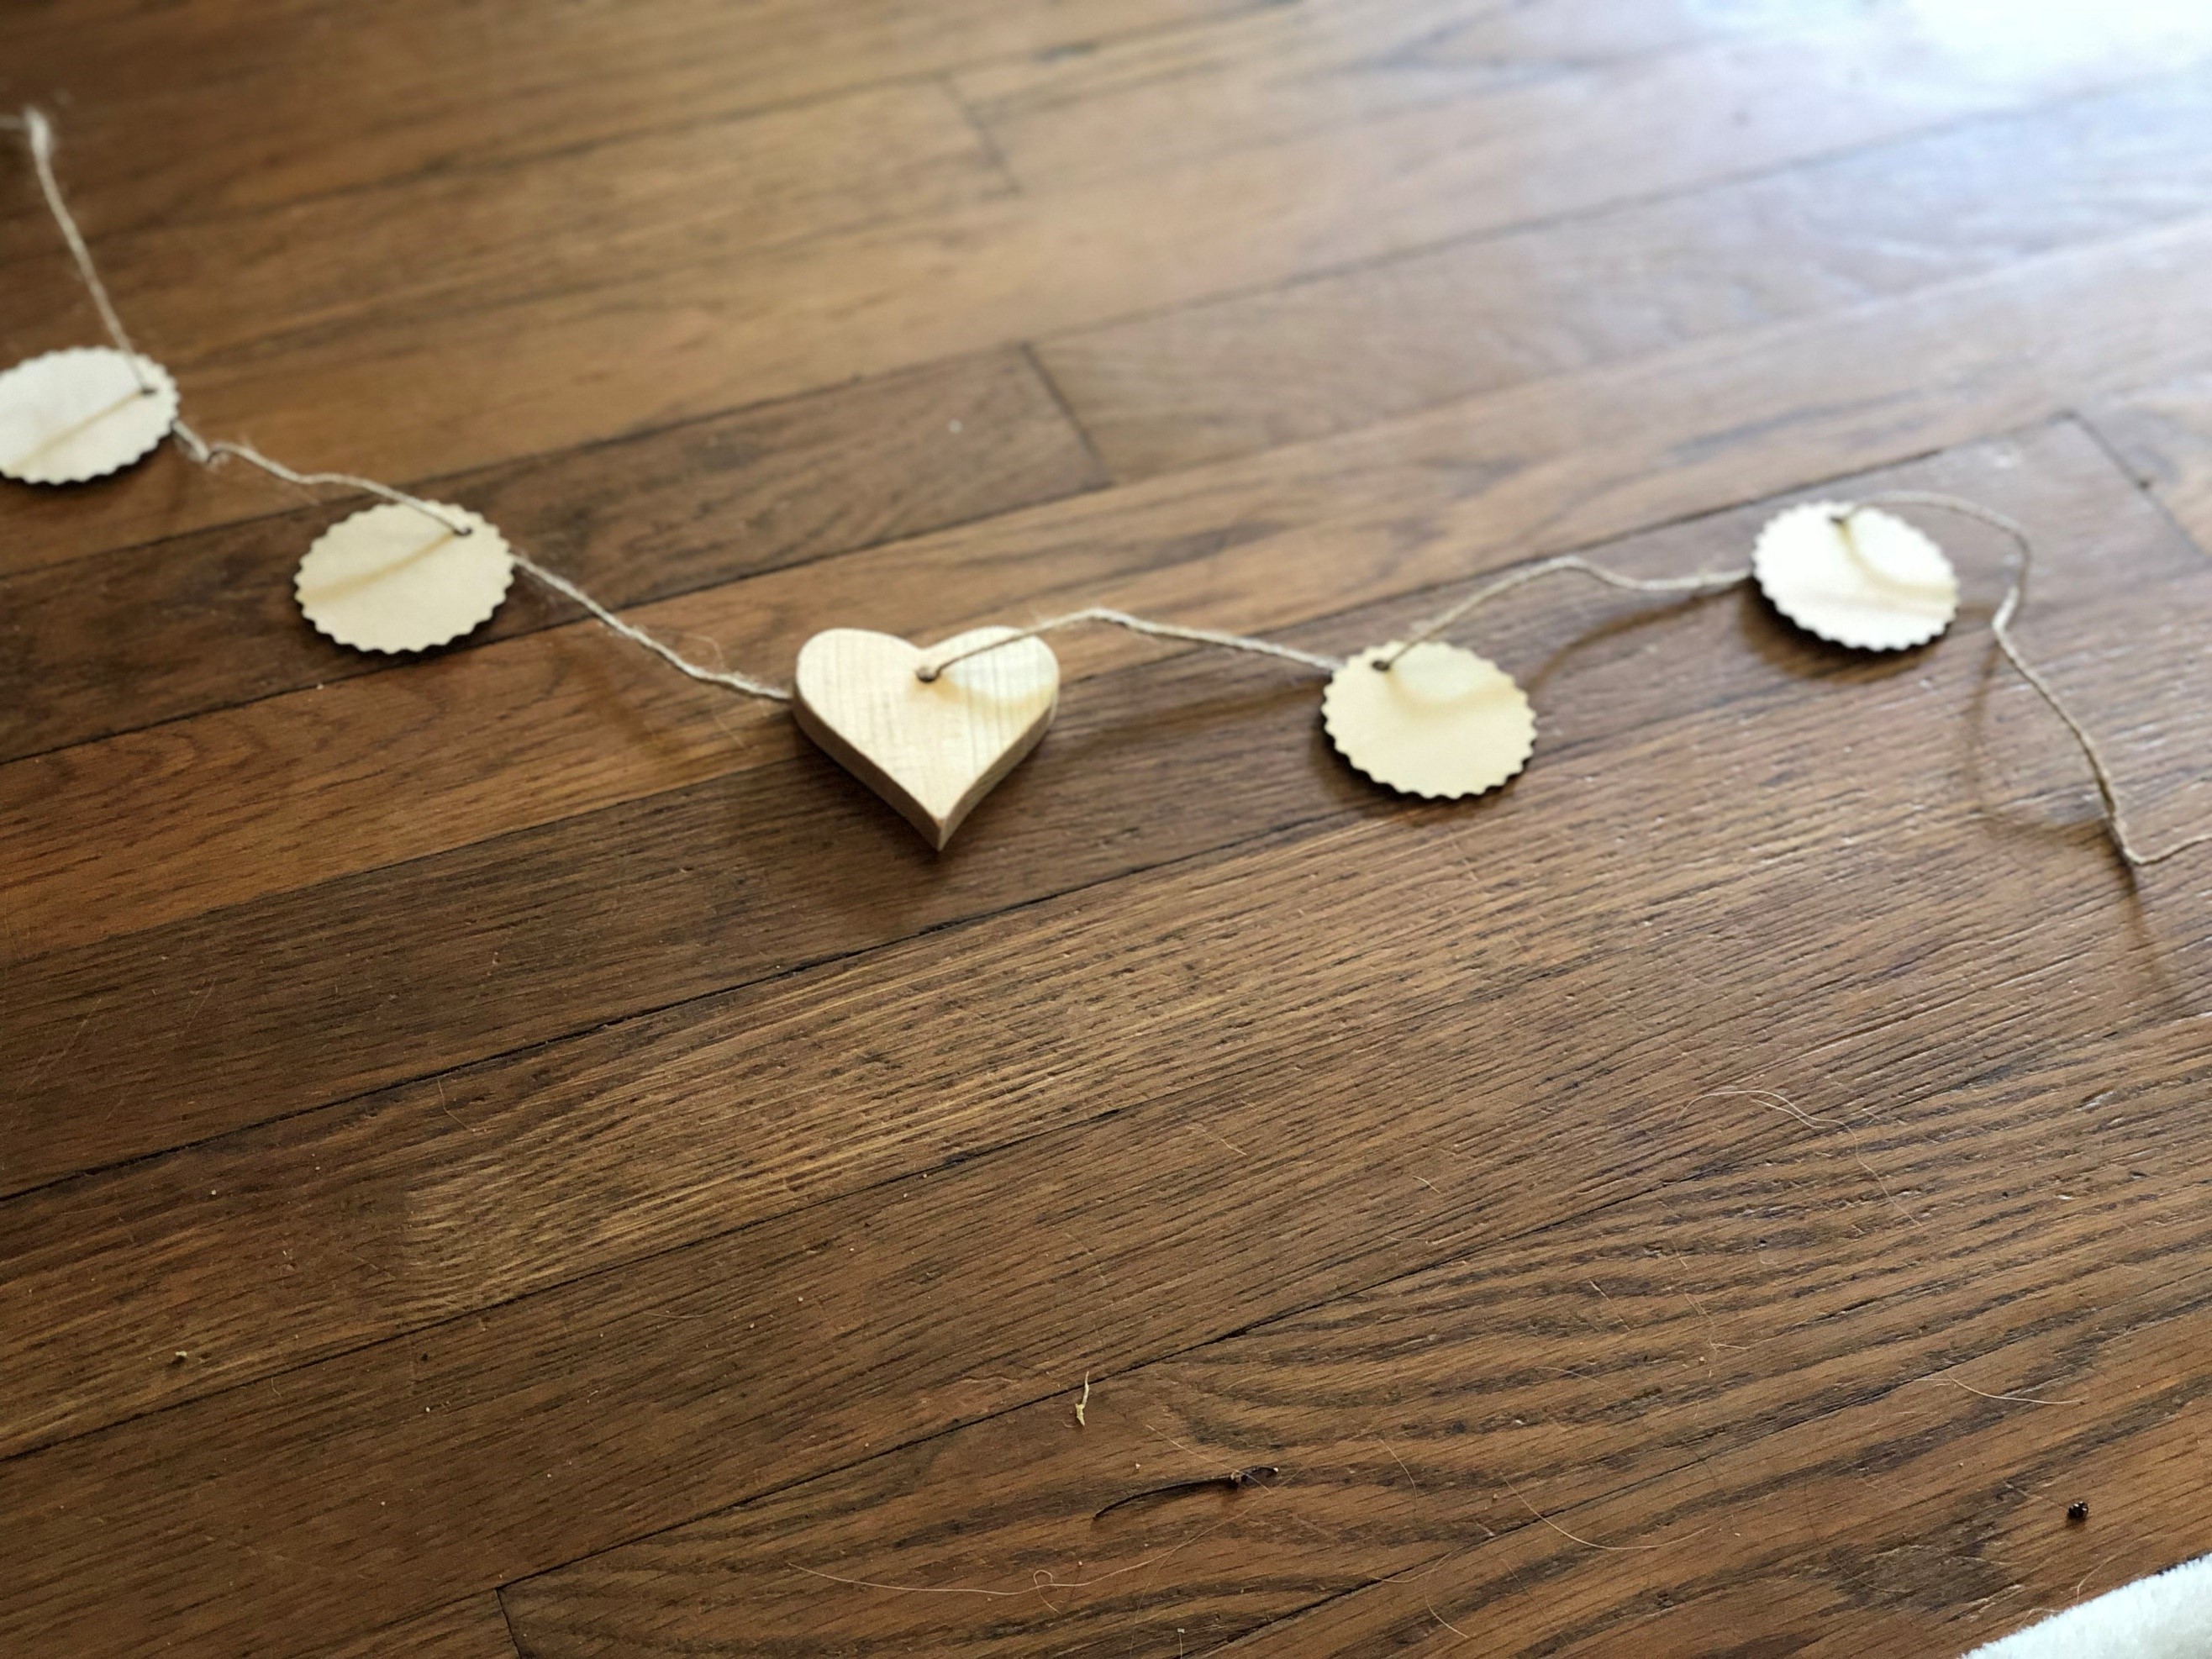
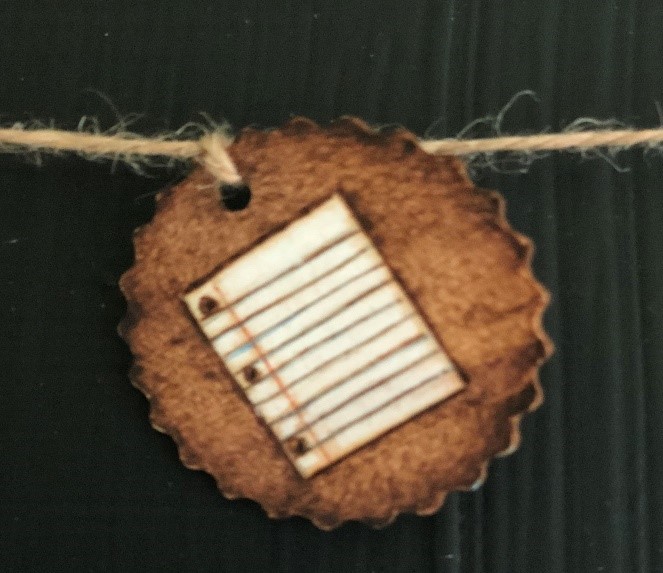
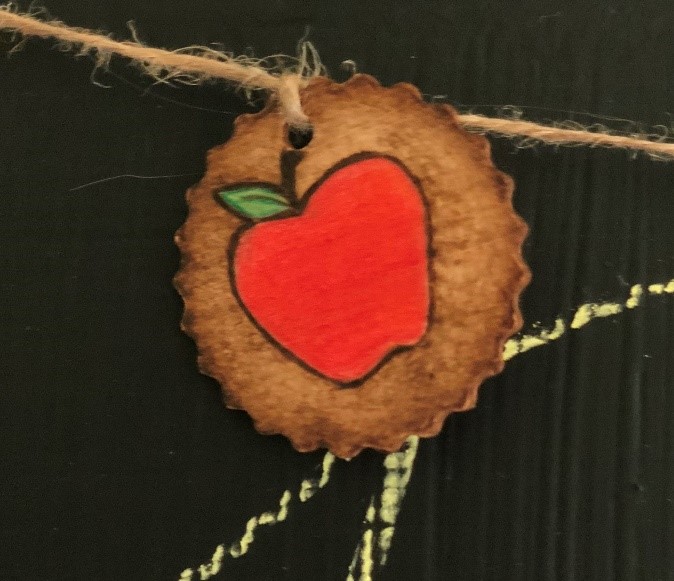
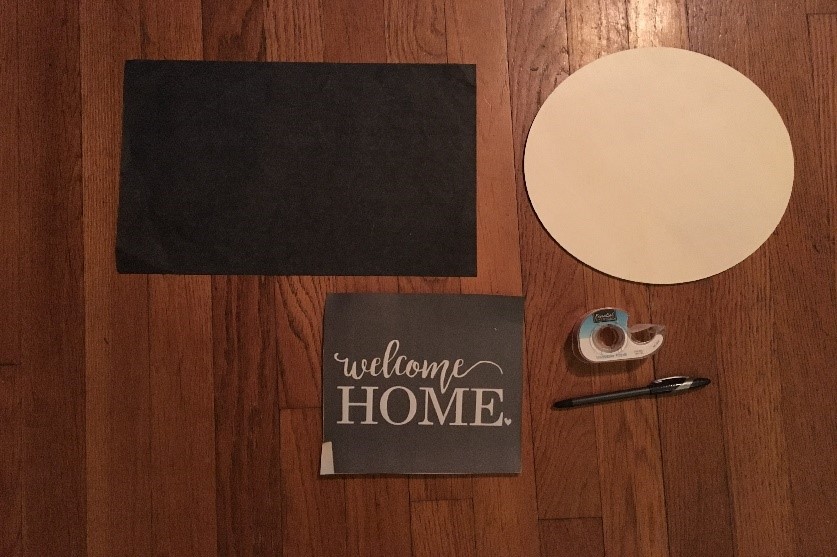
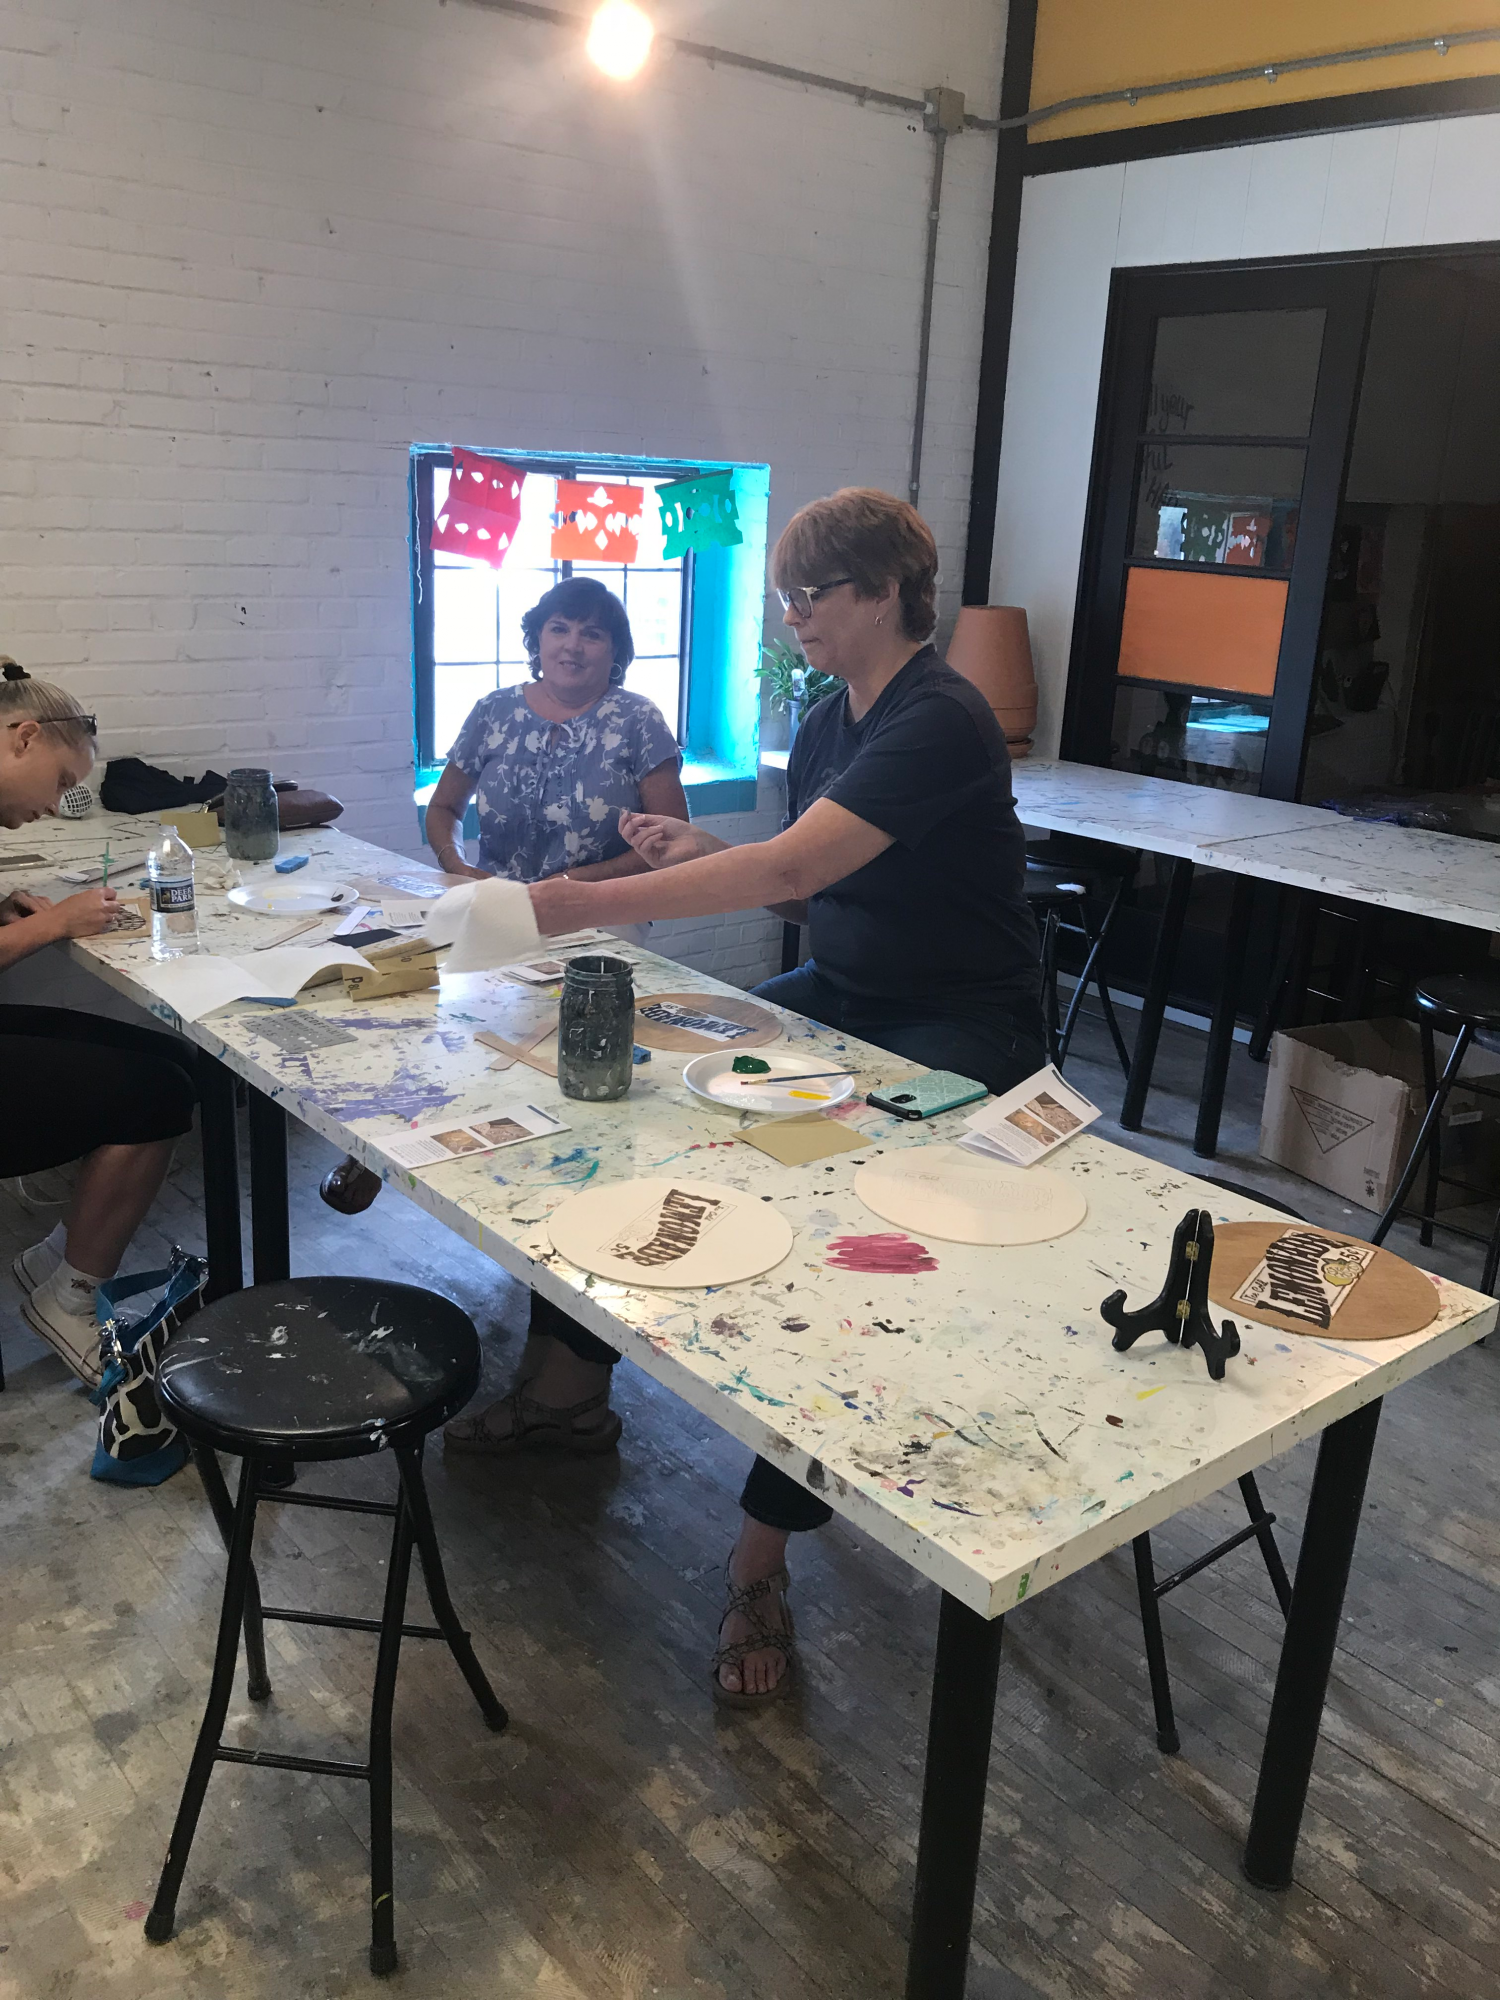
Jessica, owner of Stache Studios, loved Andrea’s idea and immediately went to work to get things rolling while the artist provided the tools she got from TRUArt. After the resounding success of her first workshop, the artist was thrilled to see the excitement others were going through learning something she was passionate about. She feels very fortunate to have the opportunity to teach people pyrography and plans to continue sharing her expertise with more classes. As of this writing, she’s been busy creating seasonal designs for her workshop that customers can display every month of the year in their homes. It definitely doesn’t look like she plans to slow down one bit seeing that workshops are powerful tools to get the needed exposure to the art as people are starting to become familiar with it and with what she does.


To those who have yet to touch a pyrography pen or to those who think they don’t have the creativity for it, here’s what Andrea has to say about it:

“DO not to give up. If it’s something you’re not good at, that’s all the more reason to keep going. It will get easier and you’ll learn what works for you along the way. If it’s something you are passionate about then never give up.

It’s amazing what you can learn and how you can improve in such a short time frame. I look back at where I started and to where I’m at today and there is such a huge difference. I’m excited to see how much I will continue to grow and improve over the course of this year.”


We at TRUArt couldn’t have said it better, Andrea. We’re so glad and honored to be a part of your achievements in the wonderful world of pyrography. Thank you!


Posted on 1 Comment

Cactus Stencil Wood Burning with TRUArt Carbon Paper


What you will need:


Sometimes, in pyrography, trying to find the right image to burn can be extremely tricky.  When you are an artist, copyright laws can make it challenging to find a great image to burn.  Fortunately, now TRUArt has FREE printable stencils available.  Once I came across these stencils, I couldn’t wait to get started.

There are several unique designs available to download but, ultimately, I decided on this cactus stencil.  This stencil is available under the clock category.  I loved the pattern so much that I modified the stencil to make it my own and decided not to trace the numbers.

I found this stencil to be a quick and easy burn. This is a great project to do with your family.  My children had fun picking out the colors of the various pots and helped me find the right shade of green for each plant.  We spent the day going over different stencils and both my children found something that appealed to each of them.

Once the image was burned and colored, I decided to give the background a nice, thick solid burn.  This technique gave my burning some depth and made my image pop.


I was extremely happy with the ending result.  This was a fantastic family project that is exciting for children to do. These prints are also a useful tool to help you practice your pyrography skills. My children loved working with these stencils and they are both excited about working on our next burning together.


See you next time,
Andrea Pate
Pate’s Pyrography

Posted on Leave a comment

TRUArt’s Pyrography Pens among 2018’s Best Wood Burning Kits

FOR IMMEDIATE RELEASE:
 
Pflugerville, TEXAS – August 30th, 2018 – The world’s first video wiki, Ezvid Wiki, which was founded in 2011, has just included TRUArt’s 60W Professional Woodburning Detailer in their 2018’s Best Wood Burning Kits.  The article, under their Creative Arts Category, is a broad-ranging and impartial assessment of woodburning kits available to US consumers.
 
The article also gives insight to the kind of tools one can find in pyrography kits as well as various ideas on how beginners can go about the art of woodburning without having to be good in freehand drawings. Lastly, it also includes a brief and very interesting history of the pyrography going back to China’s Han Dynasty.
 
Ezvid Wiki is the largest and most comprehensive video wiki on the planet. It provides useful, unbiased information and actionable guidance in thousands of knowledge categories to hundreds of millions of users around the world. Rankings in their research are comprised of value for money, predicted length of consumer attachment, predicted prospect of consumer uptake, manufacturer reputation, third party expert reviews, and extra product features.
 
For more information visit the TRUArt website or see the The 8 Best Wood Burning Kits article on the Ezvid Wiki website.
 
Contact:
 
Pavel Karoukin
Posted on 1 Comment

Back To School TRUArt Pyrography Tutorial for Kids and Parents

Materials:

  1. TRUArt pyrography pen
  2. 4 pcs Edgy Circle Die Cuts
  3. TRUArt Carbon Transfer Paper (optional)
  4. Pencil
  5. Colored Pencils
  6. Twine

This is a fun and quick project to make for any teacher.  Get your kids involved and let them help burn and/or create the designs that are used for this banner.

To start, draw or trace some items that are commonly associated with school (for tracing tips, check out my previous post Wood burning Tutorial).  Keep the drawings simple.   Make sure you only use one drawing per work piece.  Outline your image with your pyrography pen.

To make your image pop, I recommend burning the background.  You can make the background a solid dark burn or you can do some light shading (for shading tips, check out my tutorial Shading Technique).


Once your burn is complete, add some color to your wood.


String your wooden circles on some twine.  Once you pull one circle through, knot it at the top of the hole to keep the wooden piece from shifting.


Give this to your child’s teacher as a sweet “Back to School” gift.  If the banner is not for you, as another option, you could use these wooden circles as an ornament or they could even be used for decoration on a wreath. Practice with different designs and see what works best for you and your kids.

If you have any questions whatsoever, please leave them on the comments below and I’ll get to them as soon as possible.

See you next time!

Andrea Pate
Pate’s Pyrography

Posted on 3 Comments

Woodburning Tutorial For Kids on Father’s Day

A great way to bond the whole family is to work together on a single woodburning project. Yes, pyrography can be for the little ones too!


What you will need:

  1. TRUArt Pyrography Pen
  2. TRUArt Pyrography Carbon Paper
  3. Tape
  4. Wood
  5. Ball Point Pen
  6. Printout of Pattern/Image to be traced

IMPORTANT Child Safety Tips:
Never let a child use a pyrography pen unattended. An adult must always be present to supervise since pyrography pens get hot – VERY HOT. Be sure your child holds the pen by the rubber handle and never touch near the tip of the pen. If you or your child is not actively burning with your pen, keep it propped up on the stand that was provided with your TRUArt pyrography kit. It holds your hot pen securely and you don’t have to worry about it accidentally touching anything else. Always make sure your pen is turned OFF and unplugged when it is not in use. Allow some time for your pen to cool off completely before handling and storing it. Remember, these pens are HOT. This is not a toy and must be used with caution under adult supervision.


One thing I find exciting about pyrography is that anyone can do it! Children in general love to draw and enjoy creating something special for the ones they love so I wanted to find a project that would be fun and easy for any age to try. With the help of my three little artist volunteers, we scoured the internet for quotes or phrases that sounded like something they would want to tell their father. Once we had the phrases picked out, I typed up the words on a Word document. I let the young artists pick the font that they thought looked best for their artwork. Larger fonts work best as does thicker lettering. I then looked for some simple clip art to add to the document – nothing too difficult for our young artists to handle.

Once you have everything picked out the way you want, scale everything down to the size you need to fit the wood. Print your image out and then either you or your child can trace the image onto the wood. If you’re not sure on how to do this, check out my previous post Woodburning Tutorial. Once the image is traced, remove the carbon paper and tape. Start burning.

When burning, children tend to press down hard with the pen. This can cause hand cramping as well as burn splotches on the wood. If this happens, don’t worry. Remember, they are just children. Let them have fun enjoying the process and reassure them that it happens to everyone every now and then. If burn splotches do happen, this usually means the temperature is too high and needs to be adjusted. Be sure that an adult adjusts the temperature of the pen, never a child.


Sometimes, the grains in the wood may prevent a smooth burn for the young artist. The grains may cause some stray, crooked lines. It takes practice to learn the right pressure and heat to use while burning. Embrace the flaws. Remind the young artist to have patience. They are learning and it will get easier with time. Observe their excitement as they burn into the wood. After all, this is about having fun while learning a new art form. Occasionally, you may see some smoke come up when the pen touches the wood. This is normal. This usually happens if the pen is too hot or when it is pressed hard into the wood. Be sure that the child does not keep the pen pressed onto the wood for a length of time. With these pens, you are burning the wood so a hole can be burned through if you’re not careful.

As the adult, you may need to assist the child with holding the pen. It is thicker than regular pen and the child may be scared at first. That’s ok too. Safety is the main priority. Most children are nervous the first time they use a pyrography pen. Once they start burning, they usually become comfortable with the pen rather quickly and end up loving the process. Guide them, help them and supervise them. Allow them to have fun creating something unique and special.

When the burning is complete, you can give them a pen to write their name down or personalize a message.

Practice wood burning with your children often. You’ll be amazed at how quickly they adjust to using the pens. Be patient and know that mistakes will be made, it’s just part of the process. Always follow the safety tips and have fun.

Got any questions? Just leave them in the comments below and I’ll get to it as soon as possible.

Enjoy!
Andrea Pate
Pate’s Pyrography

Posted on 6 Comments

Shading Technique in Pyrography

Shading is a challenging but extremely rewarding technique to master.  Shading gives your drawing depth and illustrates the various levels of darkness.  When you use this technique, you can make a flat image instantly have the realism of a 3D image.

When practicing, use a sample piece of wood.  Practice your shading by using simple shapes or designs.  Another useful tip is to study black and white photographs to observe where the light and dark values land on the image.

To start, draw your image or design onto the wood.  With pyrography, there is no room for error.  All marks you make are permanent.  In general, you should start burning your image at a low temperature and gradually increase heat as needed.

When burning, always burn softly. To do this, do not press down hard with your pen or make solid harsh lines.  I like to burn on a low temperature and make small, tight, circular motions on the wood.  I continuously do this until I blend my markings into a light, even shade.  You should not be able to distinguish where the shading started or ended, you want it to all flow together. Do not outline your image completely with dark, solid lines.  The point of shading is to give your art realism and it also helps define an object.


When shading, you don’t want your dark value to be too similar of a shade to your lighter value. Sometimes, it helps to practice shading on paper with a pencil first.  This can help you get a feel of how to transition from dark to light values.

When burning, move your pen in a slow, even motion.  Add layers to your burning to give it depth. Increase your burner from a low temperature to a medium low temperature to the areas needing a darker value.


I hope these tips will help you master the art of shading.  Practice frequently and find what works for you.  Experiment with the different tips that are provided with your pyrography pen.  Different tips may help assist you with your technique. Most importantly, take your time. This is not an easy thing to do if you are not familiar with this skill.

If you have any questions regarding this technique or anything about pyrography shading, please leave them in the comments below and I’ll get back to it as soon as possible.

Good luck and see you next time.

Andrea Pate

Pate’s Pyrography

Posted on 5 Comments

“Welcome Home” Woodburning Tutorial

If you are looking for a way to create a very beautiful and professional looking wood burning, I have some tips to assist you along the way.

What you will need:

  1. TRUArt pyrography pen
  2. Wood of your choice
  3. Colored ballpoint pen
  4. Carbon tracing paper
  5. Tape
  6. Image/design to burn
  7. Magic eraser
  8. Sand paper
  9. Stain
  10. Varnish


Take the time to find the right image to burn.  Make sure the size of the image works well with the piece of wood you choose.  Be mindful of the type of wood you choose.  Try sticking to a softwood such as birch wood, basswood or even simple plywood.  Sand your wood surface down prior to use to ensure that the image you use will burn evenly.  Do not burn on treated or painted wood as fumes inhaled from these can be harmful to your health.


Get some tape, carbon paper, and a colored pen.  Find the center of your wood and place your image on the desired location.  Tape the top of your image onto the wood to prevent it from shifting.  Slide the carbon paper underneath your image (glossy side down). Take out your pen and trace the image.  I like using a pen because I feel like I don’t have to add as much pressure while I’m tracing the image.  It is useful to use a colored pen so that you can see the area that was already traced.


Once the image has been completely transferred, gently lift the bottom portion of the design to ensure that you have traced the whole image onto the wood. If so, remove the paper.  When burning the image, start at a lower heat and slowly increase the temperature as needed.  If you start too hot, you will get an uneven burn and possible burn marks outside your design.

Do not press down hard while burning. If you feel the need to push down hard on the wood with the pen in order to get the desired darkness/shade, your temperature is too low and needs to be increased.

Once you have completed the burning, you may have some marks left on your wood from where you traced your design.  These markings can’t simply be erased with a regular eraser. Get a magic eraser.  Add only a little water to the eraser and gently rub in a circular motion evenly across the wood.  If it’s not done evenly, you will have splotchy marks on your wood when you stain.  When that happens, simply sand the wood down on those areas. Rubbing too hard may cause smearing of the image.  Gently rub the eraser on the smudges until they’re gone and let the wood dry completely.

To give the wood a finished look, add a little stain on it.  Be sure not to add too much stain or too dark of a stain or the image will fade into the wood. To protect the image from darkening over time, varnish the wood with polyurethane or resin.

Now, all you have to do is enjoy all your hard work.  Keep practicing and be patient with yourself.  Hang in there, you’ll get it.

I wish you the best of luck and I will see next time with some more tips to help you along the way.

If you have any questions regarding the whole process, please leave them in the comments below and I’ll get to them as soon as possible.


Andrea

Pate’s Pyrography