Posted on Leave a comment

Adjusting TRUArt 60W Pyrography Pen Collets to Fit a Pyrography Tip Made of Thicker Wire

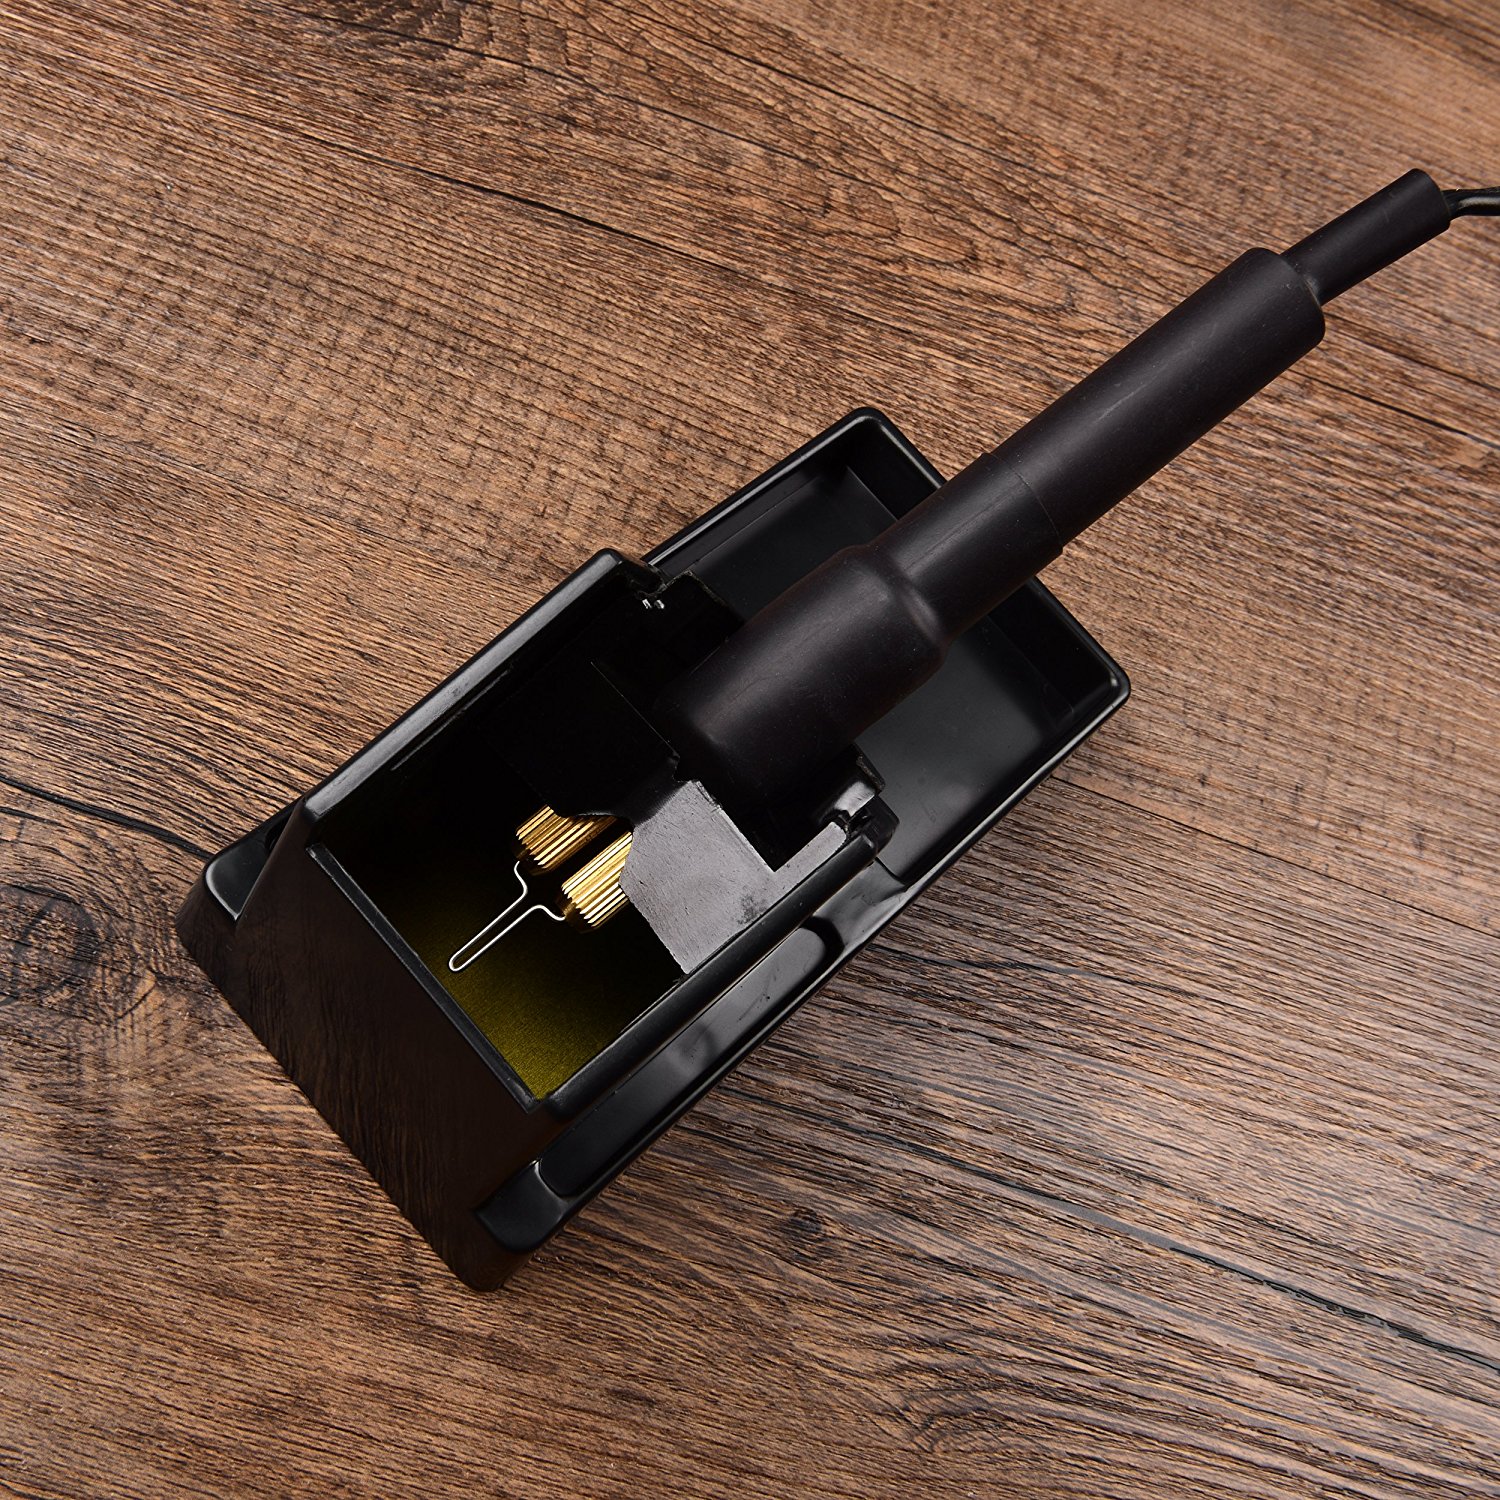
60W pyrography tip and pen in holder

.With all the various pyrography wire tips out in the market today, two pyrography tip sizes are the most commercially popular. The 18 Gauge and the 20 Gauge (18 GA and 20 GA) tips. They correspond to 1.0 mm and 0.8mm respectively. The thicker 18GA wire lasts longer and is suitable for very long hours of work. The thinner 20 GA wire is perfect for slightly lower heat and intricate detail work.

As it often happens, customers buy a set of tips unaware various wire sizes. With our TRUArt Stage 2 Dual Pen Professional Woodburning Detailer and other wire-tipped variants, all our tips are interchangeable regardless of the size. The ball point pyrography tip and some of our shading tips are universally 18 GA. As such, you will need to initially adjust your pyrography pen’s collet (see image 1 below) to accommodate the slightly larger tip. You would only need to do this only once after which it becomes much easier to switch between regular sized wire tips to the thicker types and vice versa. 

Below is a detailed guide on how to use our 18 GA tips on our pyrography pens:

Unscrew the locking nuts (arrows) from the collets 

pyrography tip


Push the 20 GA pyrography tip into the collets (red circle). Make sure that they go in straight into the collets as much as possible. Some force is required to do this. Do not wriggle the tip around once it’s inserted as that might loosen the collet too much. The fit should be as tight as possible to guarantee reliable conductivity.

pyrography tip


Pull out the pyrography tip, screw in the locking nut onto the collets leaving it loose (small arrows). Insert the tip back again (big arrow). 

pyrography tip


Tighten the locking nuts. Your pen is now ready for some serious wood burning. 

pyrography tip


If you have any questions about your pyrography tip, have any comments or suggestions, simply contact us at hello@truart.co or leave a comment below We’ll be right there to help you out. 


Posted on 1 Comment

DIY Holiday Gifts and Decorations

I love the Holidays! The decorations are beautiful, the food is plentiful as well as delicious, and I am constantly busy. Ever since I started my pyrography business, I have been commissioned to make an unbelievable amount of gifts. If you are looking for some inspiration for creating something beautiful and affordable, I’ve got some amazing ideas.

This Holiday Season, go to your local craft store. In the wood section, they have a large selection of wood that is easy on the pocket and there are several items that are packaged with multiple pieces. These stores often offer discounts and many of these items are available in their holiday section which is often marked down.

I always create ornaments for my neighbors and my children’s teachers. You can also get some plywood rounds in various sizes that are sold as a set of 4 or more. I purchase these plywood rounds along with some stands and they make a great gift for any occasion. You can create a sign with Holiday decorations or even something a little easier such as an inspirational quote or their last name. TRUArt also has supplied some easy-to-burn Christmas stencils that you can download for free.

I also purchased wood slabs from a local lumberyard for an amazing price. You can find a sanded wood slab, ready to use, at your local craft store as well. These make amazing cutting boards, serving trays, display pieces, signs and chargers for your tablescape.

For my sample, I looked online for some clip art images of snowflakes. You can also search for snowflake patterns and find other great images to use.

Once you have found your image, transfer the design onto the wood (see my post on Wood Burning Tutorial for instructions on how to do this).

There are two ways you can burn this image.

Option 1: You can burn the actual design and leave the background bare

Option 2: You can burn the background and leave the actual design untouched

Once you are done with your burning, erase any tracing lines, stain (if needed) and varnish.

With pyrography, your handmade gifts can have the appearance of a store-bought, detailed piece but will be treasured by your loved ones for years to come.

I hope these tips have helped and that some of my ideas have inspired you to create the perfect gift.


Lastly, I hope you all enjoy the holidays! See you next time.

Andrea Pate
Pate’s Pyrography


Posted on 8 Comments

Understanding the Types of Pyrography Pens and Their Differences

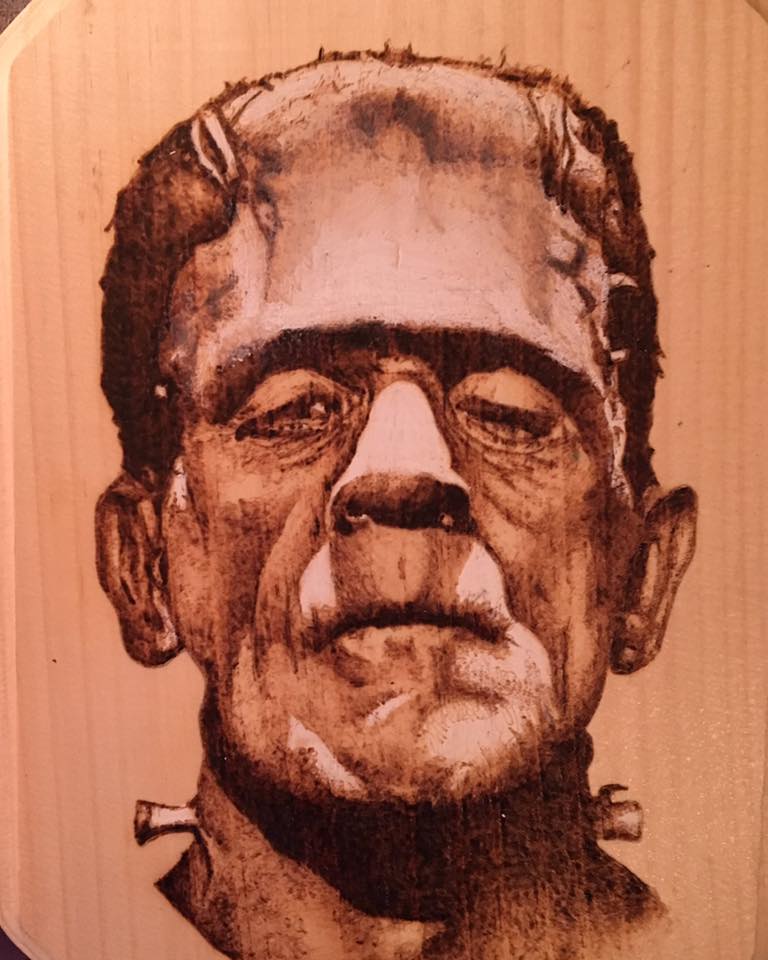
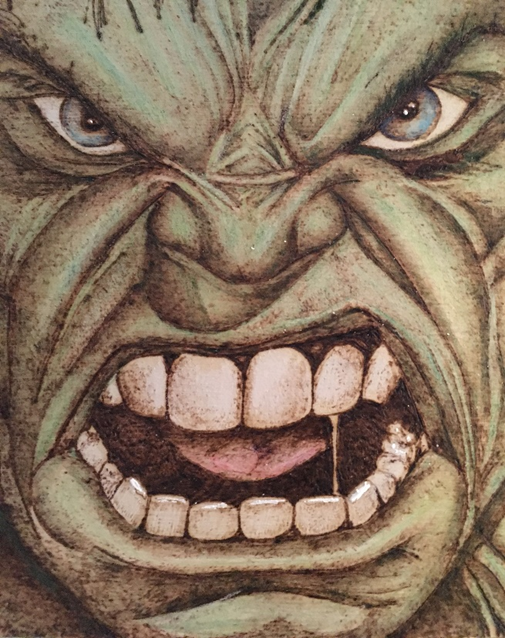
Pyrography or woodburning, is an art medium rapidly gaining popularity especially in the United States and United Kingdom. This art medium involves the use of a heating device that resembles a large pen, which, when applied to wood surfaces, leaves distinctive burn marks. There are already many professional pyrography artists around and most of their work is truly astounding – many even life-like especially when a touch of color is added.

#patespyro
“Frankenstein” from Pate’s Pyrography

As more and more budding artists join the pyrography band wagon, many do not know what to start off with or know about the differences among the many pens sold out there. This then poses a problem for many who nevertheless went ahead, bought a pen (usually convinced by online reviews) and are either stuck on how to use them properly or end up destroying the tool altogether. To address that and a few other key issues, let’s compare the two types of pyrography pens, the solid-point burners and the wire-nib burners.

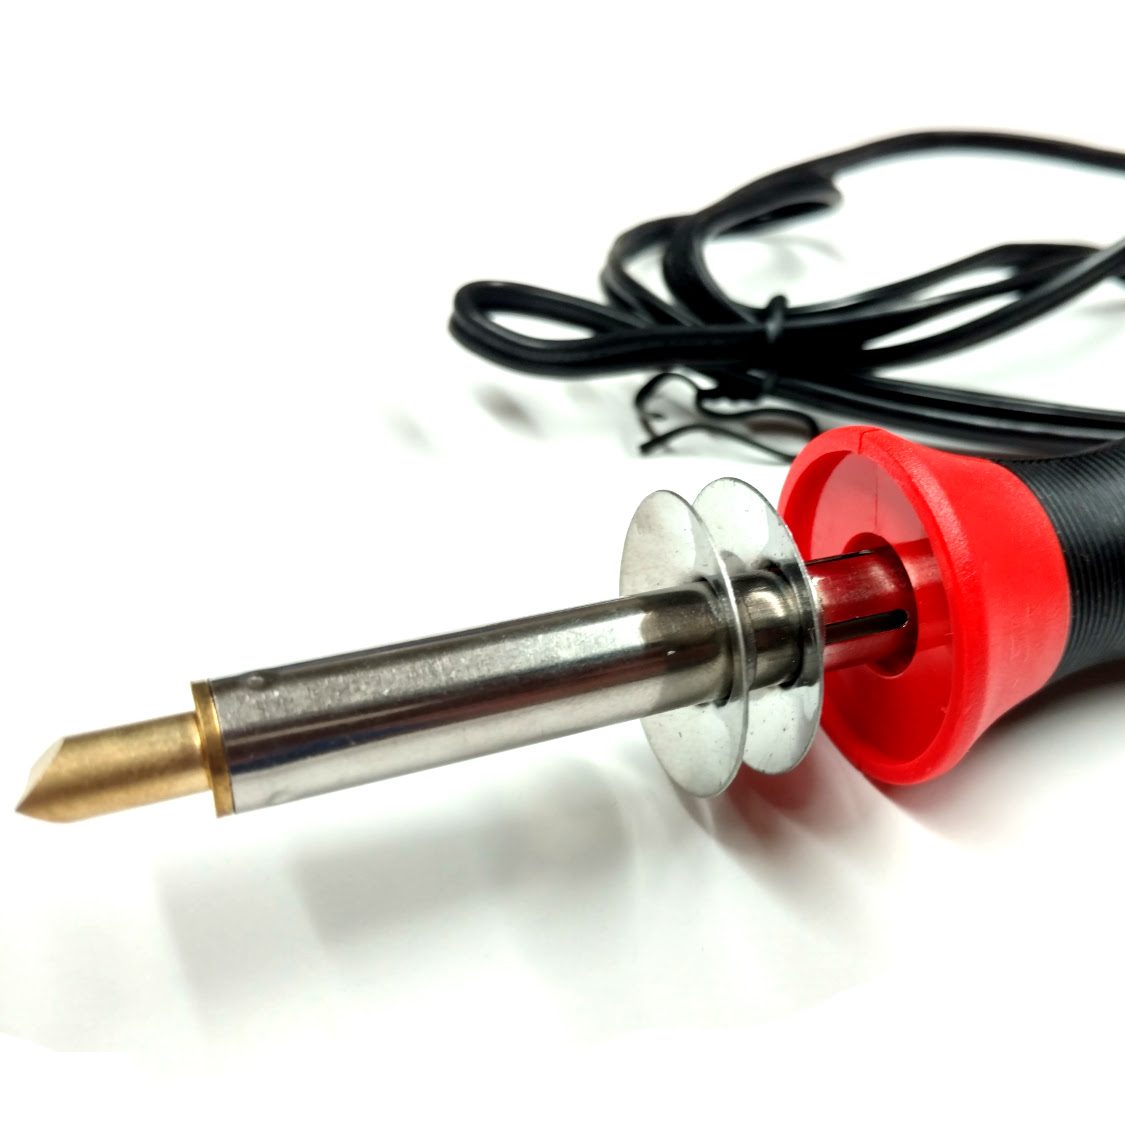
TRUArt 15-30 W Pyrography Pen
Solid-point pyrography pen

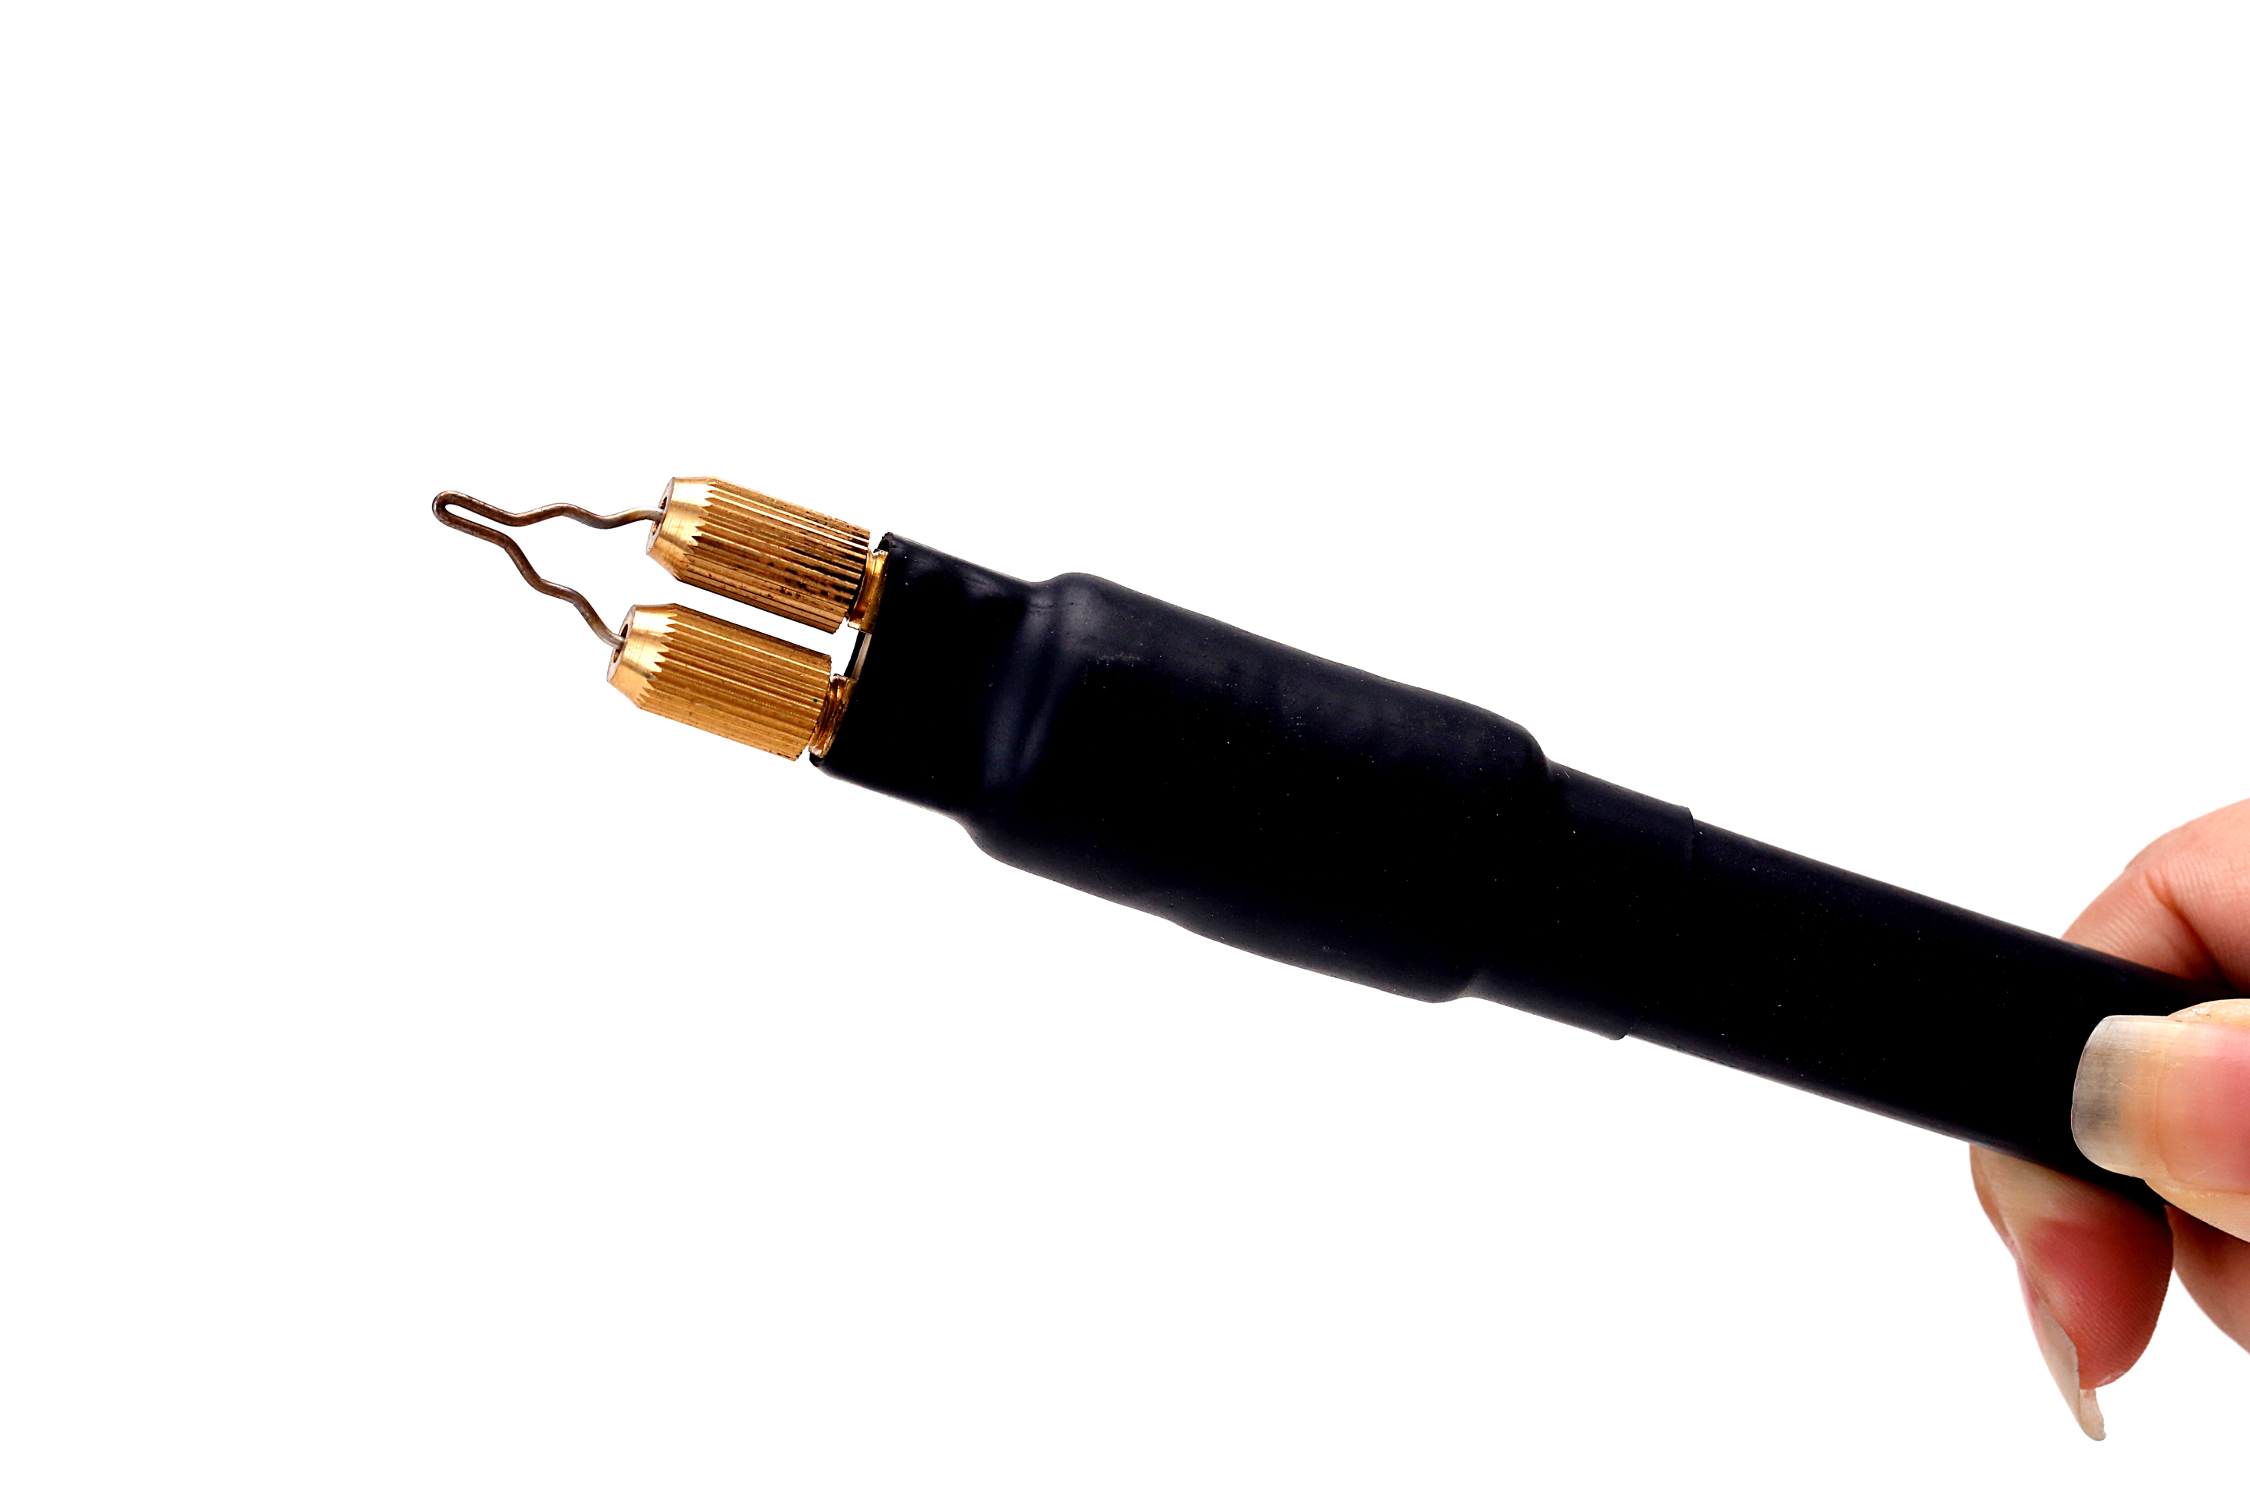
TRUArt 60W Woodburning Detailer
Wire-nib pyrography pen

Tip / Nib

Solid-point burner – This type of pen usually requires a screw-in tip although some very few designs in the market feature non-screw tips held in place by a sleeve and a nut. Care should be taken when purchasing extra tips as they can vary in thread type. TRUArt pyrography pens use M4 X 0.7 tips. This means that the thread is 4 mm in diameter with a 0.7 mm thread pitch. These tips are screwed in tightly by hand and usually finished off with 1/8th to 1/4 of a turn using a pair of pliers.

Wire-nib burner – This type of pen holds wire tips usually made from Ni-chrome wire of varying gauges. The wires are either inserted into collets or held in place by screws tightened unto them. TRUArt’s 60 W Professional Woodburning Detailer can accept 20 to 16 GA wire tips.

Heat transfer

Solid-point burners create heat by means of a heating element within the pen that is then transferred to the tip and operate at a fixed temperature.

Wire-nib burners create heat on the nibs by electric current going through it. The collets or wire nib holders should never be shorted.

Solid-point burner Wire-nib burner
Pros    Cons                          Pros                                  Cons
Cheaper than Wire-nib burners

Wide selection of patterned and stamp tips

Brass tips conducts heat faster and retains it longer than other metals

Easy screw-in and unscrewing of tips (only do this when unit is cold!)

Variable heat output (TRUArt 15 W – 30 W pens)

Ergonomic handle with anti-slip rubber

Ventilation holes and double heat sinks to dissipate heat away from hands

Price is great for beginners in pyrography

No separate power supply

No danger of shorting out the pen

Brass becomes soft when heated. Oftentimes, beginners tend to put too much pressure on it instead of letting the heat do the work. This bends the softened brass tip, which leads to breakage – leaving the screw inside the pen and rendering it useless.

Long waiting period for hot tips to cool down enough for unscrewing/replacement

Long waiting period (3-5 mins) for tips to heat up sufficiently

Only two power settings – 15 Watts and 30 Watts

Cannot create customized tips

Hands are farther away from work surface than Wire-nib burners

Tips may become lose within pen when heated. This will require further tightening with pliers (about 1/8 to 1/4 of a turn)

Nibs heat up much faster (less than 1 minute) than Solid-point tips

Fast cool-down

Easy inserting and removal of nibs

Nibs stay tight inside collets even at the pen’s highest voltage setting

Wide selection of nib shapes and sizes

Easily create customized nibs from a roll of Ni-chrome wire

Very close distance between hand and work surface

Digital power supply allows very fine tuning of heat output on the tips, which allows for superior control over burn

Pen is smaller and lighter than Solid-point burners

Non-slip ribber handles

Can accept 20 GA to 16 GA (0.8 mm to 1.25 mm diameter) nibs

Ni-chrome wire nibs do not break easily when pressure is applied

Preferred by professionals

More expensive than Solid-point burners

Nib selection does not have big patterns or stamps like the Solid-point burner tips

Bulky power supply

Burner can get almost uncomfortably hot if voltage is too high and heat on the nib is not used fast enough

Danger of shortening the burner if the collets are directly connected to each other by any metal object

Skill in using voltage setting to get the required heat has to be developed

Ultimately, when selecting a woodburning or pyrography pen, you will first have to consider what you intend to do. Figure out if you could see yourself doing this occasionally or often. If you’re just starting out in the art of pyrography and do not know what kind of pyrography pen will suit you, you’re safe if you start with the Solid-point burner. Later on, once you’re more confident in the art and start investing long hours into it, you may want to consider upgrading to the more robust and industrial strength of the Wire-nib burner.

If you still want to know more, simply share your thoughts or questions through the comments below and we’ll answer them within the day.

Posted on Leave a comment

Woodburning Workshop 2 – More to Learn!

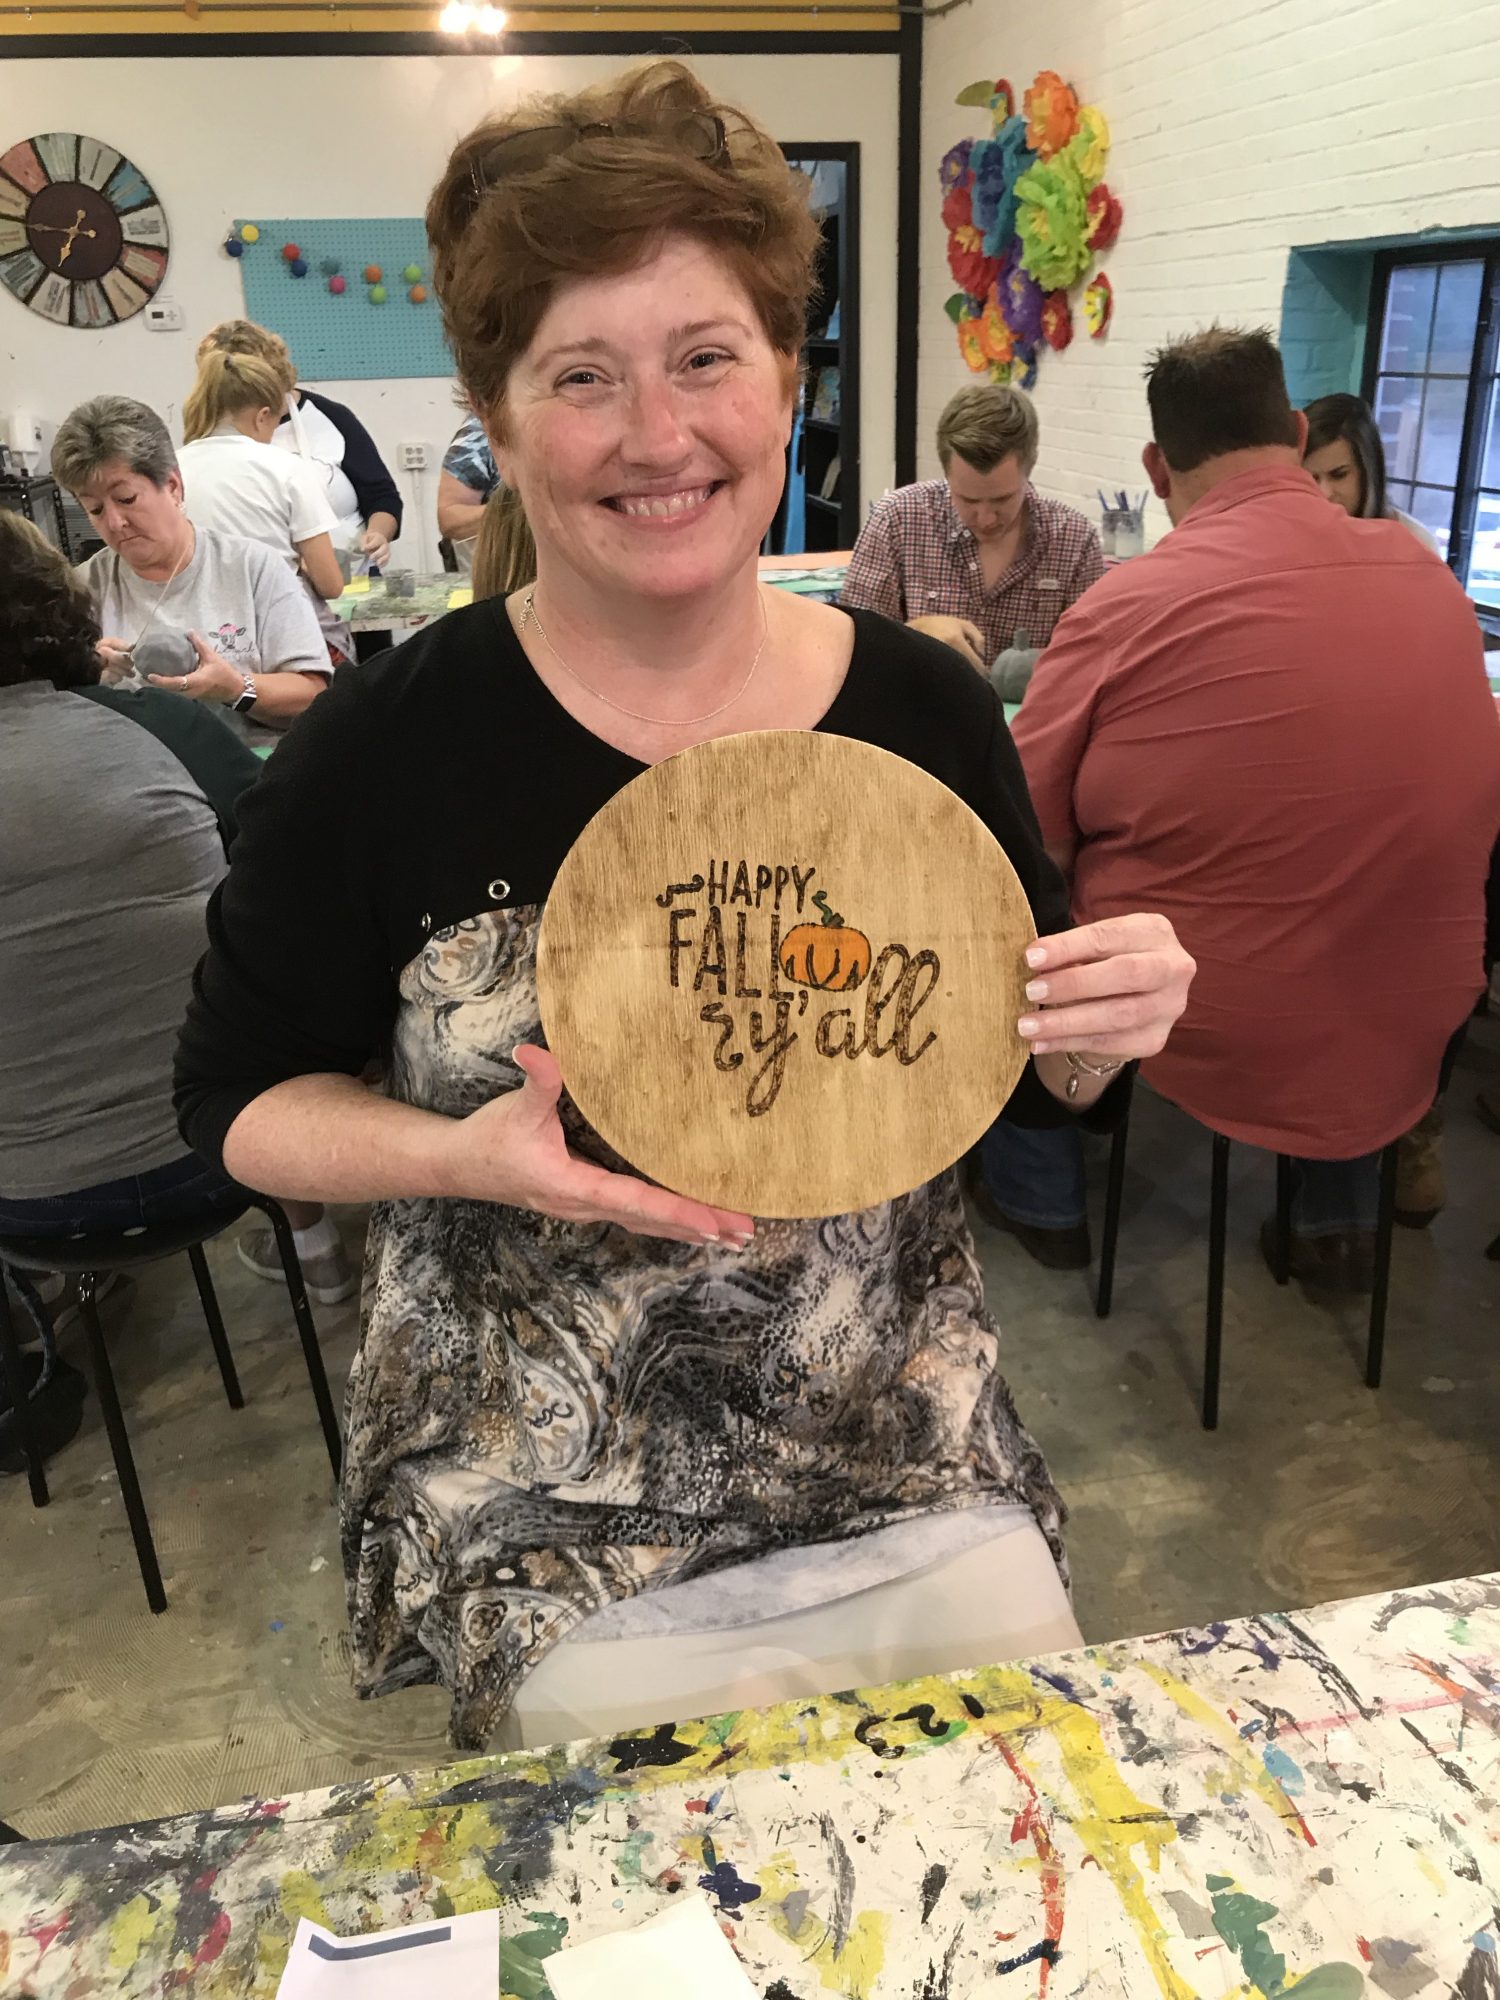
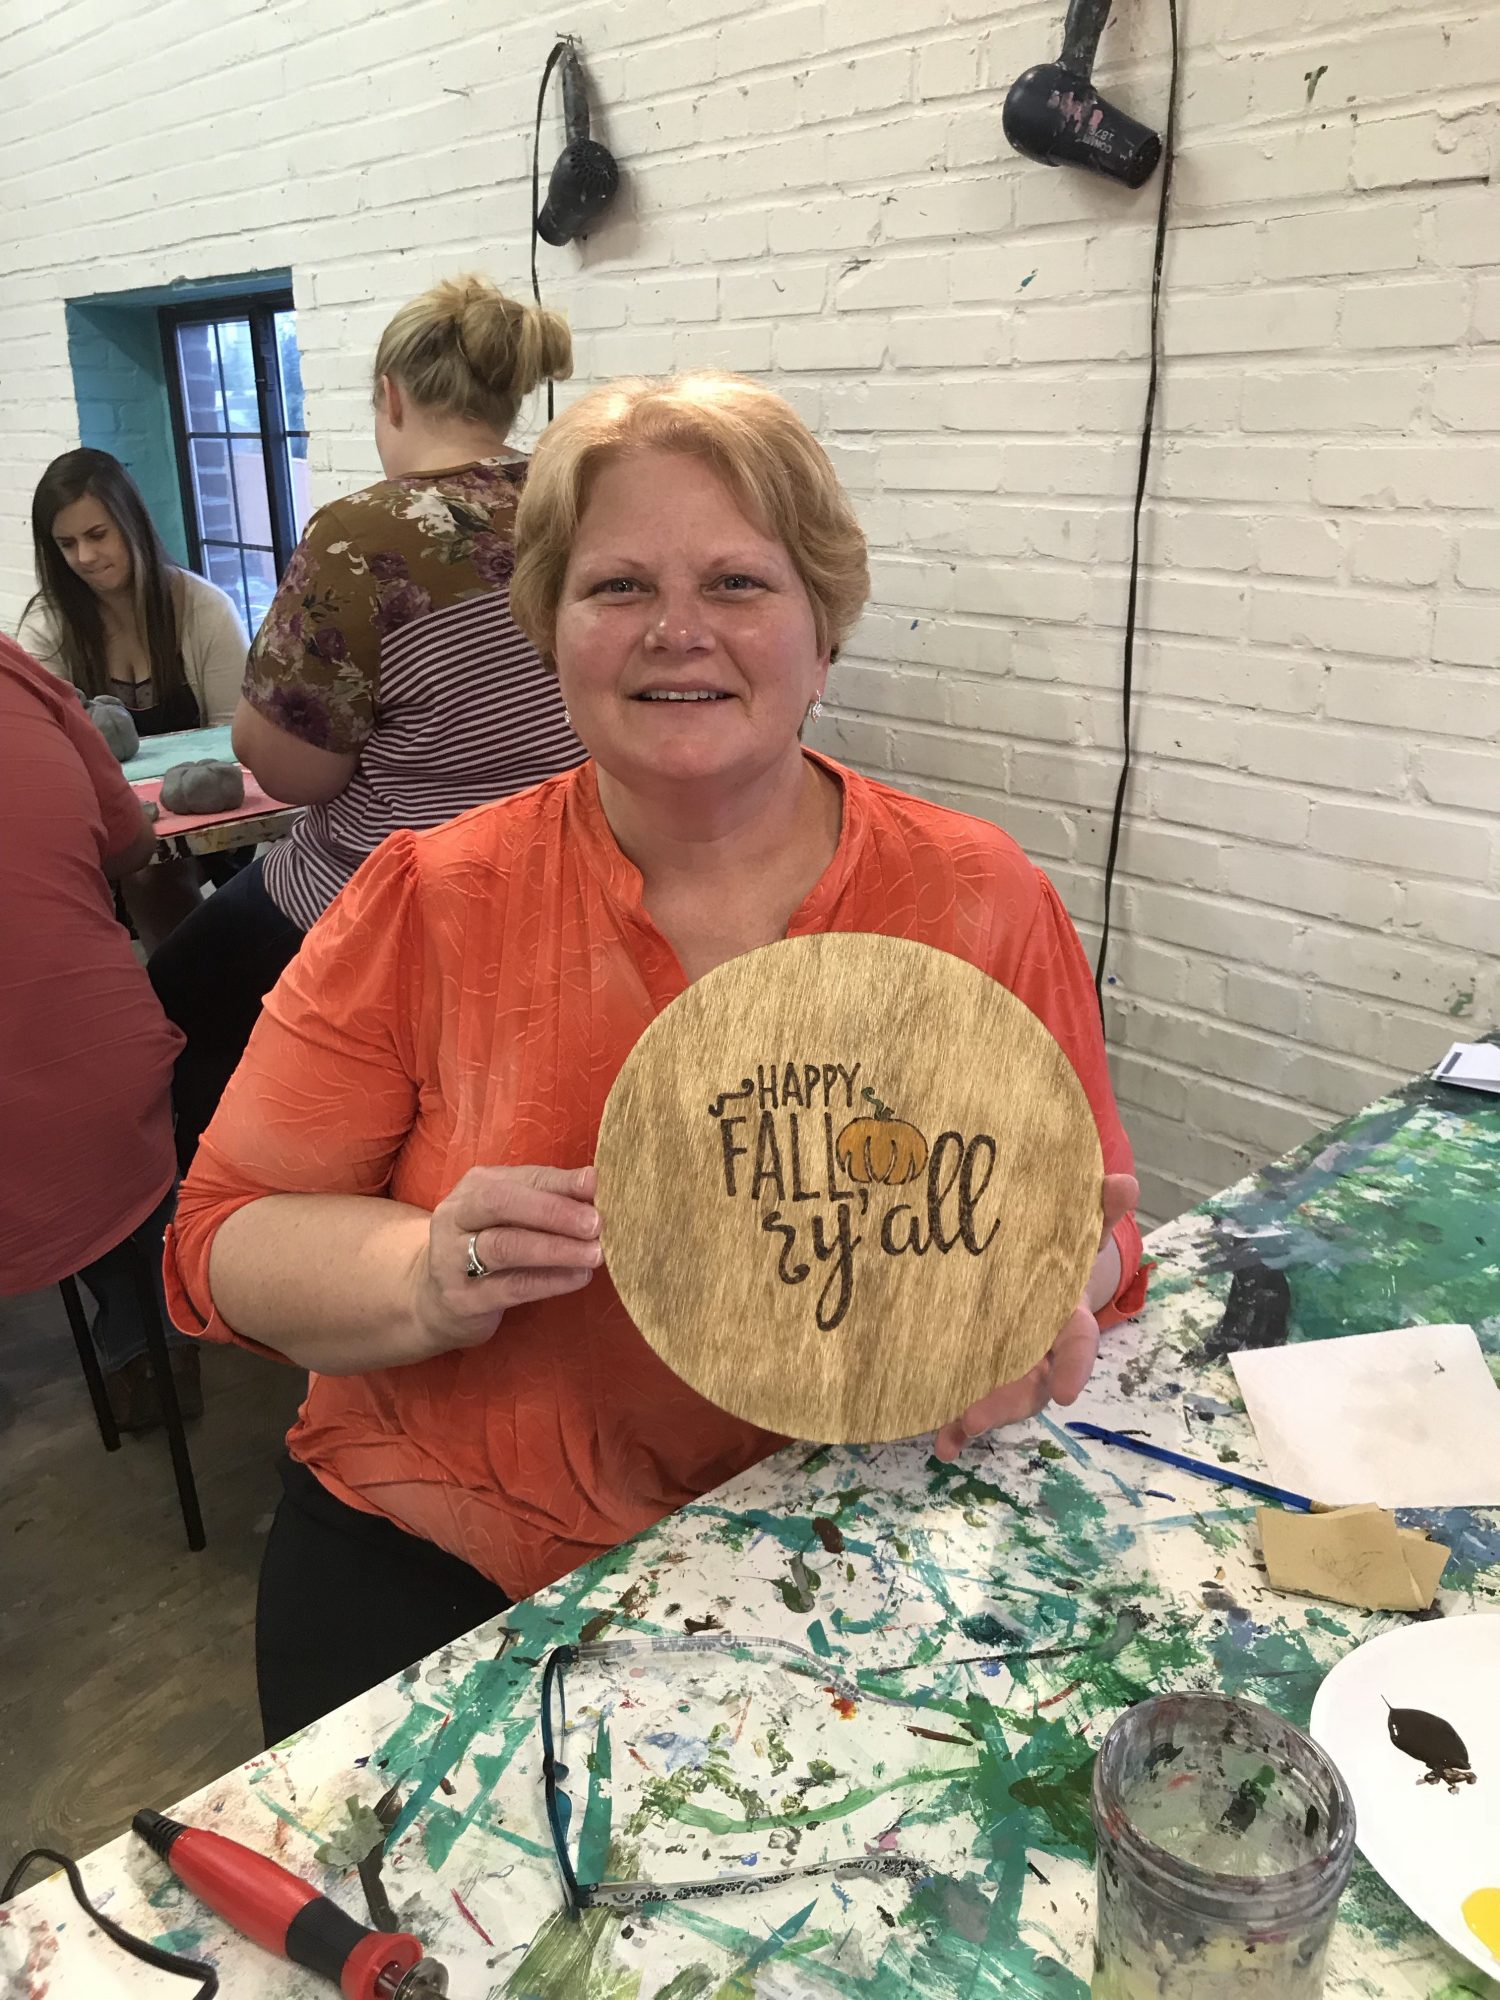
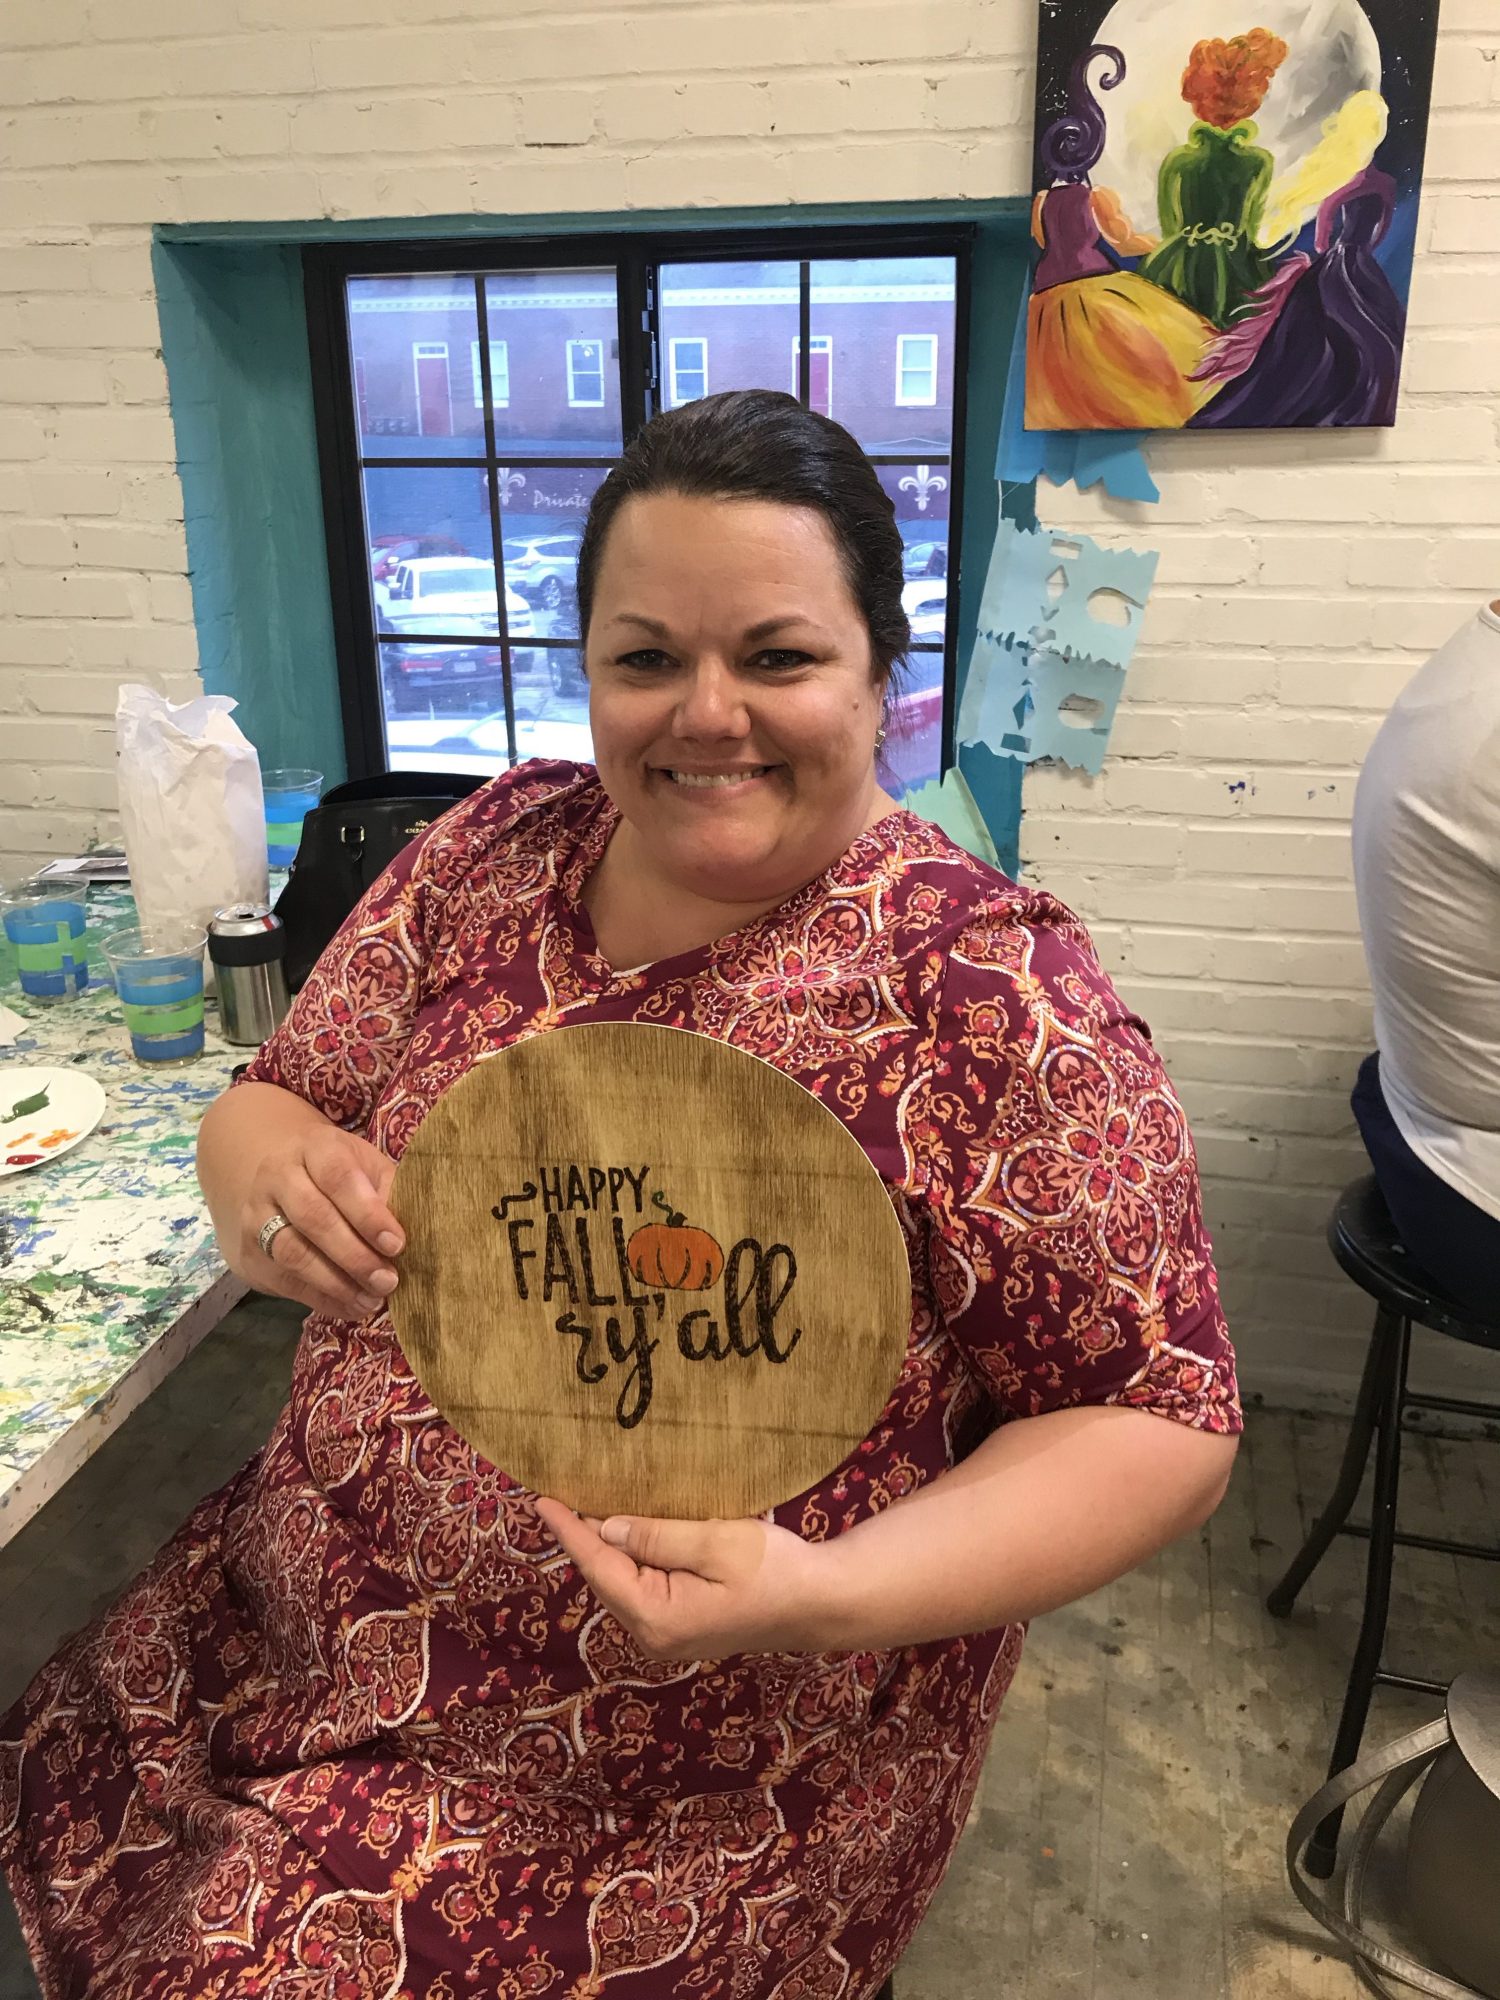
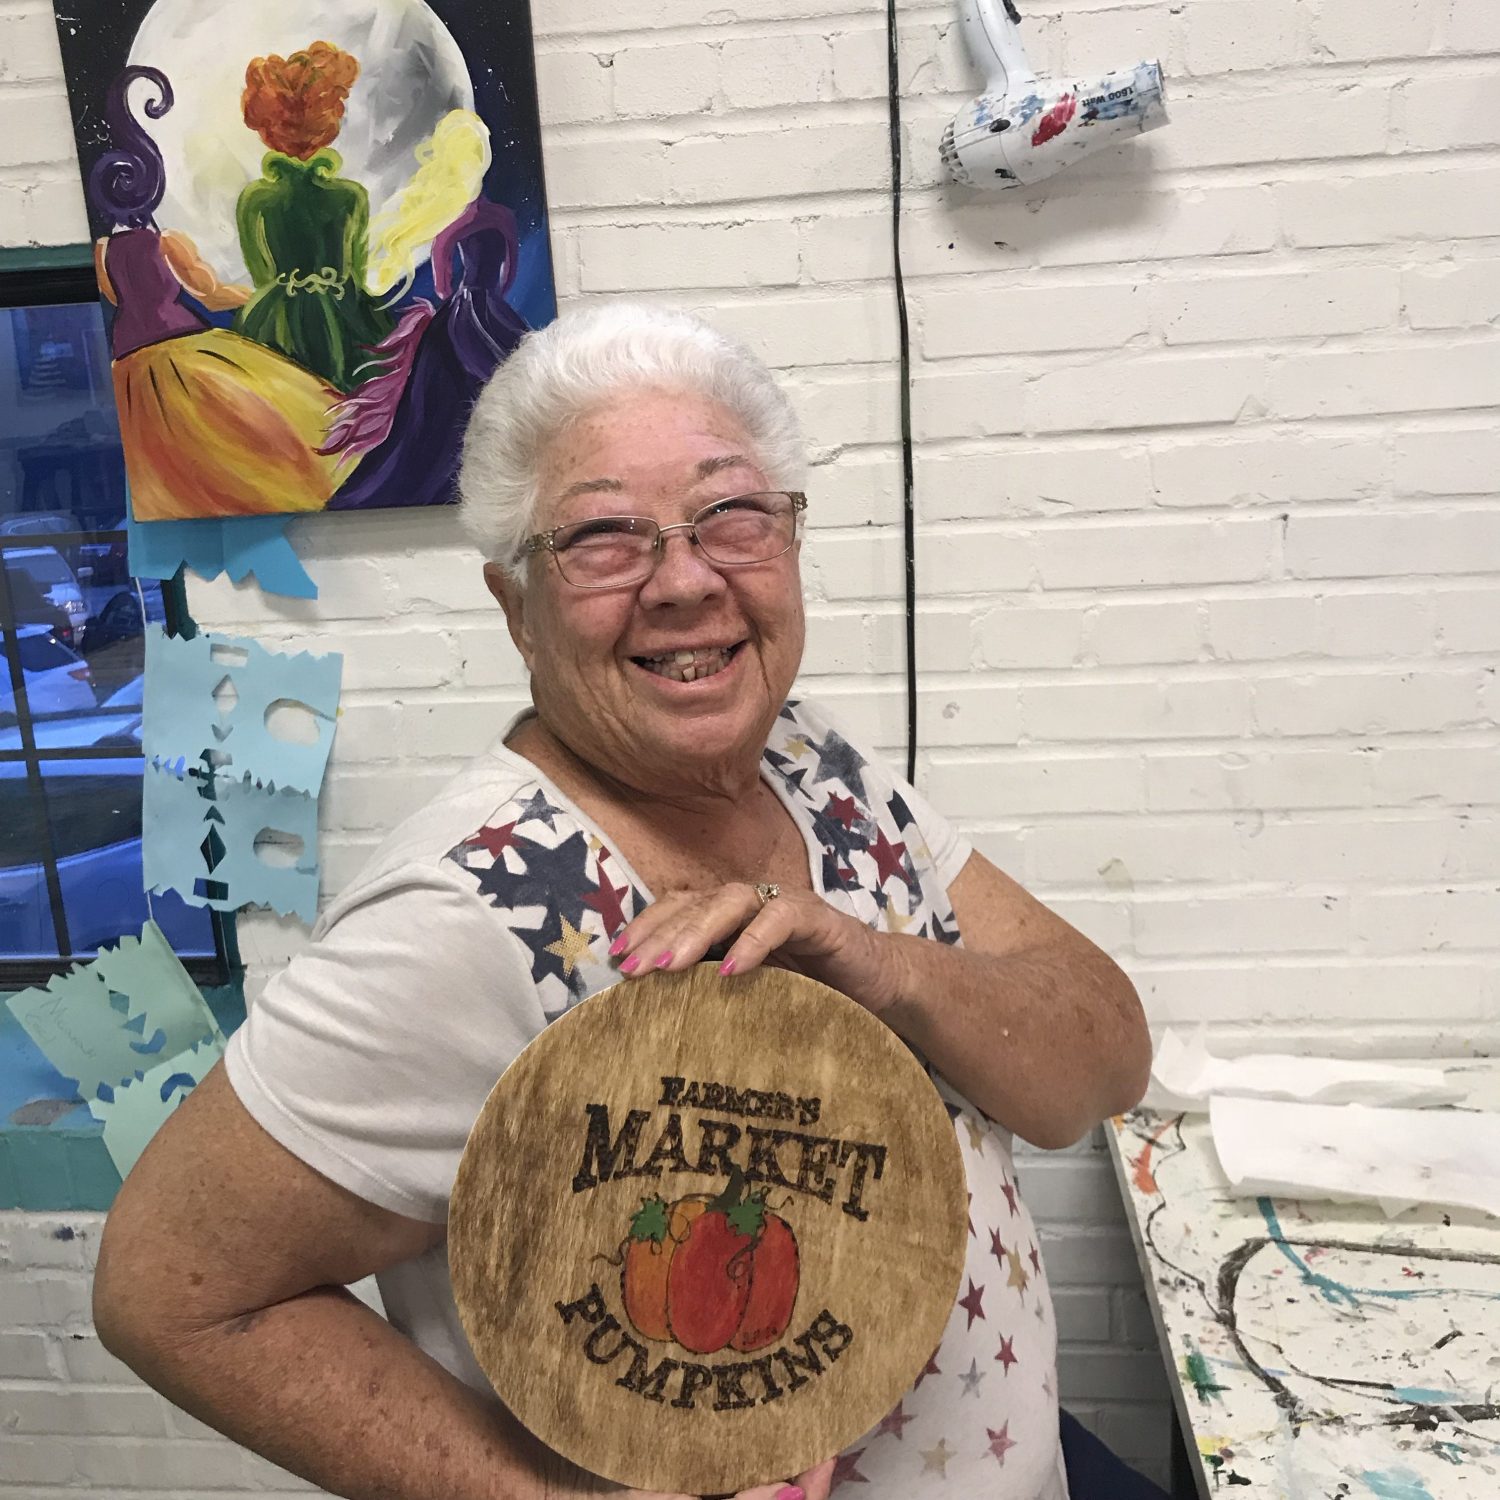
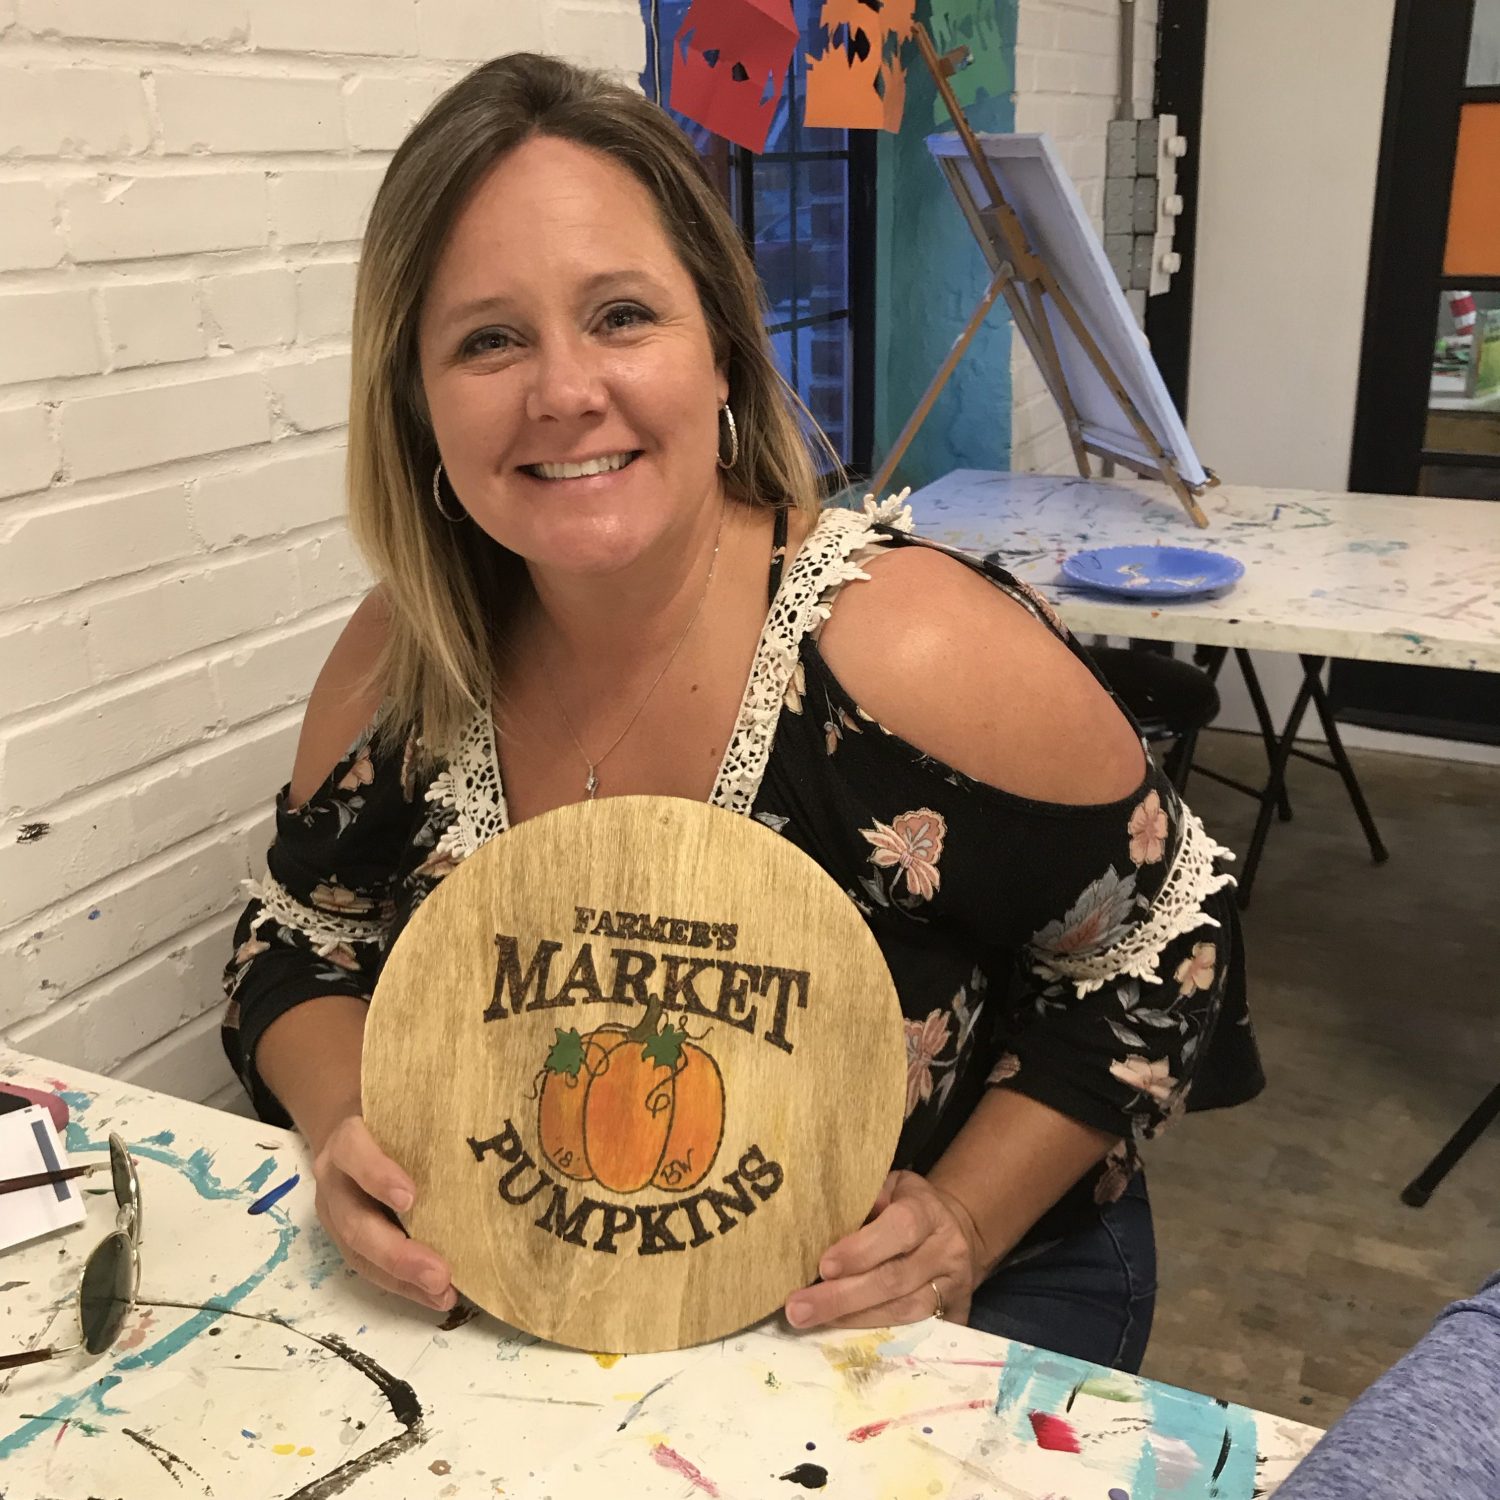
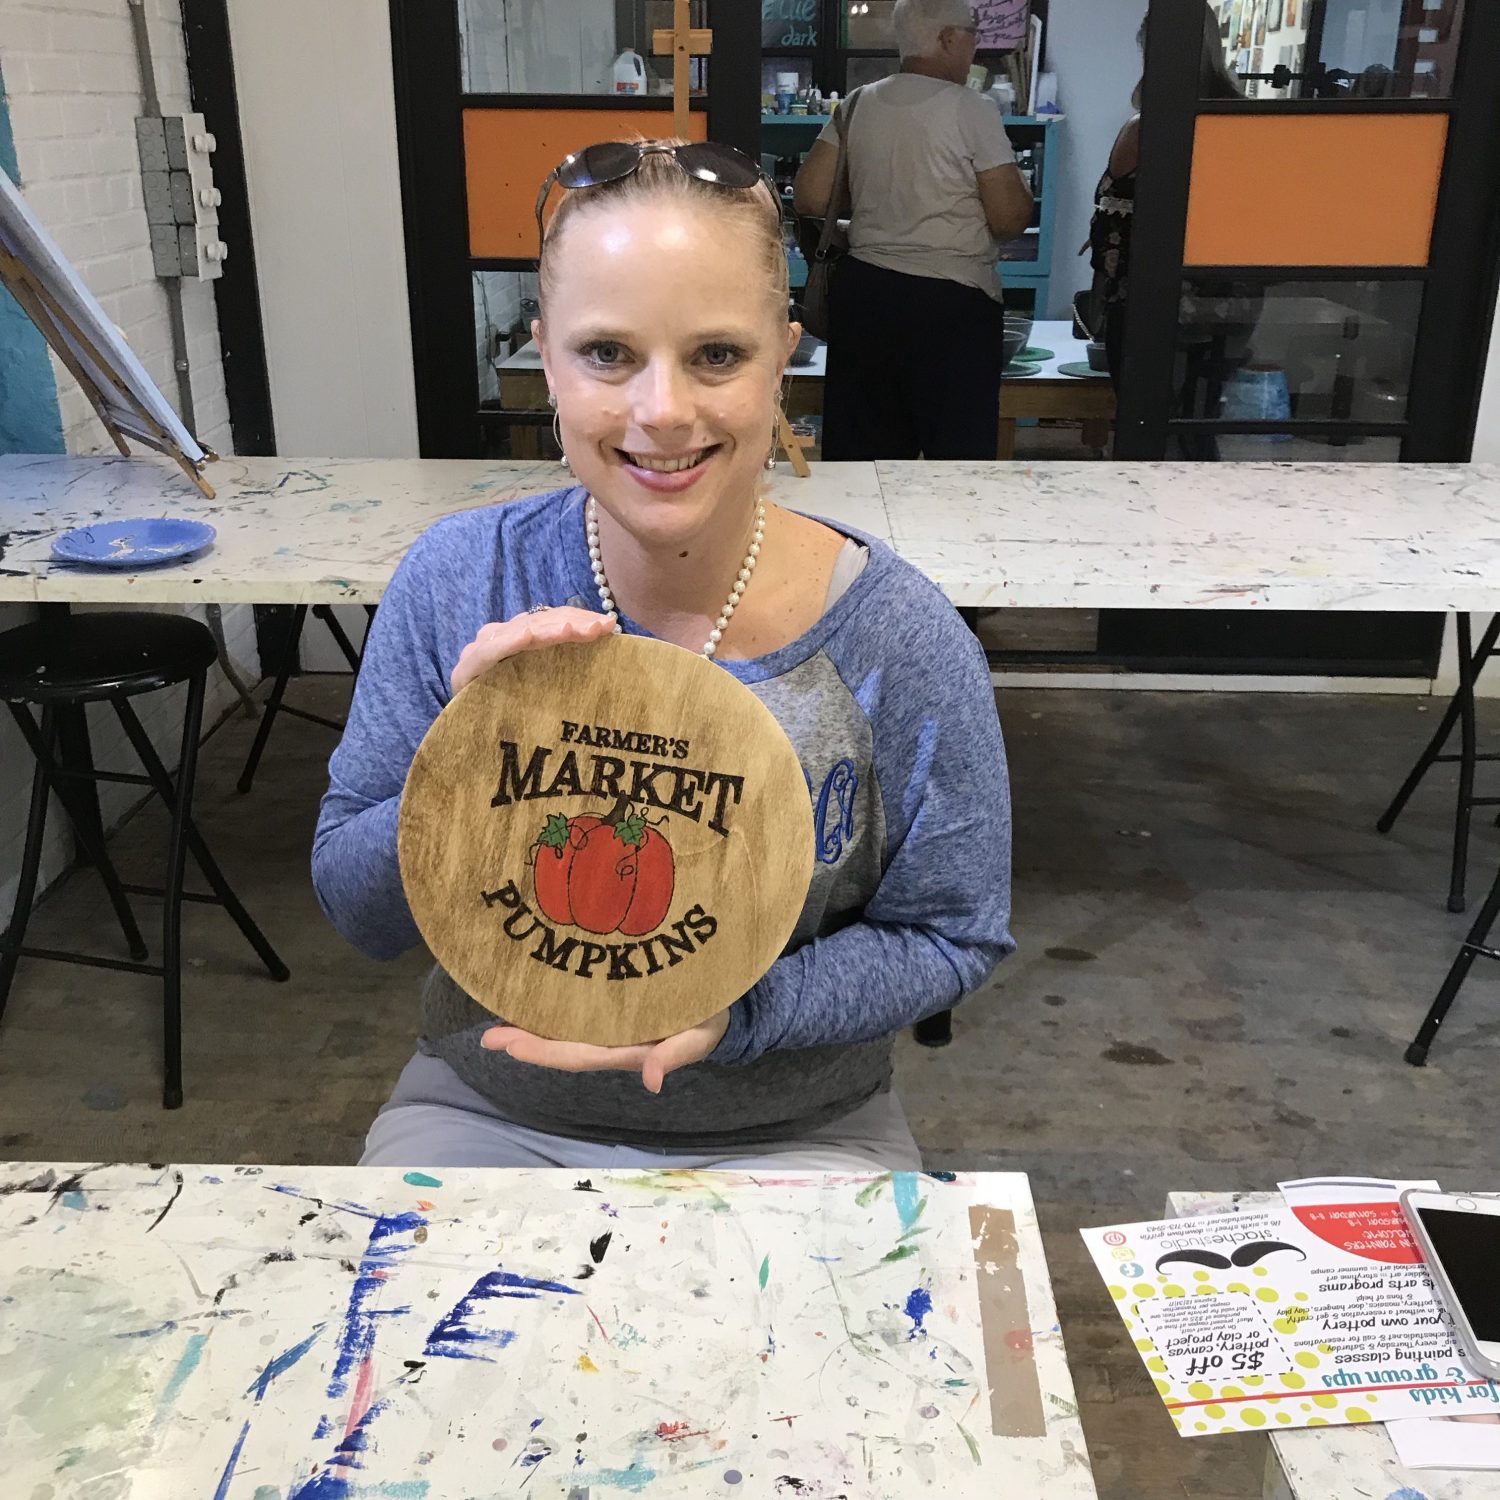
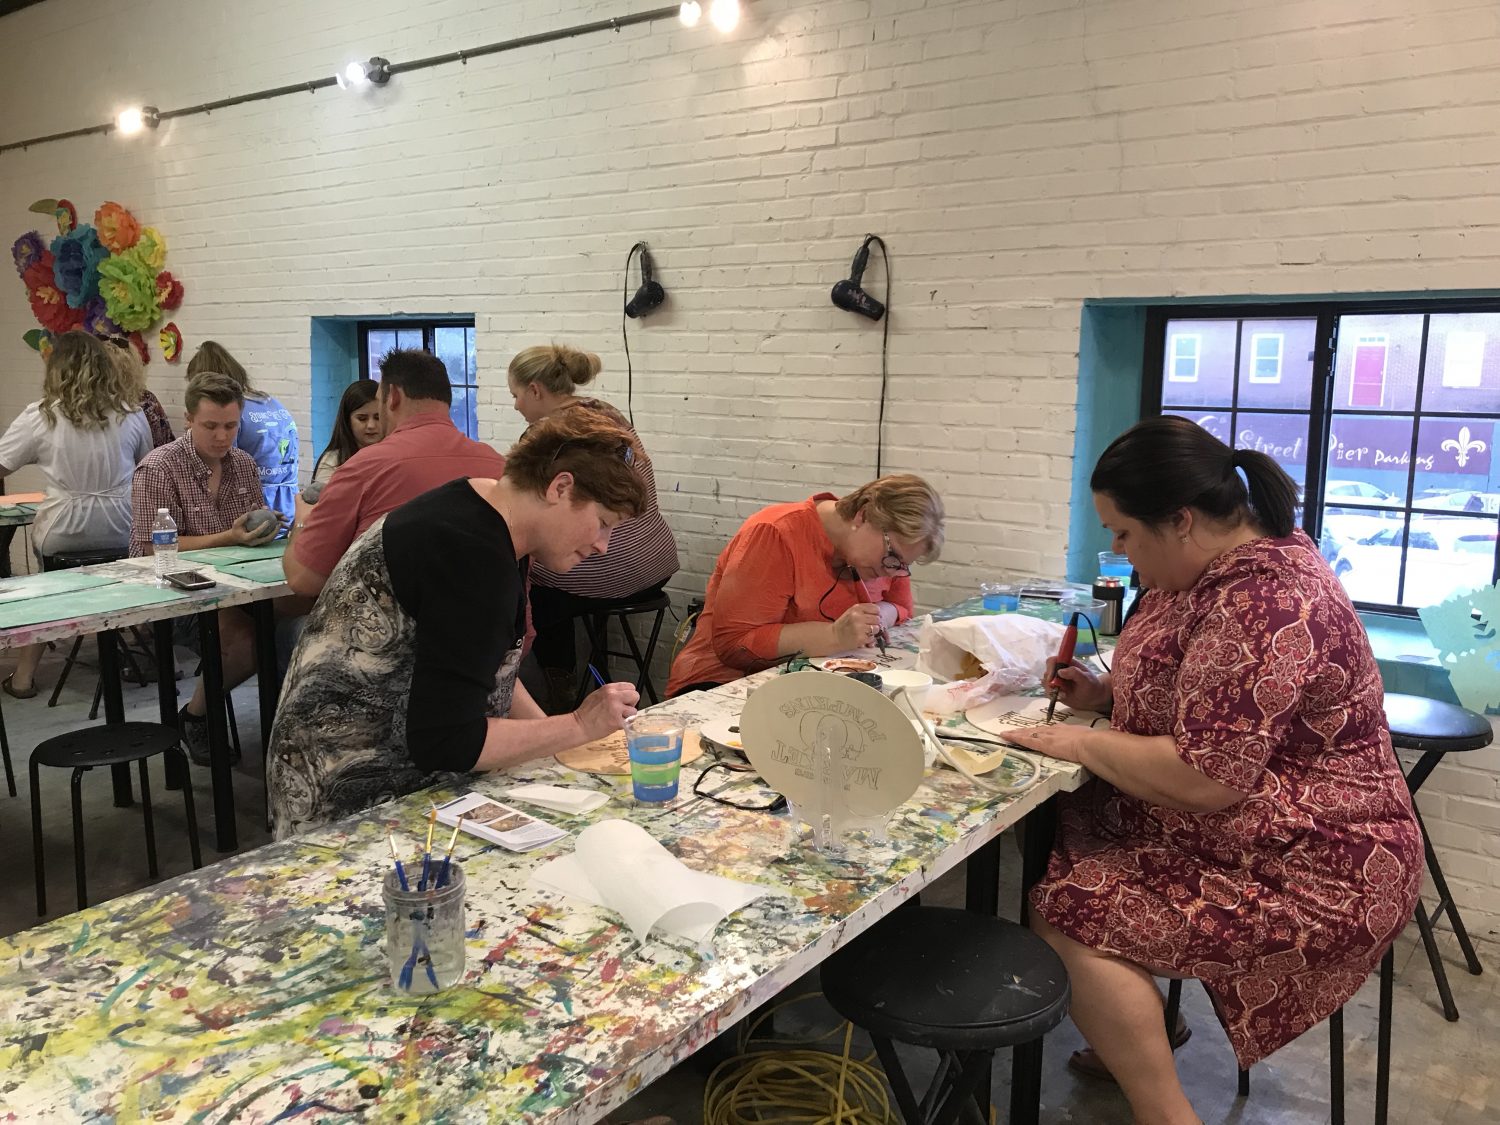
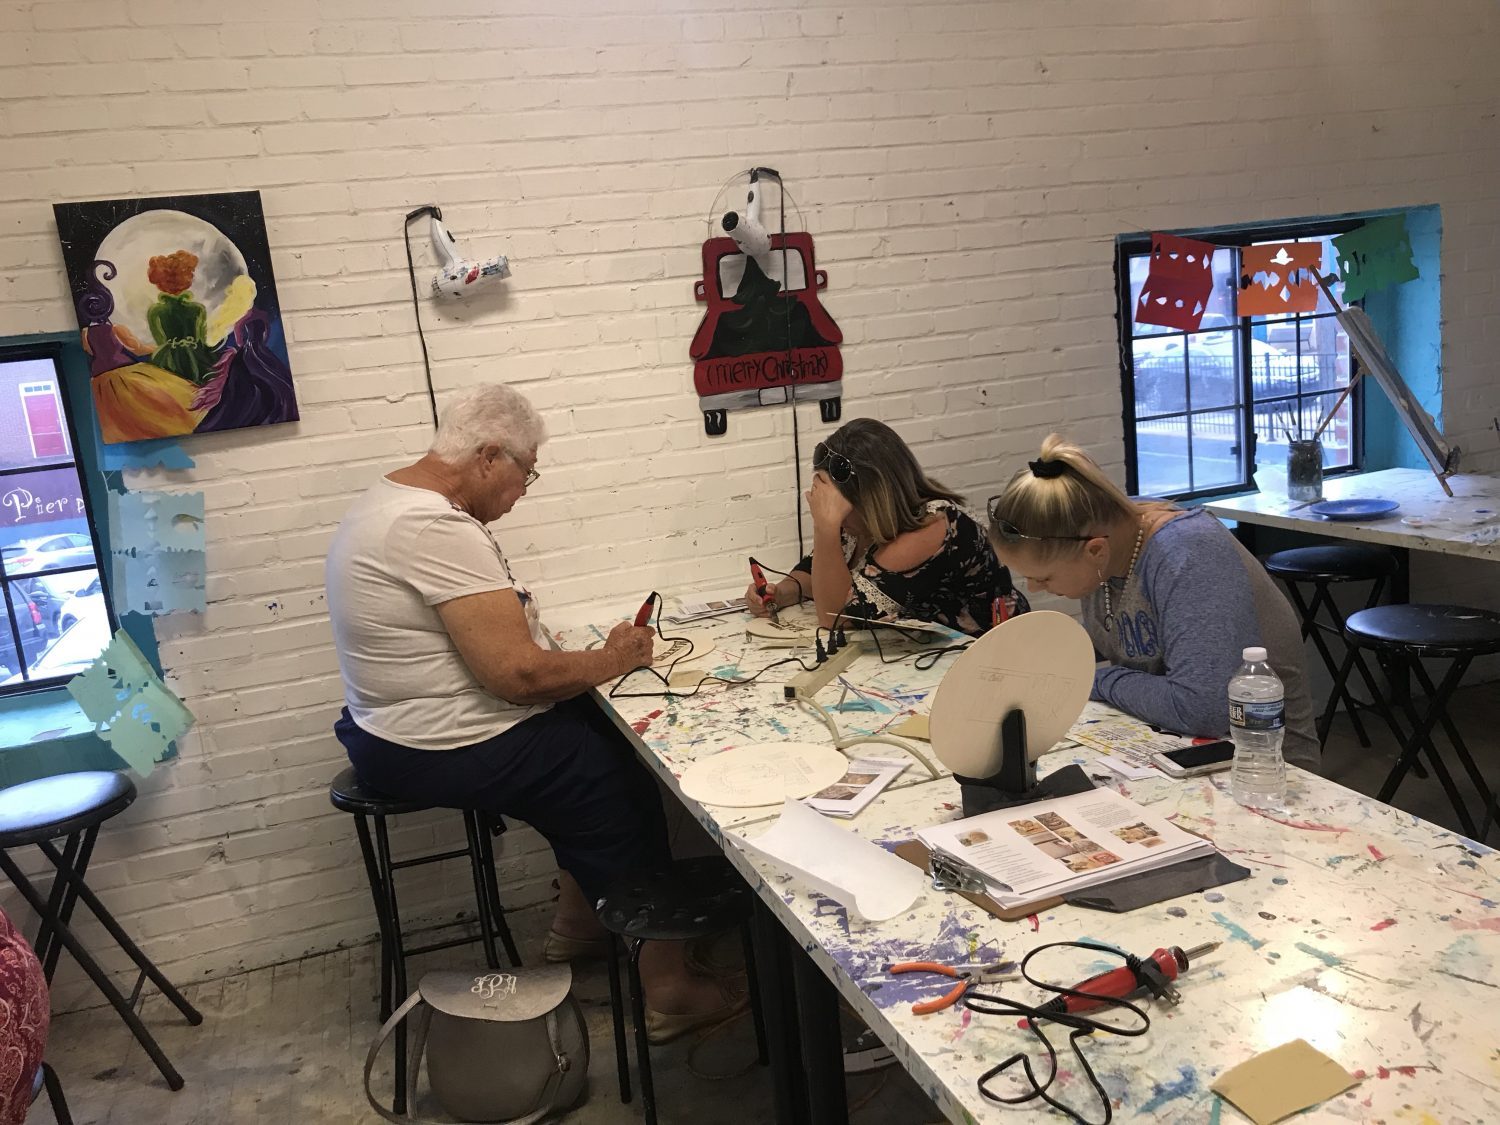
Another big “CONGRATULATIONS” to Andrea Pate on her second successful Pyrography Workshop at Stache Studios on September 29, 2018!

Once again, Andrea Pate, a very accomplished artist in art mediums such as portrait artistry and polymer clay modelling, has managed to spread the word about pyrography in downtown Griffin.  As her plan to continue on the workshop on Seasonal  Designs, all her attendees with big satisfied grins and new home decors.


“Leave a permanent impression with pyrography”
Andrea Pate

We at TRUArt are proud to be a part of Andrea’s endeavors to teach others of the easy and fun-loaded art of pyrography or wood burning. The pyrography pens used in this workshop and the one before that were predominantly our (Stage 1) Wood and Leather Pyrography Pen. The artist herself has our robust 60 W Professional Woodburning Detailer.

We can’t wait to check out what next season’s theme is going to be permanently burned into wood again!

Posted on 1 Comment

Cactus Stencil Wood Burning with TRUArt Carbon Paper


What you will need:


Sometimes, in pyrography, trying to find the right image to burn can be extremely tricky.  When you are an artist, copyright laws can make it challenging to find a great image to burn.  Fortunately, now TRUArt has FREE printable stencils available.  Once I came across these stencils, I couldn’t wait to get started.

There are several unique designs available to download but, ultimately, I decided on this cactus stencil.  This stencil is available under the clock category.  I loved the pattern so much that I modified the stencil to make it my own and decided not to trace the numbers.

I found this stencil to be a quick and easy burn. This is a great project to do with your family.  My children had fun picking out the colors of the various pots and helped me find the right shade of green for each plant.  We spent the day going over different stencils and both my children found something that appealed to each of them.

Once the image was burned and colored, I decided to give the background a nice, thick solid burn.  This technique gave my burning some depth and made my image pop.


I was extremely happy with the ending result.  This was a fantastic family project that is exciting for children to do. These prints are also a useful tool to help you practice your pyrography skills. My children loved working with these stencils and they are both excited about working on our next burning together.


See you next time,
Andrea Pate
Pate’s Pyrography

Posted on 1 Comment

Back To School TRUArt Pyrography Tutorial for Kids and Parents

Materials:

  1. TRUArt pyrography pen
  2. 4 pcs Edgy Circle Die Cuts
  3. TRUArt Carbon Transfer Paper (optional)
  4. Pencil
  5. Colored Pencils
  6. Twine

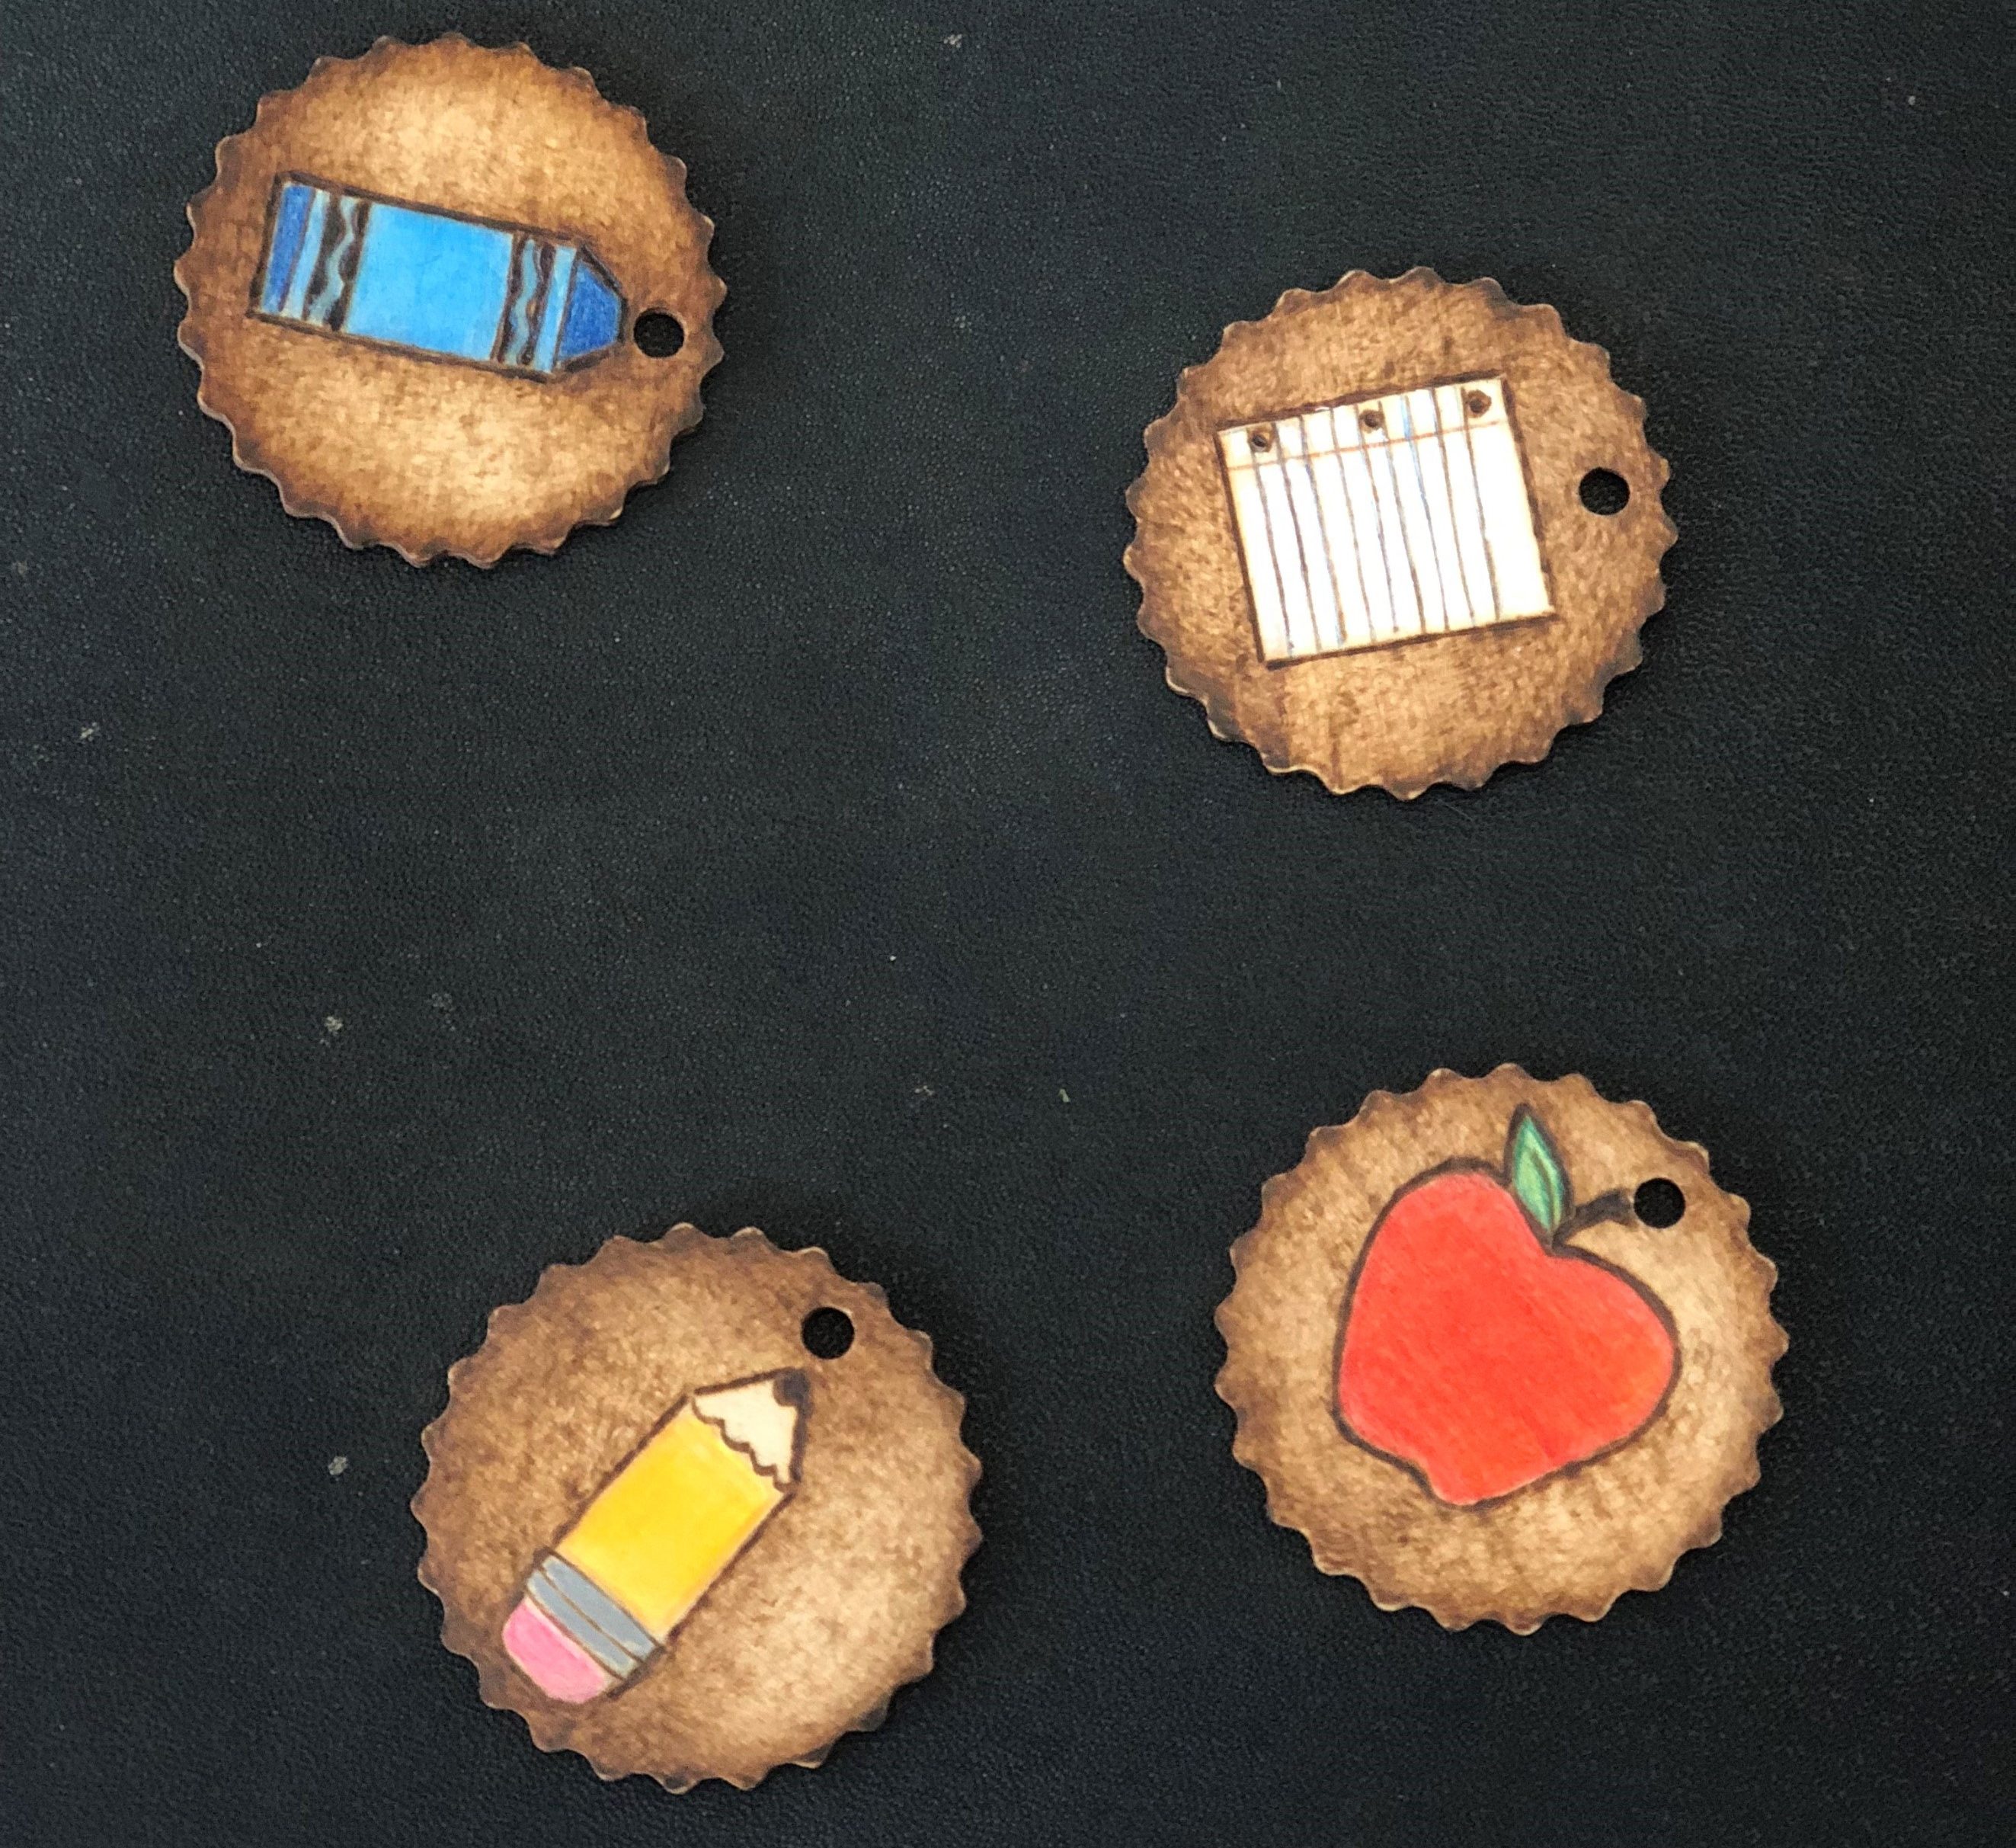
This is a fun and quick project to make for any teacher.  Get your kids involved and let them help burn and/or create the designs that are used for this banner.

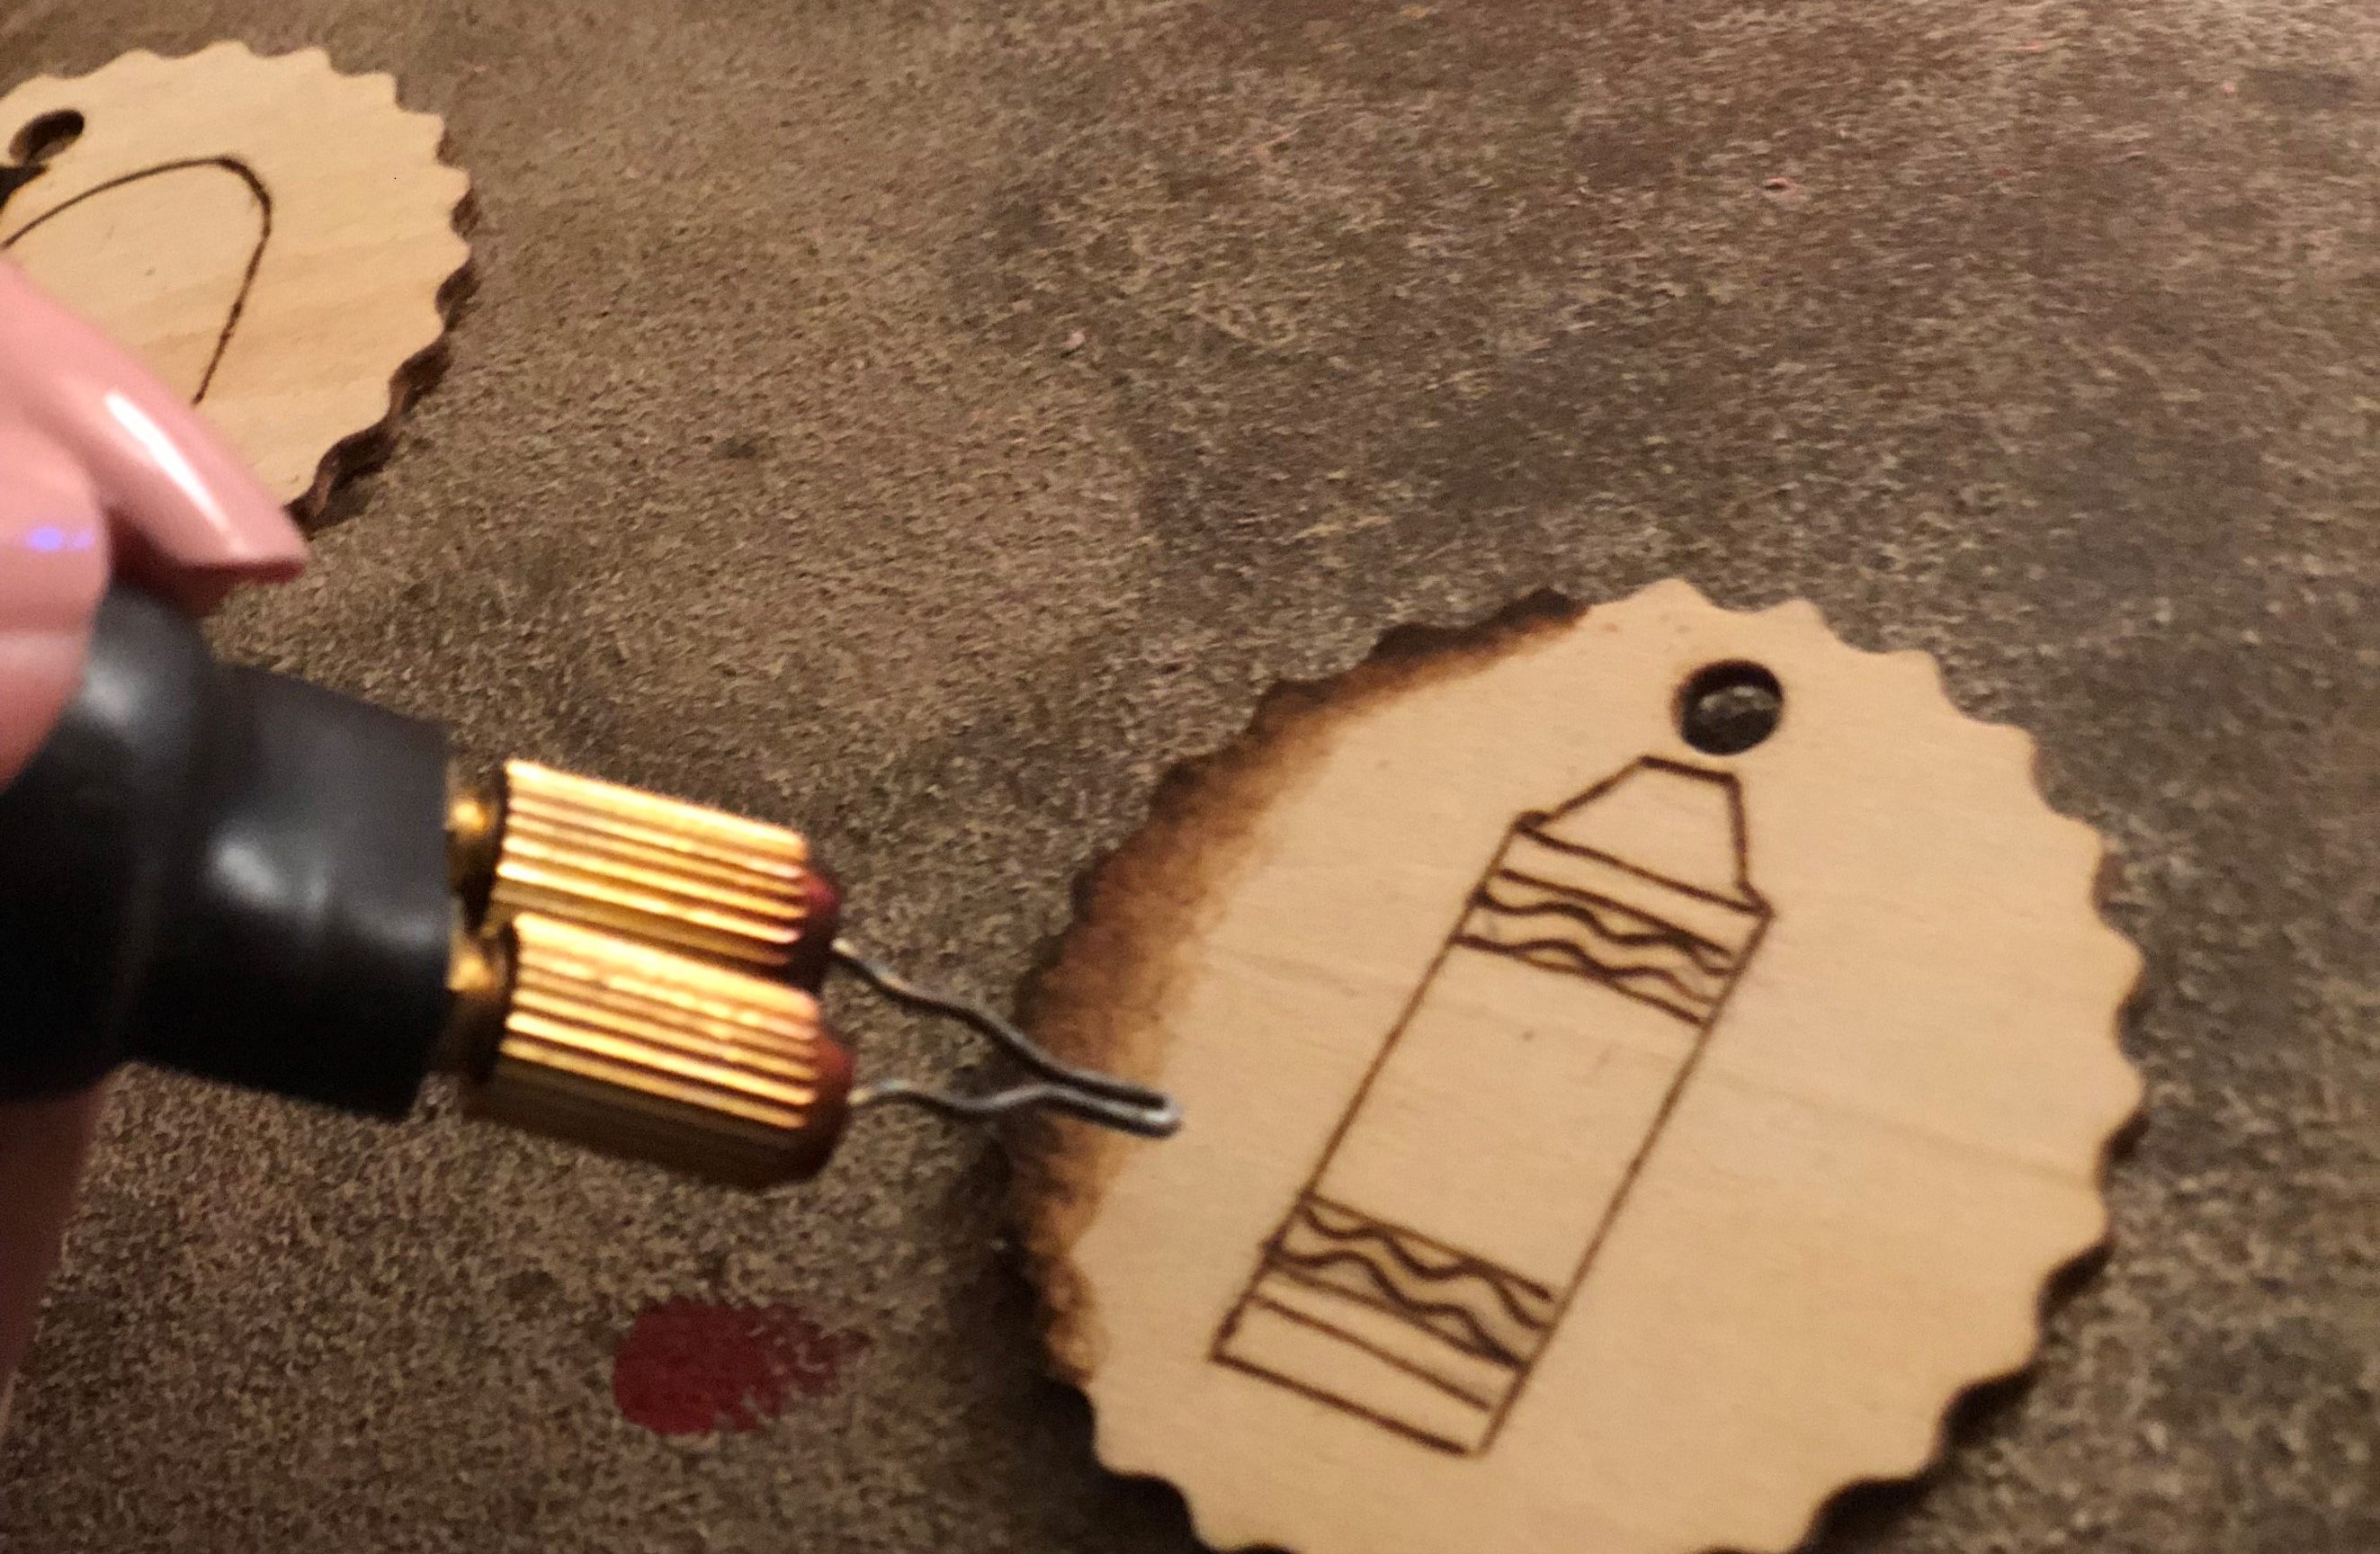
To start, draw or trace some items that are commonly associated with school (for tracing tips, check out my previous post Wood burning Tutorial).  Keep the drawings simple.   Make sure you only use one drawing per work piece.  Outline your image with your pyrography pen.

To make your image pop, I recommend burning the background.  You can make the background a solid dark burn or you can do some light shading (for shading tips, check out my tutorial Shading Technique).


Once your burn is complete, add some color to your wood.


String your wooden circles on some twine.  Once you pull one circle through, knot it at the top of the hole to keep the wooden piece from shifting.


Give this to your child’s teacher as a sweet “Back to School” gift.  If the banner is not for you, as another option, you could use these wooden circles as an ornament or they could even be used for decoration on a wreath. Practice with different designs and see what works best for you and your kids.

If you have any questions whatsoever, please leave them on the comments below and I’ll get to them as soon as possible.

See you next time!

Andrea Pate
Pate’s Pyrography

Posted on 3 Comments

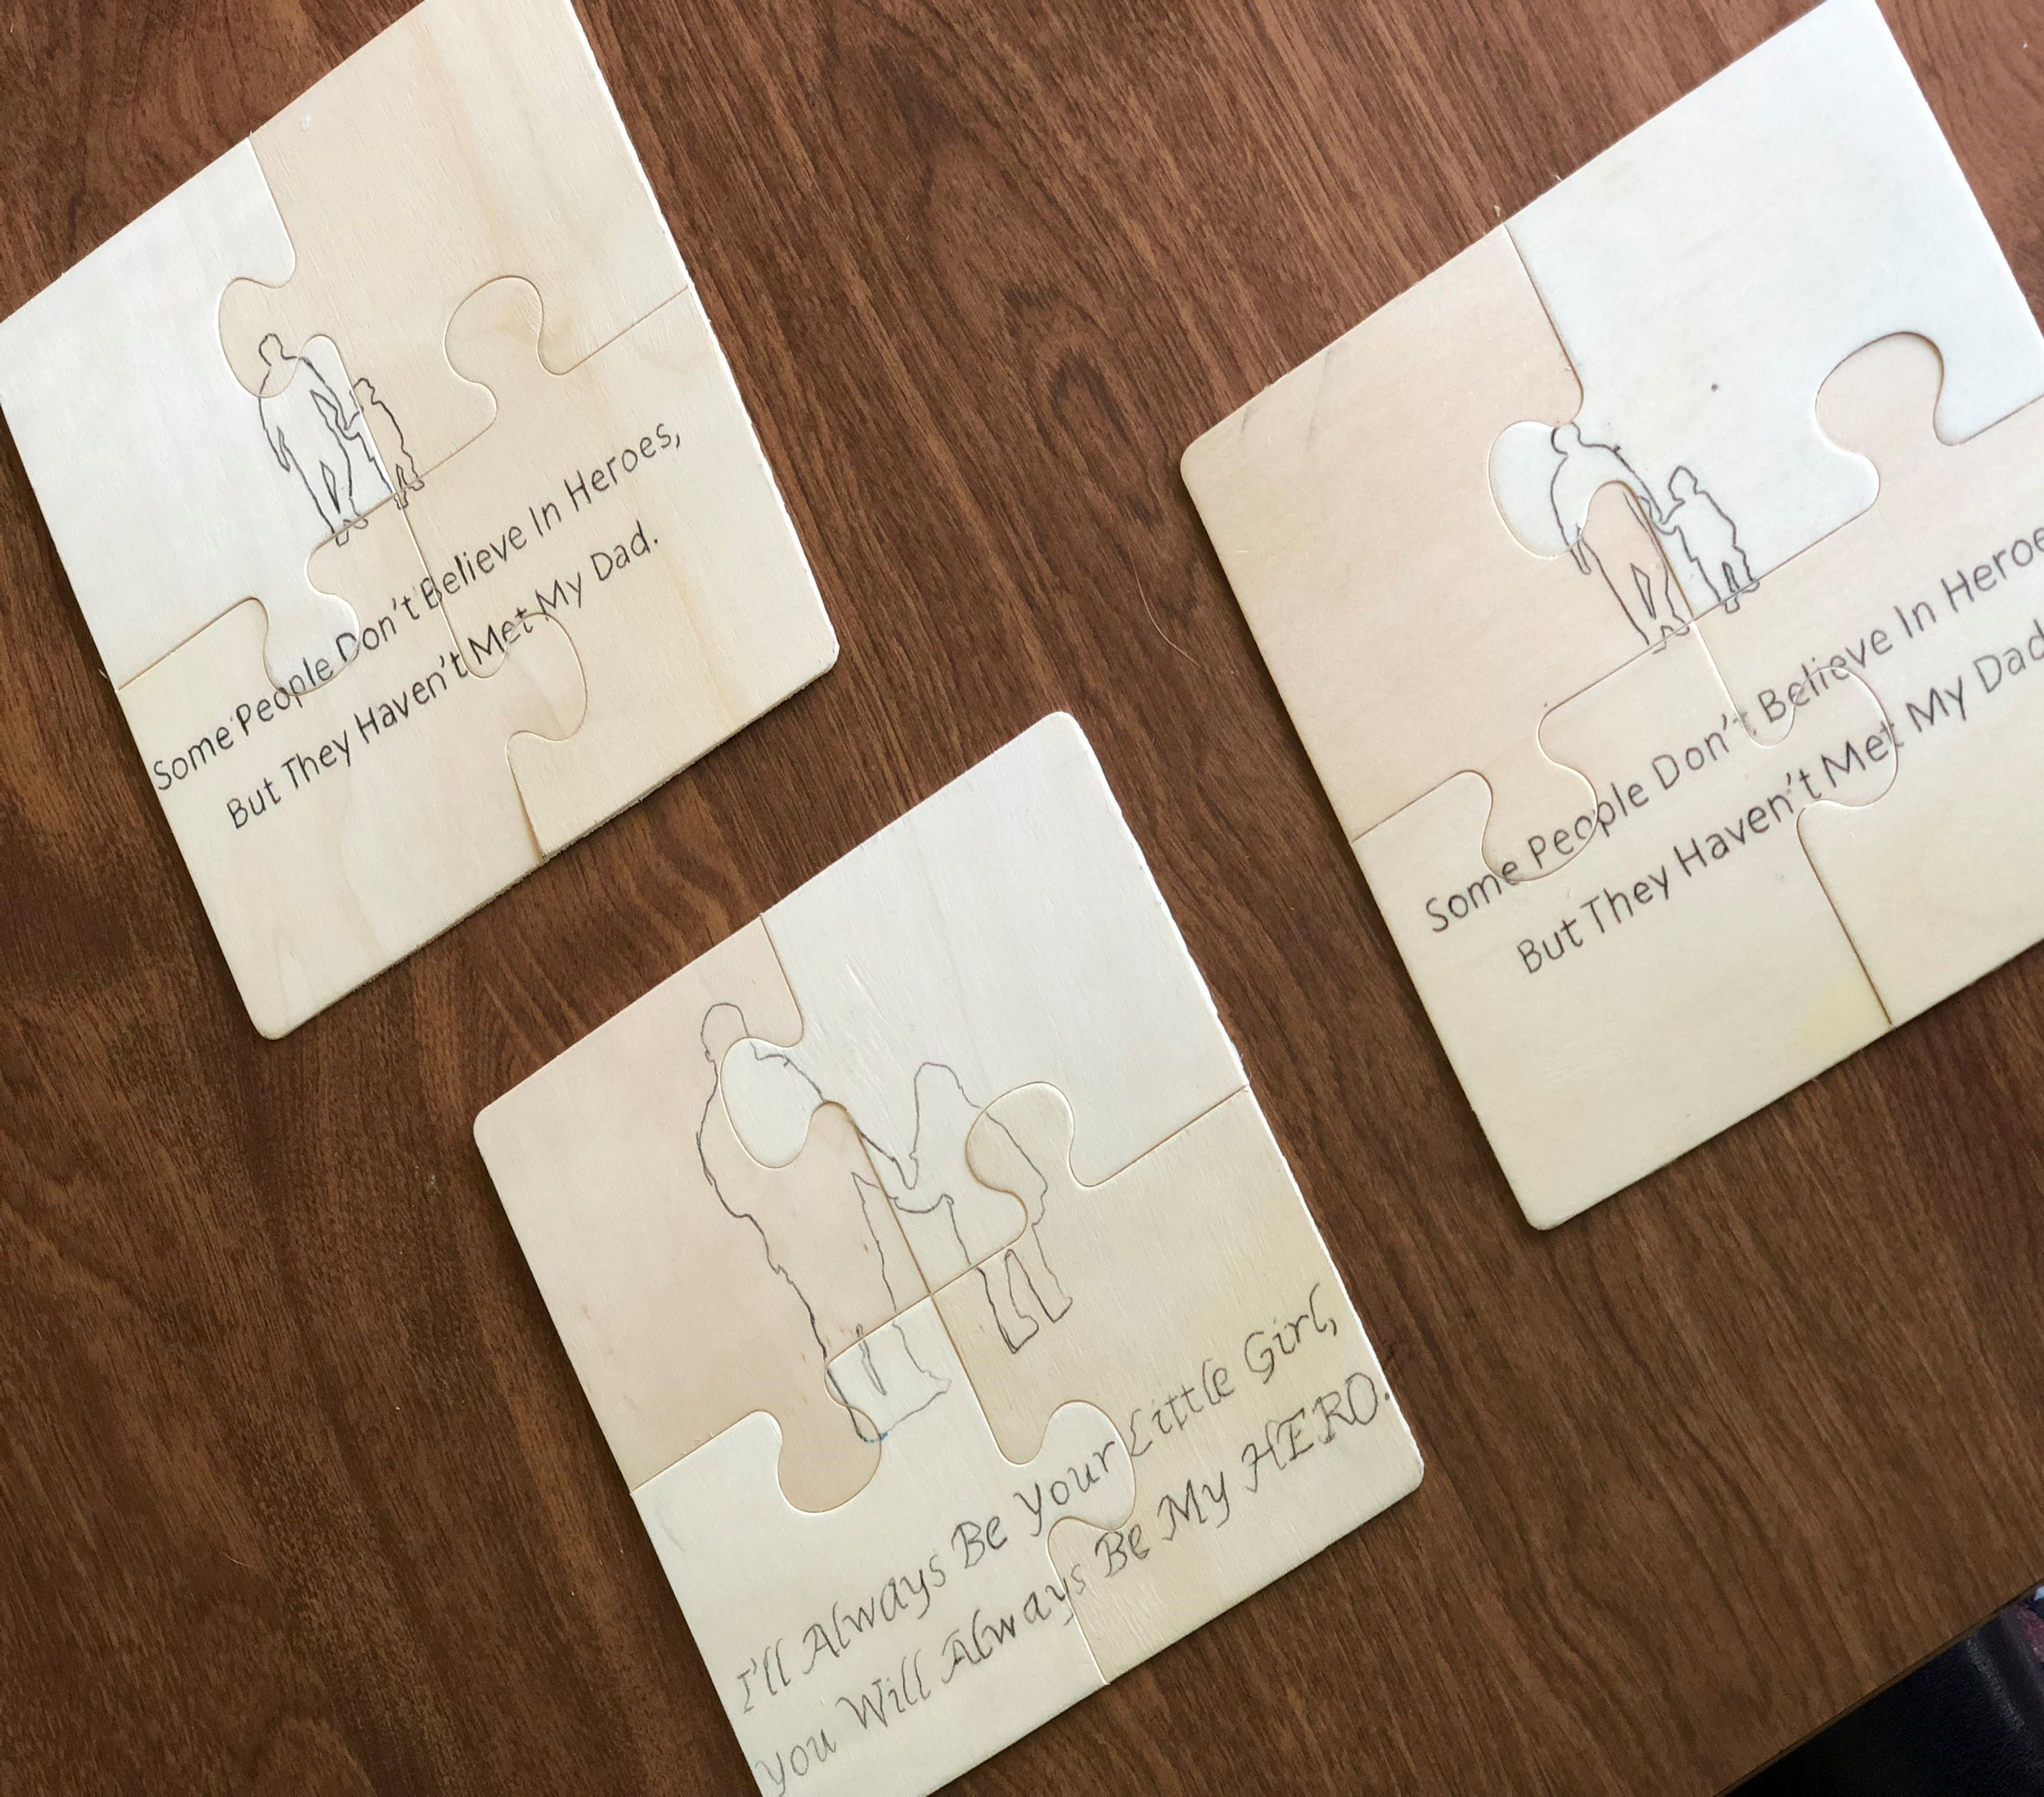
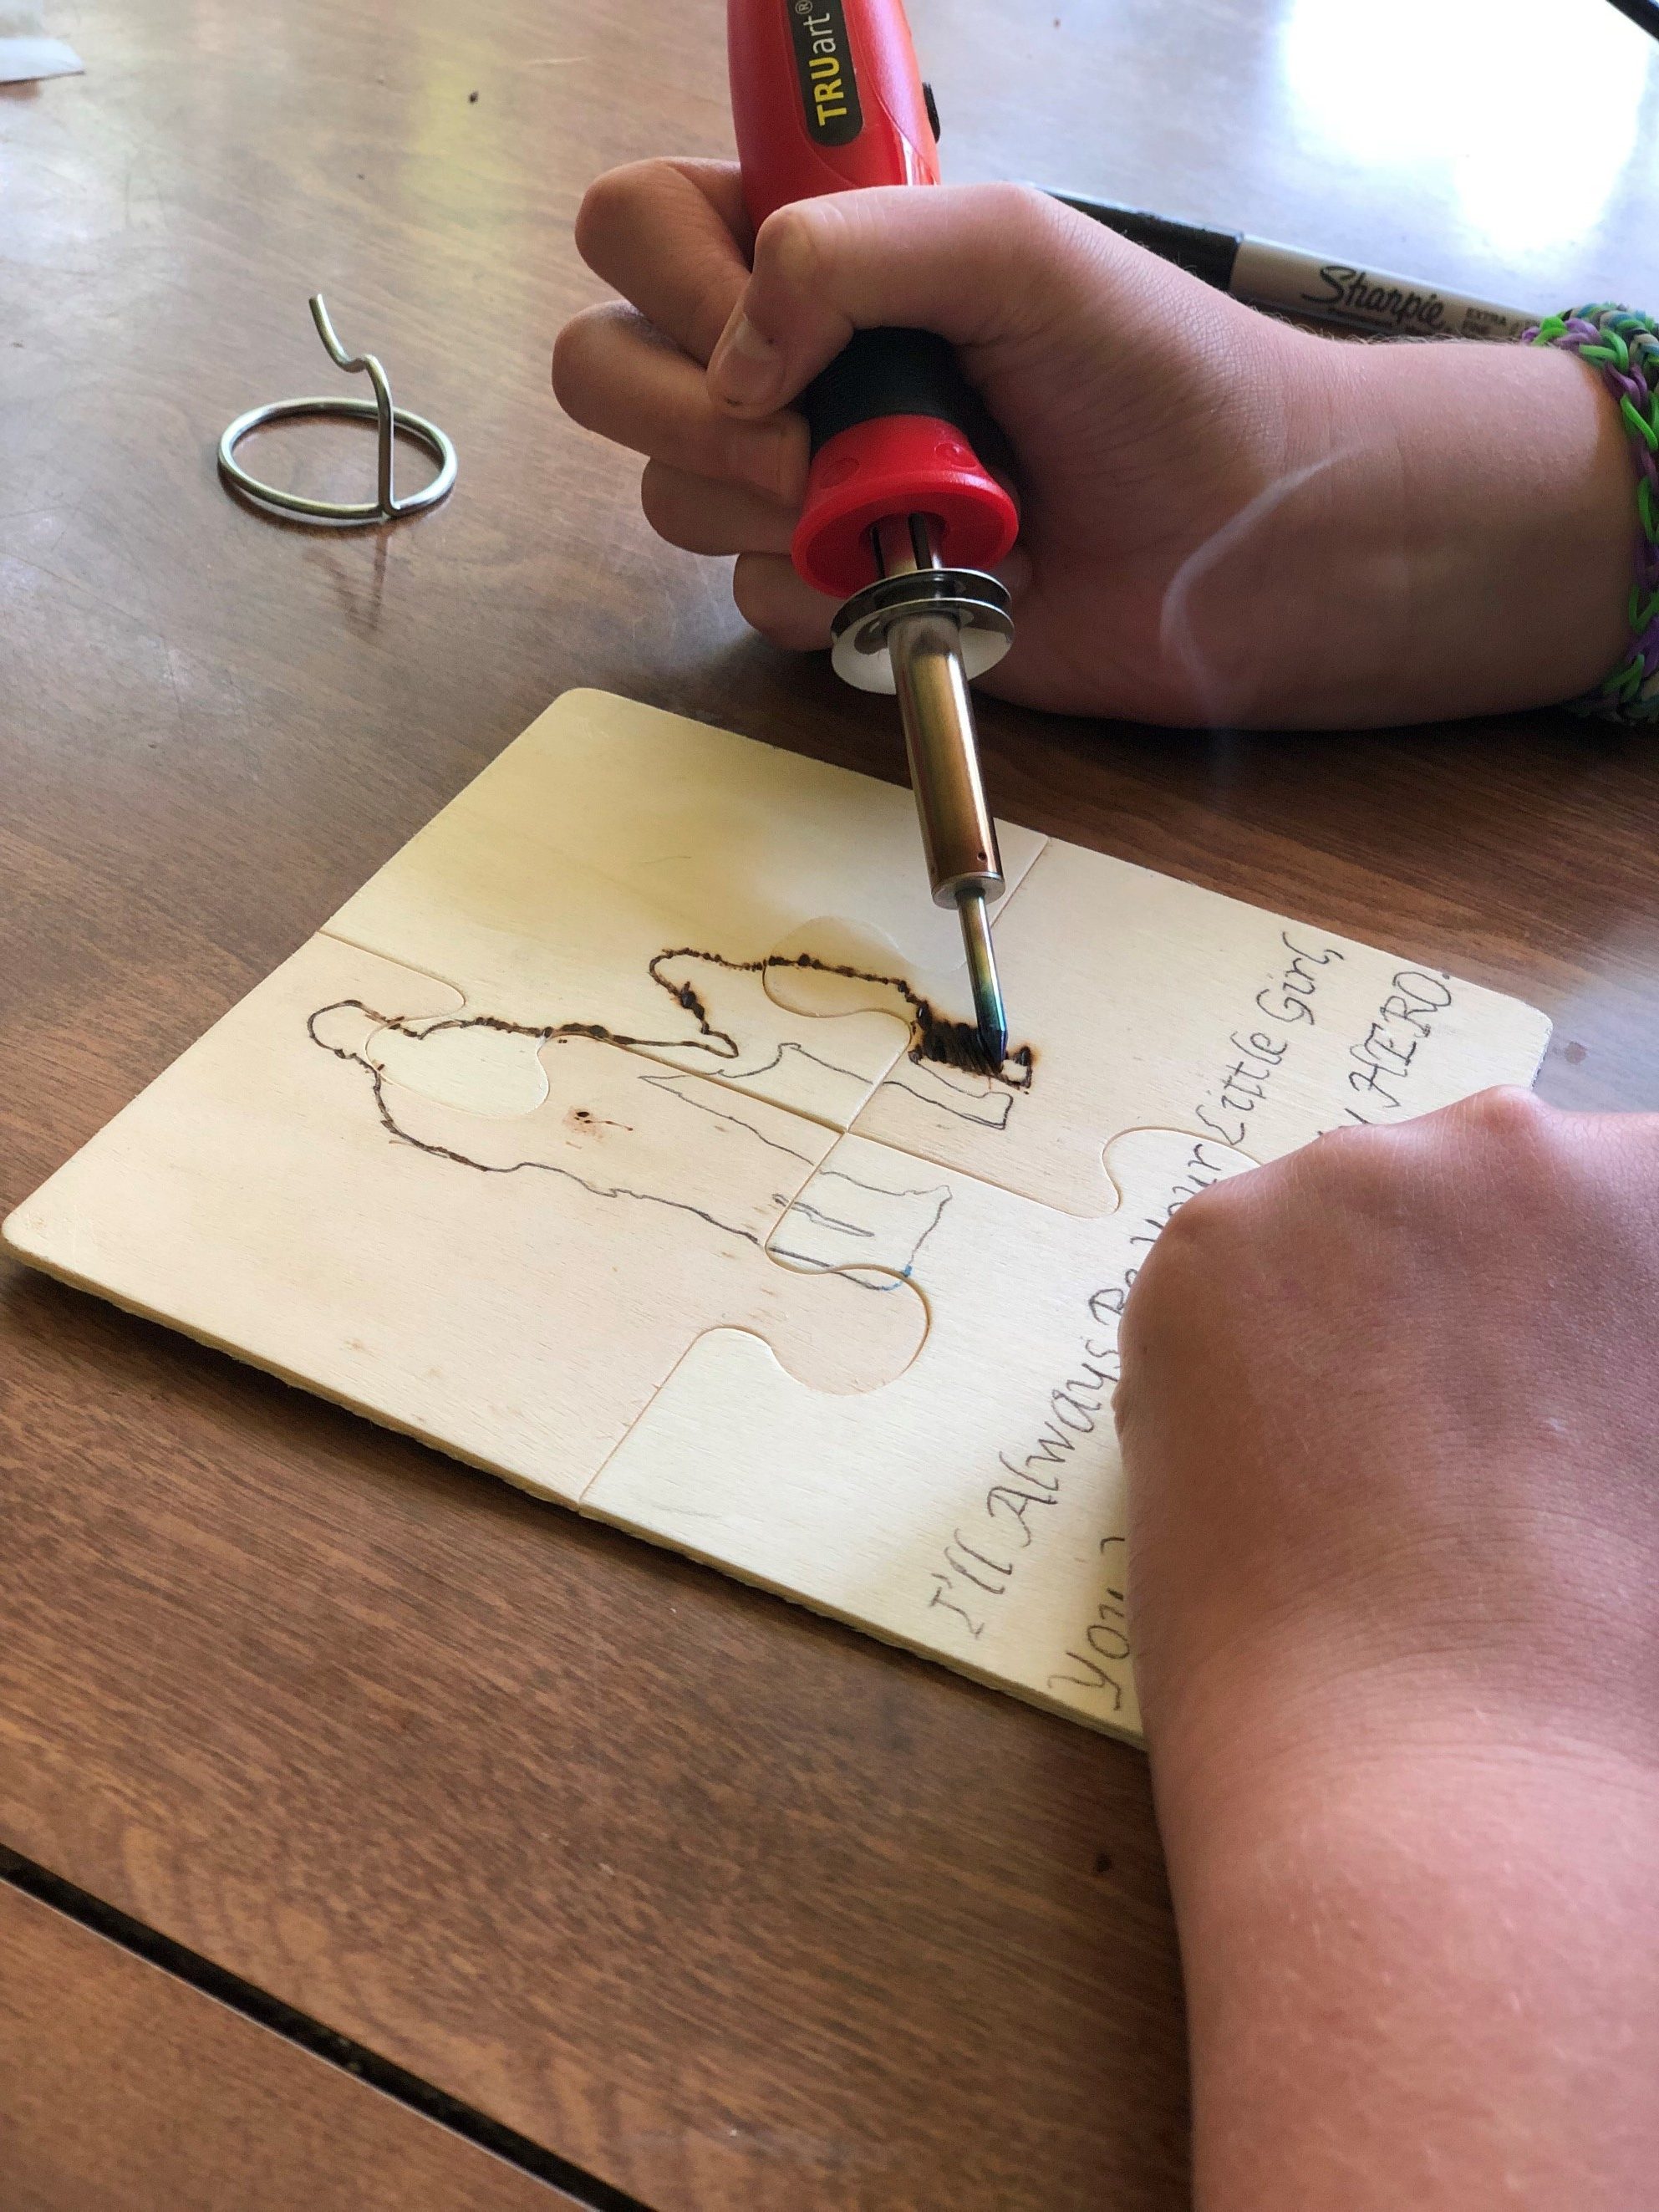
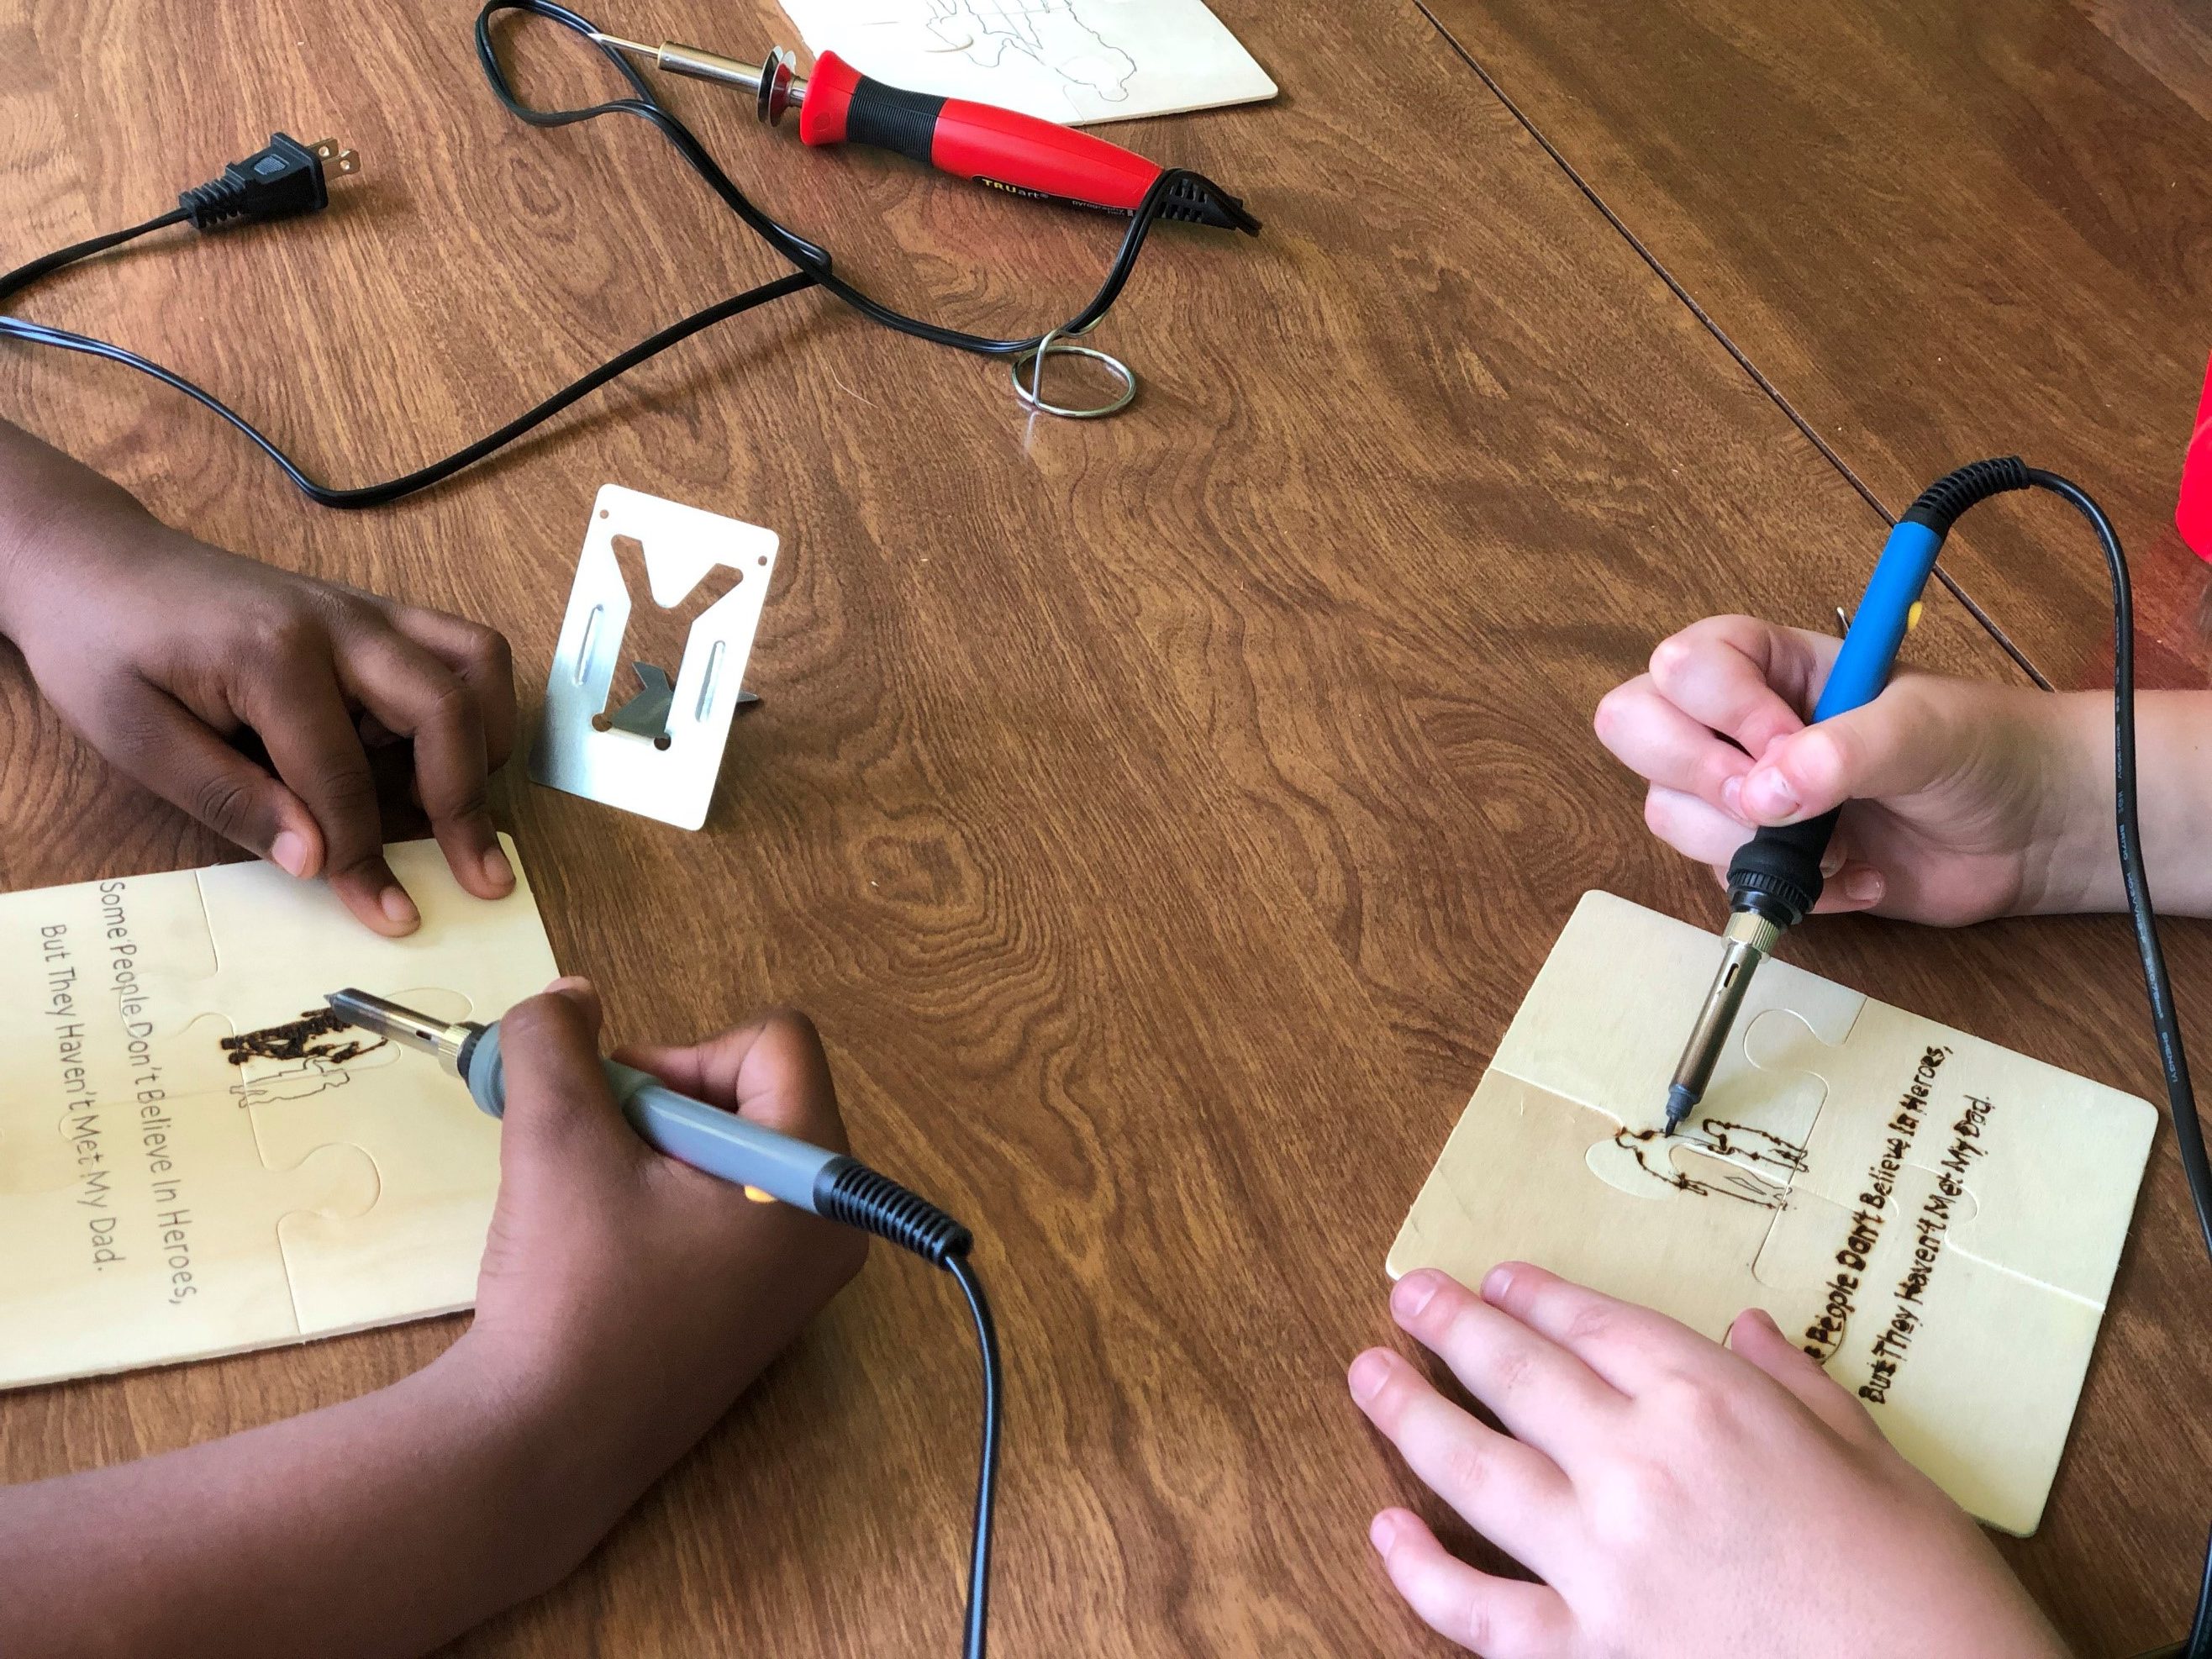
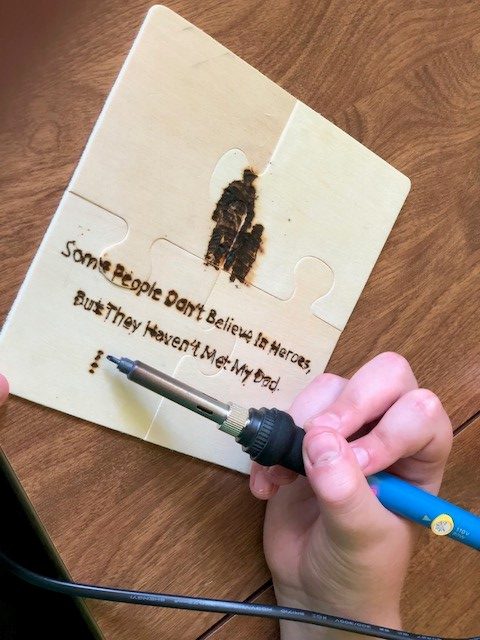
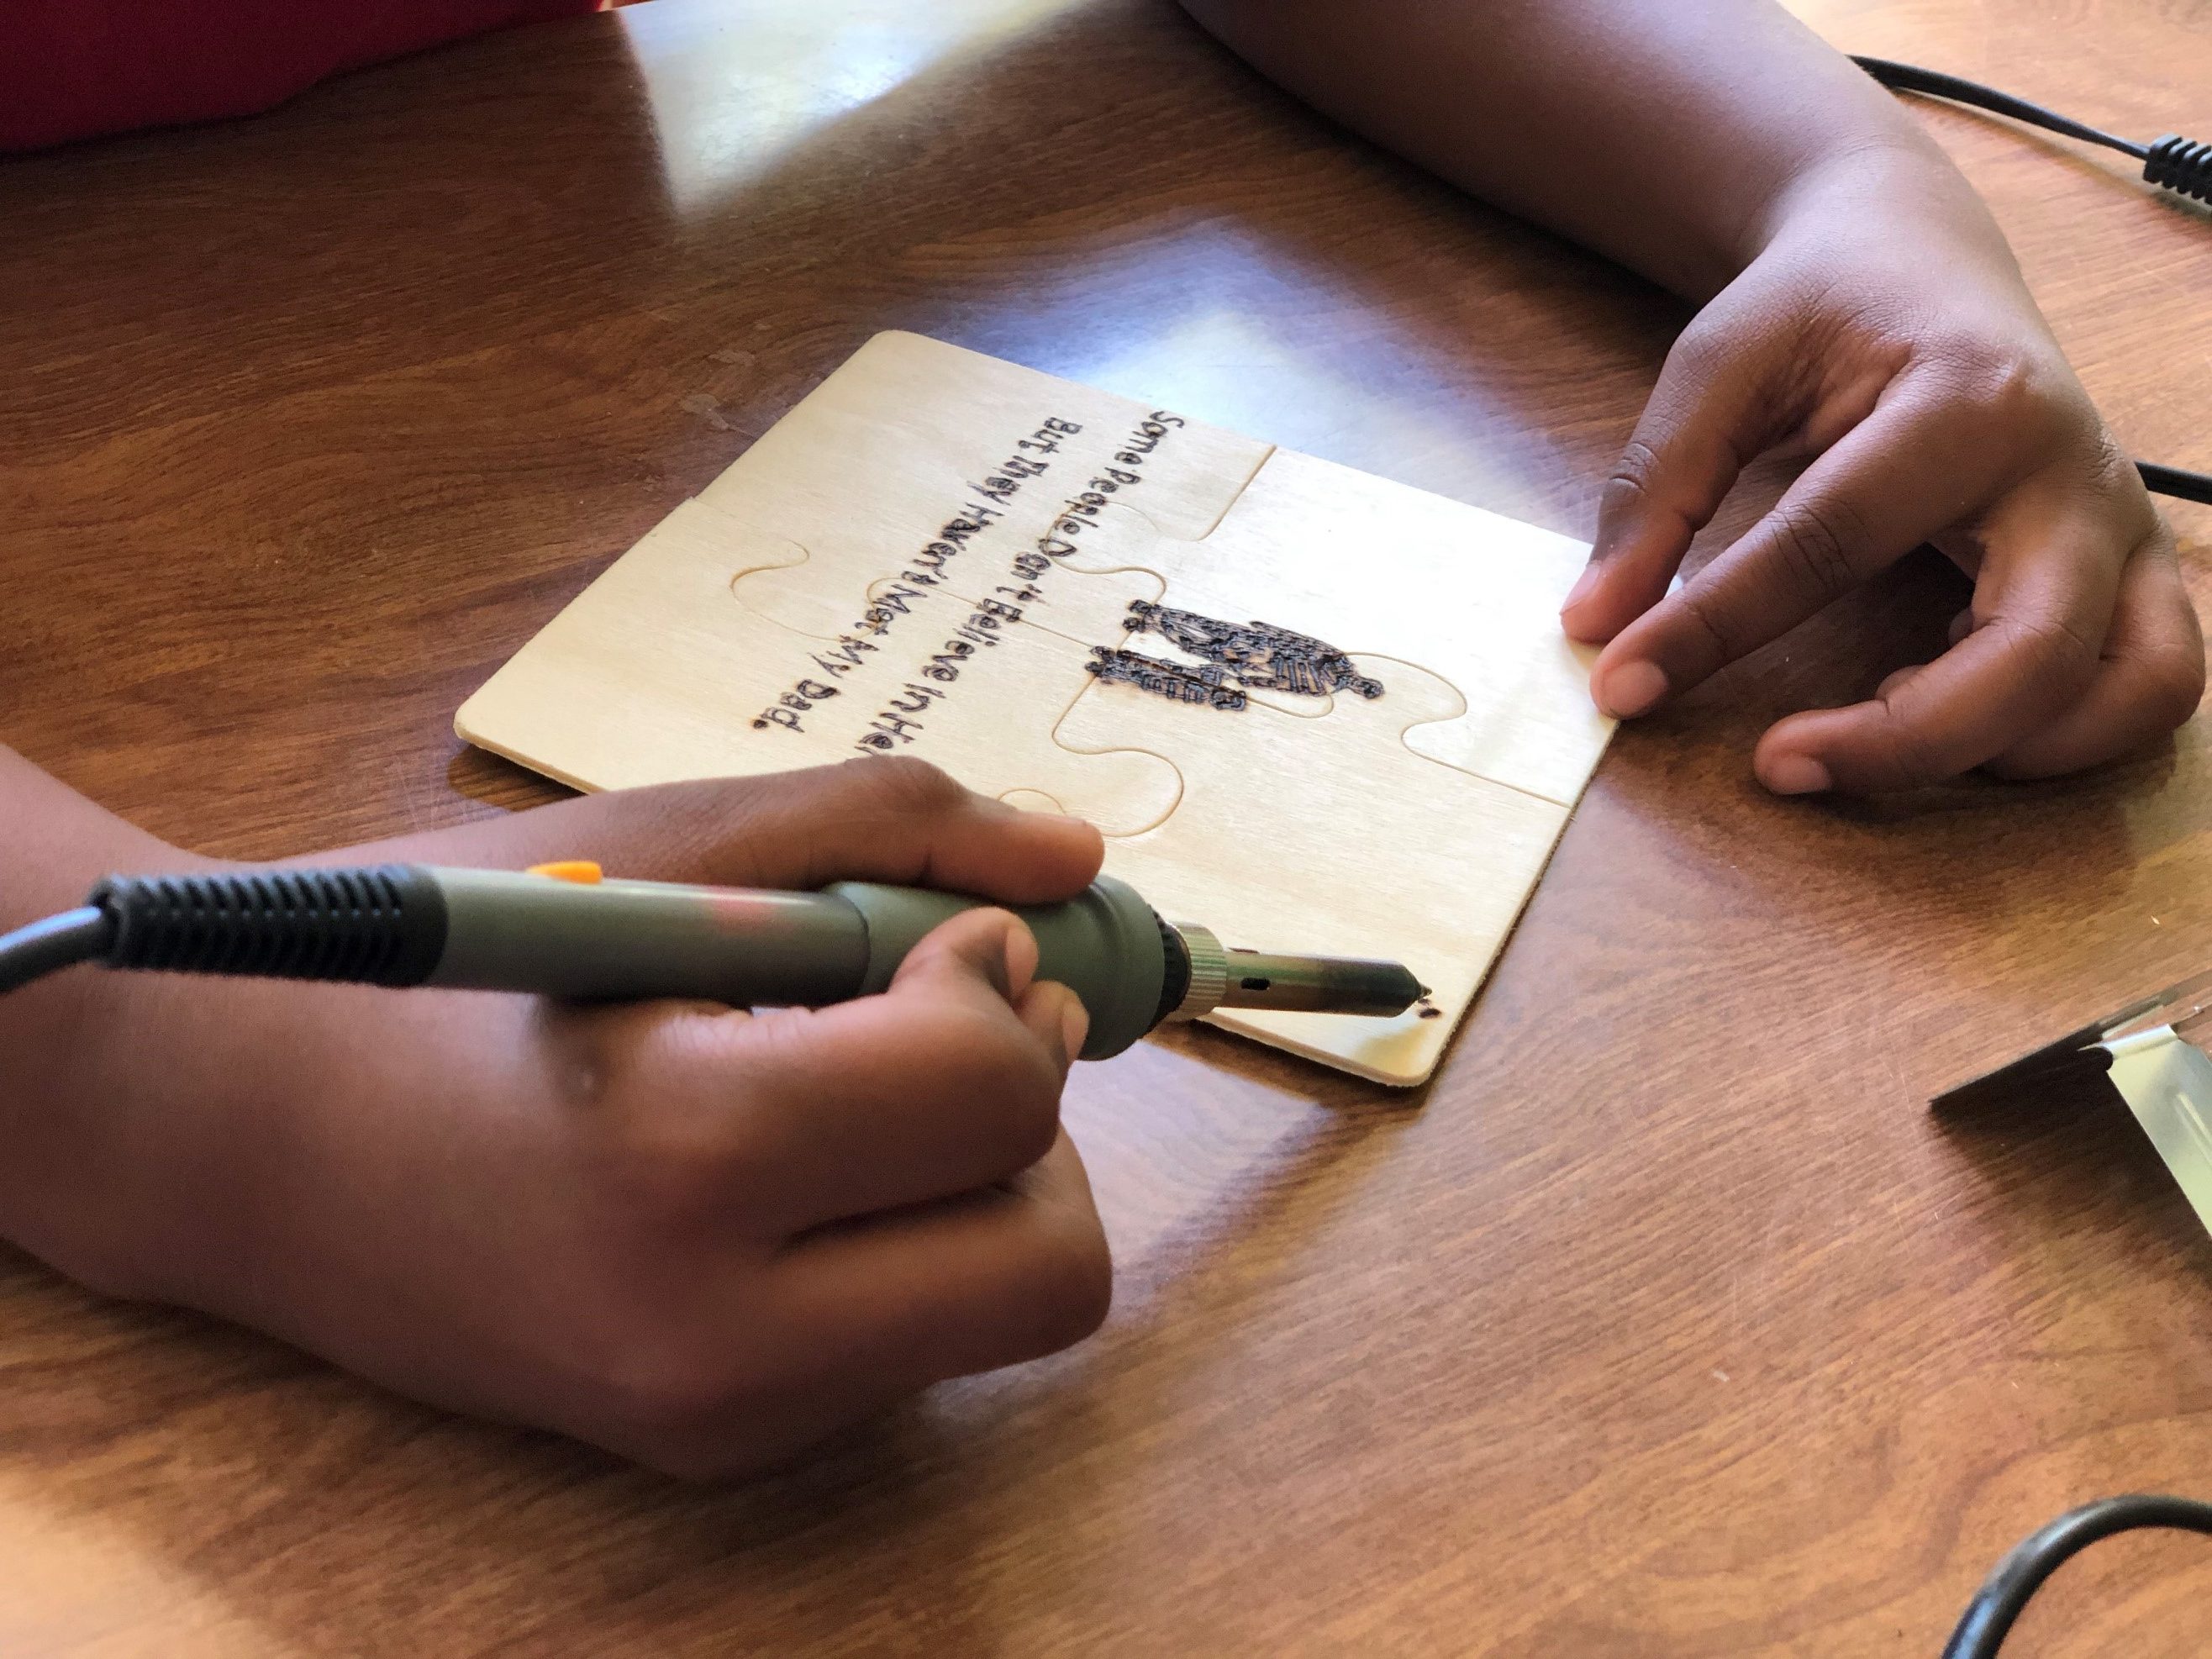
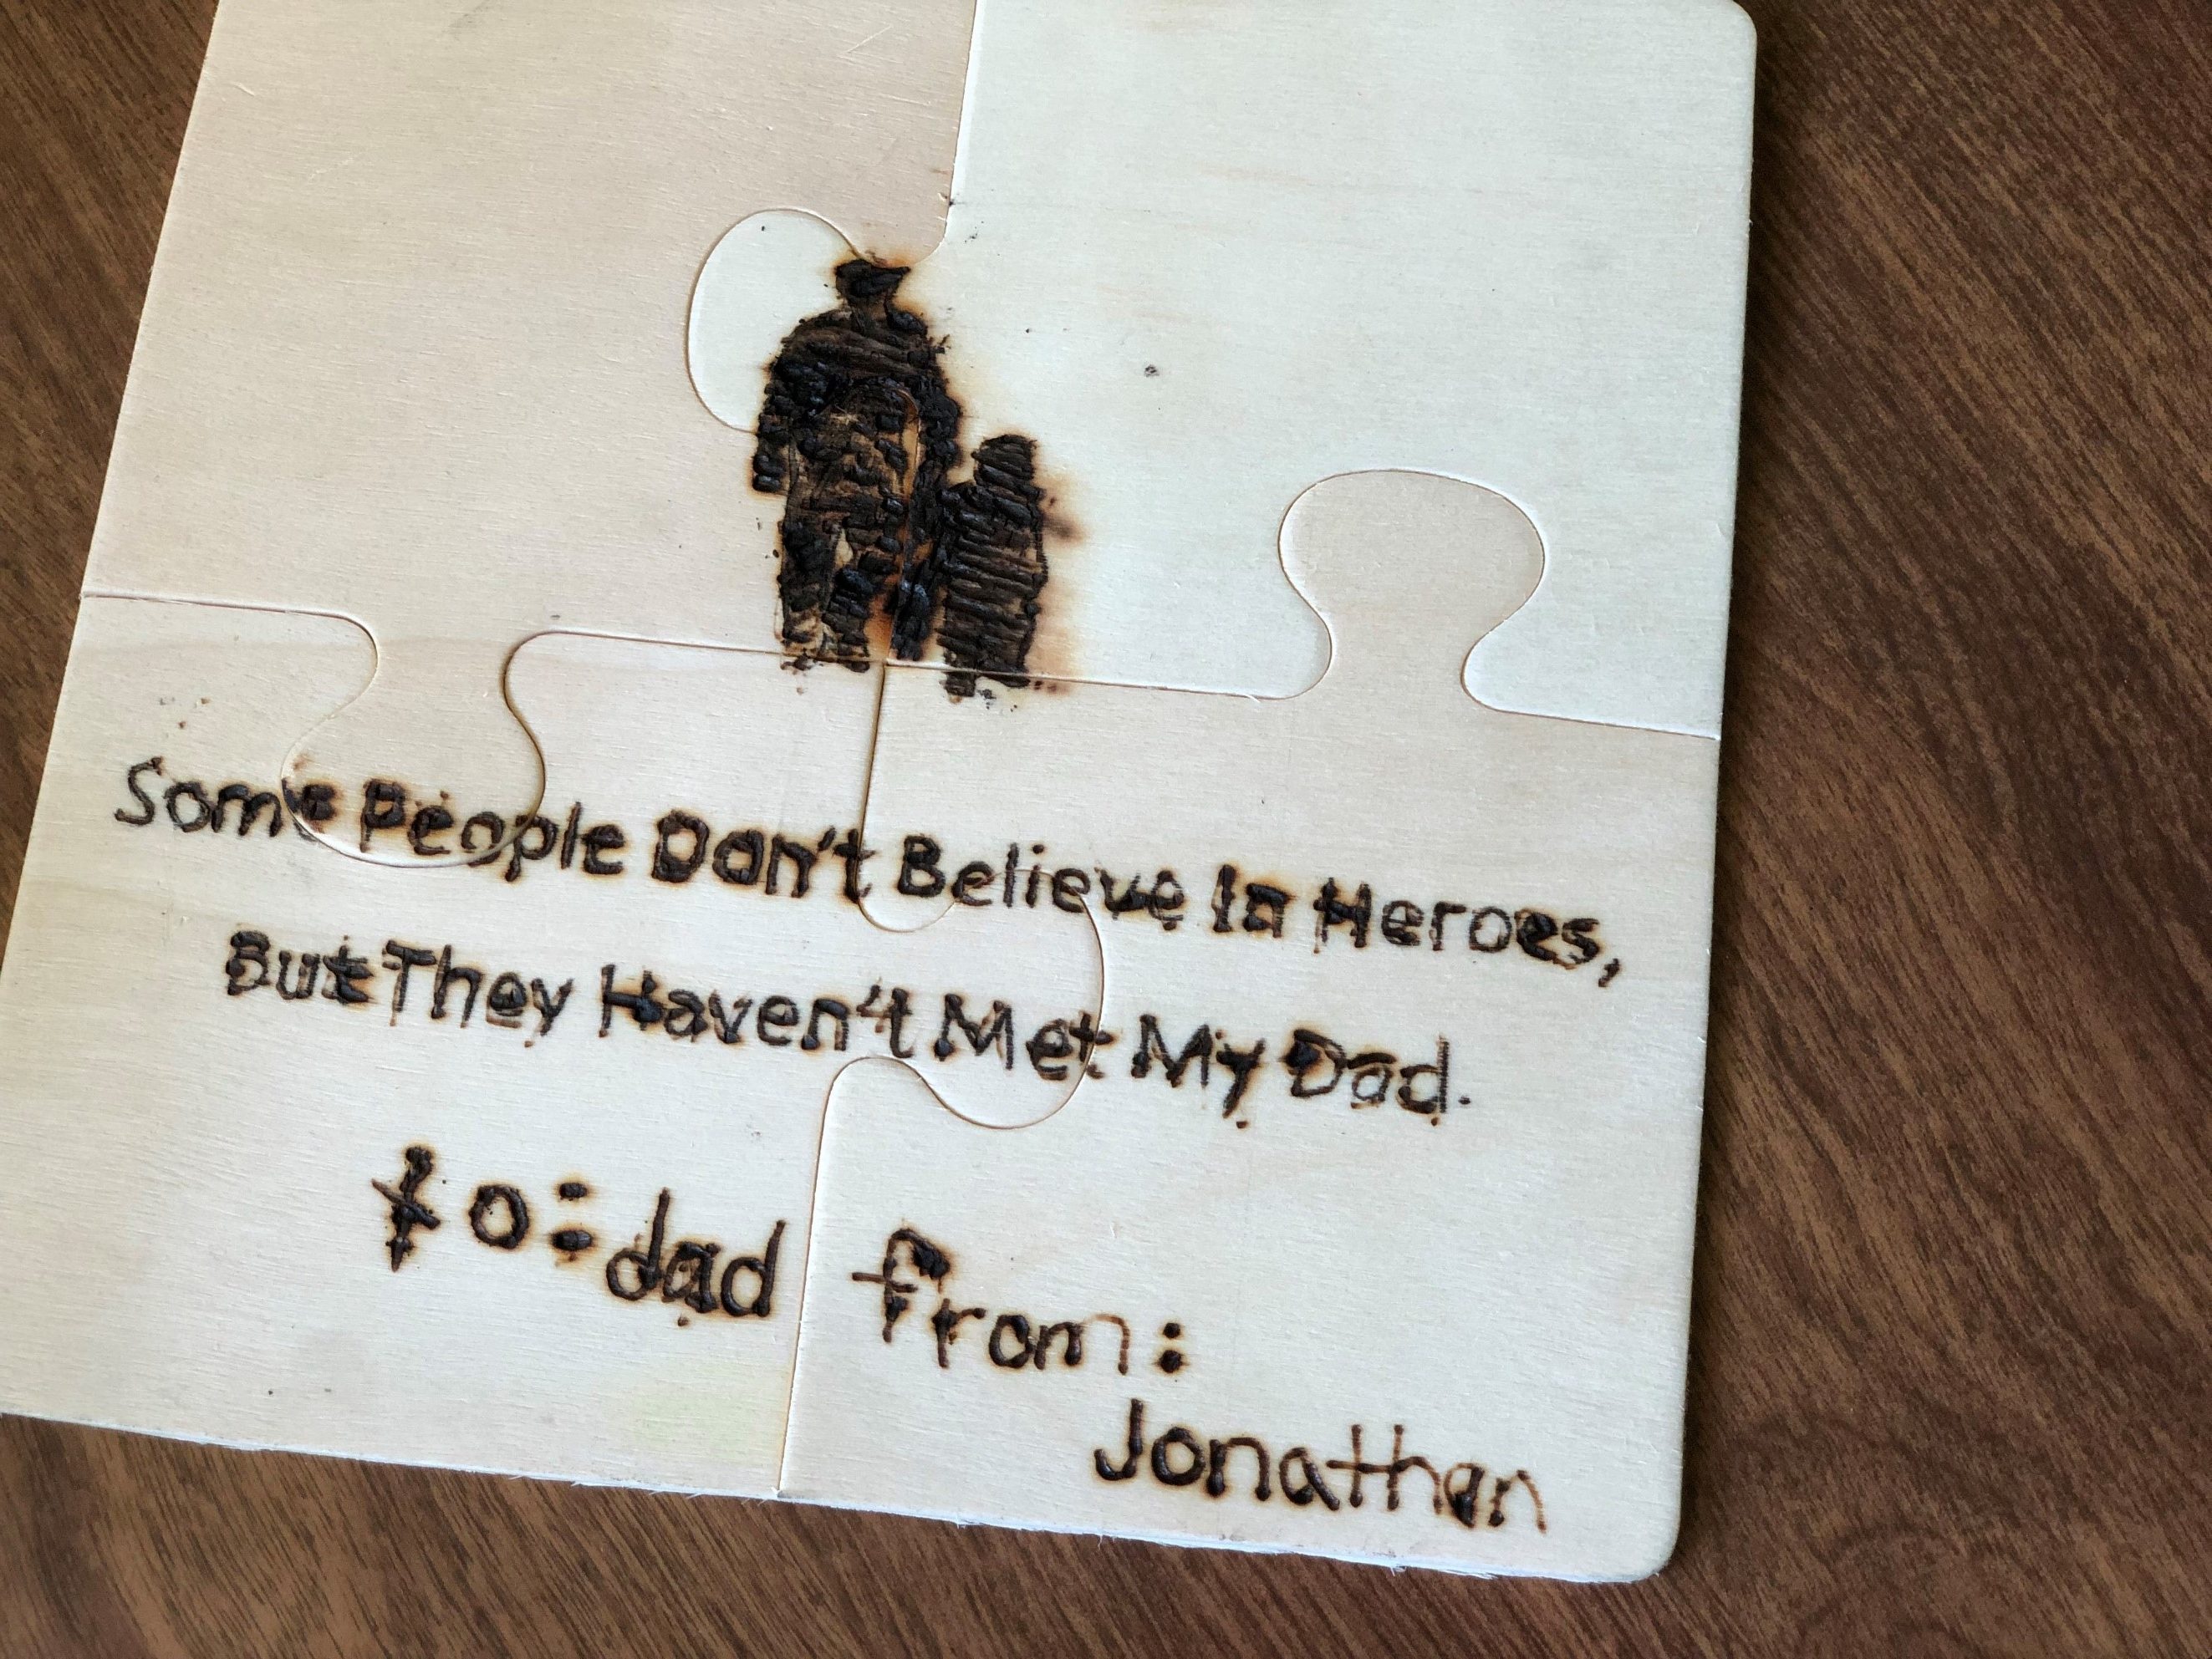
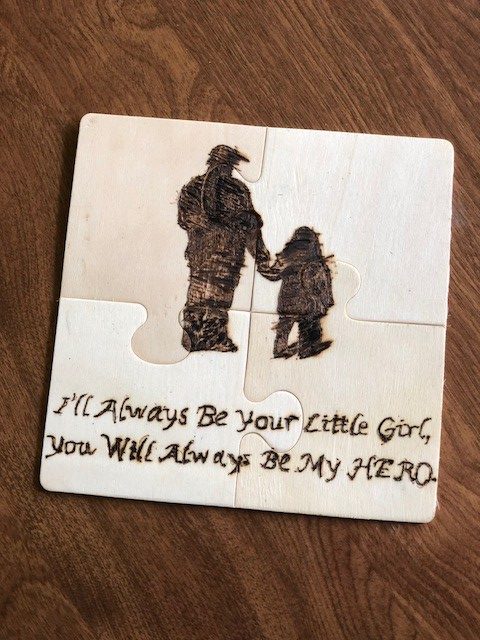
Woodburning Tutorial For Kids on Father’s Day

A great way to bond the whole family is to work together on a single woodburning project. Yes, pyrography can be for the little ones too!


What you will need:

  1. TRUArt Pyrography Pen
  2. TRUArt Pyrography Carbon Paper
  3. Tape
  4. Wood
  5. Ball Point Pen
  6. Printout of Pattern/Image to be traced

IMPORTANT Child Safety Tips:
Never let a child use a pyrography pen unattended. An adult must always be present to supervise since pyrography pens get hot – VERY HOT. Be sure your child holds the pen by the rubber handle and never touch near the tip of the pen. If you or your child is not actively burning with your pen, keep it propped up on the stand that was provided with your TRUArt pyrography kit. It holds your hot pen securely and you don’t have to worry about it accidentally touching anything else. Always make sure your pen is turned OFF and unplugged when it is not in use. Allow some time for your pen to cool off completely before handling and storing it. Remember, these pens are HOT. This is not a toy and must be used with caution under adult supervision.


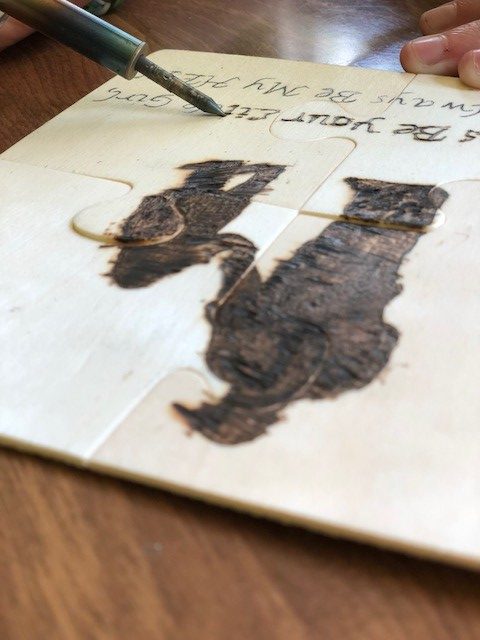
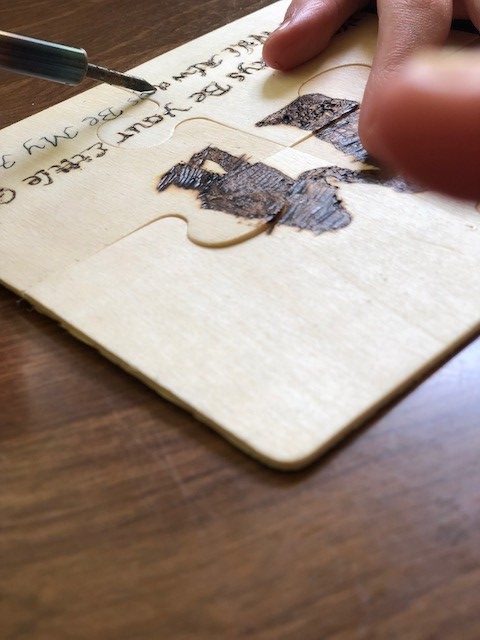
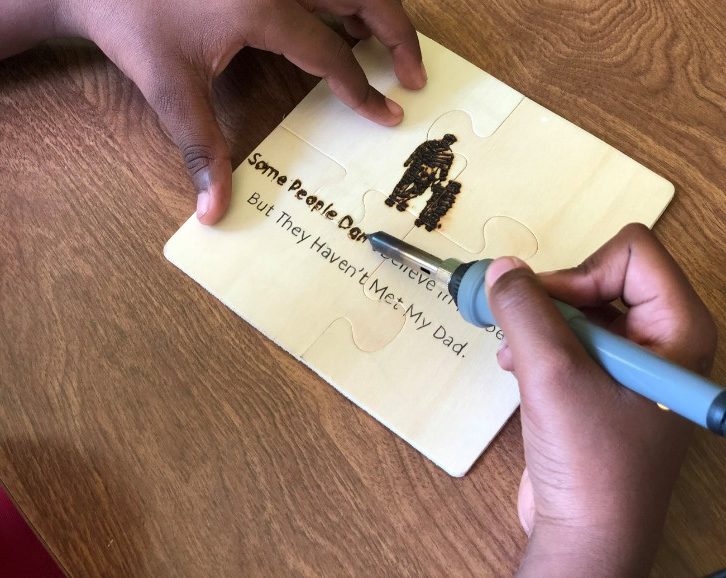
One thing I find exciting about pyrography is that anyone can do it! Children in general love to draw and enjoy creating something special for the ones they love so I wanted to find a project that would be fun and easy for any age to try. With the help of my three little artist volunteers, we scoured the internet for quotes or phrases that sounded like something they would want to tell their father. Once we had the phrases picked out, I typed up the words on a Word document. I let the young artists pick the font that they thought looked best for their artwork. Larger fonts work best as does thicker lettering. I then looked for some simple clip art to add to the document – nothing too difficult for our young artists to handle.

Once you have everything picked out the way you want, scale everything down to the size you need to fit the wood. Print your image out and then either you or your child can trace the image onto the wood. If you’re not sure on how to do this, check out my previous post Woodburning Tutorial. Once the image is traced, remove the carbon paper and tape. Start burning.

When burning, children tend to press down hard with the pen. This can cause hand cramping as well as burn splotches on the wood. If this happens, don’t worry. Remember, they are just children. Let them have fun enjoying the process and reassure them that it happens to everyone every now and then. If burn splotches do happen, this usually means the temperature is too high and needs to be adjusted. Be sure that an adult adjusts the temperature of the pen, never a child.
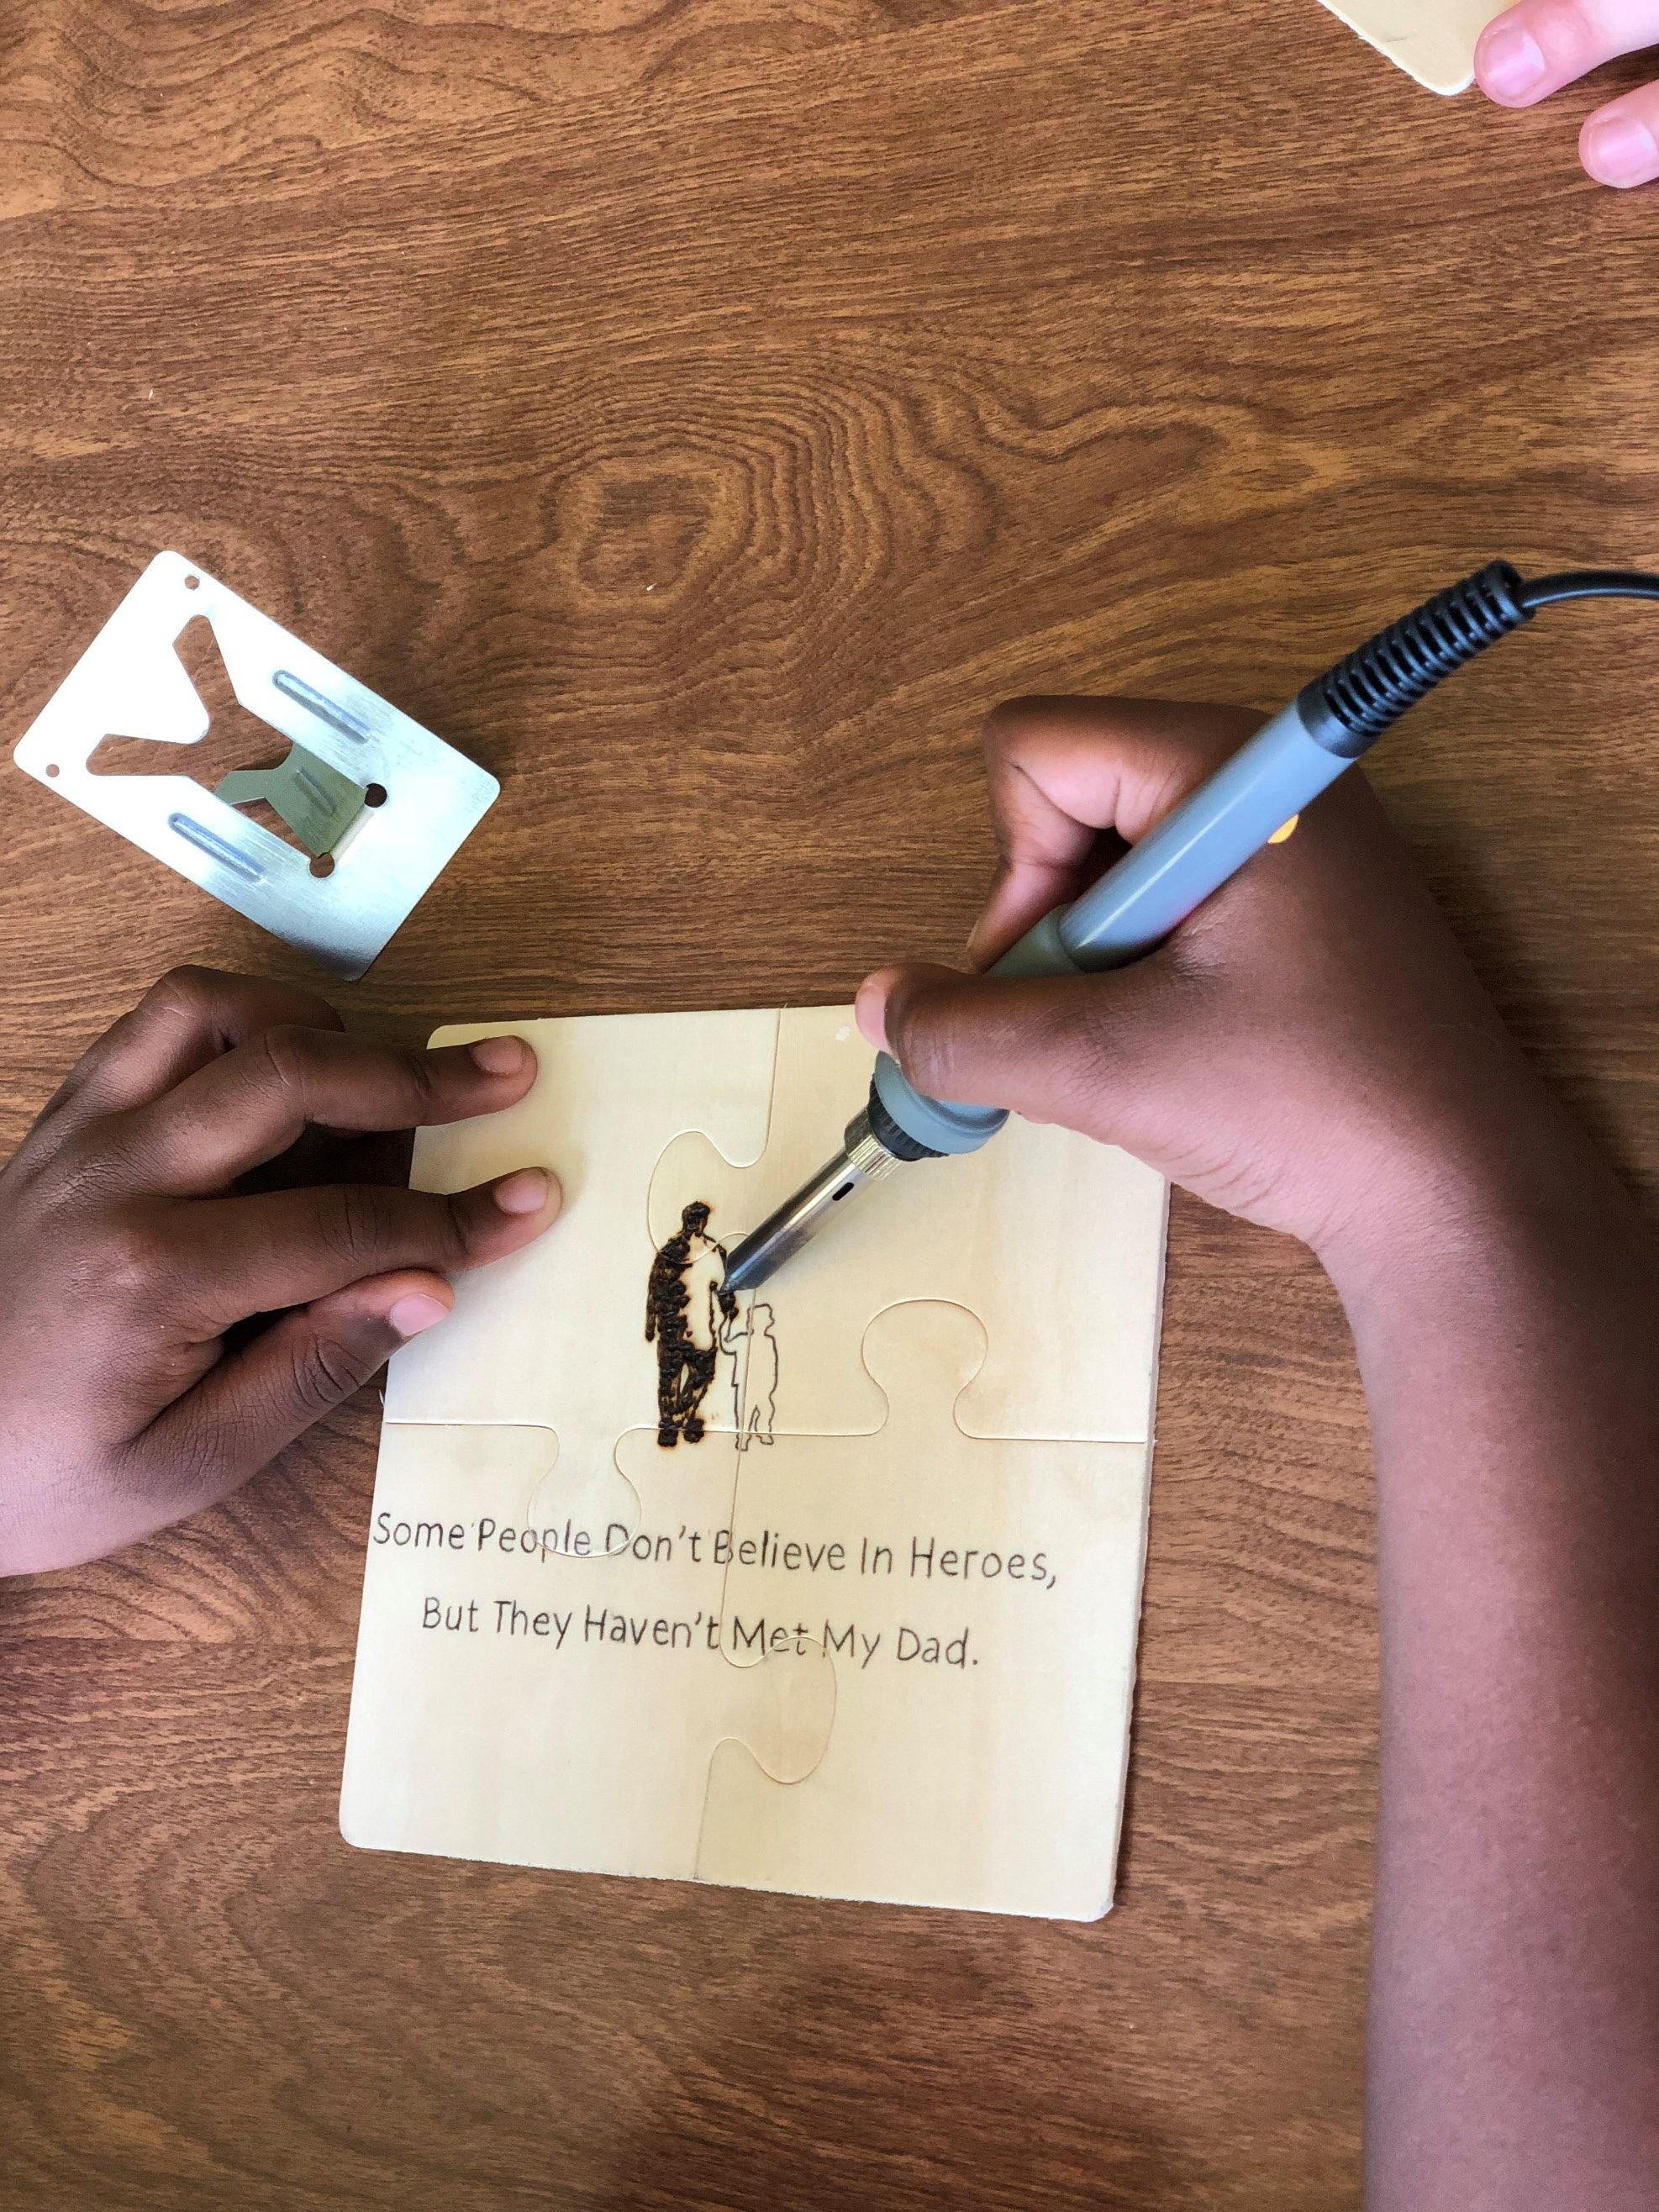


Sometimes, the grains in the wood may prevent a smooth burn for the young artist. The grains may cause some stray, crooked lines. It takes practice to learn the right pressure and heat to use while burning. Embrace the flaws. Remind the young artist to have patience. They are learning and it will get easier with time. Observe their excitement as they burn into the wood. After all, this is about having fun while learning a new art form. Occasionally, you may see some smoke come up when the pen touches the wood. This is normal. This usually happens if the pen is too hot or when it is pressed hard into the wood. Be sure that the child does not keep the pen pressed onto the wood for a length of time. With these pens, you are burning the wood so a hole can be burned through if you’re not careful.
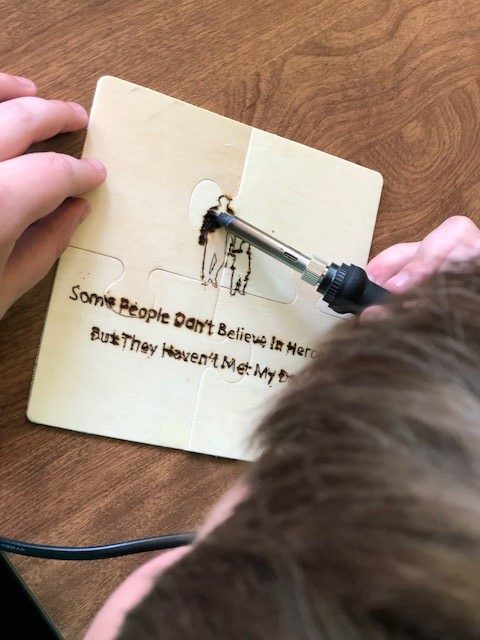
As the adult, you may need to assist the child with holding the pen. It is thicker than regular pen and the child may be scared at first. That’s ok too. Safety is the main priority. Most children are nervous the first time they use a pyrography pen. Once they start burning, they usually become comfortable with the pen rather quickly and end up loving the process. Guide them, help them and supervise them. Allow them to have fun creating something unique and special.

When the burning is complete, you can give them a pen to write their name down or personalize a message.

Practice wood burning with your children often. You’ll be amazed at how quickly they adjust to using the pens. Be patient and know that mistakes will be made, it’s just part of the process. Always follow the safety tips and have fun.

Got any questions? Just leave them in the comments below and I’ll get to it as soon as possible.

Enjoy!
Andrea Pate
Pate’s Pyrography
Posted on 6 Comments

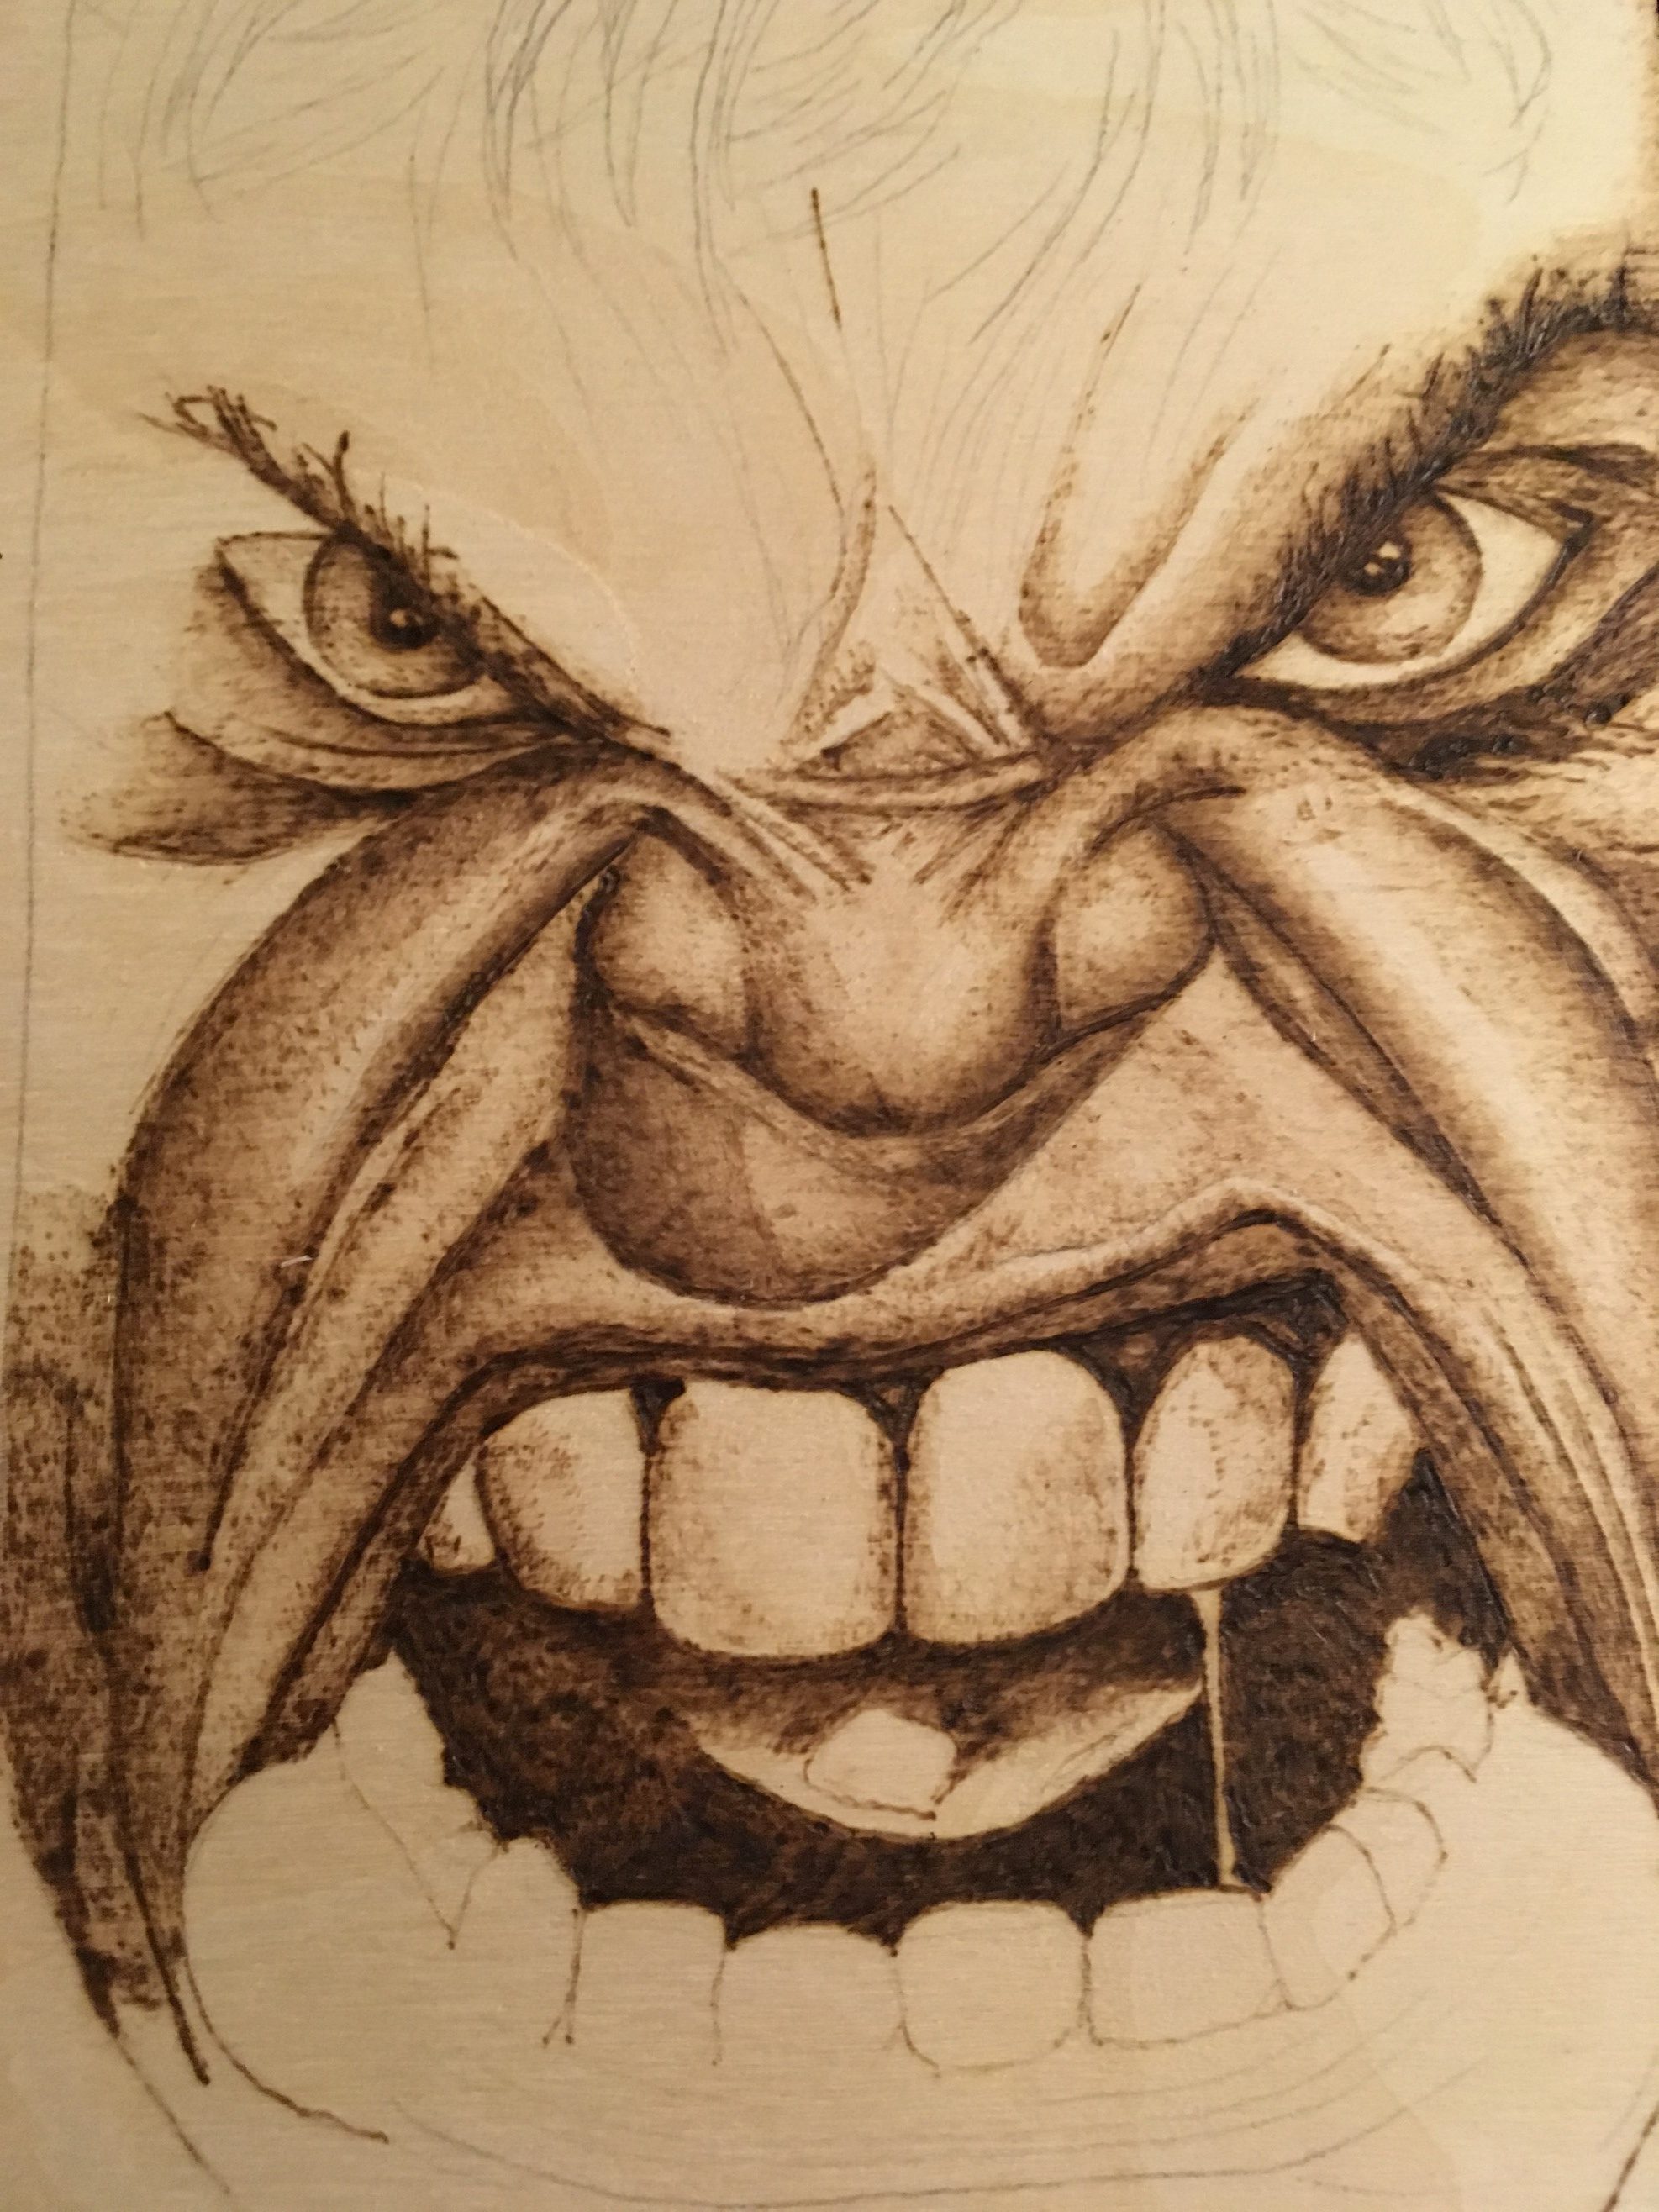
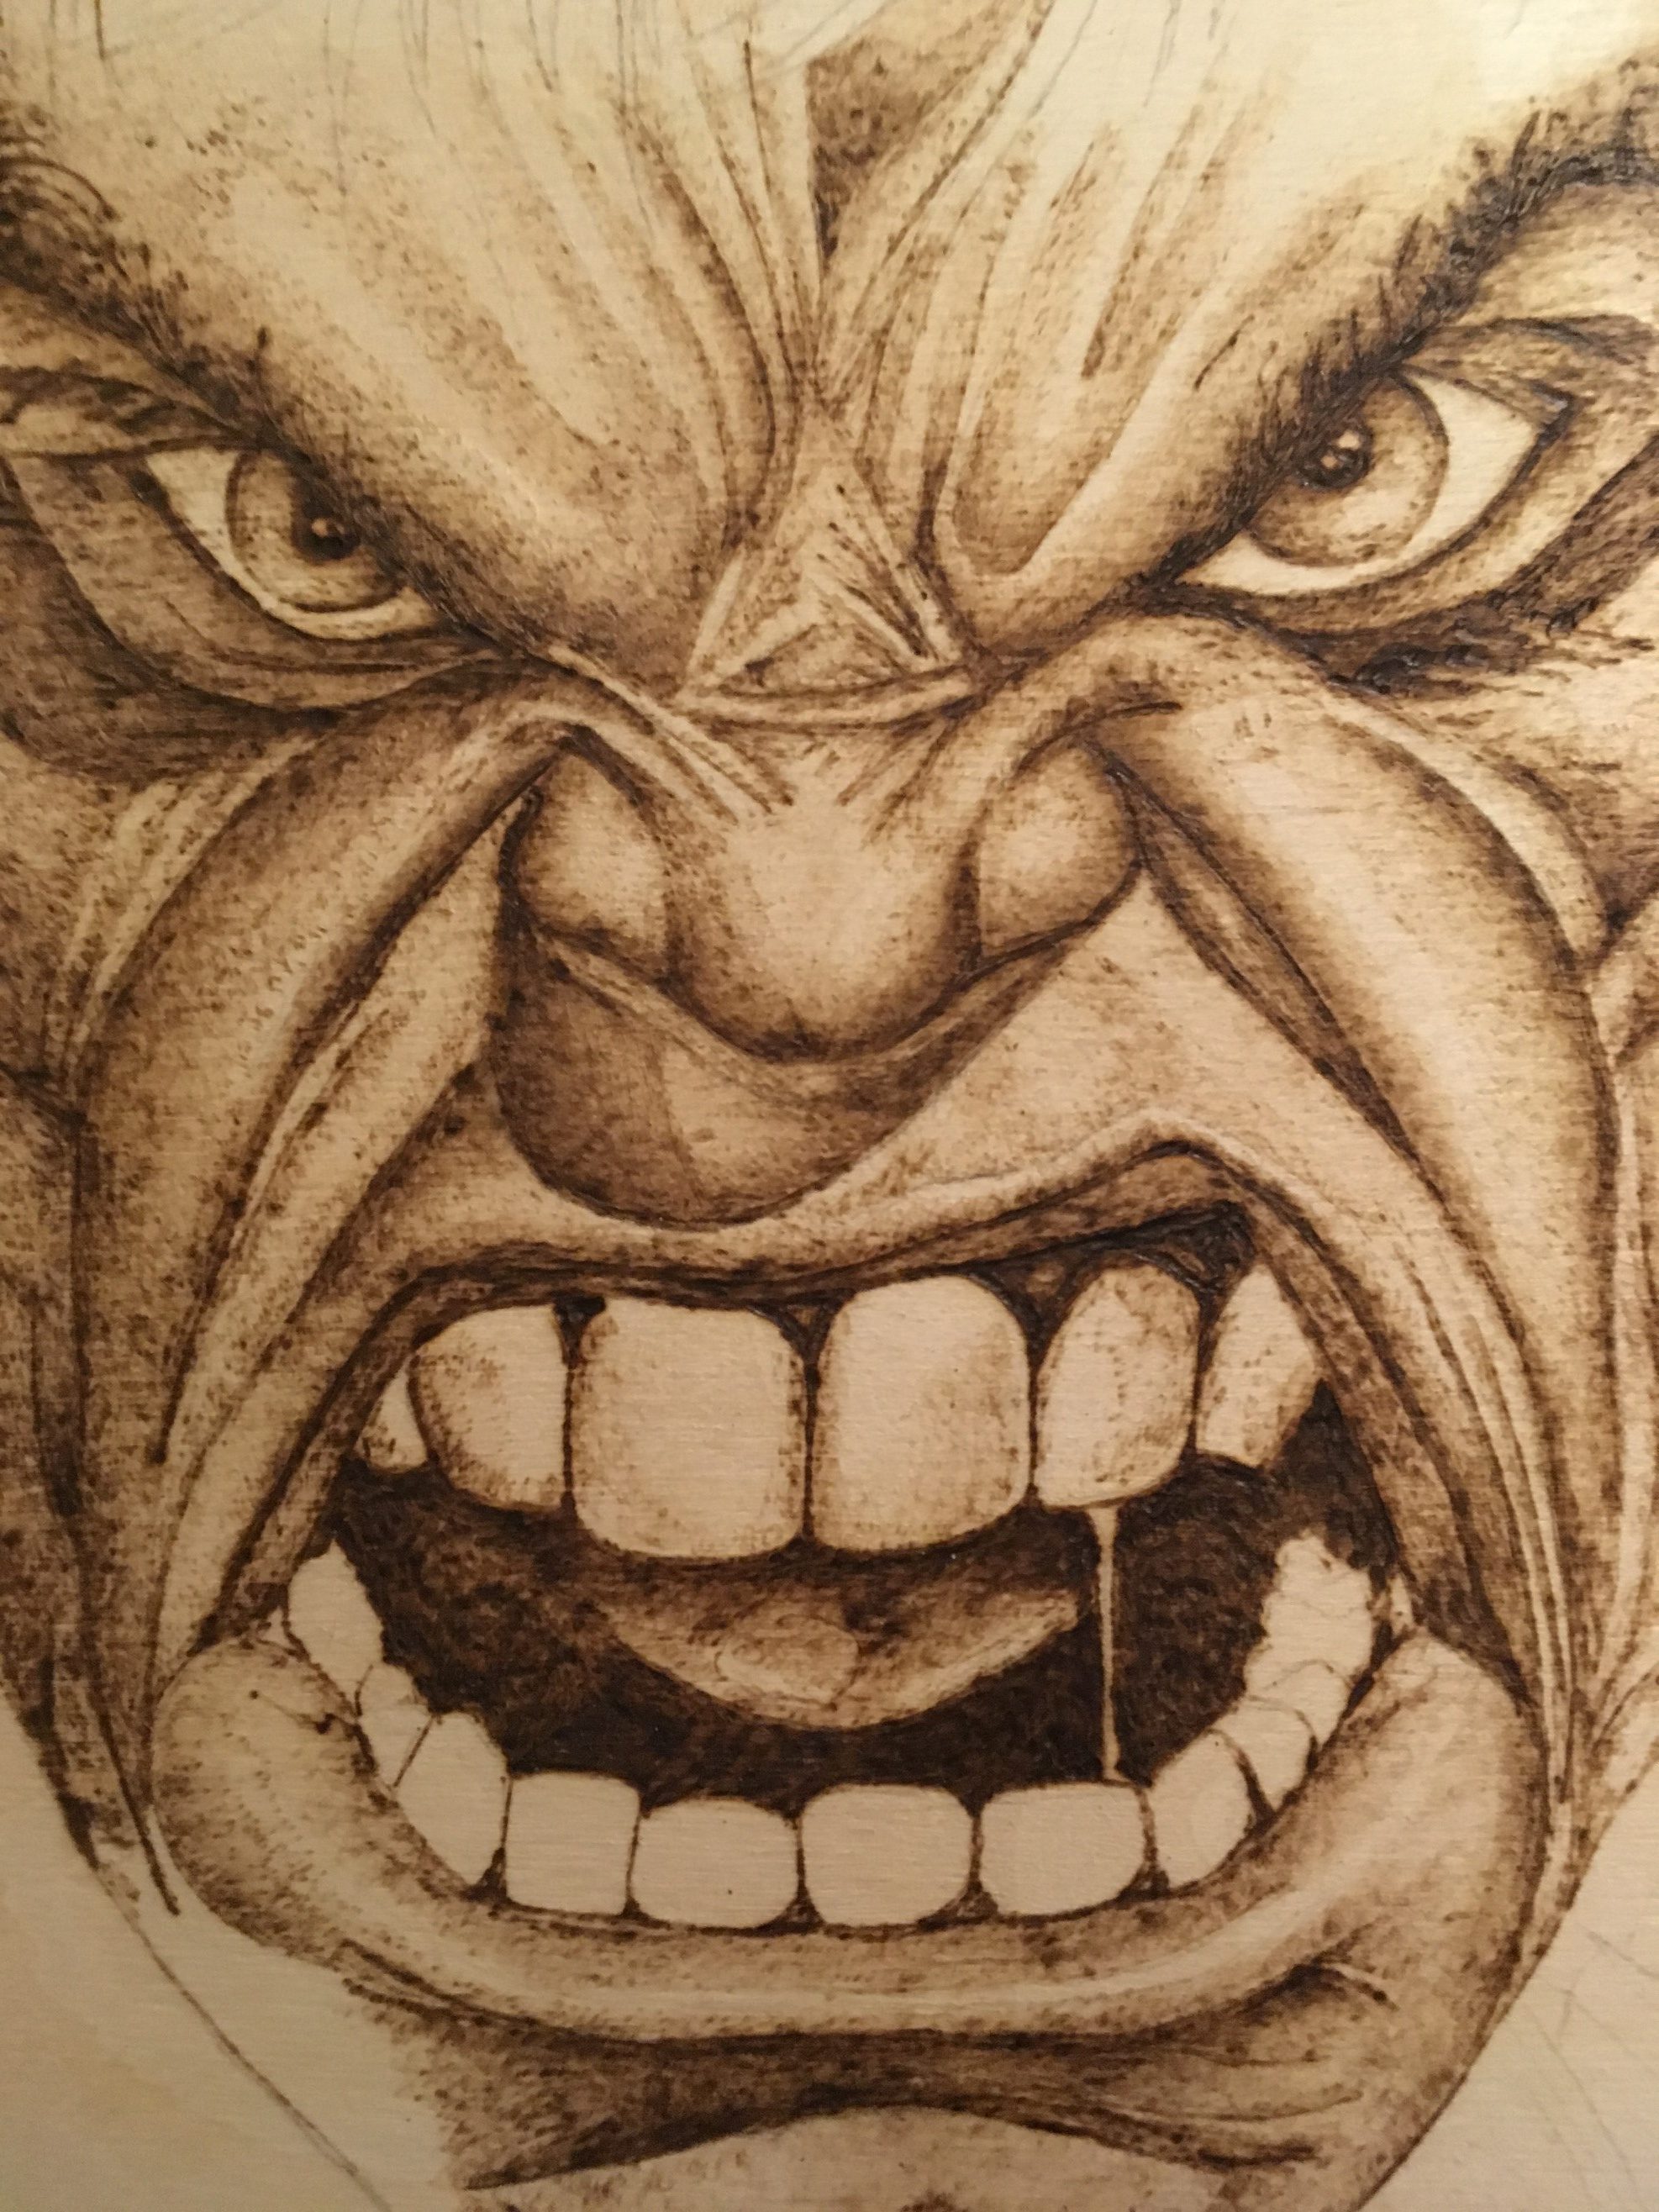
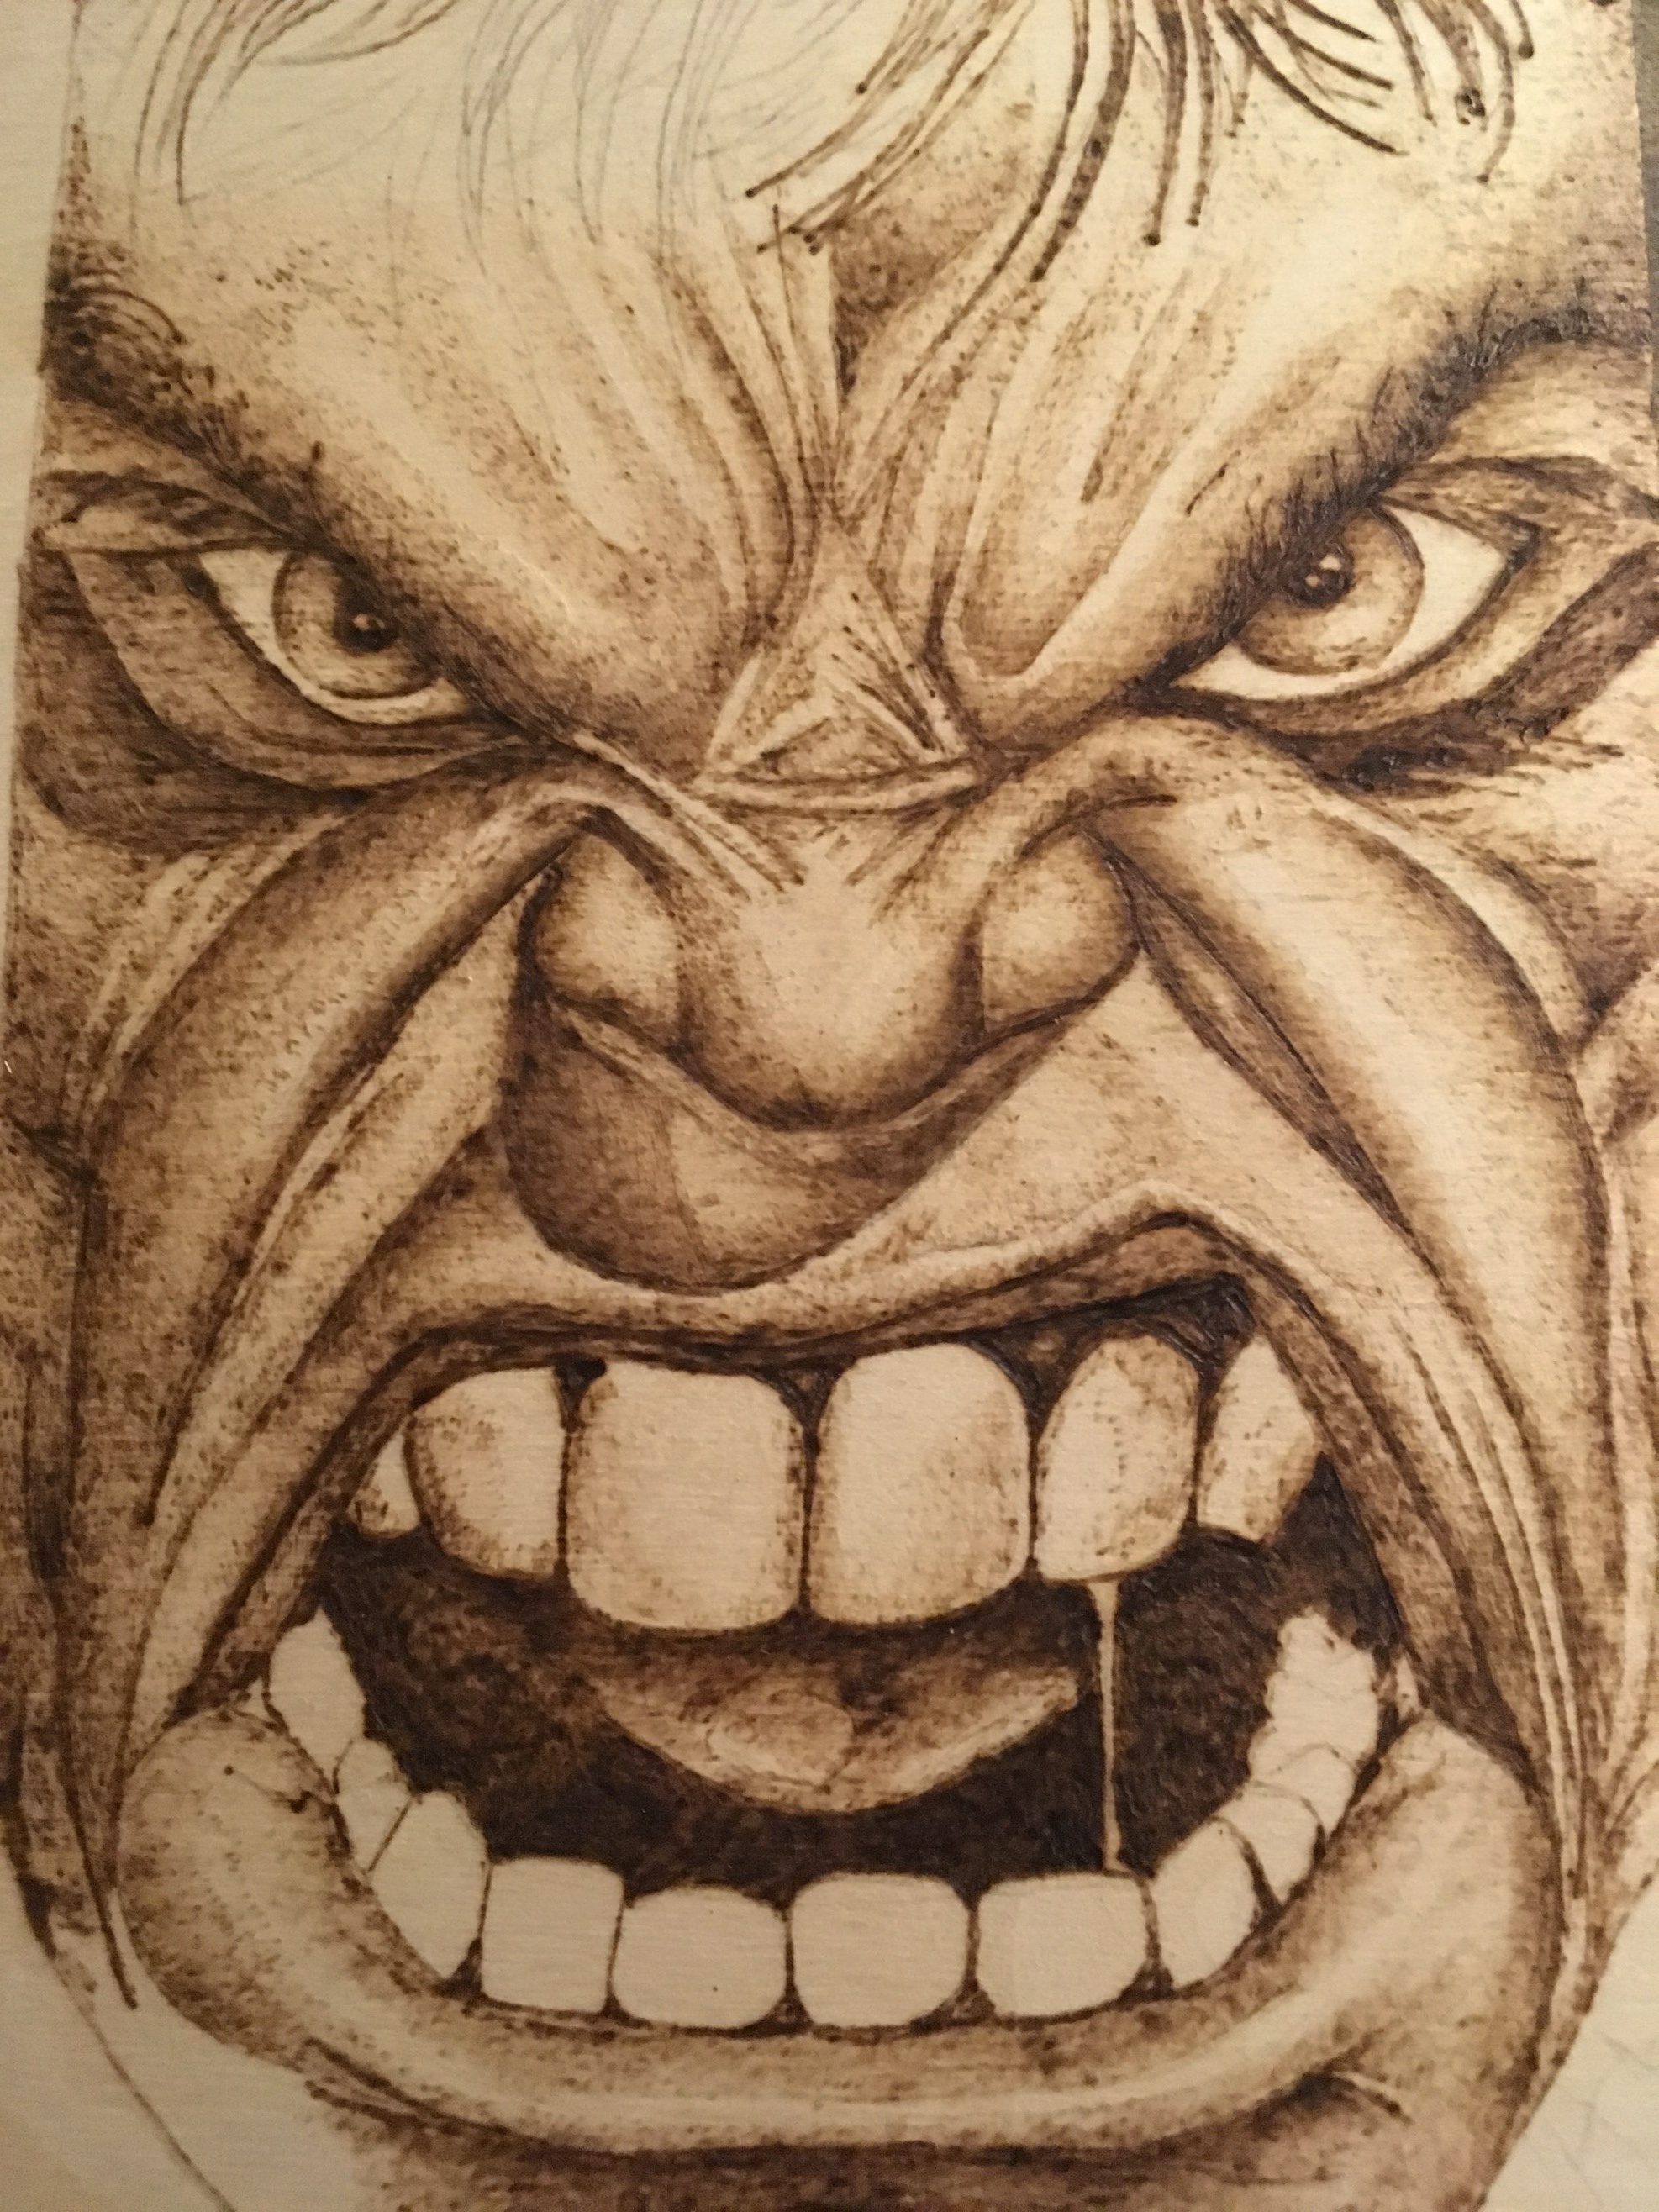
Shading Technique in Pyrography
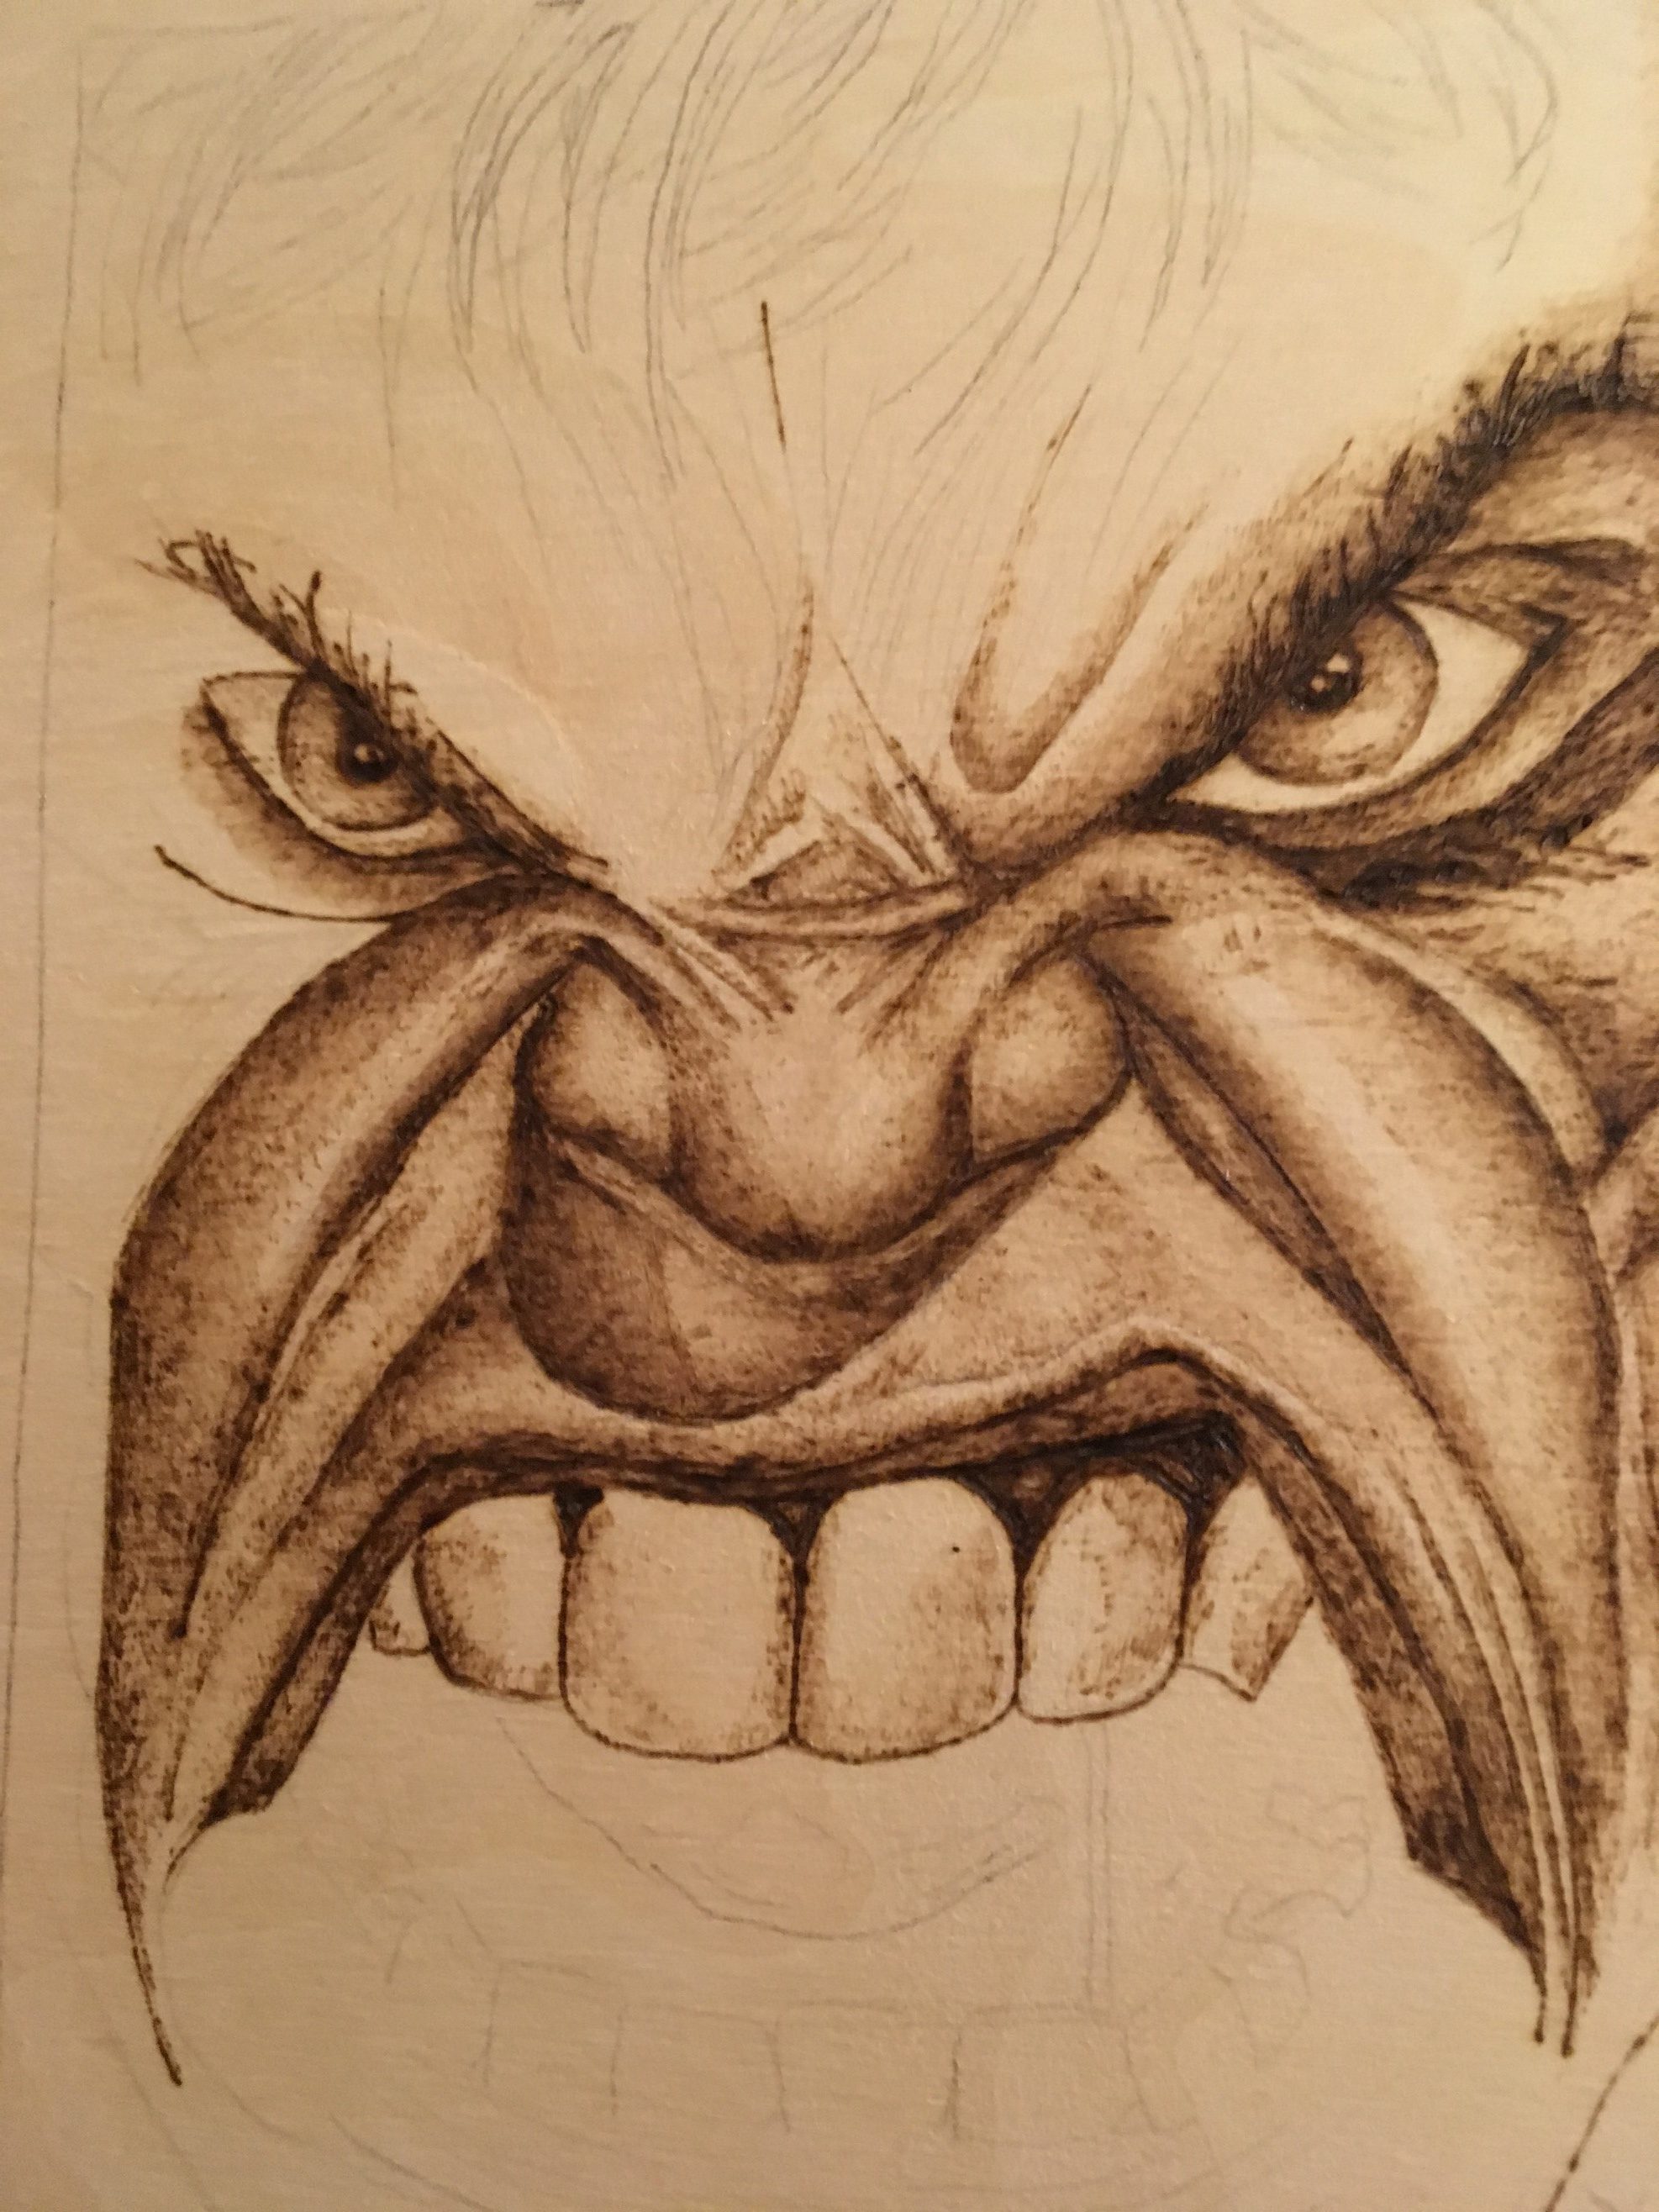
Shading is a challenging but extremely rewarding technique to master.  Shading gives your drawing depth and illustrates the various levels of darkness.  When you use this technique, you can make a flat image instantly have the realism of a 3D image.

When practicing, use a sample piece of wood.  Practice your shading by using simple shapes or designs.  Another useful tip is to study black and white photographs to observe where the light and dark values land on the image.

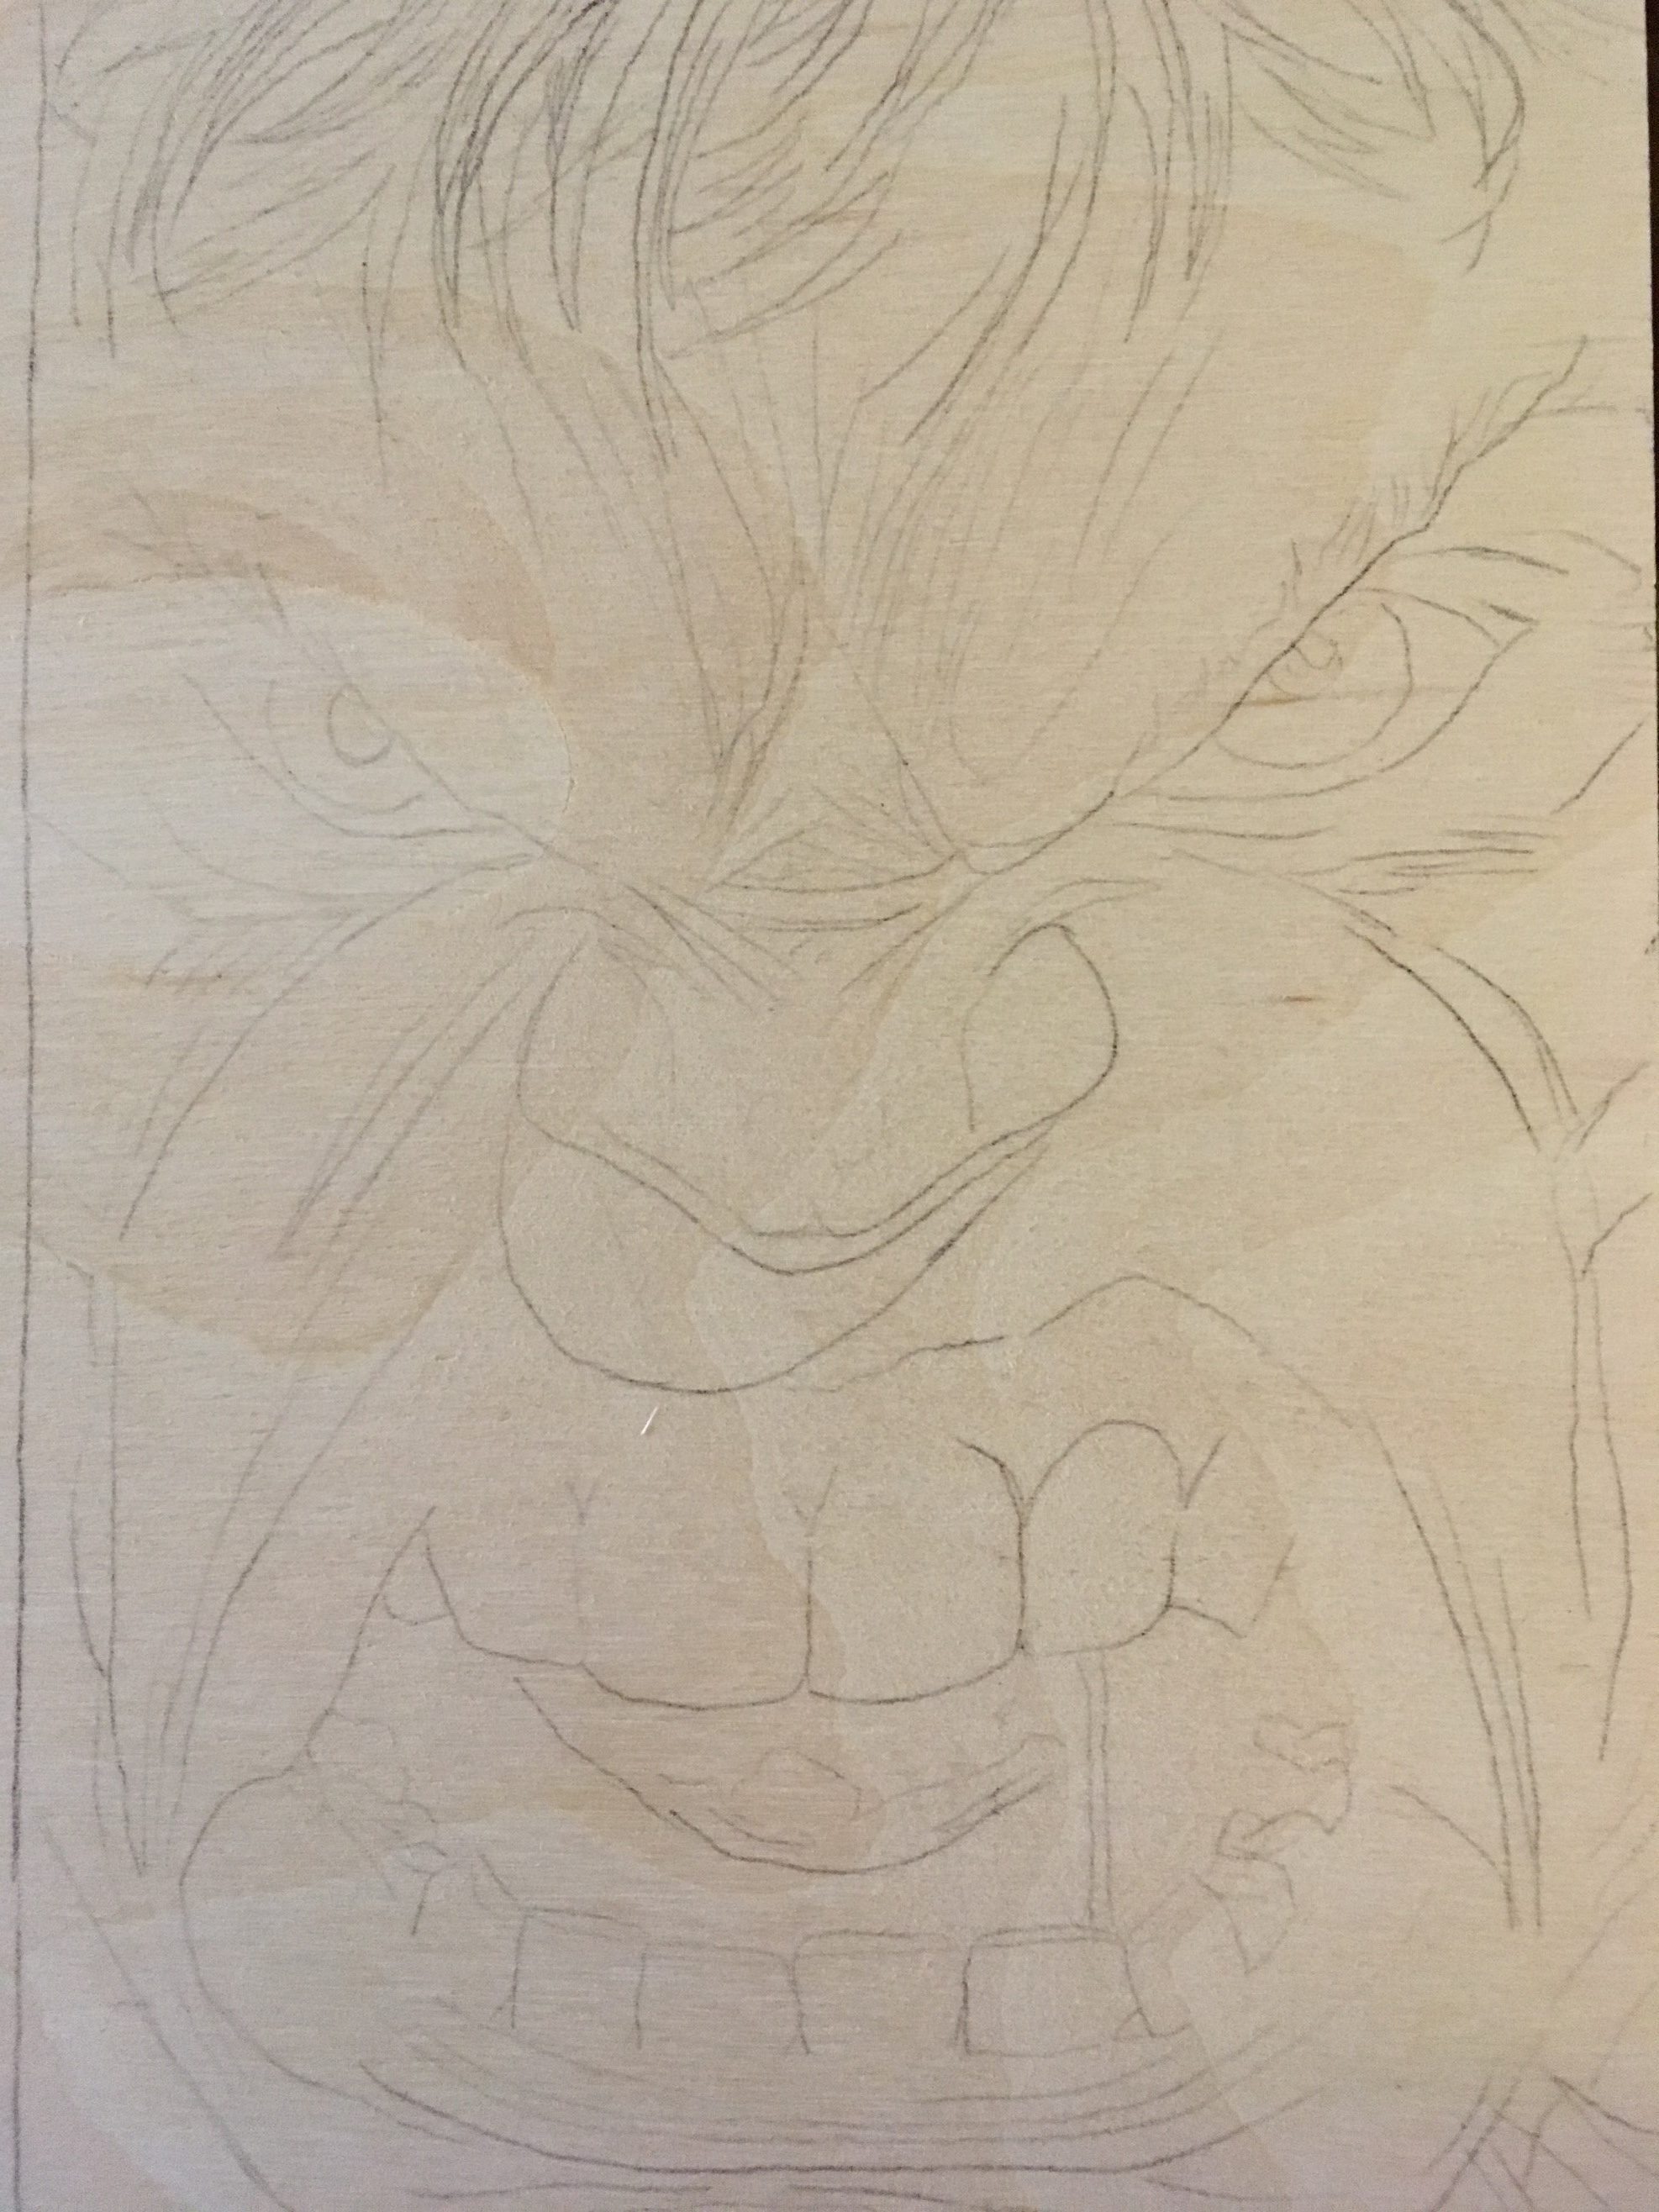
To start, draw your image or design onto the wood.  With pyrography, there is no room for error.  All marks you make are permanent.  In general, you should start burning your image at a low temperature and gradually increase heat as needed.

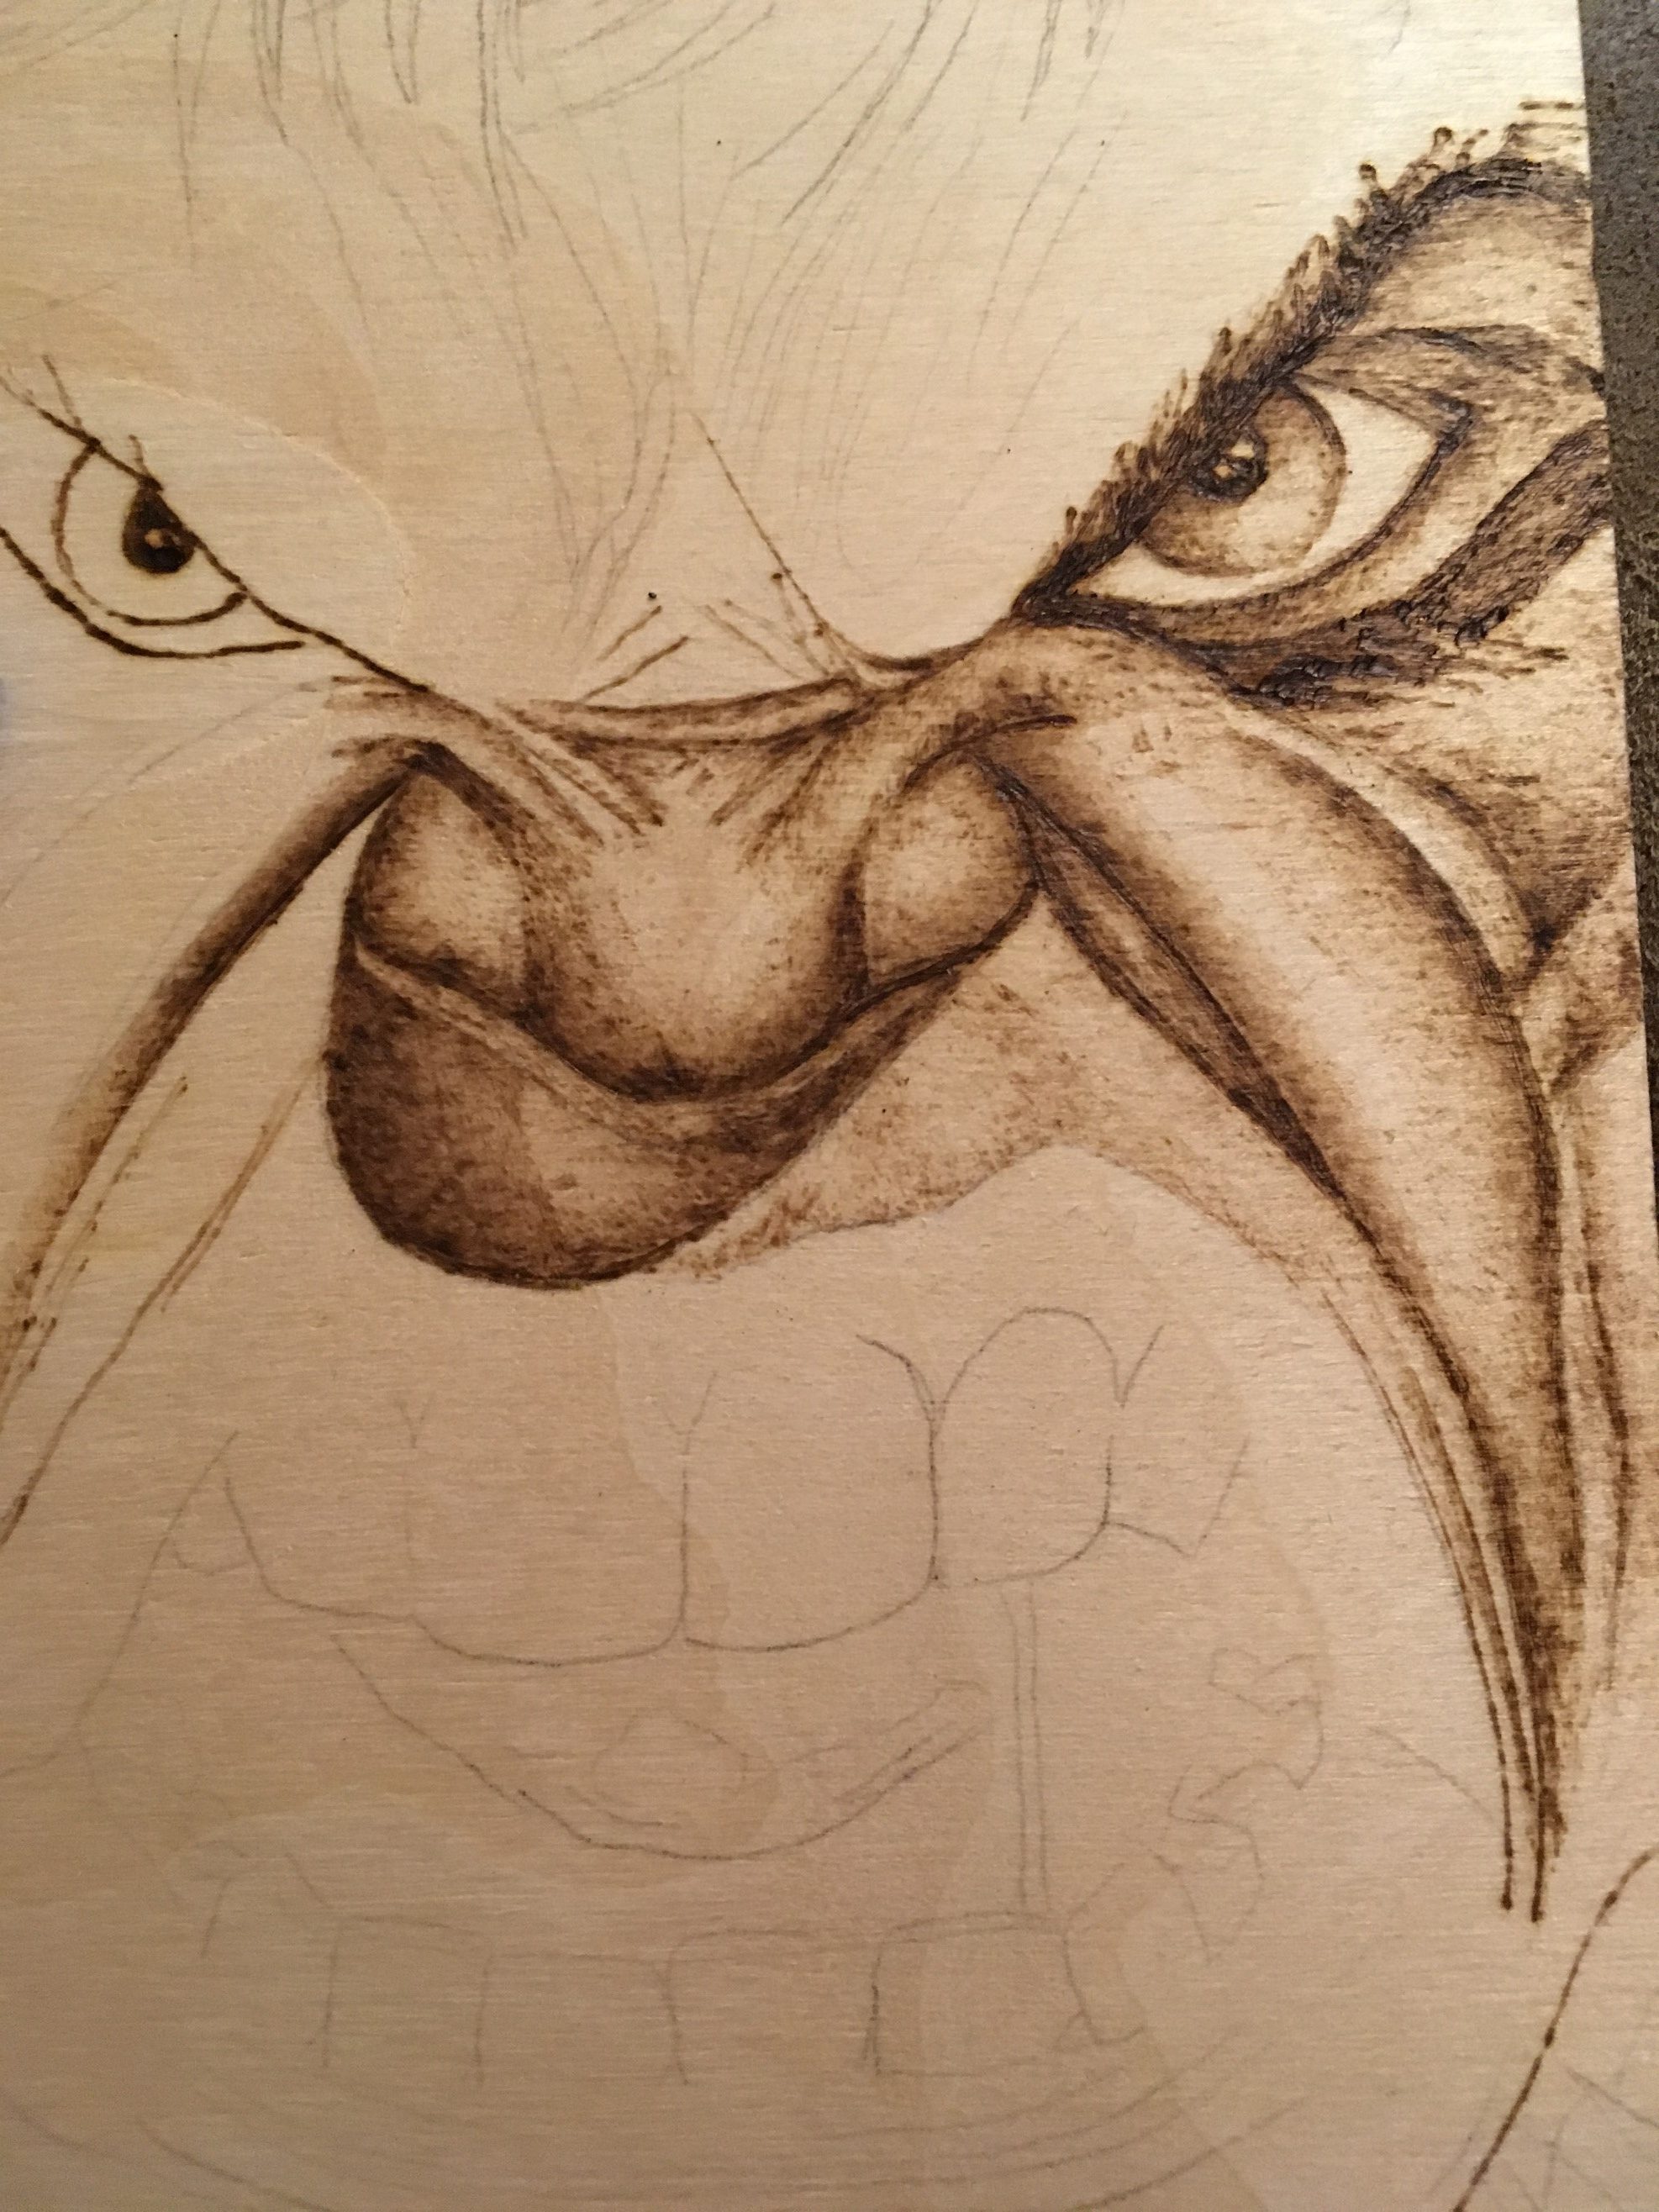
When burning, always burn softly. To do this, do not press down hard with your pen or make solid harsh lines.  I like to burn on a low temperature and make small, tight, circular motions on the wood.  I continuously do this until I blend my markings into a light, even shade.  You should not be able to distinguish where the shading started or ended, you want it to all flow together. Do not outline your image completely with dark, solid lines.  The point of shading is to give your art realism and it also helps define an object.


When shading, you don’t want your dark value to be too similar of a shade to your lighter value. Sometimes, it helps to practice shading on paper with a pencil first.  This can help you get a feel of how to transition from dark to light values.

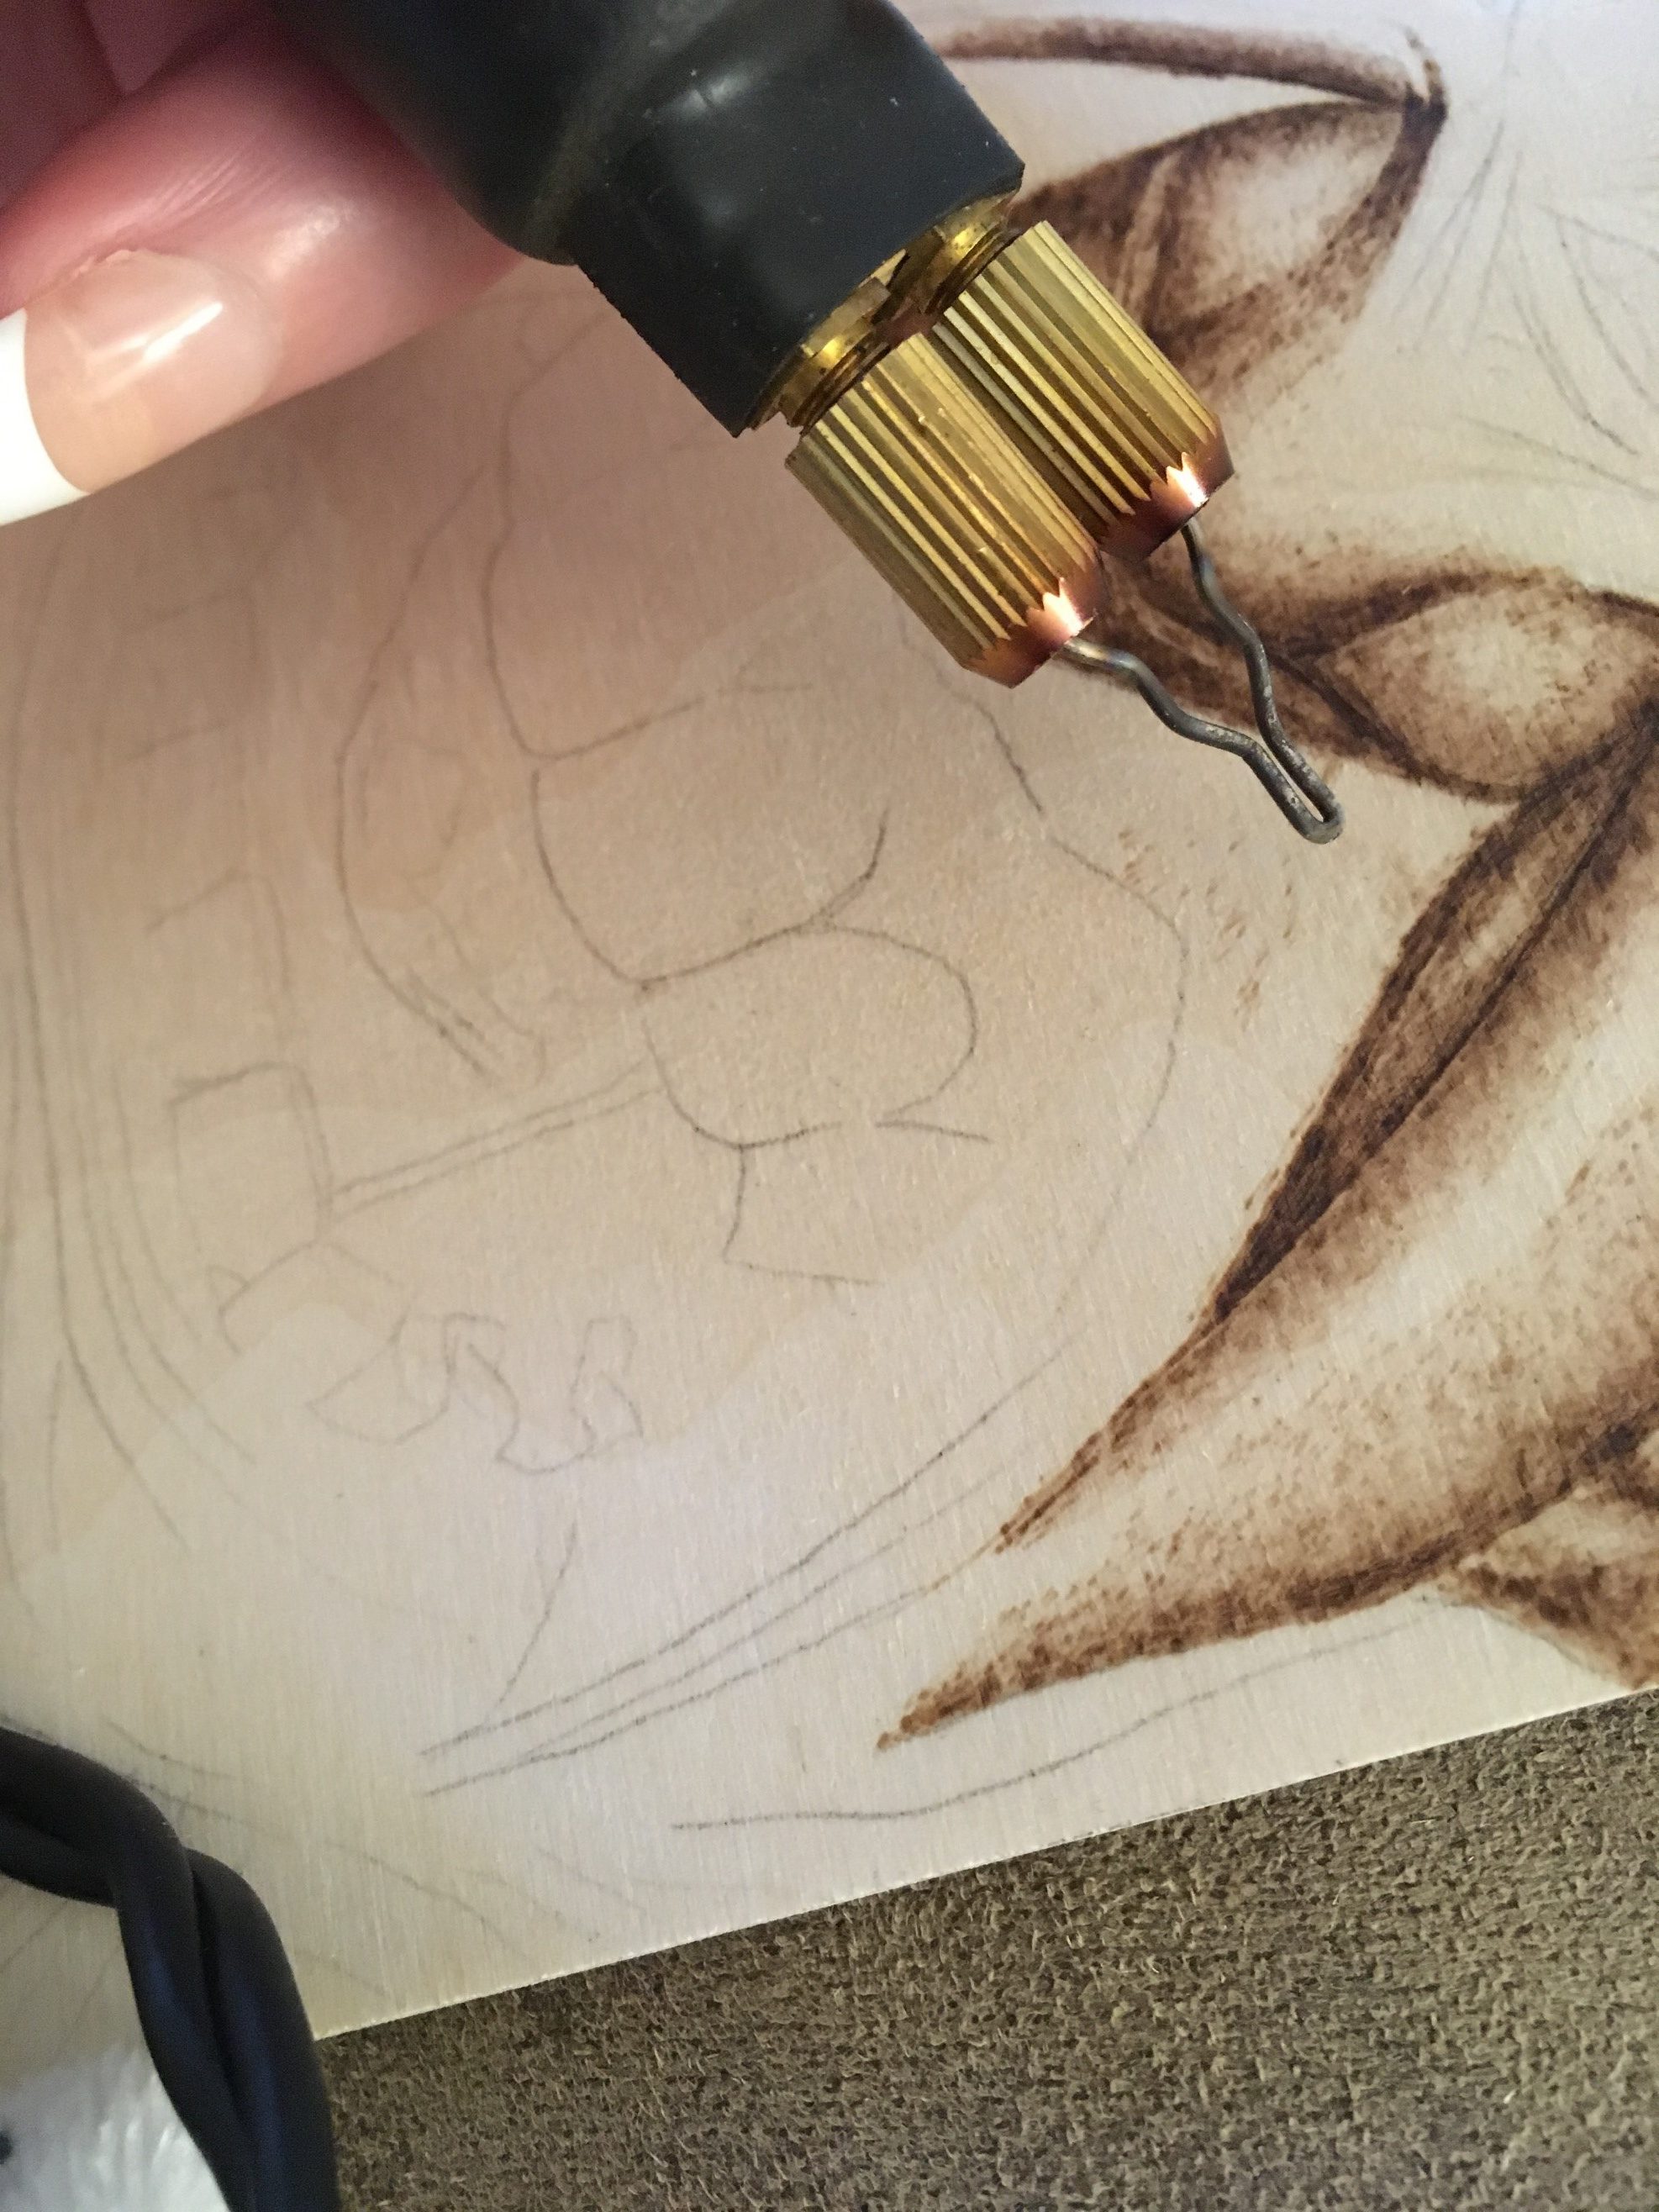
When burning, move your pen in a slow, even motion.  Add layers to your burning to give it depth. Increase your burner from a low temperature to a medium low temperature to the areas needing a darker value.


I hope these tips will help you master the art of shading.  Practice frequently and find what works for you.  Experiment with the different tips that are provided with your pyrography pen.  Different tips may help assist you with your technique. Most importantly, take your time. This is not an easy thing to do if you are not familiar with this skill.

If you have any questions regarding this technique or anything about pyrography shading, please leave them in the comments below and I’ll get back to it as soon as possible.

Good luck and see you next time.

Andrea Pate

Pate’s Pyrography