Posted on Leave a comment

How to Choose a 60 Watt Pyrography Tool

How to Choose a 60 Watt Pyrography Tool

A 60 watt pyrography tool changes the way detailed work feels at the bench. Instead of waiting for a pen to recover between strokes or forcing a tip through dense hardwood, you can focus on line control, layered shading, and the character of the material in front of you. For artists moving beyond occasional craft projects, that extra power is less about burning hotter for its own sake and more about maintaining consistent, controllable heat.

That distinction matters. A higher-wattage burner is not automatically the right choice for every beginner, and more heat will not fix a dull technique or poor surface preparation. But when your projects include portrait work, realistic wildlife, lettering, leather, gourds, or larger wood panels, a 60W system provides the responsiveness and flexibility that serious pyrography demands.

What a 60 Watt Pyrography Tool Does Differently

Wattage describes the amount of power available to the burner. A 60W unit can supply enough energy for a heated tip to recover quickly after it meets a heat-hungry surface. That is especially useful on hardwoods, thick pieces, and broad shading areas, where lower-powered craft pens can lose heat mid-stroke.

The practical benefit is consistency. When a tip maintains its working temperature, your lines are less likely to fade unexpectedly and your shading can build in smoother layers. You still control the result with speed, pressure, tip shape, and temperature setting, but the tool is less likely to become the limiting factor.

A 60W burner also supports a wider range of professional-style tips. Fine writing tips can create clean feather detail and small lettering, while shaders, skew tips, ball tips, and texture tips make it easier to work across a full composition without trying to force one tip to do every job.

Digital Temperature Control Is the Real Advantage

Power gets attention, but precise temperature control is what makes high-output pyrography equipment genuinely useful. A digital control system lets you make repeatable adjustments instead of guessing where a dial should sit for a certain effect.

This is valuable when you return to a project over several sessions. If you found a setting that creates the warm medium brown you want on basswood, you can work from that reference again. You may still need to adjust for moisture, grain direction, or a different piece of wood, but you start from a more reliable place.

Controlled heat also helps protect your work. Excess heat can produce harsh edges, deep grooves, unwanted shine on leather, and dark areas that are difficult to soften. With a capable 60 watt pyrography tool, you can often lower the temperature and let tip selection plus deliberate movement create the mark. That approach gives you more control than simply turning up the heat.

Heat Setting Depends on the Surface

There is no universal setting for every project. Soft, pale woods such as basswood and poplar burn readily and show value changes clearly. Harder woods may require more heat or a slower pass, but their grain can still influence the line.

Leather needs its own testing process. Vegetable-tanned leather generally accepts pyrography well, while finished, dyed, chrome-tanned, or unknown leather should not be burned. Work only with clean, suitable materials in a well-ventilated workspace, and test on a scrap before committing to a finished piece.

Gourds, bamboo, and other natural surfaces can be rewarding but unpredictable. Their density and texture vary across the surface, so a small test area is part of the process, not wasted material.

Single-Pen vs. Dual-Pen 60W Systems

A single-pen system is a smart fit when you want professional heat control and detailed-tip capability without adding complexity to your workspace. You change tips as the project requires, making it a practical choice for artists who usually work with one primary tip at a time.

A dual-pen system is built for workflow. It keeps two pens connected and ready, each with its own tip. One pen might hold a fine writing tip for outlines while the other carries a shader for filling fur, leaves, or background gradients. Instead of pausing to let a pen cool, swapping tips, and reheating, you move from one task to the next.

That convenience becomes more meaningful on long projects. Portrait artists, production makers, and anyone who regularly alternates between detail and shading may find that a second pen keeps their creative momentum intact. The trade-off is simple: dual-pen systems require a larger initial investment and make the most sense when you will use the two-pen workflow consistently.

Choose Tips for the Marks You Want to Make

A powerful burner deserves tips that match your intended work. Buying a large assortment can be useful, but only if you learn what each tip does. Start with a focused working set and expand based on the effects you use most.

Fine-point and writing tips are made for controlled outlines, lettering, whiskers, veins, and other narrow marks. Shader tips cover broader areas and can produce soft gradients when used with light, overlapping passes. Spoon and skew shapes are useful for directional shading, while ball and texture tips create patterned effects without drawing every individual mark.

Interchangeable brass tips are a practical choice for many makers because they offer variety and are easy to replace. Premium detailing tips are worth considering when very fine control is central to your work. The best tip is not necessarily the smallest one. A slightly broader tip may create a smoother shadow with fewer passes and less risk of streaking.

Keep your tips clean, but do not aggressively sand or scrape them while hot. A buildup of residue can affect burn quality, yet rough treatment can damage the working surface. Let tips cool before maintenance, and use the cleaning method recommended for your equipment.

Set Up Your Workspace for Better Results

A professional burner performs best in an organized station. Place the control unit on a stable surface, keep the pen holder where you can reach it without crossing over your project, and give the hot tip a clear, safe resting place. Do not set a heated pen on wood, paper, fabric, or a crowded tabletop.

Ventilation deserves equal attention. Woodburning creates smoke and fumes, particularly when working on dense wood, leather, or surfaces with natural oils. Use clean, unfinished, untreated materials, maintain airflow, and avoid burning painted, stained, pressure-treated, glued, or otherwise coated wood. Those materials can release harmful fumes and may leave unpredictable marks.

Sand your wood before burning, then remove the dust. A smooth surface helps the tip glide, makes fine lines more consistent, and gives shading a cleaner appearance. If you plan to use a finish, test it on a burned scrap first. Some finishes deepen the color dramatically, while others can change the contrast of subtle shading.

Is a 60W Burner Right for Your Skill Level?

A 60W unit is often described as a professional tool, but that does not mean a committed beginner cannot use one. If you know you want digital control, interchangeable tips, and room to grow into detailed work, starting with a higher-capability system can prevent an early upgrade.

Still, a Stage 1-style hobby kit may be the better purchase if you are testing whether pyrography fits your interests or mostly making simple signs, ornaments, and occasional gifts. Simpler tools are approachable and can handle many basic projects well.

Move up when you begin noticing the limits of your current pen. Slow heat recovery, inconsistent shading, limited tip choices, and frequent pauses to change a hot tip are all signs that a Stage 2 detailer may support your next level of work. TRUArt’s 60W detailer options are designed around that transition, pairing digital temperature control with the tip and pen flexibility serious makers need.

Make Your First Projects About Control

When you bring home a higher-output burner, resist the urge to test it at maximum heat. Begin with a sample board and make rows of lines at different settings. Change only one variable at a time: temperature, speed, pressure, or tip angle. You will quickly see how each choice affects color and edge quality.

Practice a gradient from light tan to dark brown, then repeat it with a different tip. Create a small lettering sample, a curved line exercise, and a patch of texture. These simple tests teach more about your tool than one rushed finished project.

A 60 watt pyrography tool gives you the capacity to create refined work, but your best results come from measured heat, the right tip, and steady practice. Let the tool support your hand rather than overpower the surface, and each new project becomes a chance to make more intentional marks.
Posted on Leave a comment

Best Beginner Wood Burning Kit for First Projects

Best Beginner Wood Burning Kit for First Projects

A first woodburning project can go from exciting to frustrating in about five minutes if the pen will not hold heat, the tip wobbles, or the kit leaves out the one accessory you need. The best beginner wood burning kit is not necessarily the one with the most pieces. It is the one that gives you dependable heat, useful tips, safe handling, and enough support to make clean practice lines on day one.

For most new makers, a complete Stage 1 kit is the right starting point. It keeps the learning curve manageable while giving you room to move beyond simple names, coasters, and gift tags. Look for a purpose-built woodburning pen rather than a general craft tool that happens to include a burn tip.

What Makes the Best Beginner Wood Burning Kit?

A beginner kit should make the basic techniques easier to learn: outlining, shading, lettering, and filling small areas. That starts with consistent heat. When a pen cools too quickly as it touches wood, you compensate by pressing harder. Pressing harder creates uneven lines, rough grooves, and hand fatigue. A reliable pen lets you guide the tip lightly across the surface instead.

For a first tool, wattage is a practical place to begin. A 15W woodburning pen can work well for light practice, small designs, and softer unfinished wood. A 30W pen gives a beginner more working heat for broader tips, darker marks, and slightly larger projects. Neither number is automatically better for every maker. If you expect to burn mostly thin basswood tags and simple lettering, 15W may be enough. If you want to try shading, plaque-sized projects, or denser wood, 30W offers more flexibility.

Temperature control matters, too. Entry-level pens may use a fixed operating temperature, which is straightforward and less intimidating for a first project. Adjustable heat provides more control as your skills grow, especially when changing between delicate detail work and darker shading. The trade-off is that a variable-temperature tool asks you to pay more attention to the material and tip you are using. For many beginners, that is a worthwhile skill to build early.

A useful kit also includes interchangeable solid brass tips. You do not need dozens of shapes to get started, but you do need shapes that perform distinct jobs. A fine point handles outlines and lettering. A shader makes soft gradients and wider marks. A universal tip is useful for general line work, while a rounded or ball-shaped tip can add dots and texture. Extra tips are valuable only if you can identify when to use them.

Start With Tools You Will Actually Use

Accessory count can be misleading. A kit packed with decorative pieces may look impressive, but a few functional items matter far more than filler. Your first kit should include a stable pen stand, a selection of usable tips, and a case or organized storage option that protects the tool between projects. A pen stand is not optional clutter. A hot tip on a crowded craft table can scorch a surface, damage a stencil, or create an avoidable safety issue.

Choose a kit with a comfortable handle and a tip-changing system that feels secure. You should only change tips after the pen has cooled completely. Brass retains heat longer than many beginners expect, and rushing this step is an easy way to get burned or strip a threaded fitting. Keep pliers designated for craft use nearby, but do not treat them as a shortcut for removing a hot tip.

A small set of unfinished wood blanks is helpful if you want to start immediately. Wood tags, plaques, and basswood shapes remove the uncertainty of choosing a first surface. They also encourage short practice sessions, which are more useful than trying to complete a detailed sign before you understand line pressure and heat.

TRUArt Stage 1 kits are built around this practical first-tool approach, pairing beginner-friendly wood and leather burning pens with interchangeable tips and project-ready accessories rather than sending new makers through a maze of unrelated craft supplies.

The tips a beginner needs first

Start with three techniques instead of trying every tip in one sitting. Use a fine point to pull slow, even lines. Use a shader with gentle, overlapping strokes to create a darker-to-lighter transition. Then test a general-purpose tip with different levels of pressure. You will quickly see that heat, speed, pressure, and wood grain all affect the mark.

Keep your first experiments on scrap wood. Burn a row of lines at a steady pace, then another row more slowly. Make a small shading square, gradually layering strokes from light to dark. These tests tell you more about your pen than a finished project can, and they make the next project much less mysterious.

Choose Materials That Help You Learn

The wood surface has as much influence on the result as the tool. Smooth, pale, unfinished basswood is a strong beginner choice because it burns predictably and shows contrast clearly. Sand it lightly with fine-grit sandpaper before transferring a pattern, then brush away all dust. A smooth surface helps your tip glide instead of catching on raised grain.

Avoid treated lumber, plywood with unknown glues, painted boards, and wood with a heavy finish. Burning these materials can create unpleasant or unsafe fumes, and coatings interfere with consistent marks. Softwoods can also be resinous and unpredictable. They are not impossible to use, but they can make a new maker think the tool is at fault when the material is the real problem.

If you plan to burn leather, use clean, vegetable-tanned leather. Never burn synthetic leather, vinyl, or materials with unknown finishes. The right surface keeps your workspace safer and produces cleaner results.

Set up your work area before heating the pen

Woodburning is slow, focused work. Give yourself a stable, uncluttered table with good lighting and ventilation. Place the pen stand on a heat-safe surface, keep the cord away from your working hand, and have a nonflammable container ready for cooled tips. If smoke builds up during a project, pause and improve airflow rather than working through it.

A simple pattern transfer also reduces hesitation. Use a pencil to sketch directly on the wood, or transfer a printed design with graphite paper. Keep the lines light. Dark pencil marks can remain visible beside a burned line, particularly on fine lettering. Start with a design made of bold outlines and a few simple shaded areas. Detailed portraits and dense mandalas can wait until your hand has learned a steadier rhythm.

When a Beginner Should Buy More Than a Basic Kit

A standard kit is enough for many first projects, but some makers know they will want finer control quickly. If you already draw, create handmade products for sale, or expect to work regularly on leather and detailed wood art, consider a higher-output detailer with digital temperature control. These tools provide more precise heat adjustment and can support premium detailing tips for finer texture and cleaner line variation.

That does not mean every new maker needs a professional dual-pen system. Dual-pen setups are designed for efficiency: you can keep two different tips hot and switch without waiting for one to cool. They are excellent for serious artists, but they add cost and capability that a casual hobbyist may not use right away. Buy for the projects you realistically want to make over the next several months, not for every possible technique you might try someday.

A good first kit should leave room for progress. Replacement tips, spare parts, stencils, and project blanks let you expand your setup as your preferences become clear. You may discover that lettering is your favorite work, that you love textured wildlife pieces, or that leather keychains become your go-to handmade gift. Each path calls for slightly different tips and heat control.

The right kit gives you a safe, dependable place to begin. Put a small piece of smooth wood on the table, make ten practice lines, and let your hand learn what the pen can do. Your first marks do not need to be perfect to become the start of work you are proud to give, display, and keep making.

Posted on Leave a comment

Let’s Split!

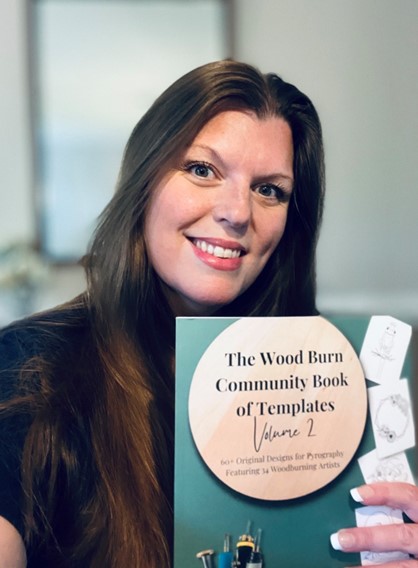
Author Andrea Pate holding a new book featuring her works

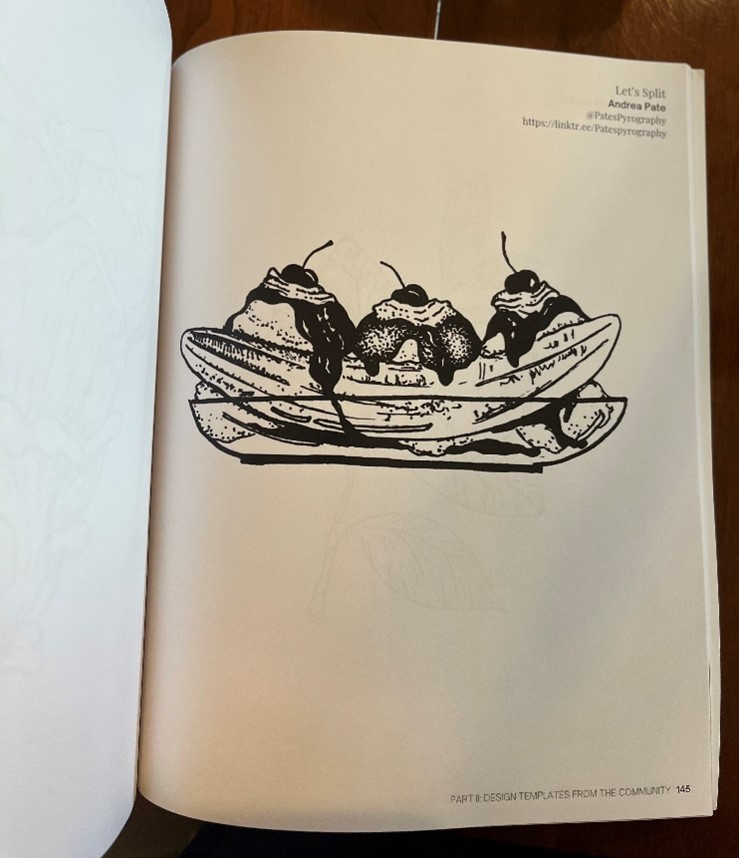
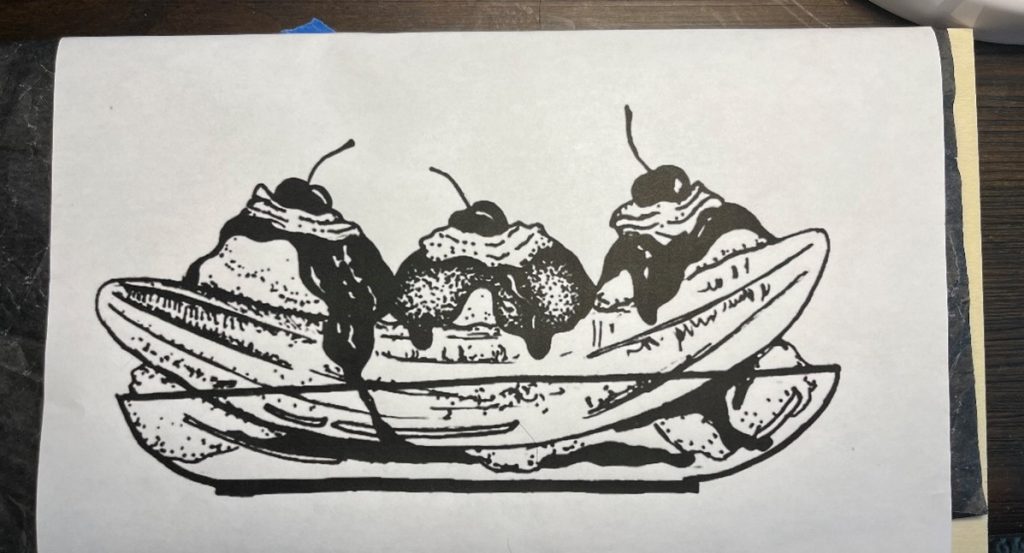
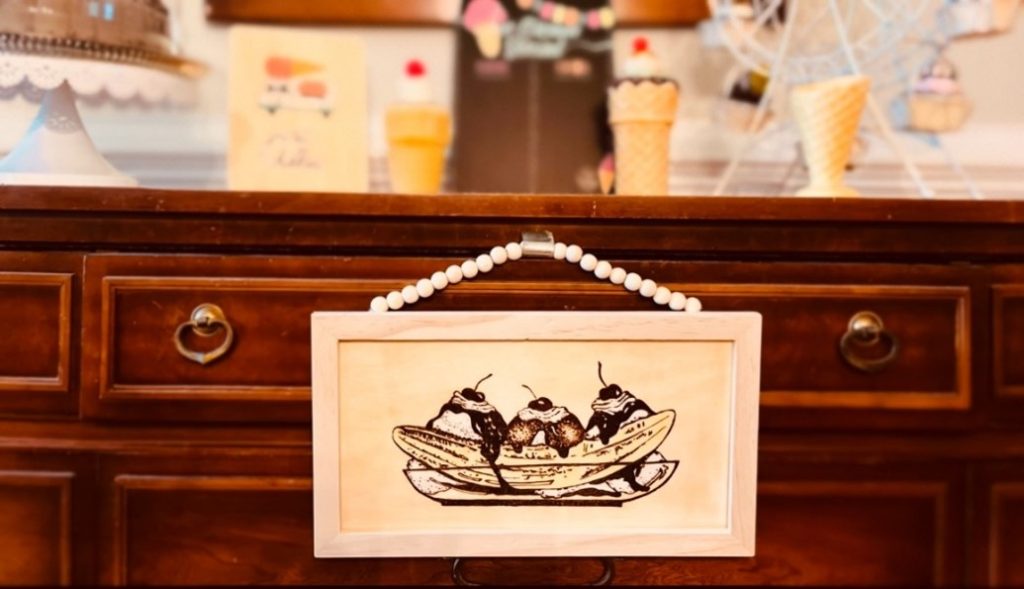
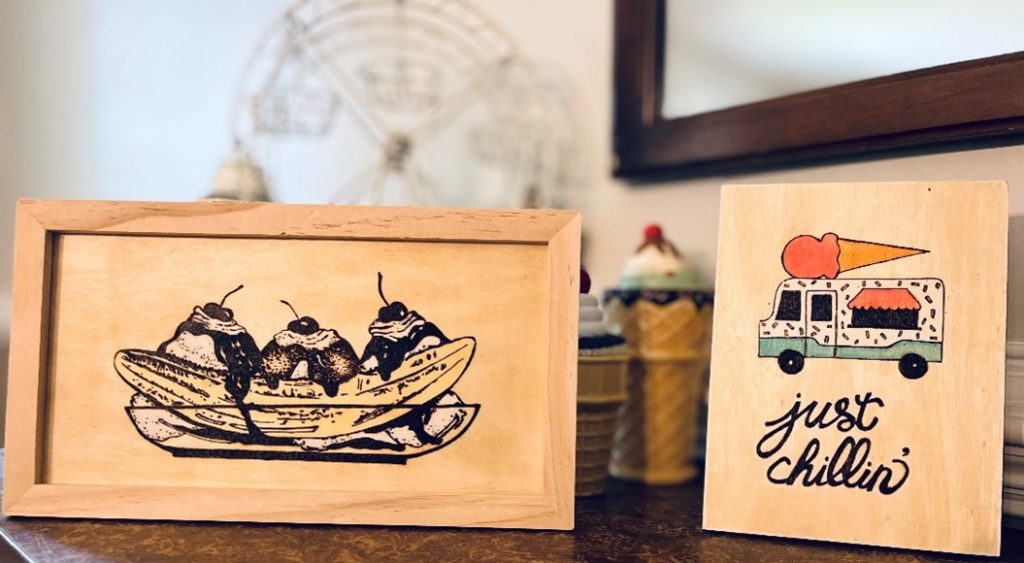
On a hot summery day, nothing cools you off quite like ice cream. Some of my favorite ice cream concoctions are mint chocolate chip with Magic Shell. hot fudge sundaes and banana splits. That was my motivation for this sweet design. This Banana Split template pairs perfectly with my Just Chillin’ Template. I like to display these pieces together during birthday parties, ice cream socials, or with my summer décor. You can find my “Let’s Split” template in The Wood Burn Community Book of Templates Vol 2 by Rachel Strauss.


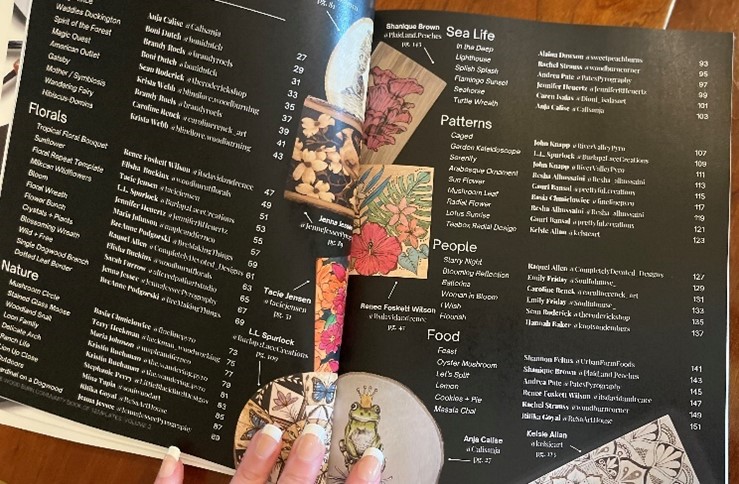
This book features 64 templates created by 34 artists with templates ranging from beginner to advanced skill levels. You can purchase your own copy by clicking on the link below.
https://www.woodburncorner.com/community-book-of-templates-volume-ii


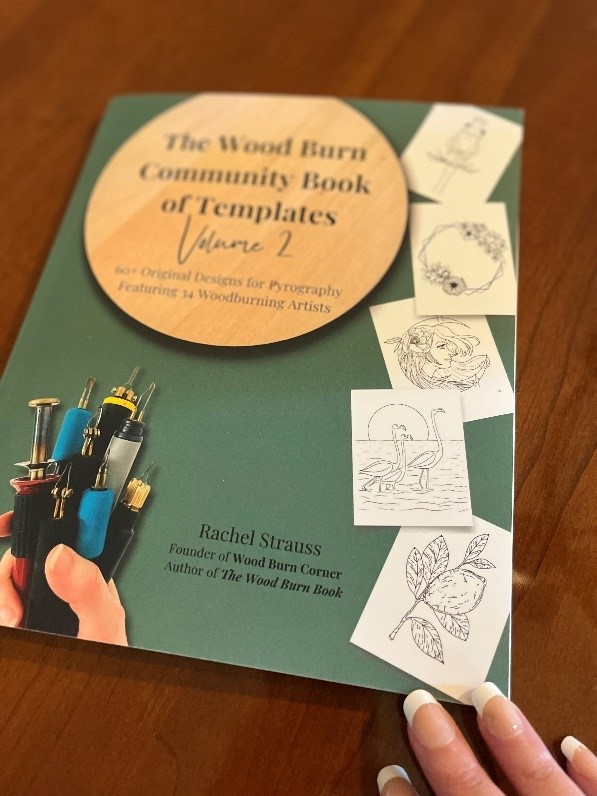
Front side of book
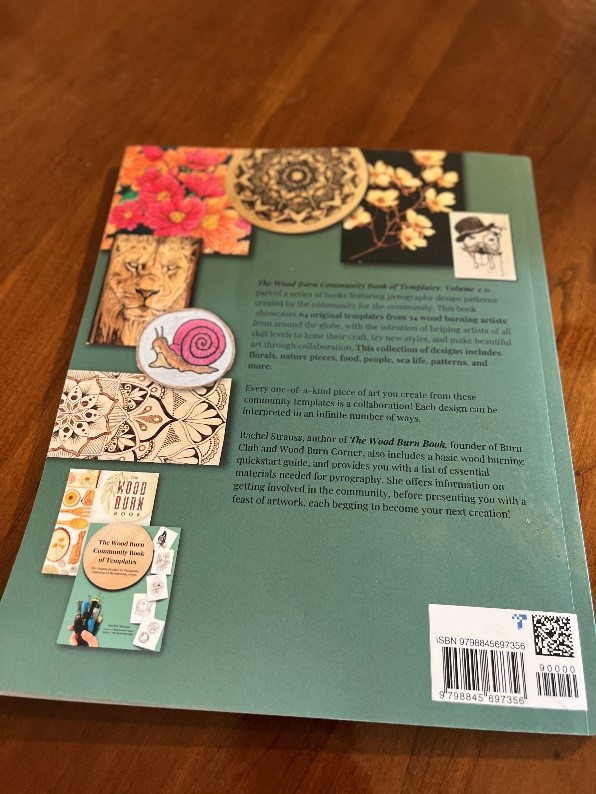
Back side of book
Template content in the book
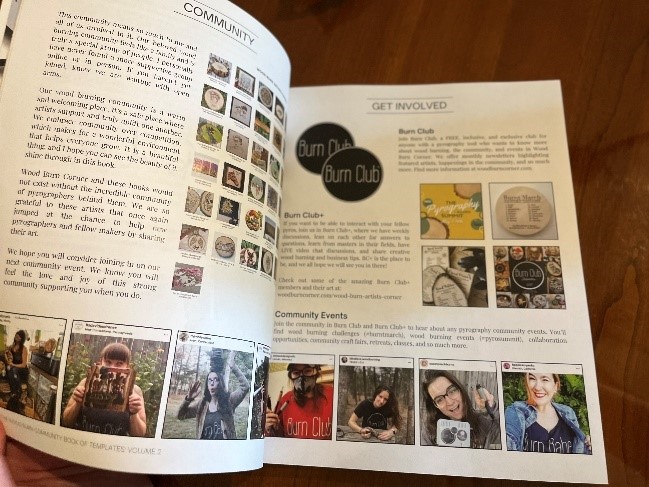
random book content
random book content


Supplies Needed:

  • Pyrography Pen
  • Template
  • Transfer Paper
  • Pen
  • Tape
  • Wood
  • Varnish
  • Paint or Colored Pencil (Optional)
  • Stain (Optional)

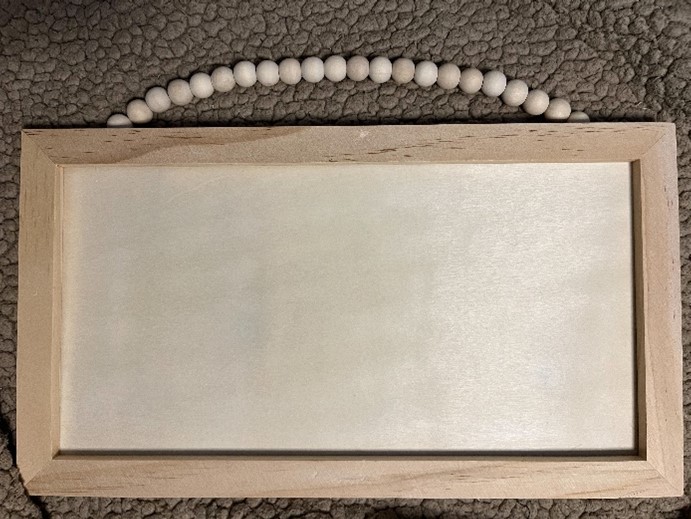
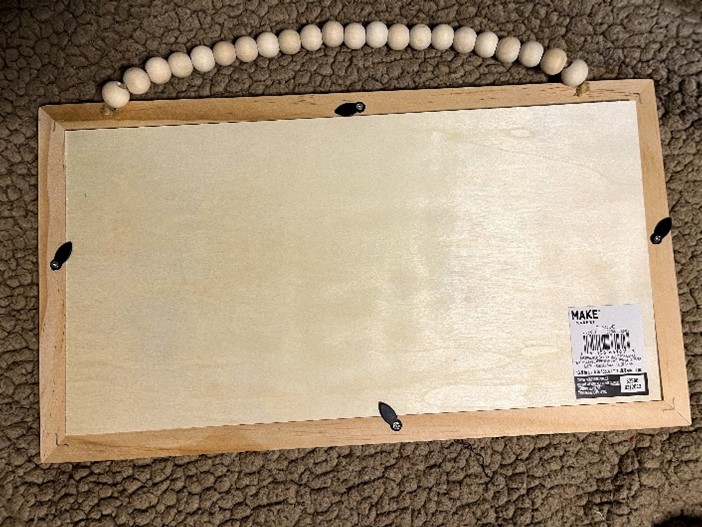
To get started, select your wood. I wanted something I can hang to display. There are various types of wood you can use. I typically purchase wood at my local craft or home improvement store. You can also find a wide selection of wood available at your local dollar store. I found this wood sign at my craft store for under $10 with a coupon. You can simply remove the backside of the sign making it easy to transfer the design to the wood.


wood sign
wood sign

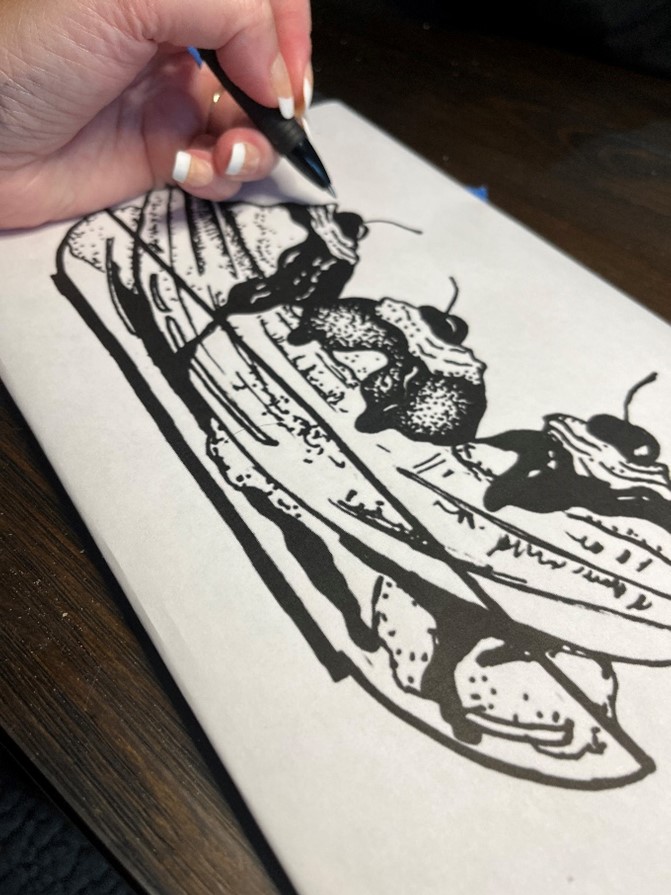
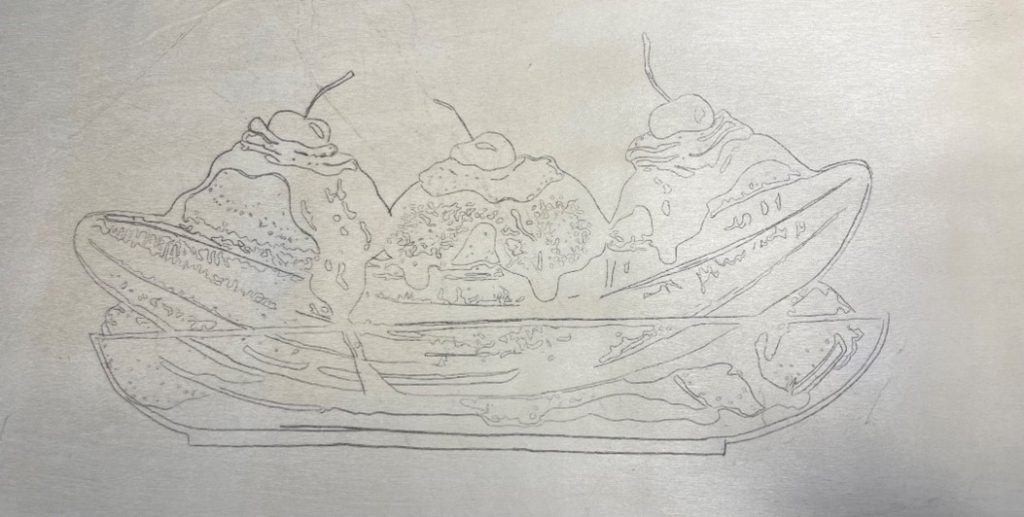
Simply tape the template and your tracing paper to the wood and start tracing your design. To ensure you don’t miss transferring any part of the template, it’s best to use a red or blue pen. This makes your markings easily visible as they won’t blend into the shaded areas of the template.


banana split template


Once you have transferred the image, make sure you didn’t miss any areas. Slightly lift the template and tracing paper off the bottom of the wood but keeping the top portion secure to the wood with tape. You need to do this carefully as you don’t want the template to shift. It will keep your template in place and allow you to trace any missing areas with ease.

banana split template being wood burned


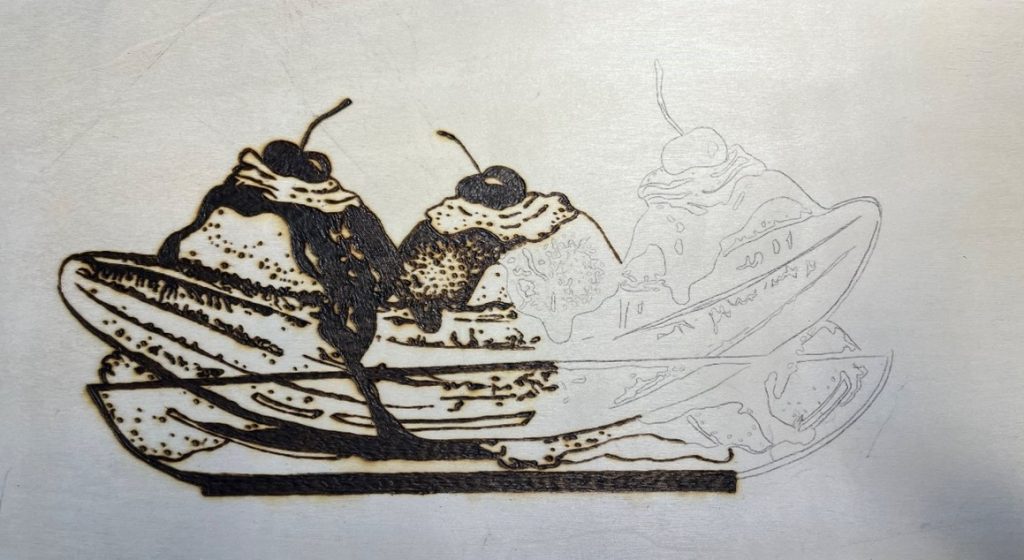
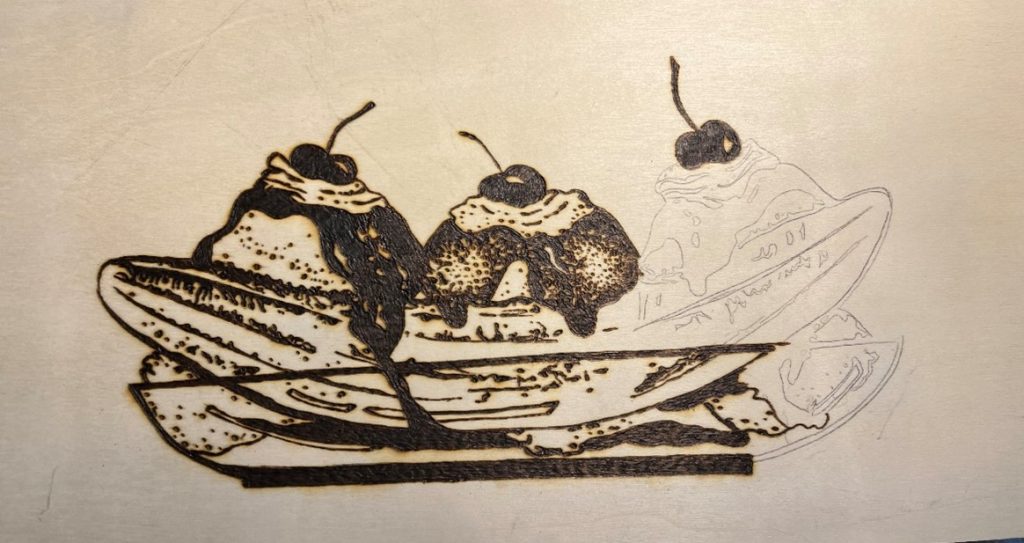
Since this template has thick bold lines and a lot of solid black areas, you can burn those areas at a higher heat. Be mindful not to go too high as it can create scorch marks and an uneven burn. In the areas where there are a lot of white and smaller marks, lower your heat.


There are different shading techniques you can use for this design. I chose to shade this design by stippling. Stippling is simply a technique using dots to differentiate between light and shadows. The darker the area, the more dots are used. As the area is lighter, the dots fade. This is a fun technique to use in pyrography. No matter your preference, you can’t go wrong with how you draw this. Do what feels most comfortable to you. Get a spare piece of wood and practice the various techniques to see what you prefer.

banana split template being wood burned
banana split template wood burned


Tip: You can opt out of coloring in the cherries on top of the sundae. Add red paint or colored pencils for a pop of color.


Once I have completed my burning, I did a very light coat of stain. Once the stain was fully dried, I took white and yellow-colored pencils, and colored in the ice cream and banana just to make the image stand out a little more.

Again, make this design your own. You can just burn the outline and fill in the areas using paint or colored pencils or not fill them in at all. That’s the beauty of art. There is no wrong way, and you personalize each piece by making it your own.


banana split template wood burned

Please tag your burning to @patespyrography and share your finished piece to
#patespyro
#thewoodburncommunitybook
#truarthq


I hope you enjoyed this template and don’t forget to get your own copy of The Wood Burn Community Book of Templates Vol 2 for more amazing designs from talented artists around the globe. Also check out @woodburncorner for tips, community challenges, inspiration and so much more.

Andrea Pate
Pate’s Pyrography

Posted on Leave a comment

Just Chillin’ with Pyrography

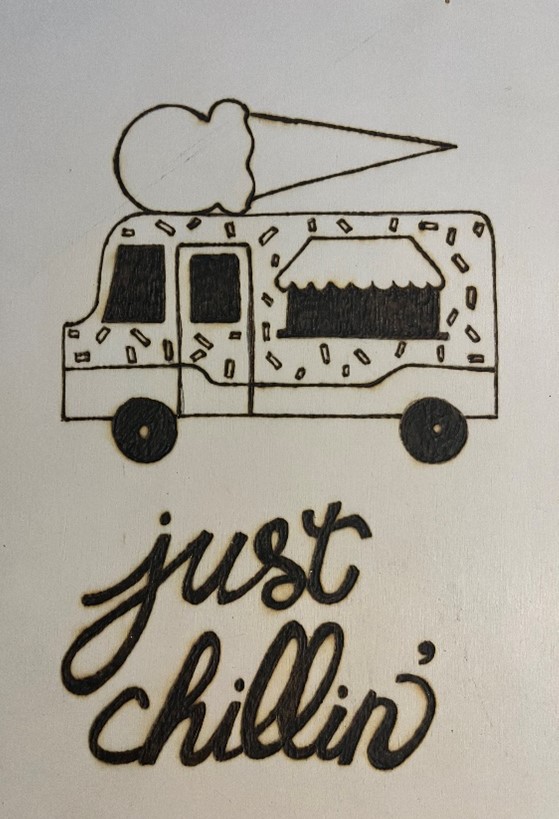
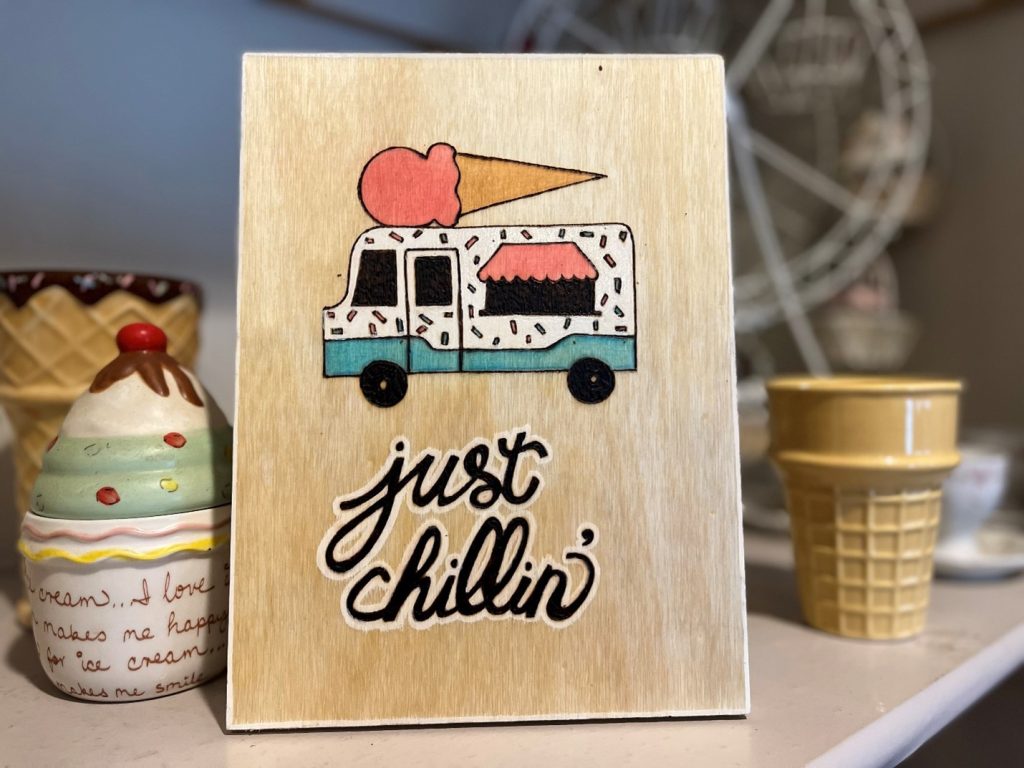
just chillin pyrography art piece

pyrography of an ice cream truck with words "just chillin"

Summer isn’t officially over yet!  Warm days are still ahead.

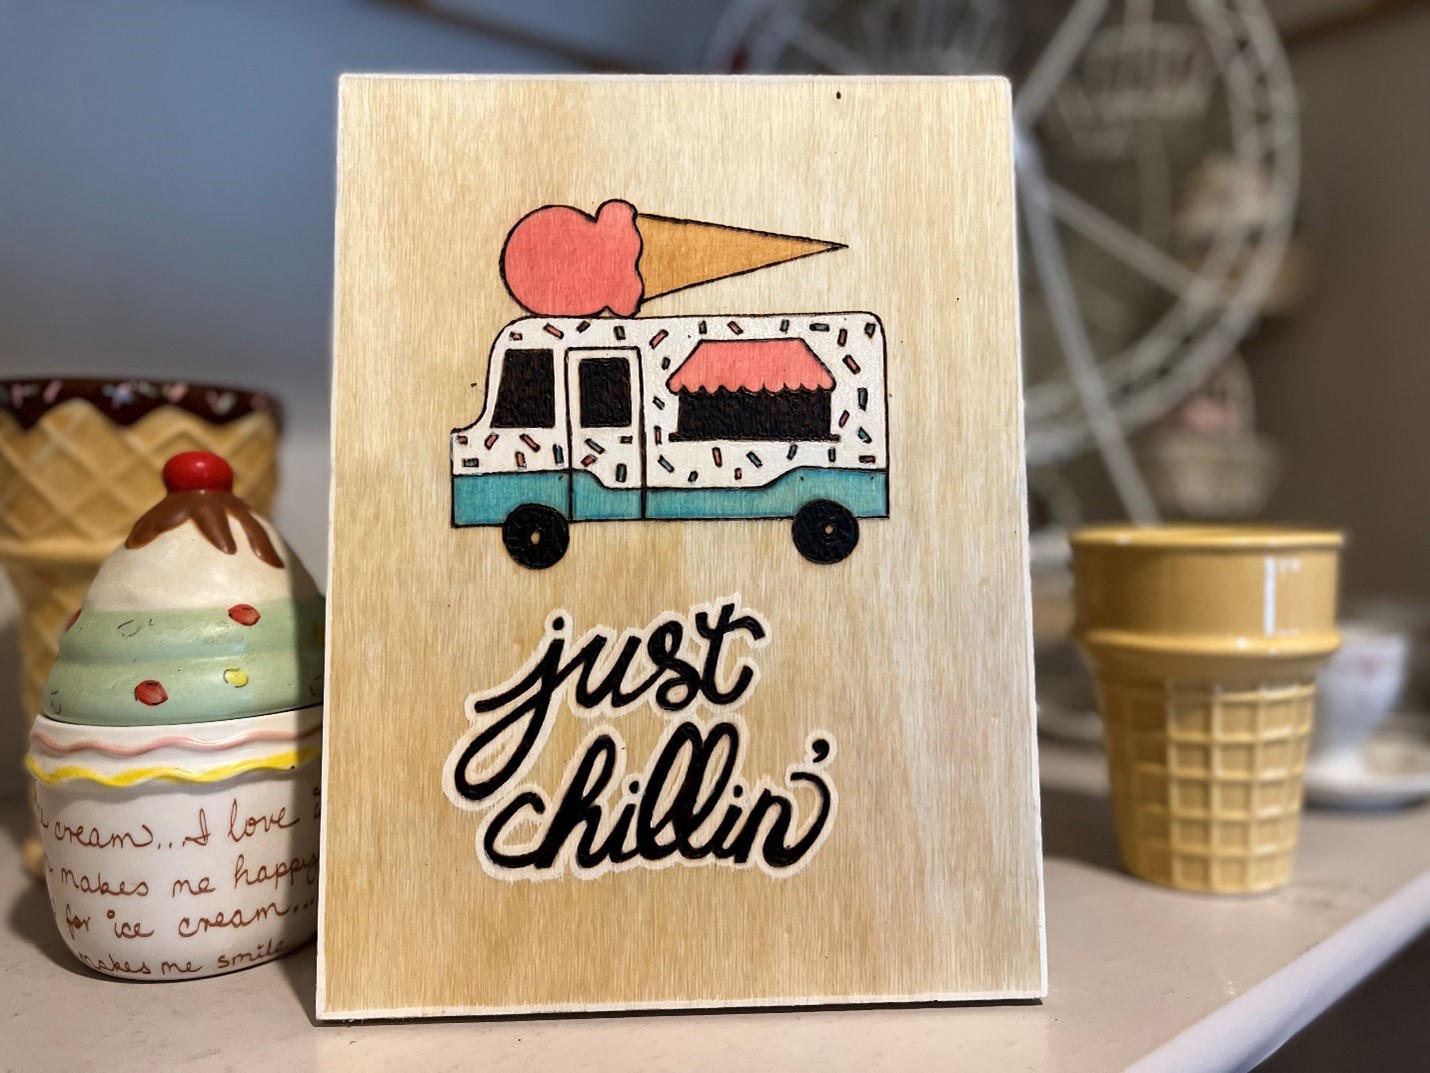
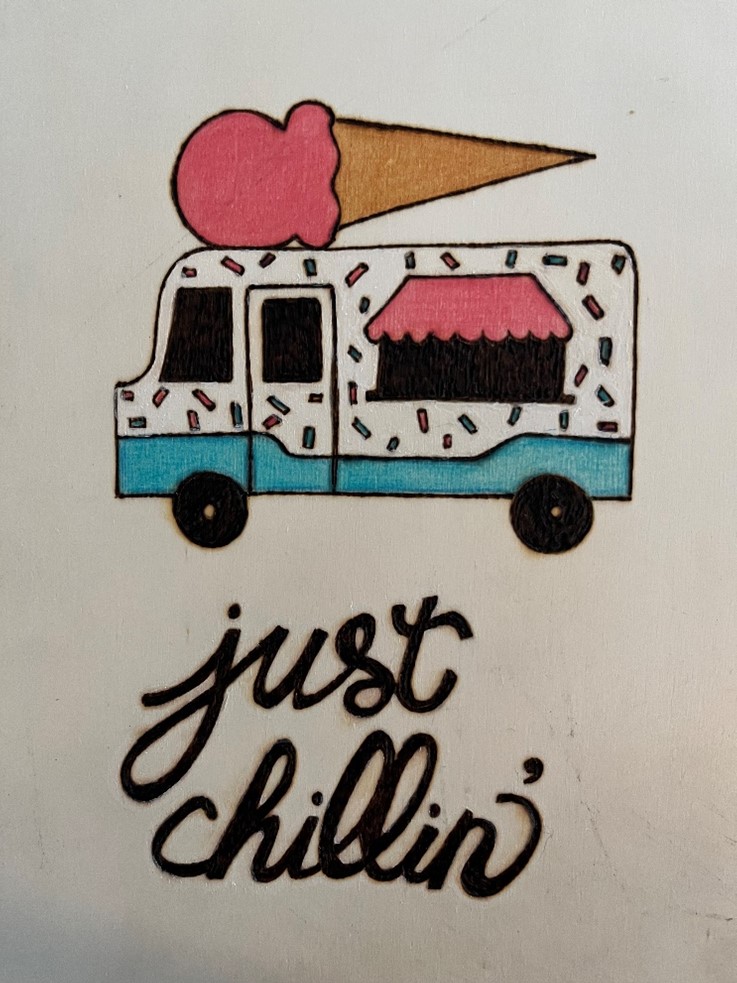
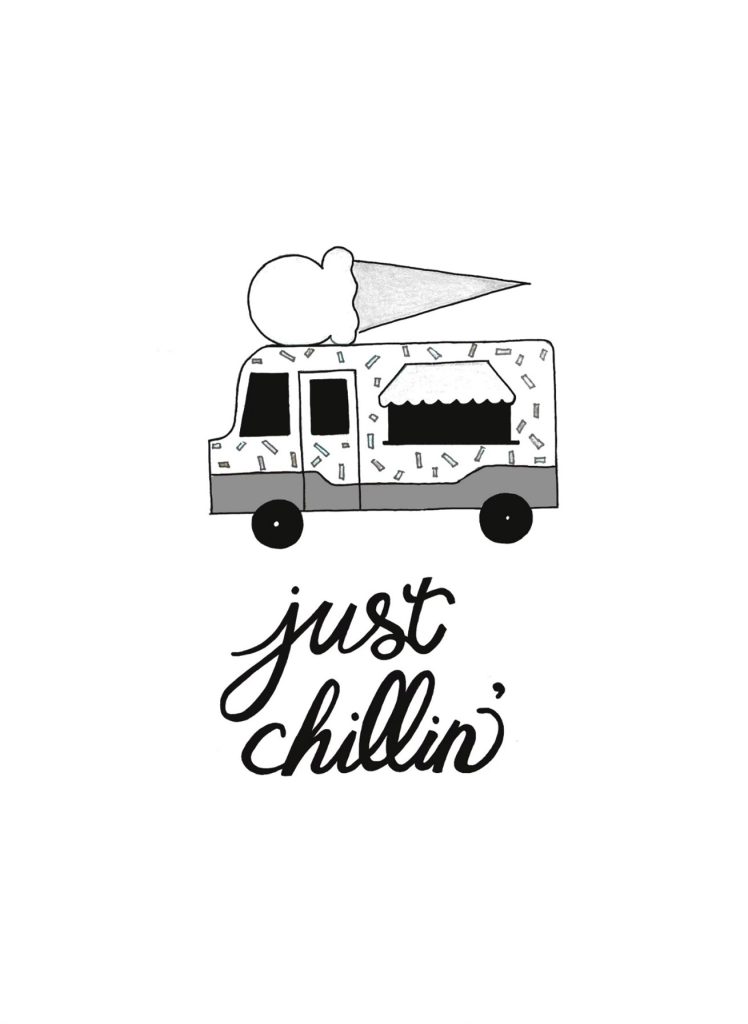
There is nothing more nostalgic than childhood memories of chasing after the ice cream truck after a long hot day in the sun. And it’s those memories that inspired this design. Feel free to download my image and reminisce with me as we burn this summer treat together.

  • Template
  • Wood
  • Pyrography Pen
  • Pen
  • Tape
  • Sandpaper
  • Varnish
  • Wood Stain (Optional)
  • Colored Pencils or Paint (Optional)

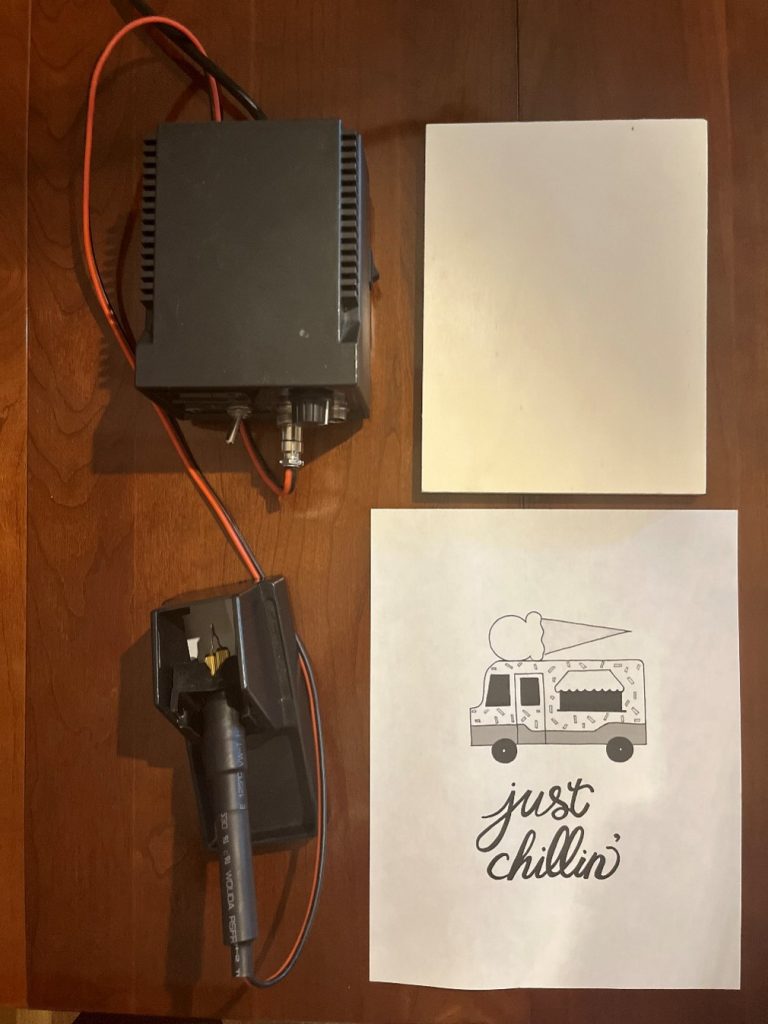
TRUArt Stage pyrography tool with design template

Template:

ice cream truck template

The first thing you need to do is prep the wood you will be using in this project. I like to check out my local dollar store to find cheap pieces of wood that are perfect to practice with. Use any type of wood you like as long as it is unfinished (not painted or treated) wood. Using wood that has been painted on or treated, creates a toxic fume when burning.

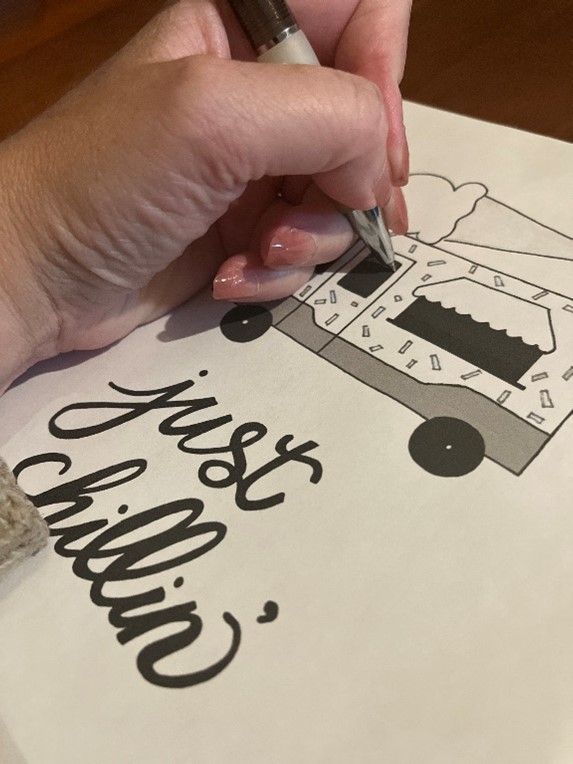
Transfer the image onto the wood and trace your image.

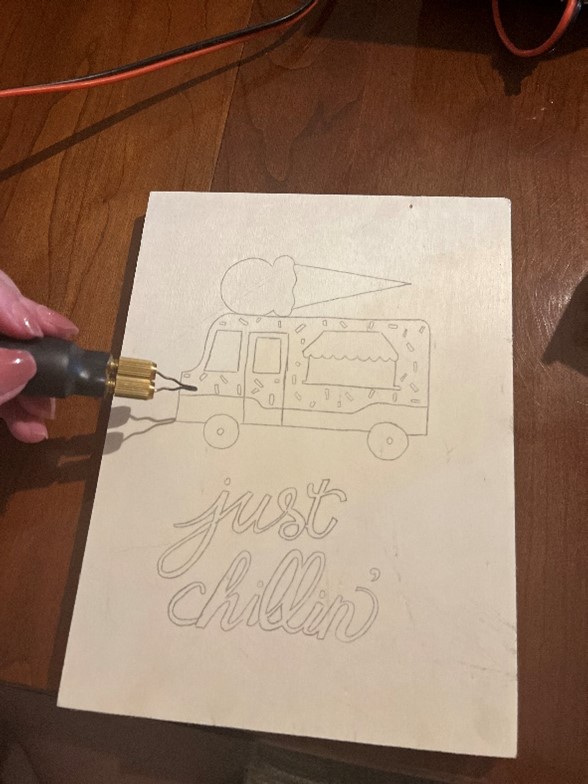
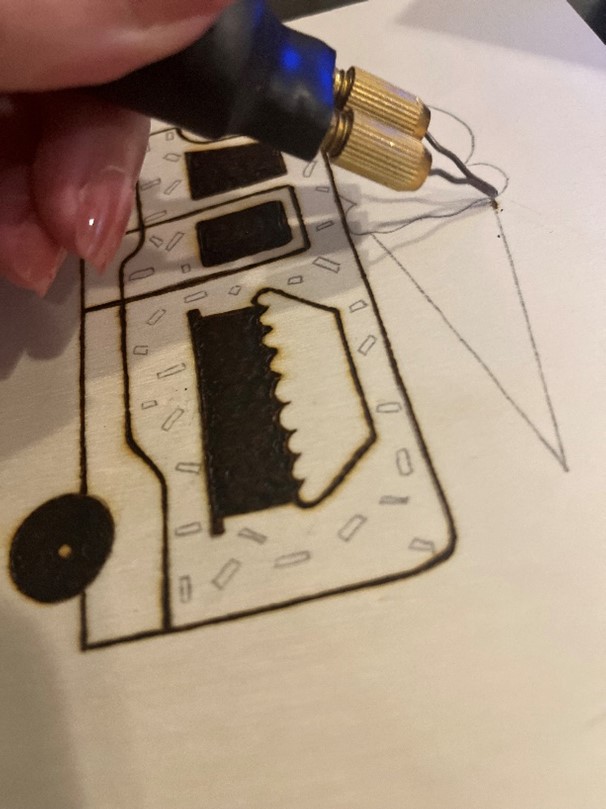
woodburning the template

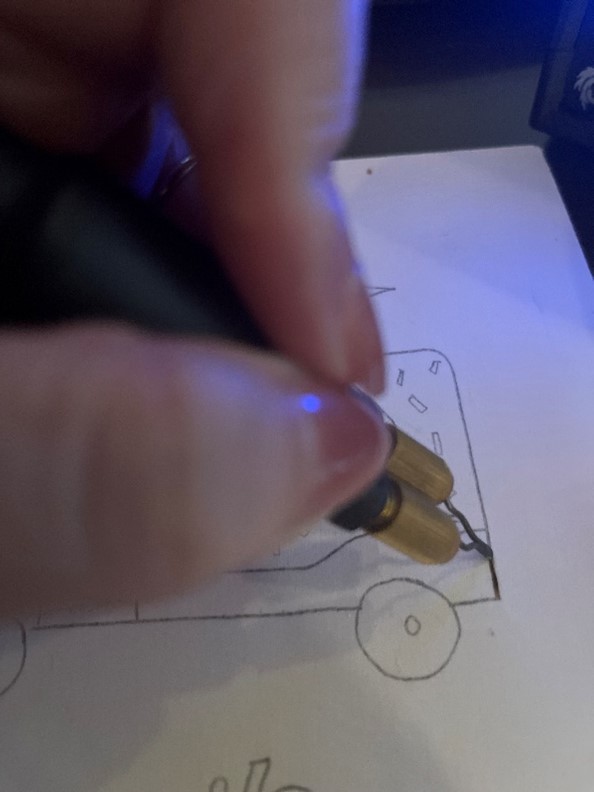
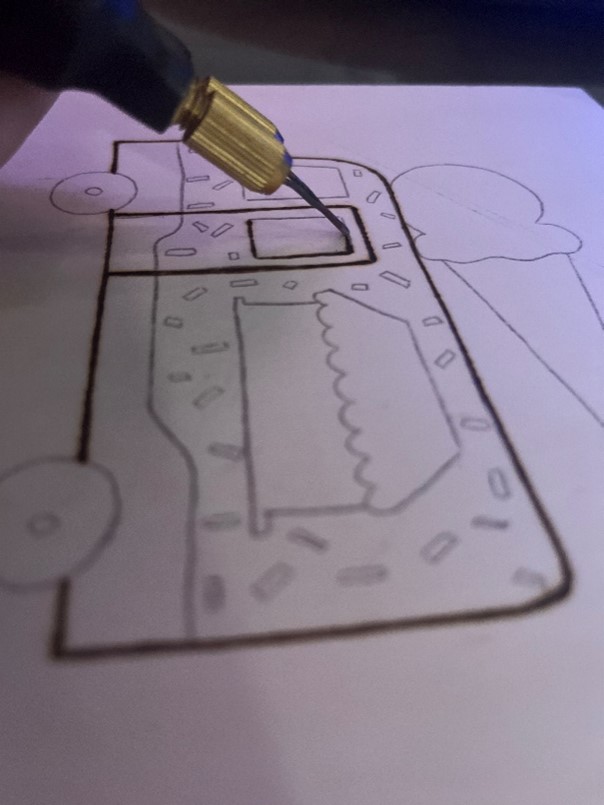
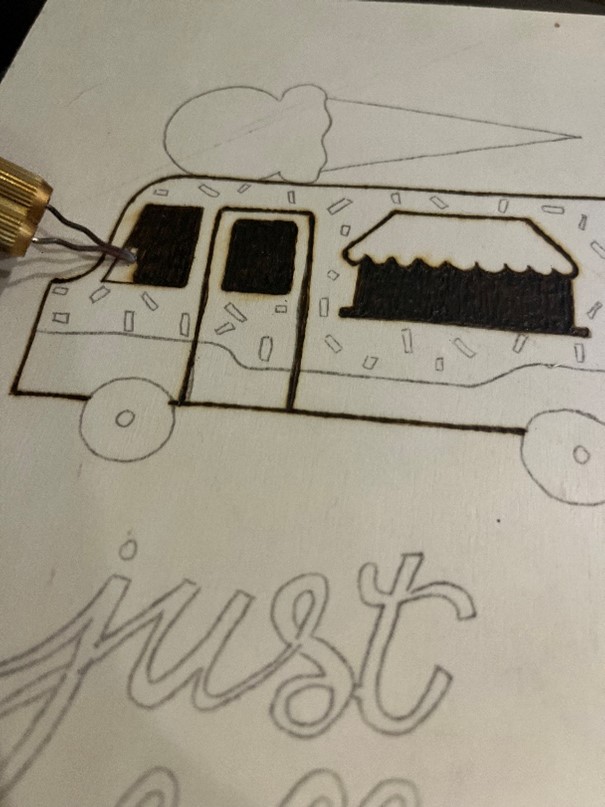
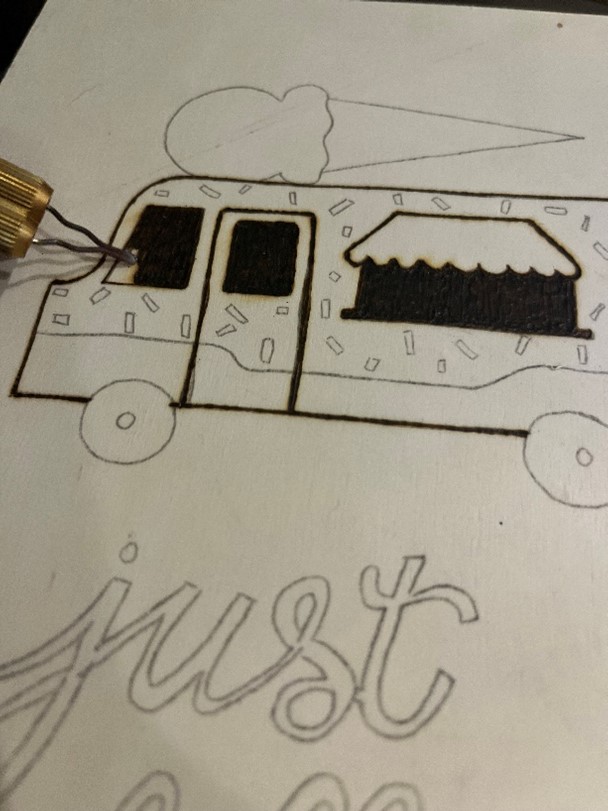
Once you have the image completely transferred, go ahead and start burning. Take your time when burning. Lower your heat while working on the smaller details and fine lines.

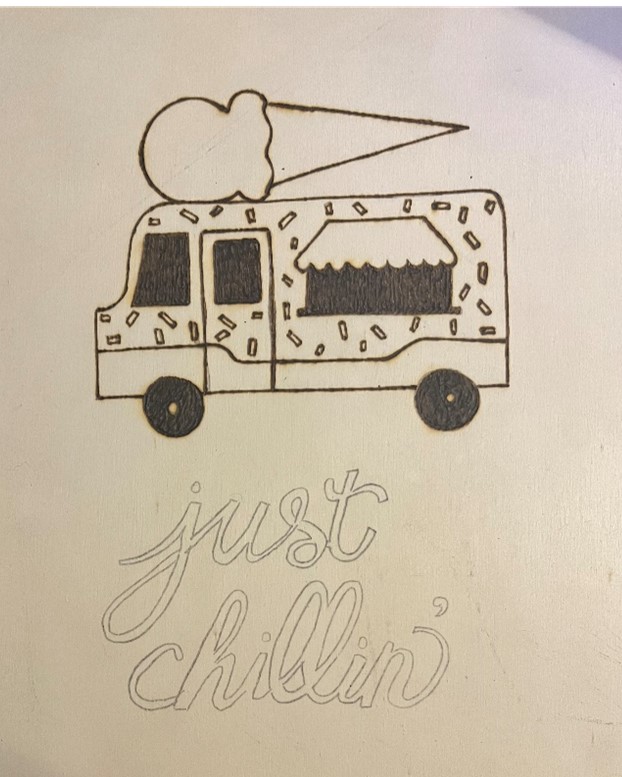
woodburning on traced template

Once you have the image completely transferred, go ahead, and start burning.  Take your time when burning. Lower your heat while working on the smaller details and fine lines.

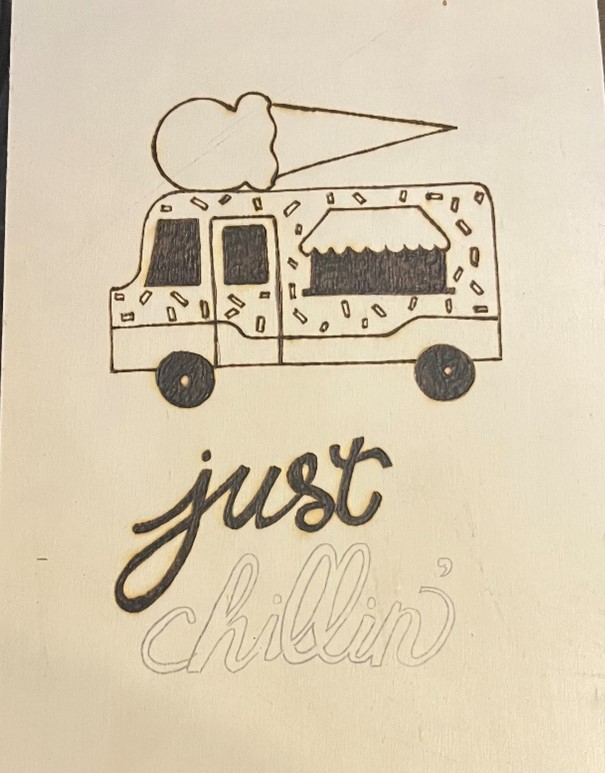
woodburning on traced template
woodburning on traced out template
Pyrography pen wood burning
pyrography wood burning

If your lines aren’t straight, just go back over them again and thicken your lines just slightly, just to even them out.  This design works well with a thicker border so no need to fret if you have to go back over them

pyrography wood burning
pyrography pen wood burning

You can dial up the heat when burning the tires and windows.  I suggest readjusting the heat when burning the lettering due to the thickness of the wording.

pyrography wood burning text
pyrography pen wood burning text

Once the burning is complete, you can stain the wood and add paint or colored pencils.  Be sure once you are finished with your artwork, you use a protective varnish.

completed wood burning
pyrography of an ice cream truck with words "just chillin"
Finished

Be careful when using colored pencils. Color the wood prior to staining or gently apply a coat of stain using a paint brush, be careful to not smear the pencil marks.  I used a spray varnish to protect the wood after applying the stain and colored pencils
Andrea Pate
Pate’s Pyrography

Posted on Leave a comment

TRUArt Stage 2 Pyrography Kit is Number One


FOR IMMEDIATE RELEASE:

Jonestown, TEXAS – February 24th, 2022TRUArt’s 60W Professional Woodburning Detailer is at the top of the list in a research on wood burners conducted by Happy DIY Home. In their article titled “Best Wood Burning Kits to Create Garden Signs“, they have cited the pros and cons of the kit and have deemed it perfect for serious beginners and professionals alike. Their research was performed by their team composed of master gardeners, professional contractors/handymen, interior designers, and DIY experts.

The article also includes a Wood Burning Kit Buyer’s Guide, which brings to light the various points buyers would need to consider when looking for their pyrography tool. In it, they highlight factors such as comfort, heating speed, and control and their importance in enjing the art of pyrography.

Happy DIY Home is the go-to website for any resource or information regarding home decorations, renovations, gardening, and remodellings. Various subjects include DIY tutorials and detailed walkthroughs and many also expound on sustainability and the positive impact DIY projects have among family and friends working together.

Information on the TRUArt Stage 2 Pyrography kit and amazing wood burning works can be found on the TRUArt website, Facebook and Instagram accounts where their community of pyrography artists has grown. Visit Happy DIY Home and their article “Best Wood Burning Kits to Create Garden Signs” for more details.

Contact:

Pavel Karoukin
hello@truart.co
https://www.instagram.com/truarthq
https://web.facebook.com/truarthq

Posted on 4 Comments

Adding Color to Your Pyrography Projects

Adding Color to Your Pyrography Projects

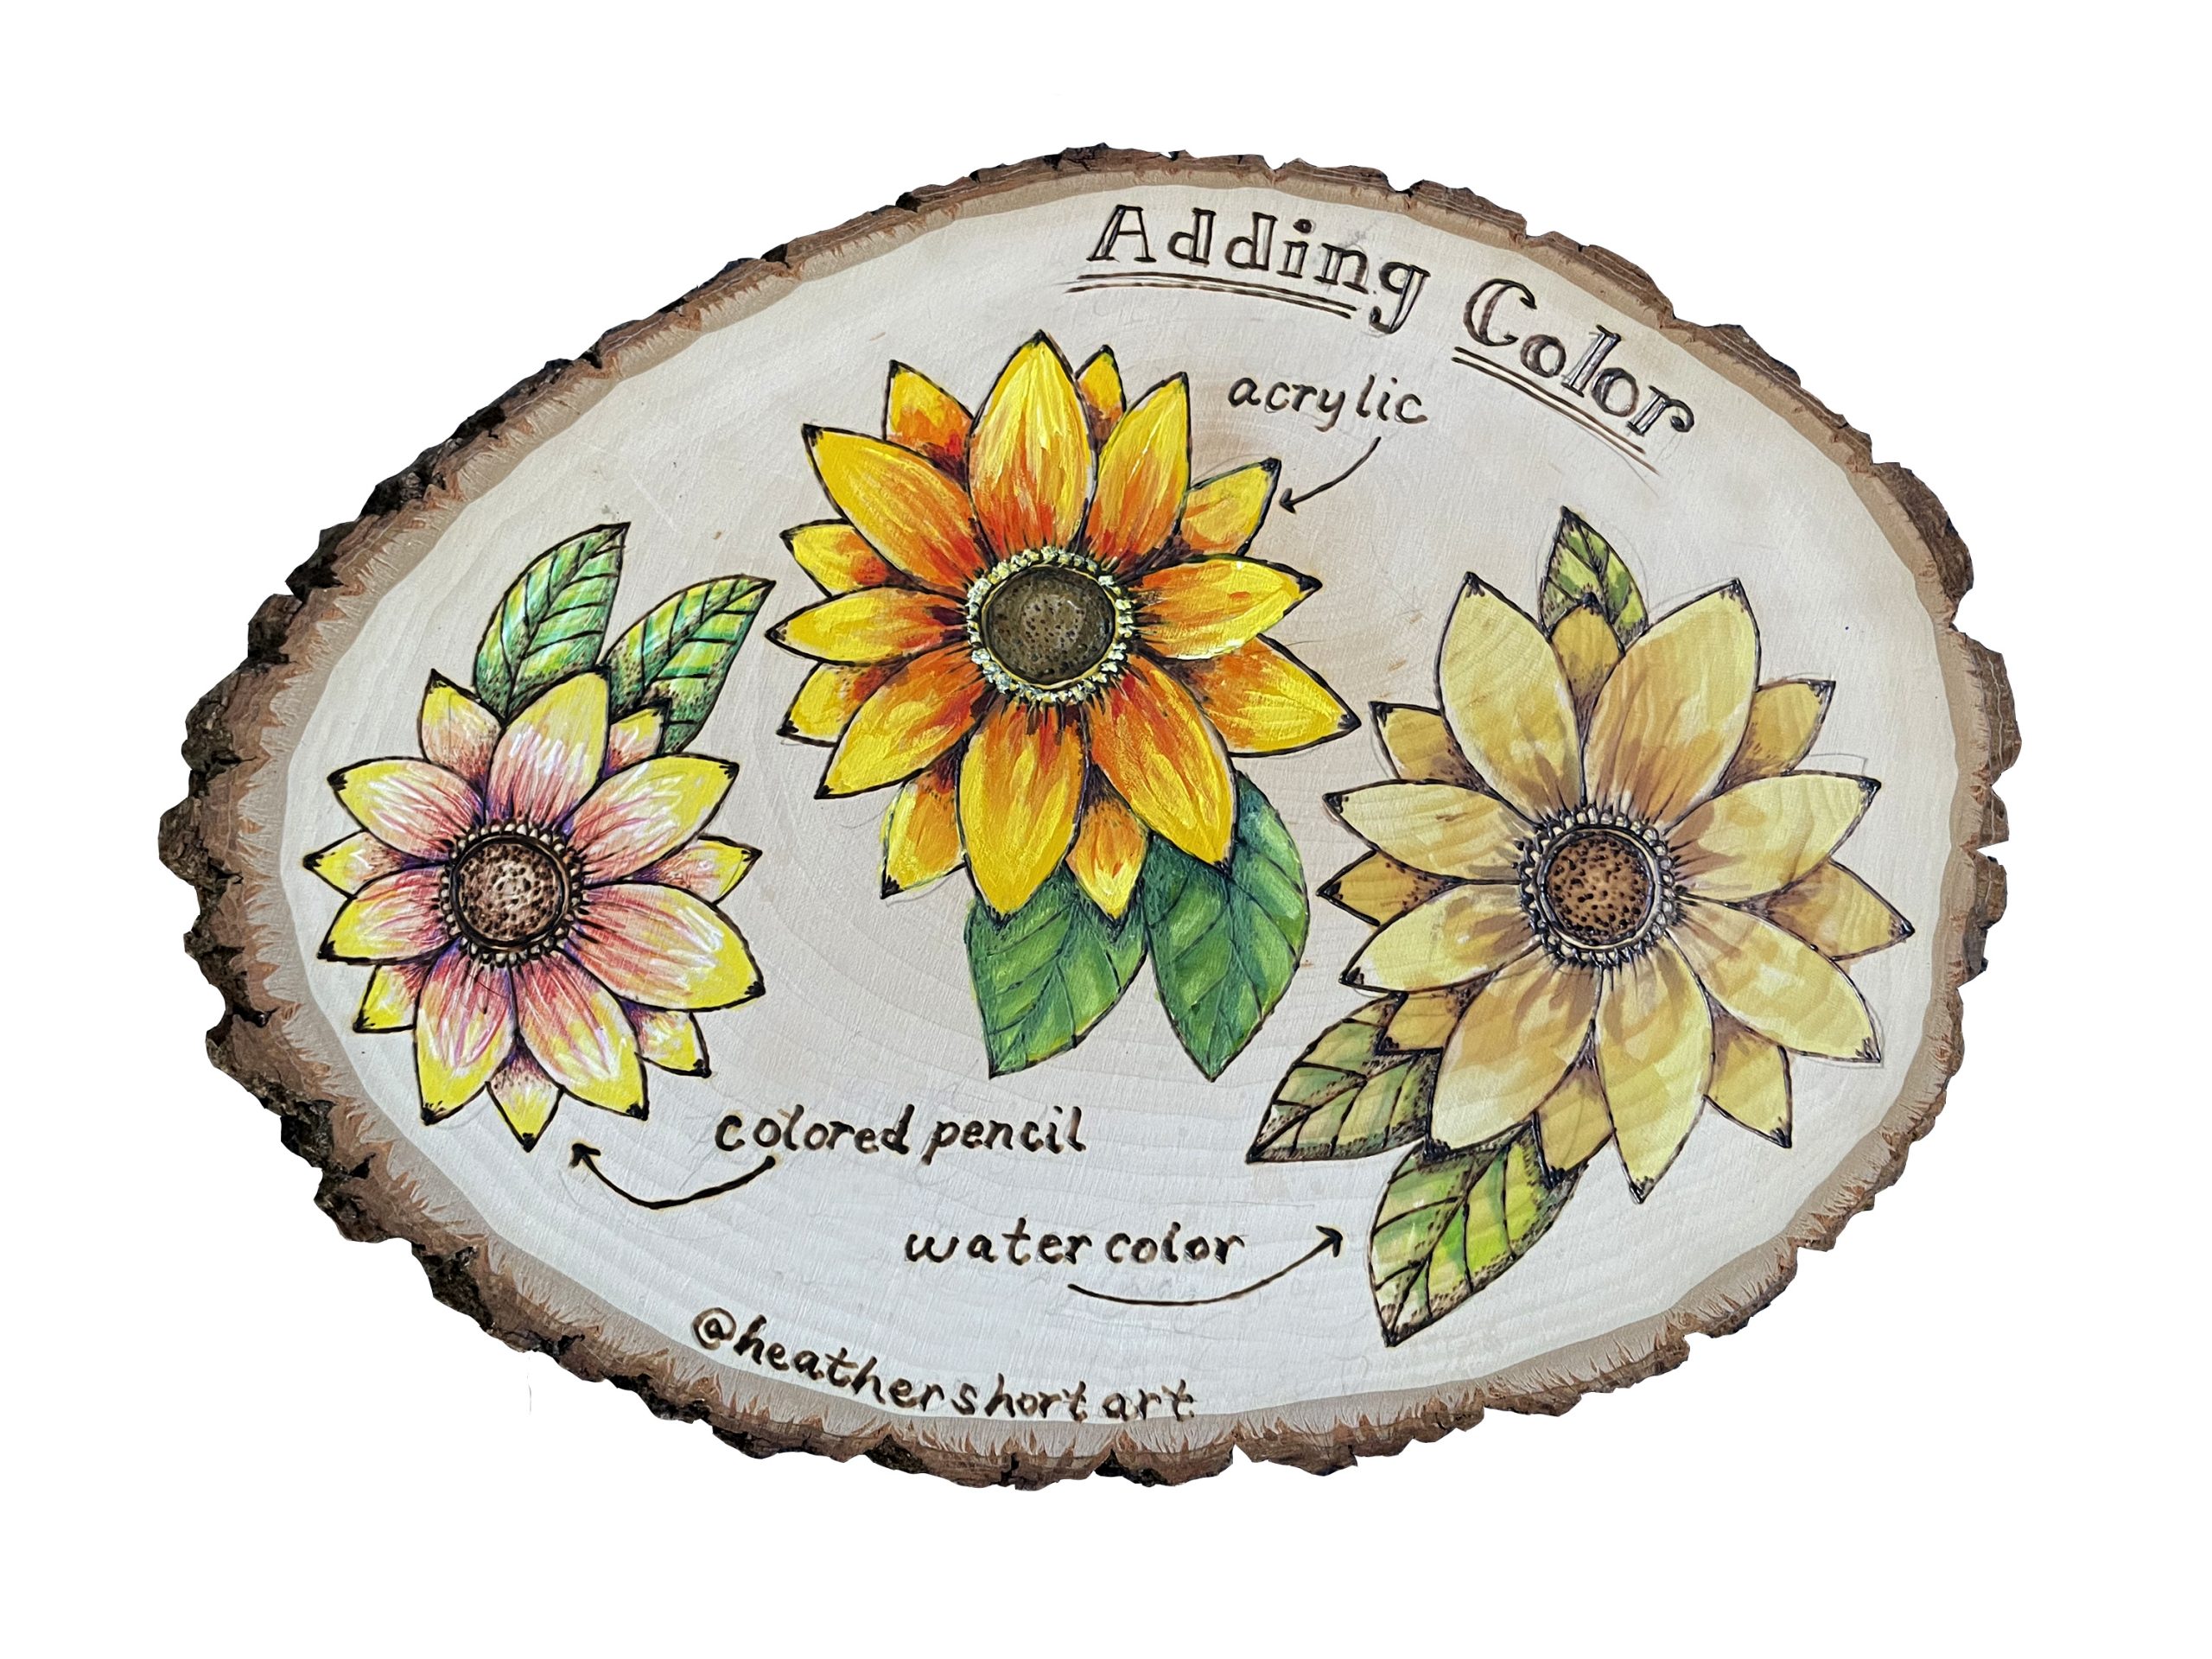
Adding color to your pyrography projects can add a whole new layer to your piece. There are many mediums that can be used to add color, and they can create many different effects. All color options are up to you to decide – what you like best and what you are trying to convey with your piece.

Here is a list of some options you can use, along with a demonstration of a few of them.

Please note that colors should be added AFTER burning your design into your piece. Burning over color can be toxic not to mention difficult at times.

Acrylic

Acrylic is my go-to option for my wood-burning designs because it is easy to use and works well on wood. It will also remain vibrant over time. You can get a great depth of color.

Watercolor/Watercolor Pencils

Watercolor dries quickly, is very versatile, and the vibrancy can be adjusted by how much you dilute it with water. Adding too much water can absorb into the wood and make the color bleed past your burn lines. Just like when using watercolor on paper, you can use masking fluid to help block areas you don’t wish the color to spread to. This coloring medium can give more subtle colors and convey a softer, more romantic feel or tone.

Colored Pencils

Colored pencils are easy to control and can give a nice vibrant color. They apply easily to wood and can be blended, layered, sometimes erased, and come in a variety of colors

Stain

Stains add color and protection to your piece. They are trickier to apply and can be toxic to inhale, so follow all safety guidelines when using these. Water-based stains are less messy and easier to clean up after. Stains can get blotchy and uneven but using a wood conditioner prior to application can help with this issue. Be careful not to use too dark a color as this will make it harder to see your wood-burned lines.

Markers

Markers are an easy way to color your piece. They come in a variety of colors and can also be layered and blended on the piece.


Here’s the video I made while working on the project you see above:

I hope this has been helpful to you but If you have any questions or suggestions, please let me know through the comments below or send us an email at hello@truart.co


Heather Short

Posted on 2 Comments

Pyrography Tips and Their Uses(TRUArt Stage 2 Kit)

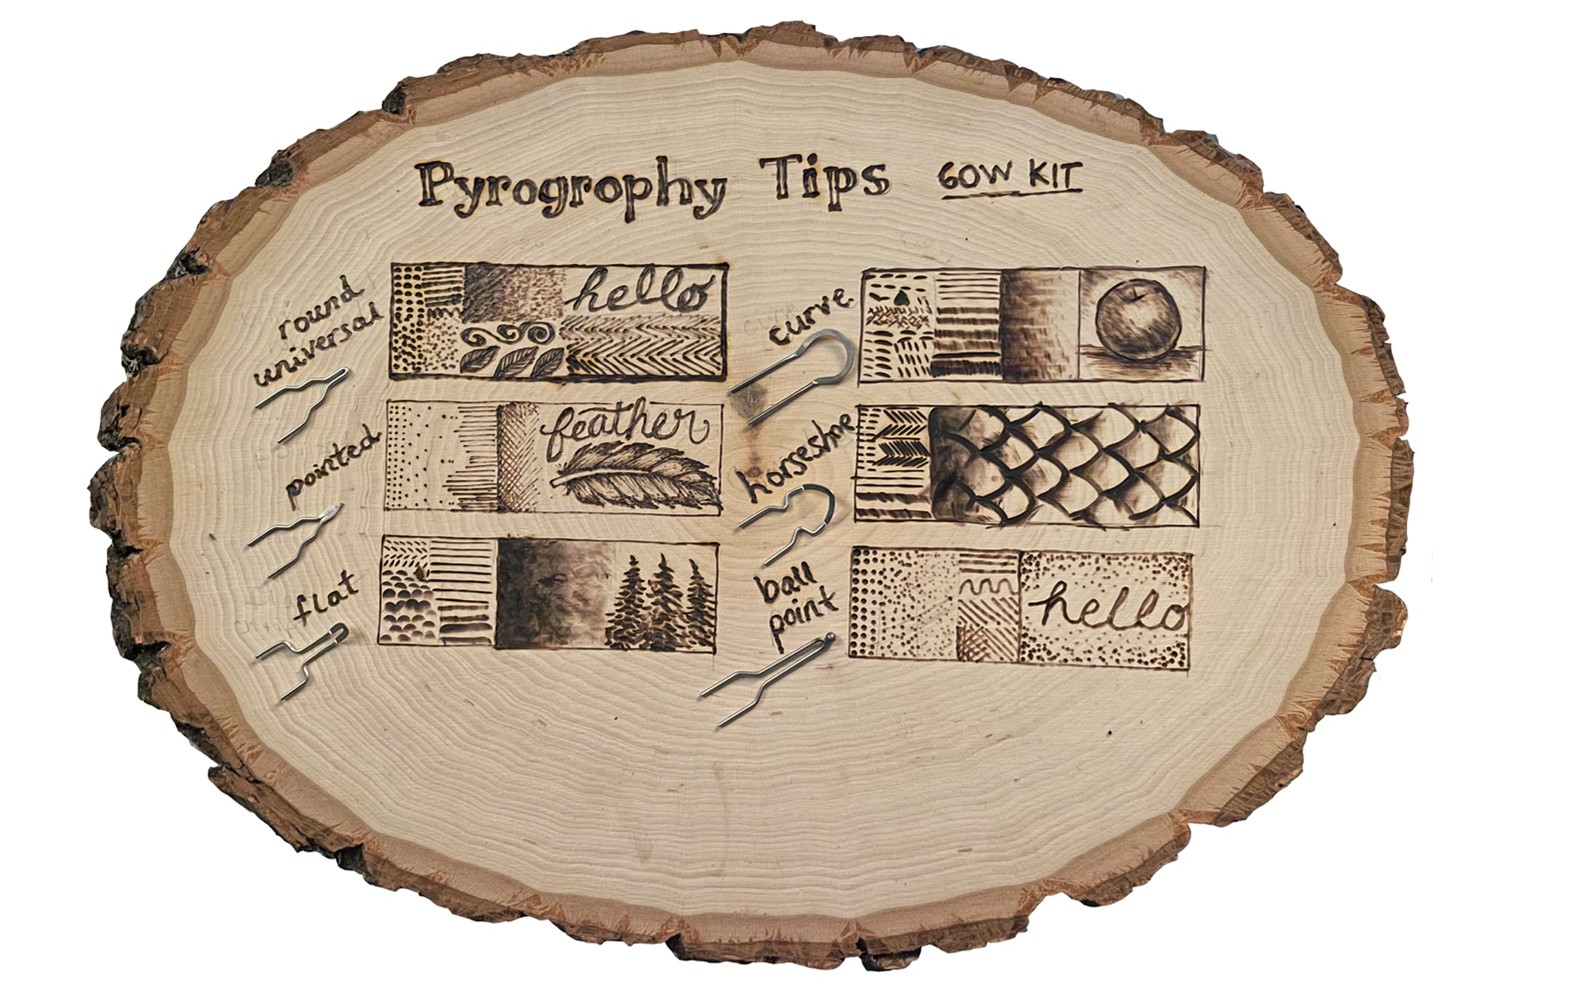
wood burn on log cross-cut showing different tips' burn marks

Here is a short guide on the basic tips found in the TRUArt Stage 2 Pyrography Kit.

Universal tip/rounded

  • This is the standard tip for writing, wide line shading, and texture work.
  • Good for both outlining and shading
  • This a great tip to get started with as it is the most versatile

Pointed tip

  • This tip is good for fine, detailing lines. You can get extremely fine details with this tip
  • This tip is also good for fine lettering

Flat tip

  • The flat shader creates a wider path in smooth tones. Good for shading areas quickly
  • This tip is great for creating different patterns quickly as well

Curve tip/horseshoe tip

  • You can use the pointy side for lines and the curved side for dark, solid burns.
  • Good for shading
  • Can also be used as a stamp to create scale markings

Ballpoint

  • Good for stippling, dot work, writing


Below is a chart of these tips with examples of dots, lines, shadings, and some lettering and/or patterns done with pyrography tips.


I hope this has been helpful to you but If you have any questions or suggestions, please let me know through the comments below or send us an email at hello@truart.co


Heather Short

Posted on Leave a comment

Pyrography Basics for Getting Started

Supplies to start with

Before you get started, there are a few things you need.wood cross-cut section

  • Wood
    • Softwoods are good for pyrography, especially when first starting out. Hardwood can be used, like elm and oak, with some experience
    • Some examples of wood to use:
      • Basswood – smooth surface with even grains
      • Birch – smooth surface
      • Pine -uneven grains but cheap
      • Oak – uneven grains, moisture in wood
    • Grain in the wood can be a factor in creating straight lines, so it is typically easier to start out with wood that is smooth with even grains. More information on wood types can be found in this article.


  • Wood Burning Pen

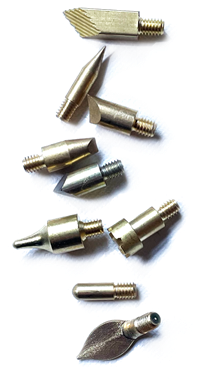
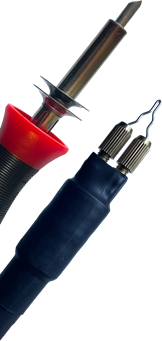
There are two main types of nibs for wood burning – solid point and wire tip.

  • TRUArt Stage 1 15W-30W Pyrography Pen is a good solid-point tool to start with
    • Comes with lots of different interchangeable tips including groove, dot, solder point, pattern transfer, branding, calligraphy, etc.
    • The Stage 1 Pyrography Pen comes with solid point tips, which are great for beginners to develop control while learning. There are different tips for line work, shading, as well as stamp tips to help burn consistent specific shapes into your work.
  • TRUArt Stage 2 60W Woodburning Detailer is the next step higher from the Stage 1 and is preferred by many professionals.
    • Digital Temperature Control
    • Designed for professionals, heats up quickly, comfortable to grip
    • The Stage 2 Professional Detailer uses wire tips, which are better equipped for more experienced pyrography artists. They require appropriate pressure and heat adjustments to create the desired effects.

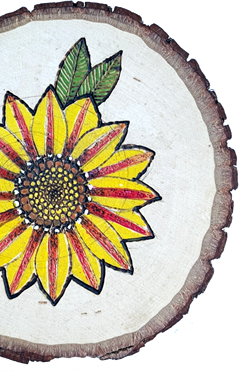
wood cross-cut section with wood burned and painted flower Make sure to read all the instructions in your kit before starting your first project with your new tool!
  • Sandpaper – Sand your wood surface down prior to use to ensure your image will burn evenly. Do not burn treated or painted wood. 
  • Tape – Masking, artist’s, or painter’s tape are used to hold down your templates or stencils and carbon transfer paper for transferring to wood. 
  • Graphite Paper/Tracing Paper – Although you have the option to freehand your design onto the wood, you may want to be able to copy a design, including the samples provided at the back of the user manual that comes with your TRUArt kit. These templates are designed to fast-track your projects as you gain wood burning experience at the same time. Place graphite or tracing paper onto the wood surface. Cover the paper with the design. Trace the design using a ballpoint pen or pencil. This will transfer to the surface of the wood. Here’s an example of how the whole process is done.
  • Eraser – Clean up any remaining graphite on the wood around your design. If using carbon tracing paper to transfer your design, us a magic eraser instead to clean up excess marks from your traced design. TRUArt Stage 1 30W pyrography pen nibs/tips
  • Adding Color or Stain to you Wood (OPTIONAL) – If you would like to add color or stain to your design, you can do so a few ways that will be detailed in the next blog post! Some examples include watercolor pencils, oil pencils, paints, or wood stains. 
  • Varnish, Mineral or Olive Oil – Applied to your finished work, you can add polyurethane, resin, or even mineral or olive oil to your work to create a shine and protect the image on the wood. A good practice is to test your finish on a scrap piece of wood of the same type as your project. Some varnishes have tints or coloring. Some wood also changes hue slightly when varnish is applied to them.

It is also best to know where your finished project is displayed or used and apply the appropriate finish to it. For instance, outdoor types of decors would need about two to three coats of polyurethane or something similar. Indoor displays would only need cellulose-based varnishes or oils.

How to use your woodburning tool

  • TRUArt Stage 1 and Stage 2 pyrography pensALWAYS read all instructions of the user manual in your kit
  • Make sure to start with a cool, unplugged tool before attaching your desired nib or tip, then plug in and allow to heat up sufficiently before use
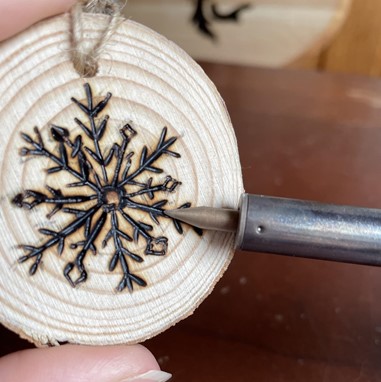
  • Place the tip gently onto the wood surface and apply very light constant pressure to burn evenly. Remember, let the pen­­ (not the pressure) do the burning
  • Avoid applying pressure to create darker lines, as this can damage the nib. Instead, keep the nib in the same spot longer to reach a darker shade. On the flip side, make sure to lift the tool when finishing lines or shading as to avoid creating burn spots.
  • If you feel you need to press harder to get the desired shade, your temperature may be too low and needs to be increased. You want to put an even and very minimal amount of pressure on the tool. The heat from the pen is creating the burn, not the pressure.
  • If you want to change nibs, make sure the tool is unplugged and cooled down before touching the tip. Use needle nose pliers to remove nibs just as you would when tightening them. Be careful not to overtighten nibs especially with solid point tipped pens. The thread can easily strip when overtightening. When that happens, you may not be able to use your pen anymore.
  • After burning your design, you can add color if desired.
  • Once finished, you can add appropriate varnish to your work to create a shine and protect the image on the wood.


I hope these tips help you in your pyrography adventure. If you have any questions or suggestions, please leave a comment and I’ll get back to you as soon as possible.


Heather Short


Posted on Leave a comment

Easy Wooden Ornaments

Holiday Ornaments


I found wooden ornaments online and thought it would be cool to share my project with you for the holidays. I ordered them from Amazon and chose the ones with predrilled holes. I do not want to worry about drilling any holes. It also came with jute twine to hang the ornaments from your tree. This project is perfect for last-minute gift ideas or just something fun to do for the holidays!

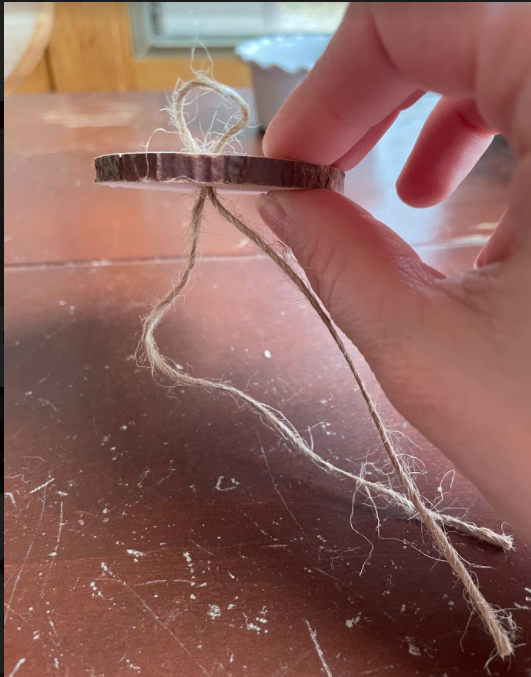
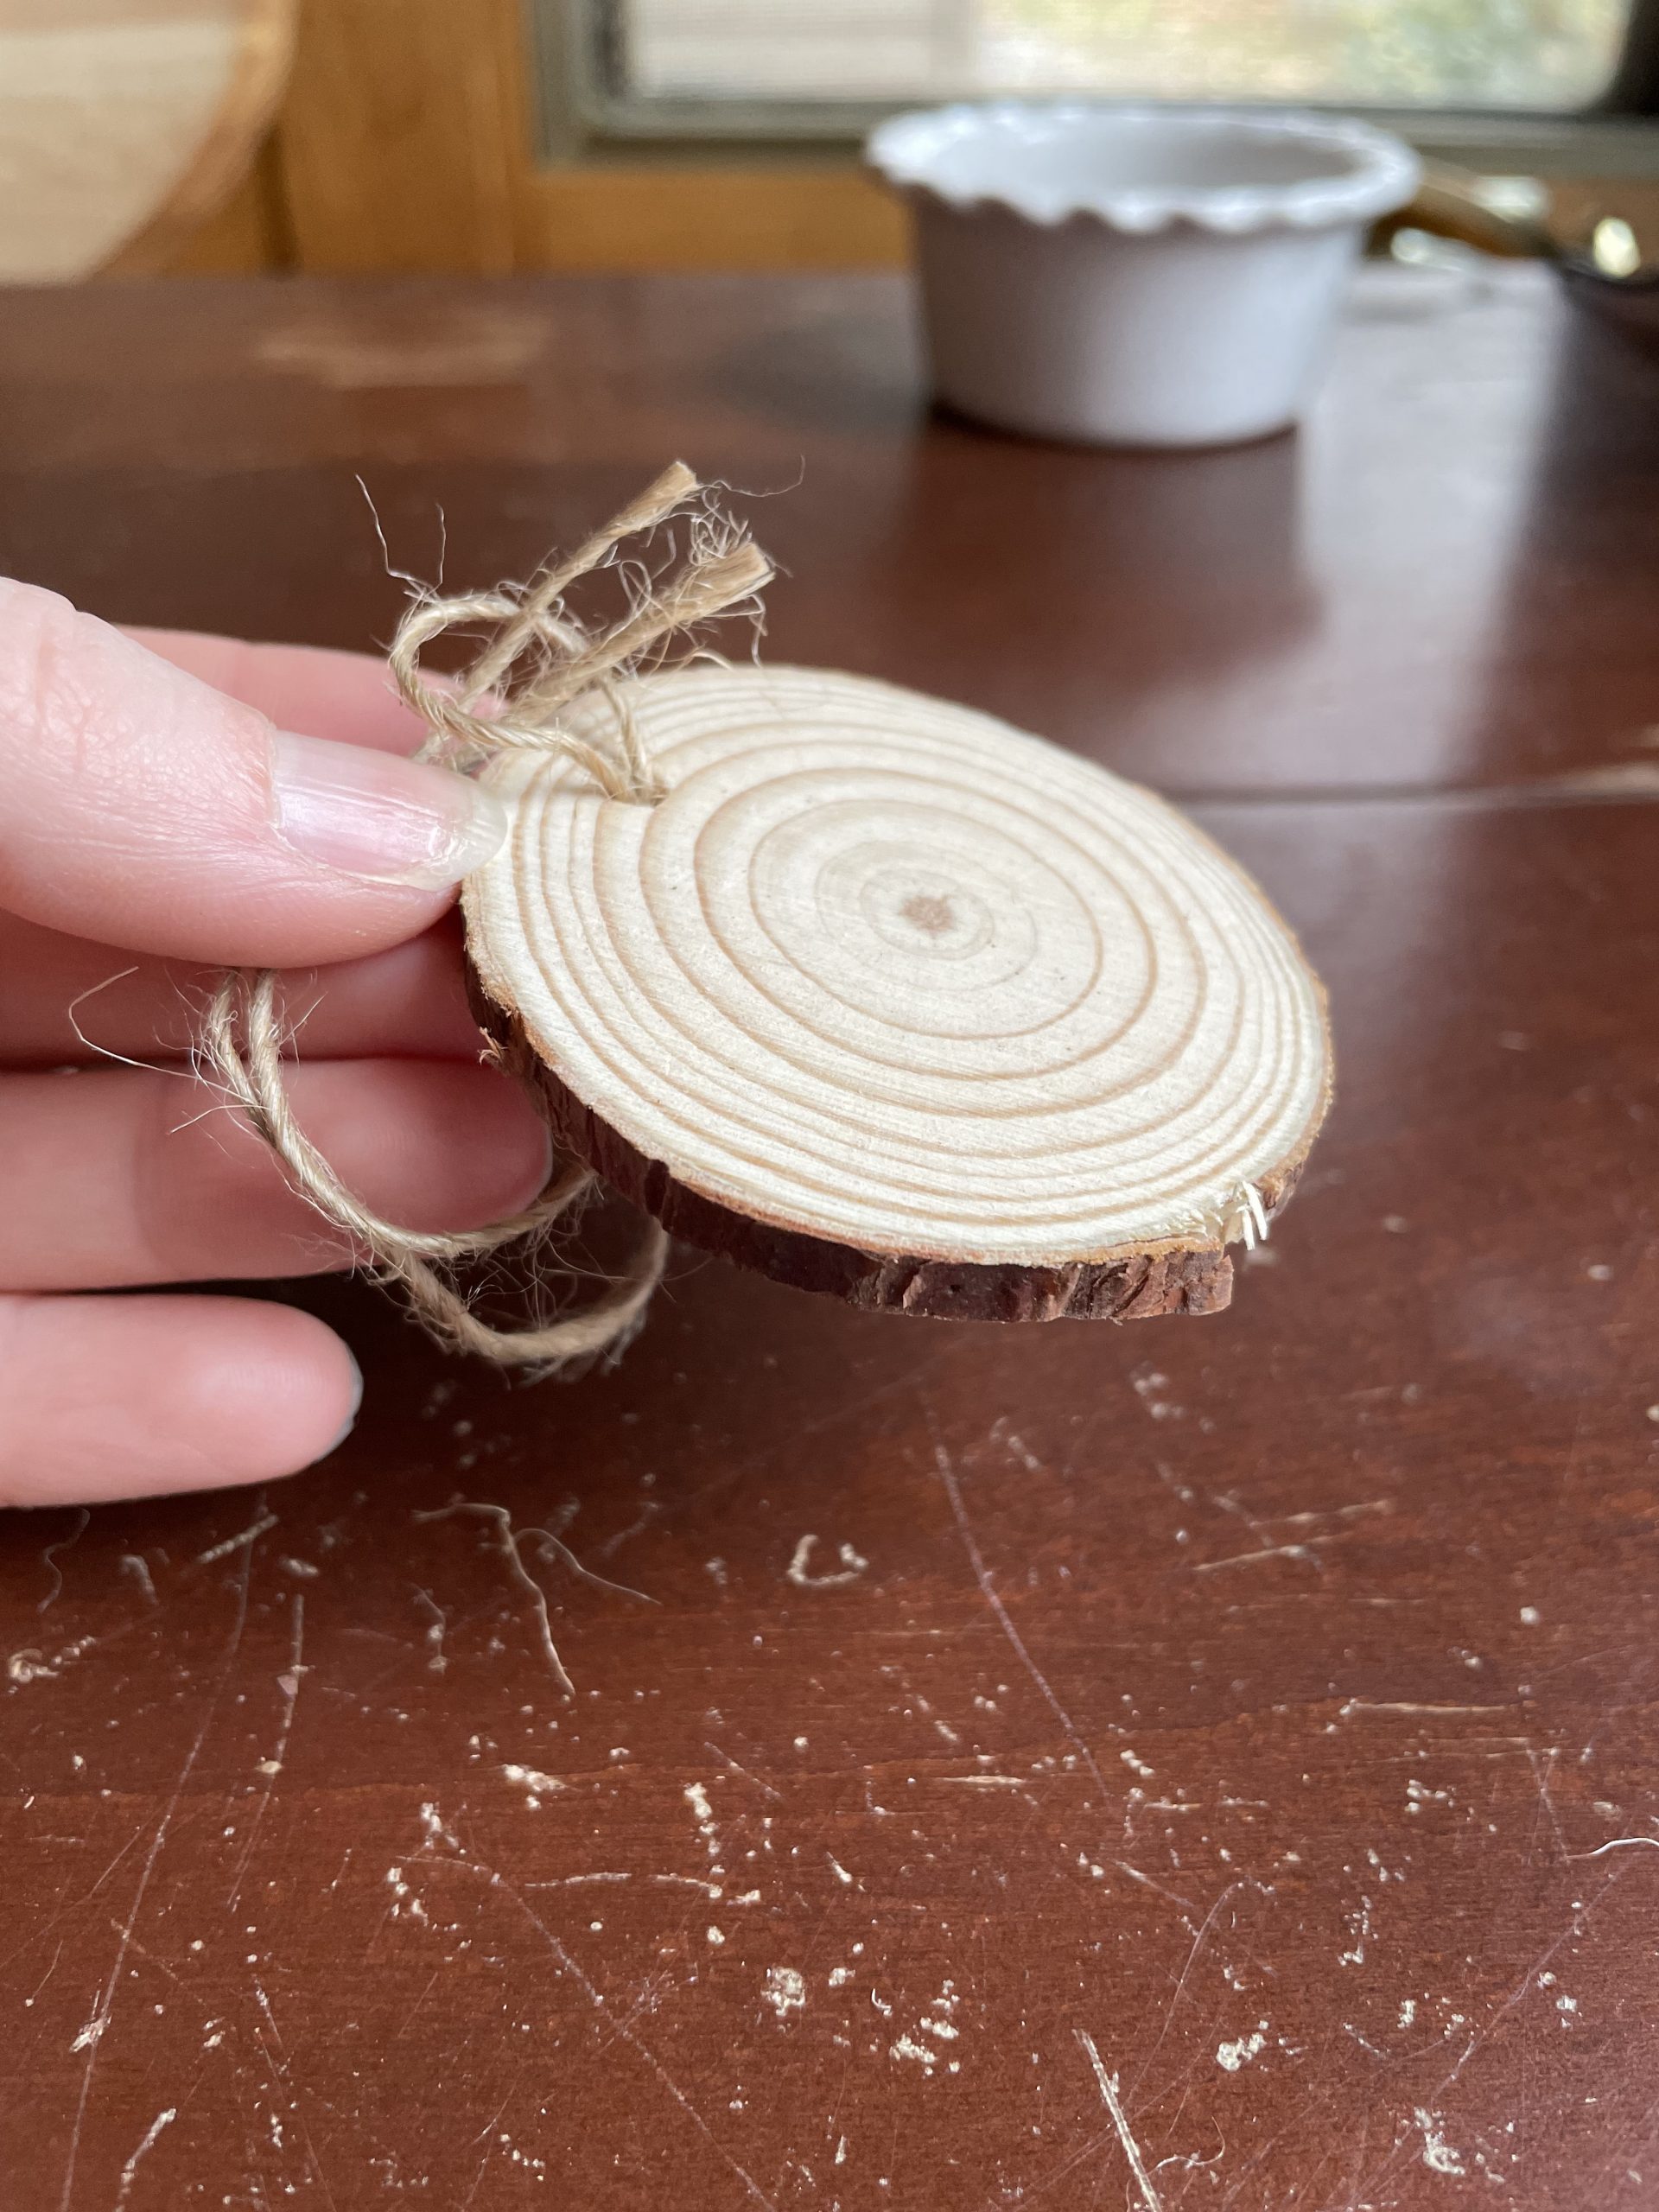
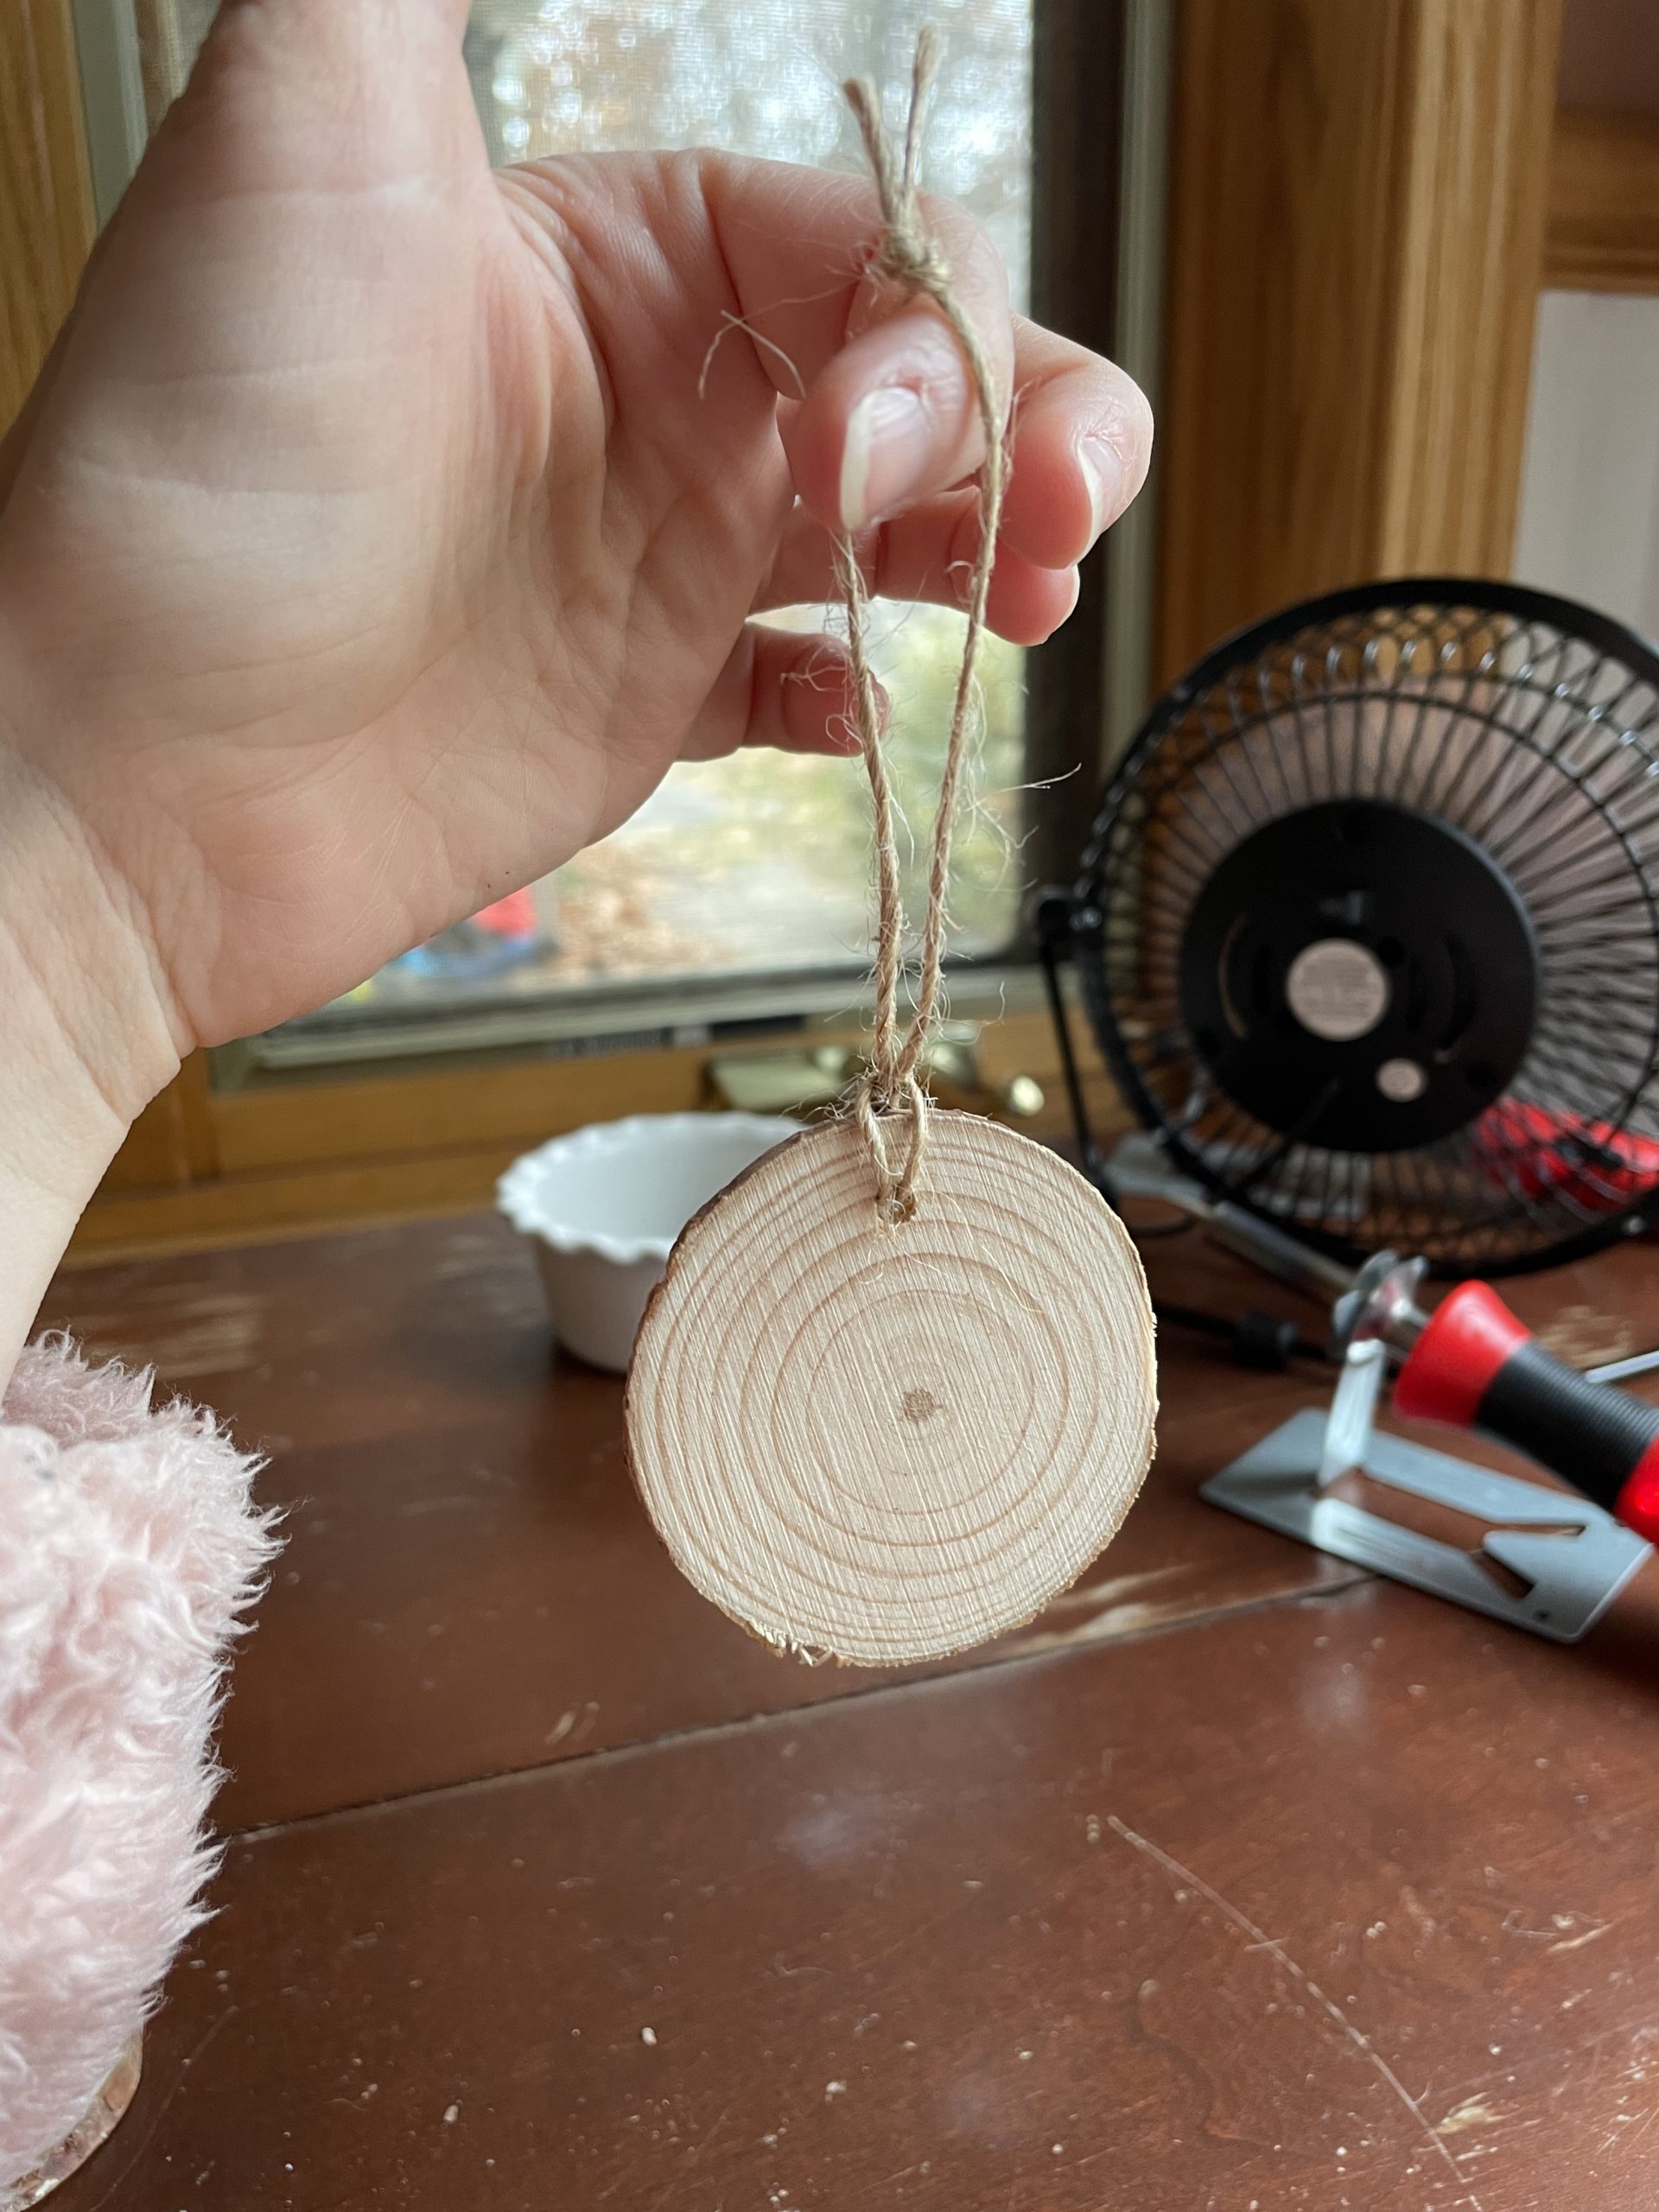
The first thing I did was get the ornament ready by putting the twine through the hole so it has a loop on the other side of the wood.

I then put the other two ends of twine through the loop and pulled the twine until it was tight against the wood.

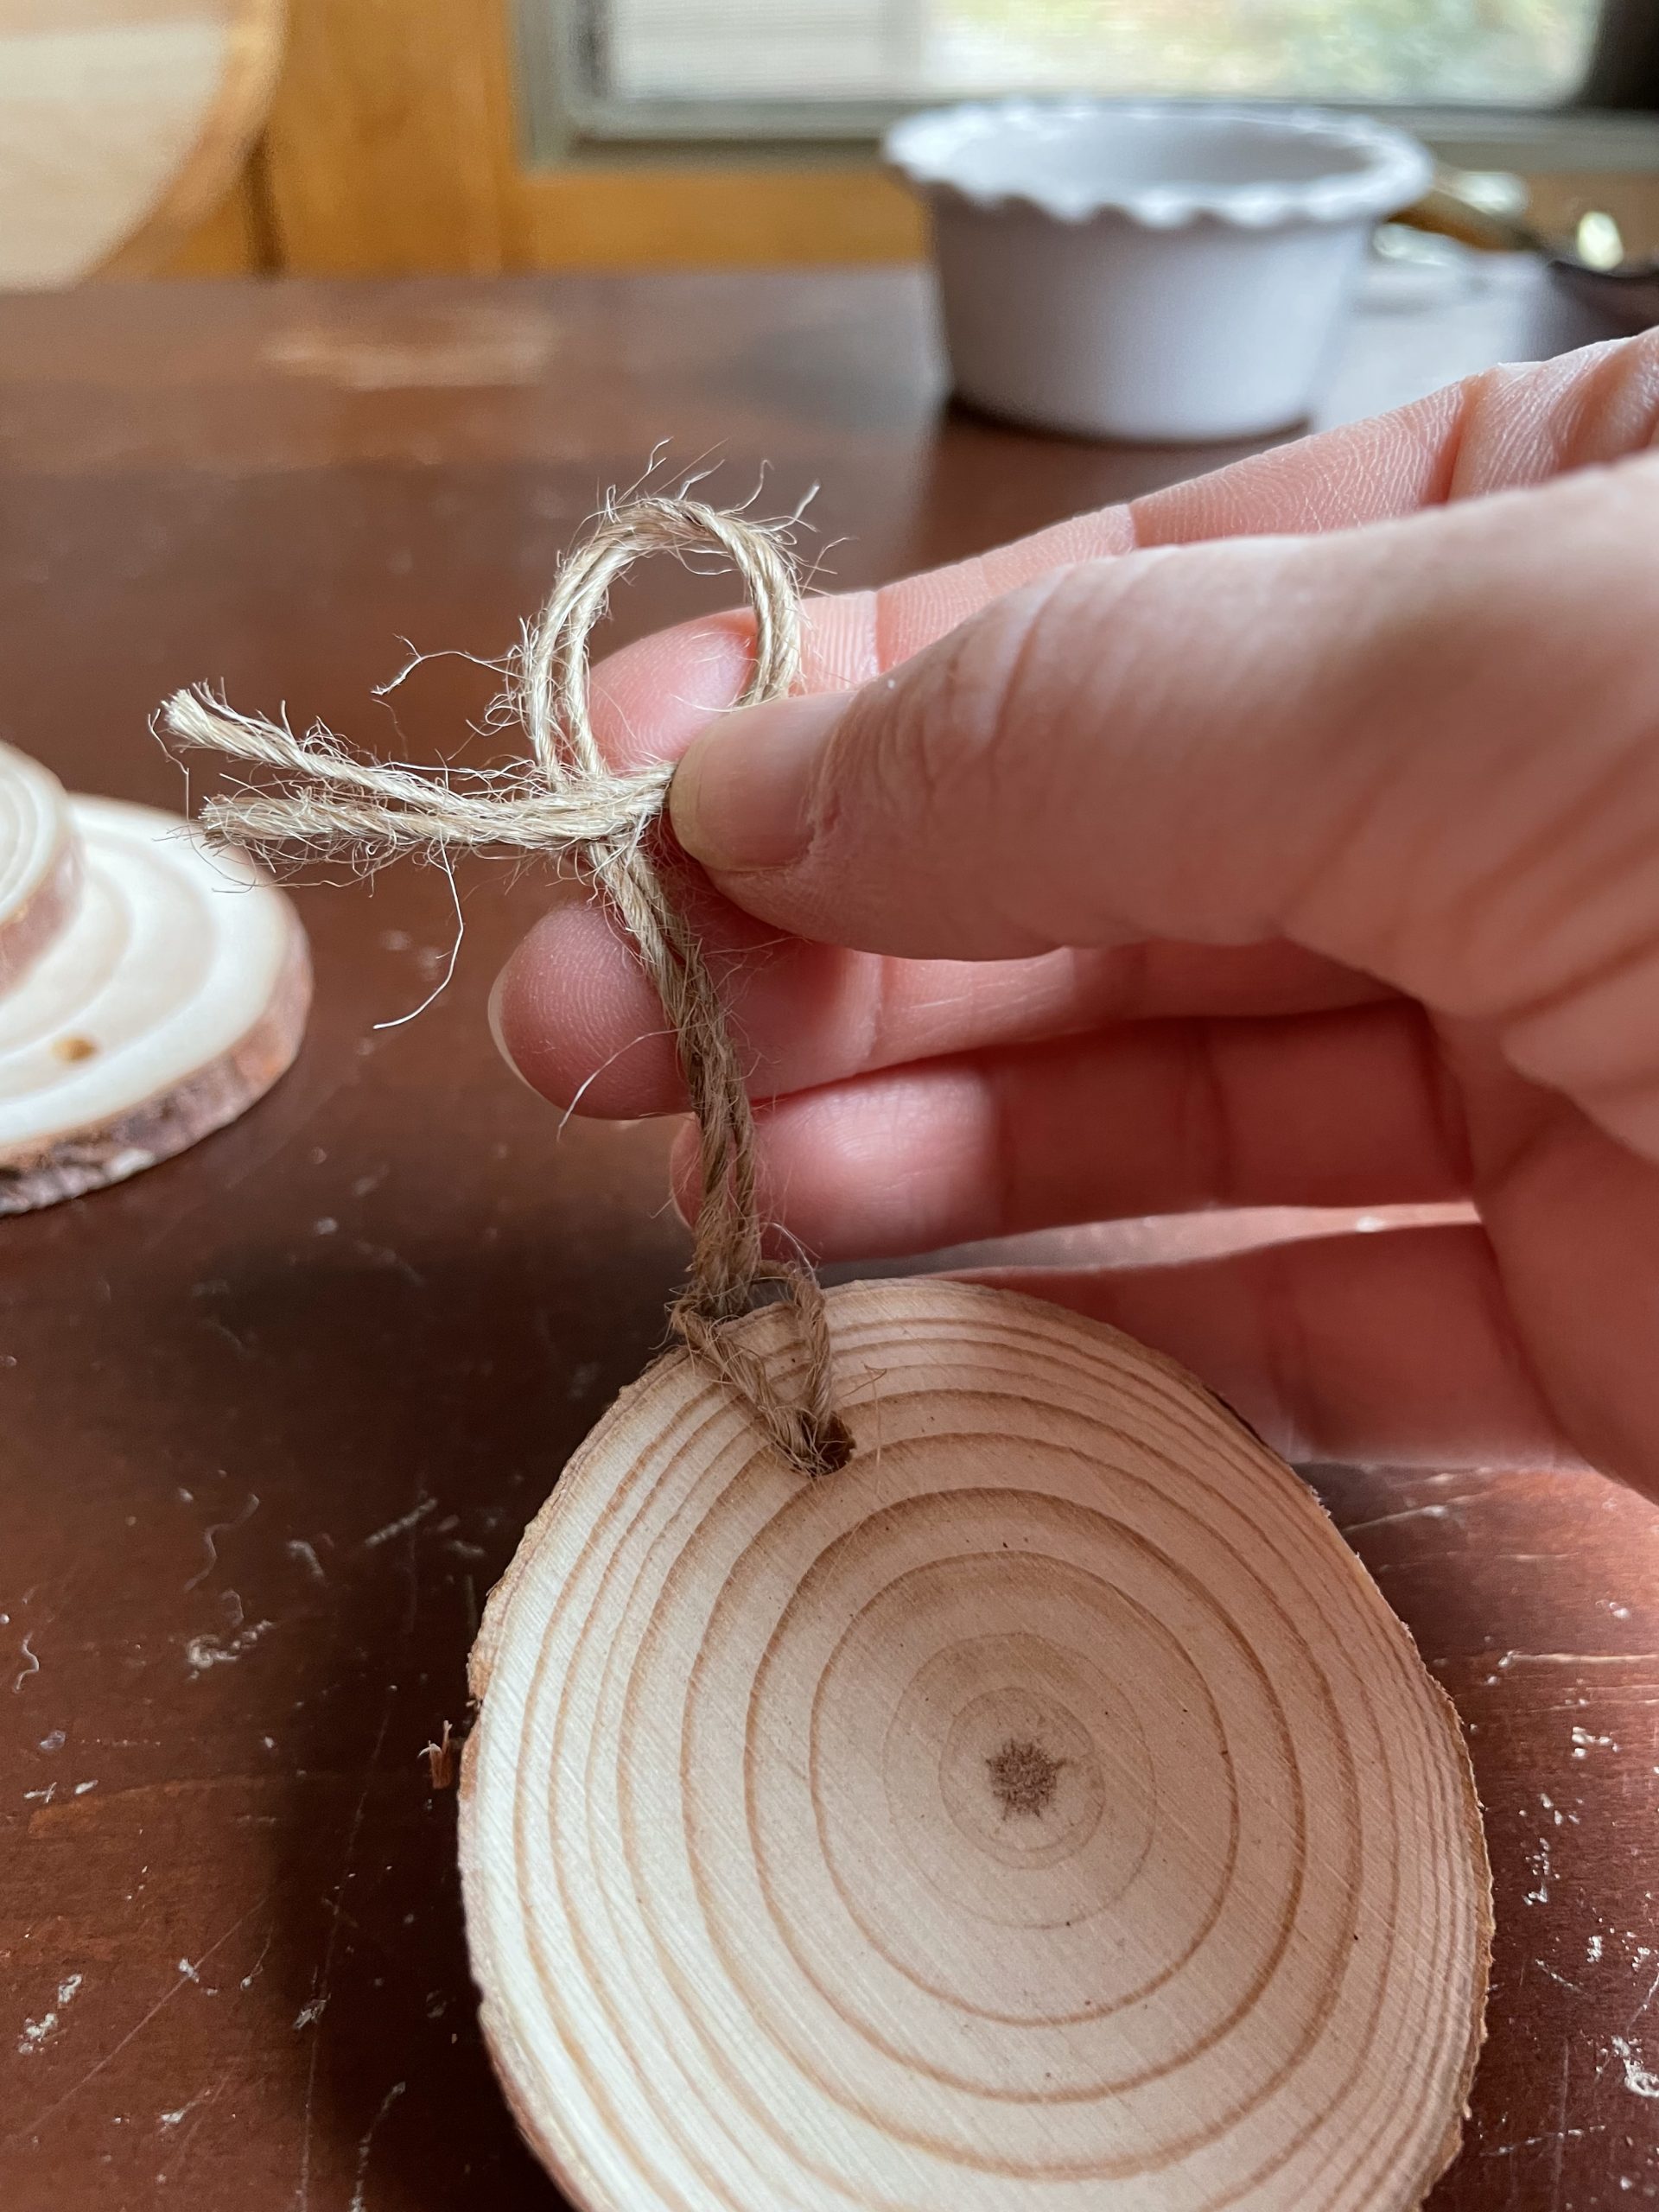
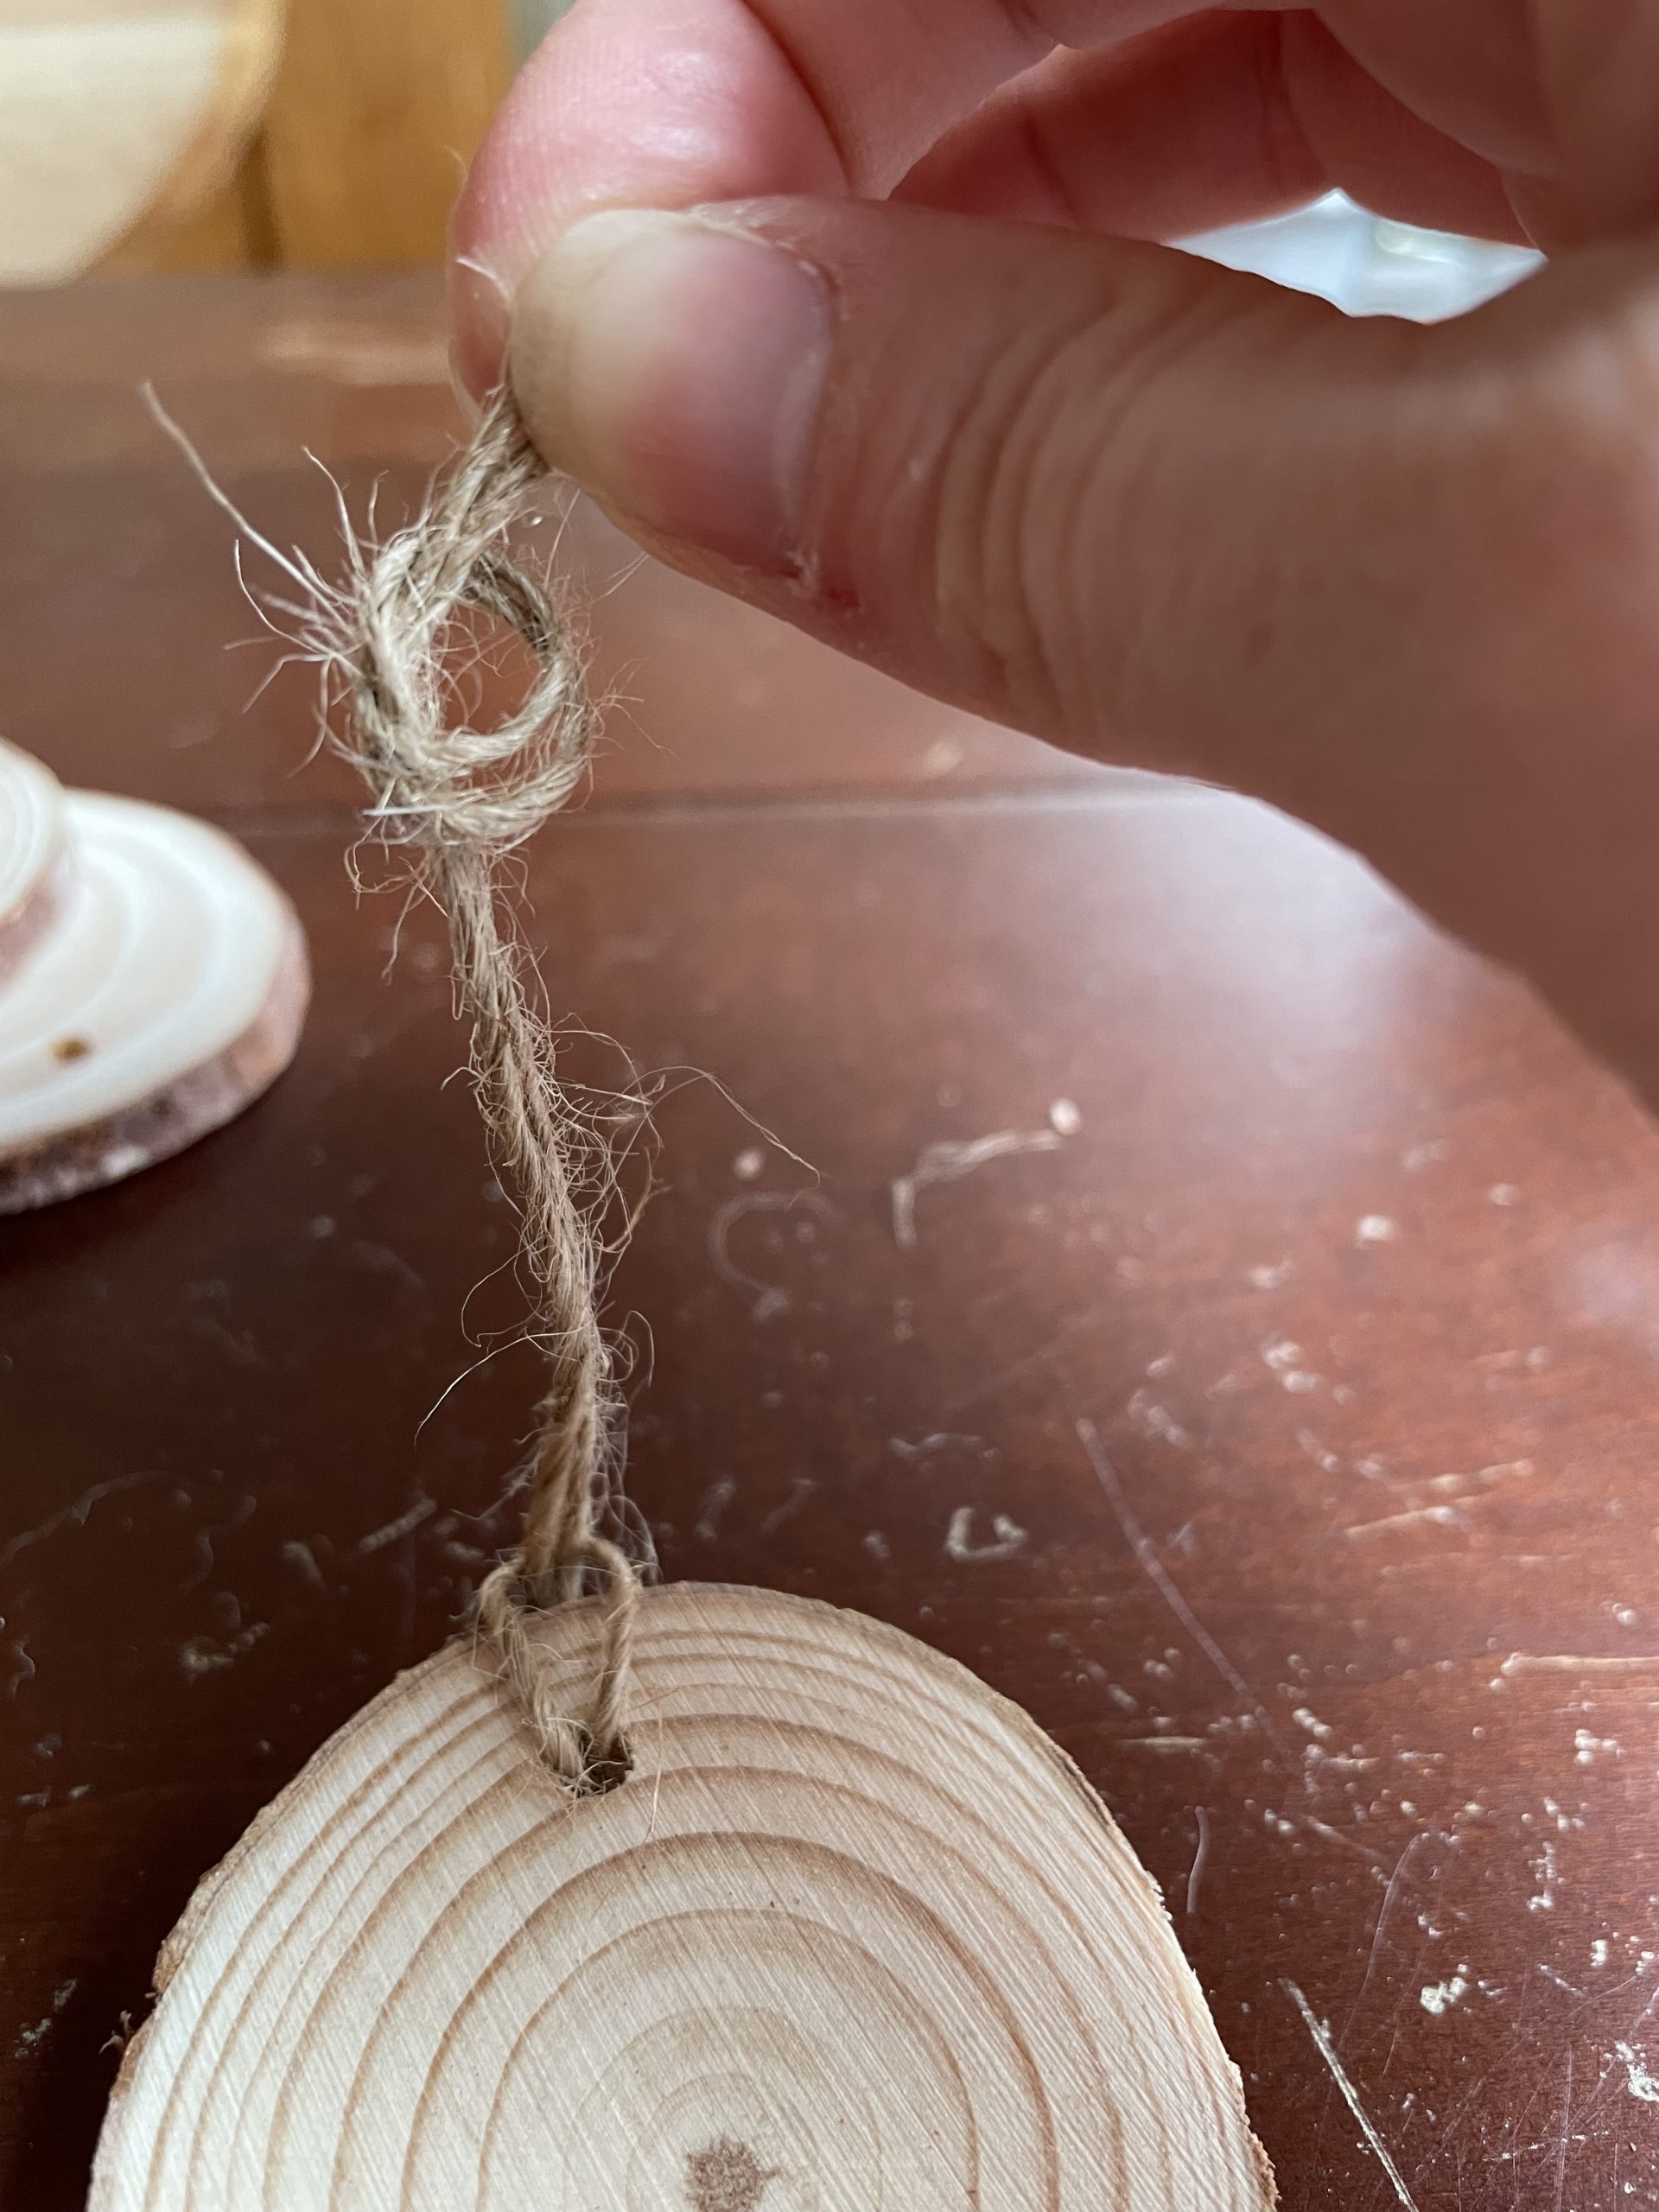
Next, I made another loop.

I put the ends through, and pulled them tight to make a knot.

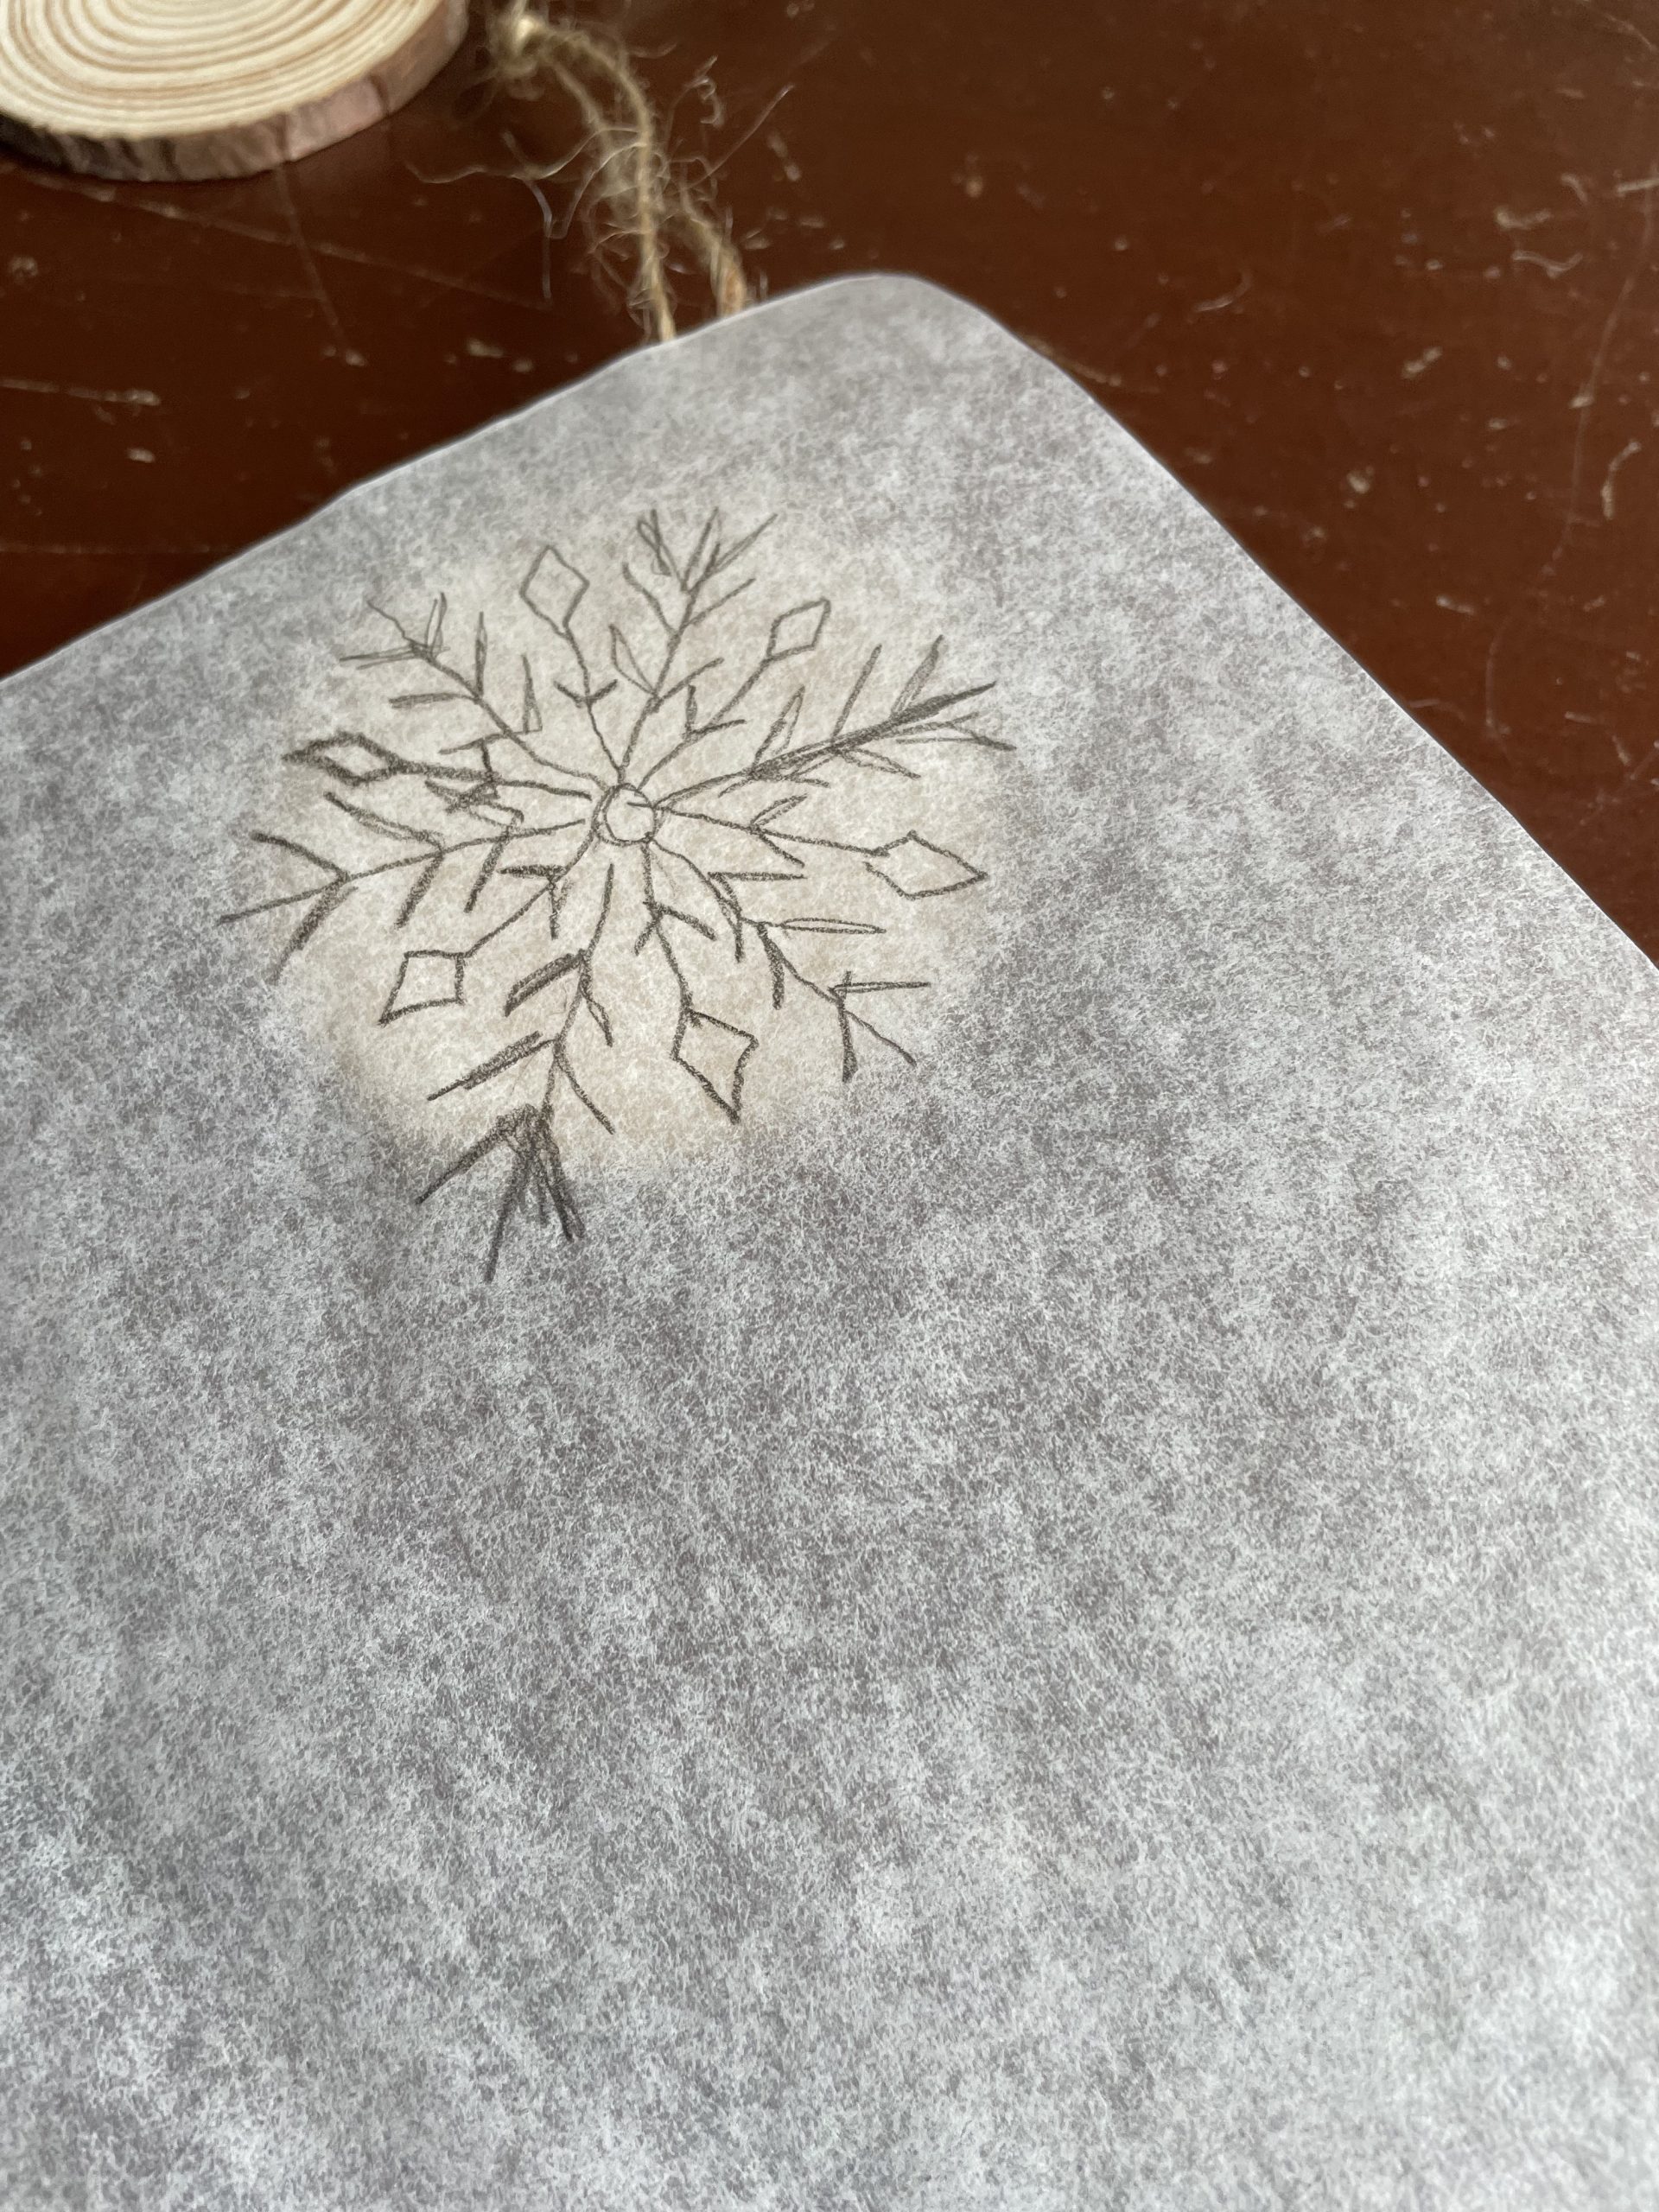
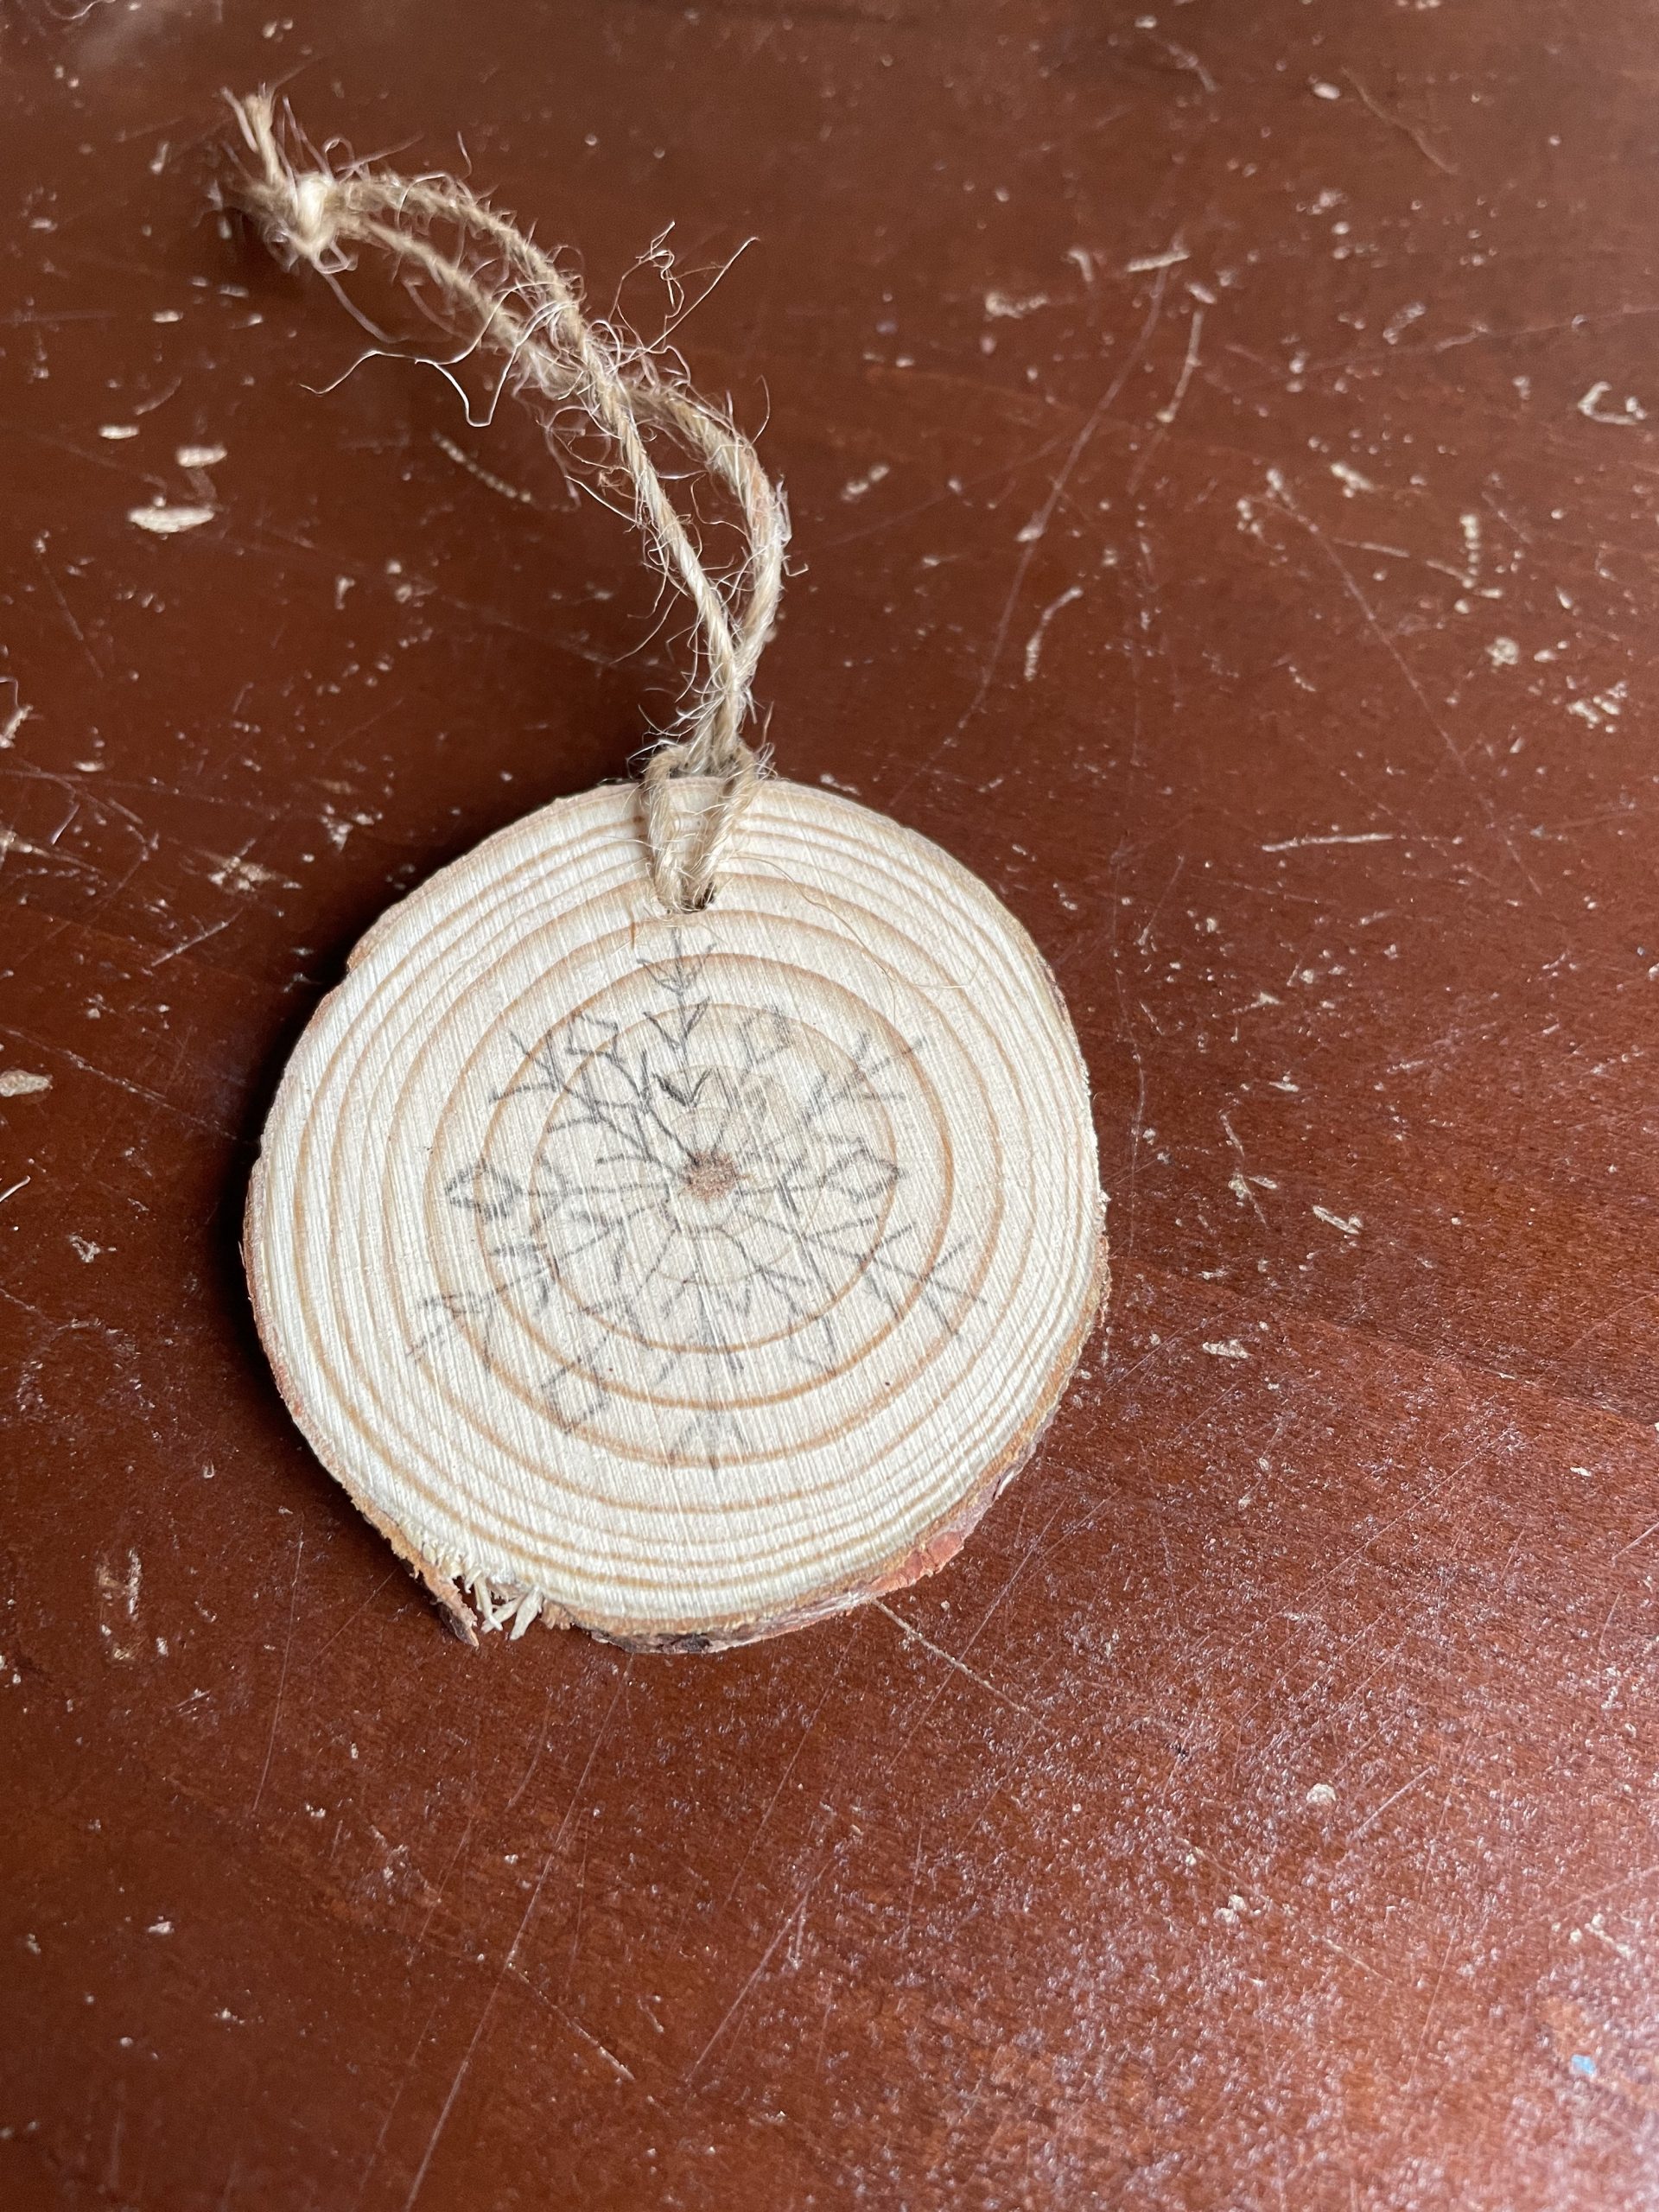
Now that the ornament is ready, I drew out my design.

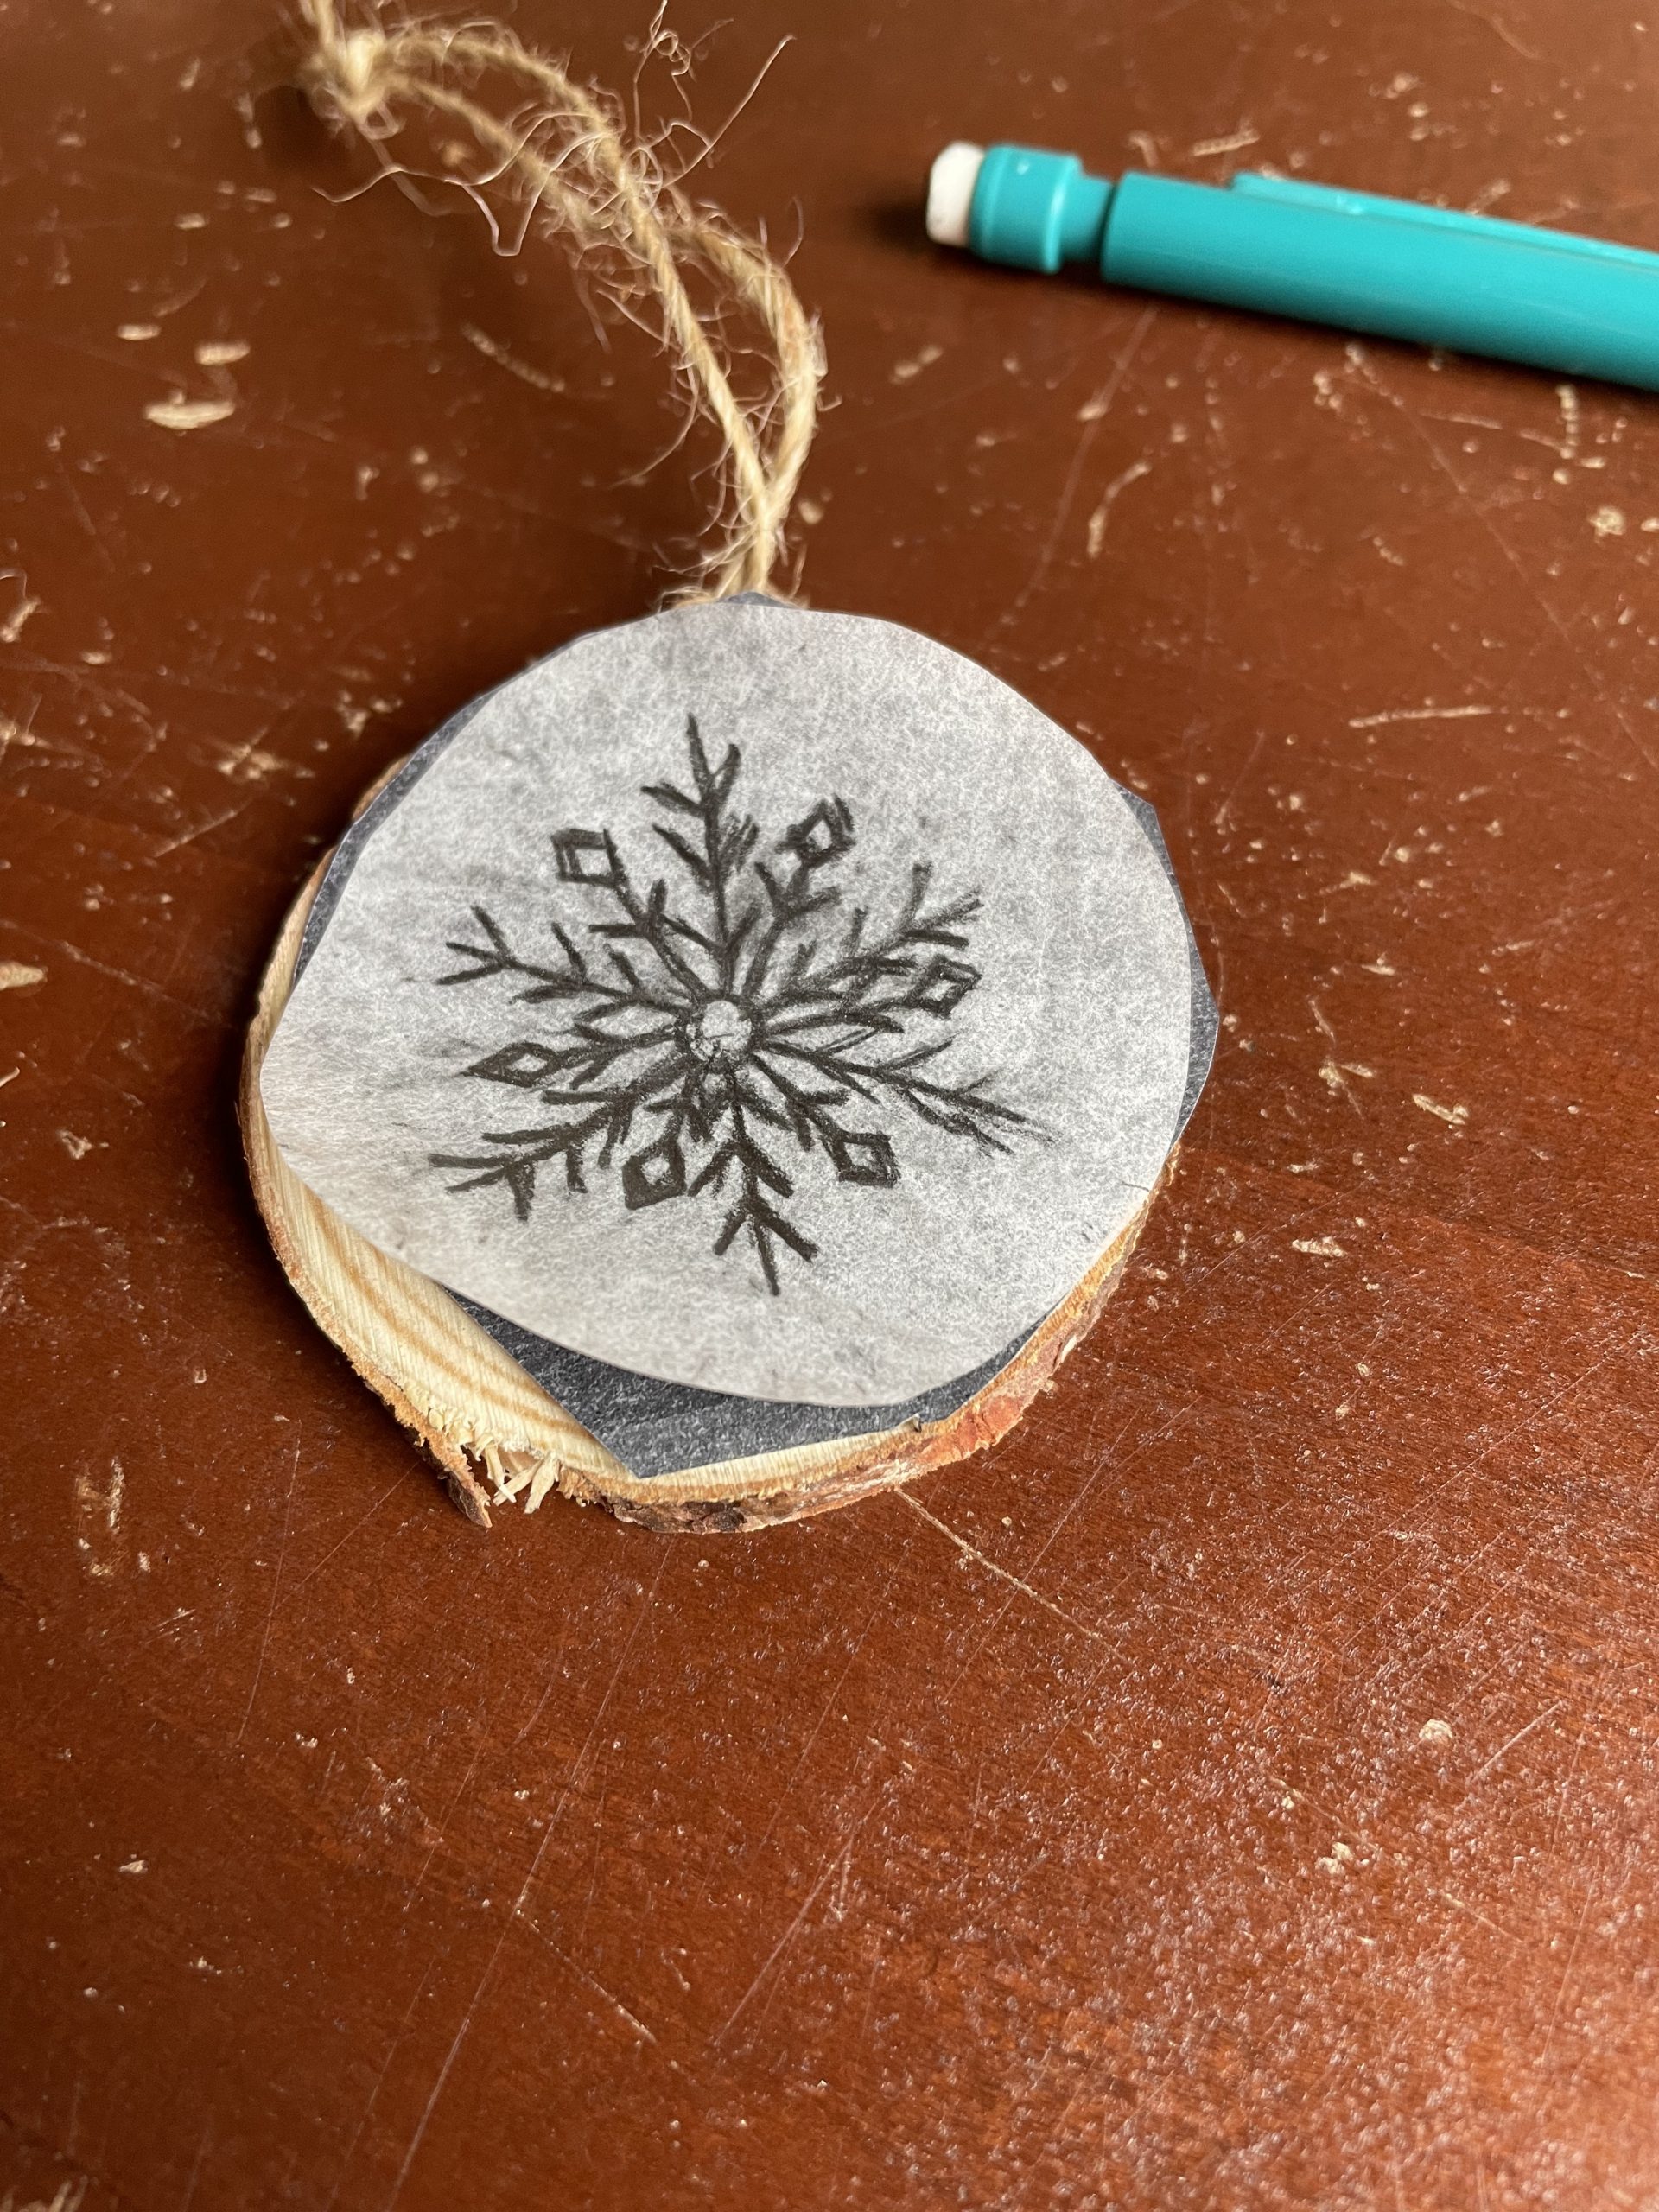
After the drawing, I then cut my design out and taped it to the wood. Following that, I placed the graphite paper (shiny side facing down) underneath my design.

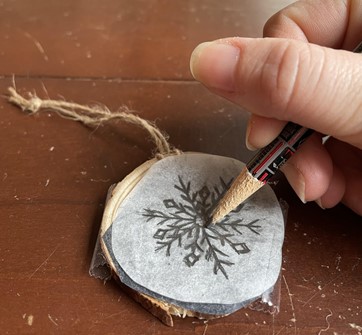
I traced the drawing, transferring the image onto the wood. I like doing it this way instead of drawing directly on the wood because I feel that it’s hard to erase pencil marks on the wood if you make a mistake.

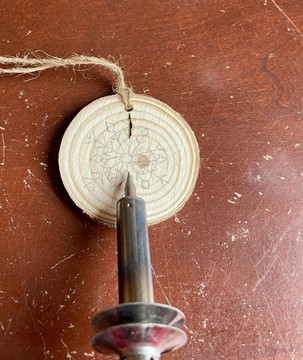
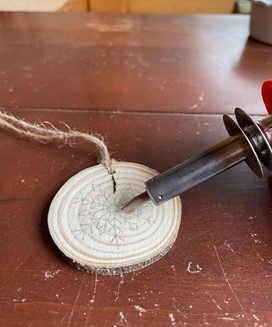
As I traced my image, I already had my woodburner turned on, so it would heat up while I drew out the image. Once the woodburner was hot enough, I used tip #7 in the TruArt art booklet.

Using tip #7, I found that if I pulled the woodburner toward me it burns the wood easier than when I tried to pull the woodburner going across my body. The first photo shows the woodburner being pulled toward my body. In the second photo, it was pulled across my body.

This little project is super easy to do that even kids (supervised, of course) can have a lot of fun sharing the experience!

Have you done something similar yet? Please share your thoughts through the comment section below. I’d really like to know what you have in mind.

I hope that you get a chance to do this fun little project, and Happy Holidays!


Christina Tillinghast


Posted on Leave a comment

Stage 2 temperature explained


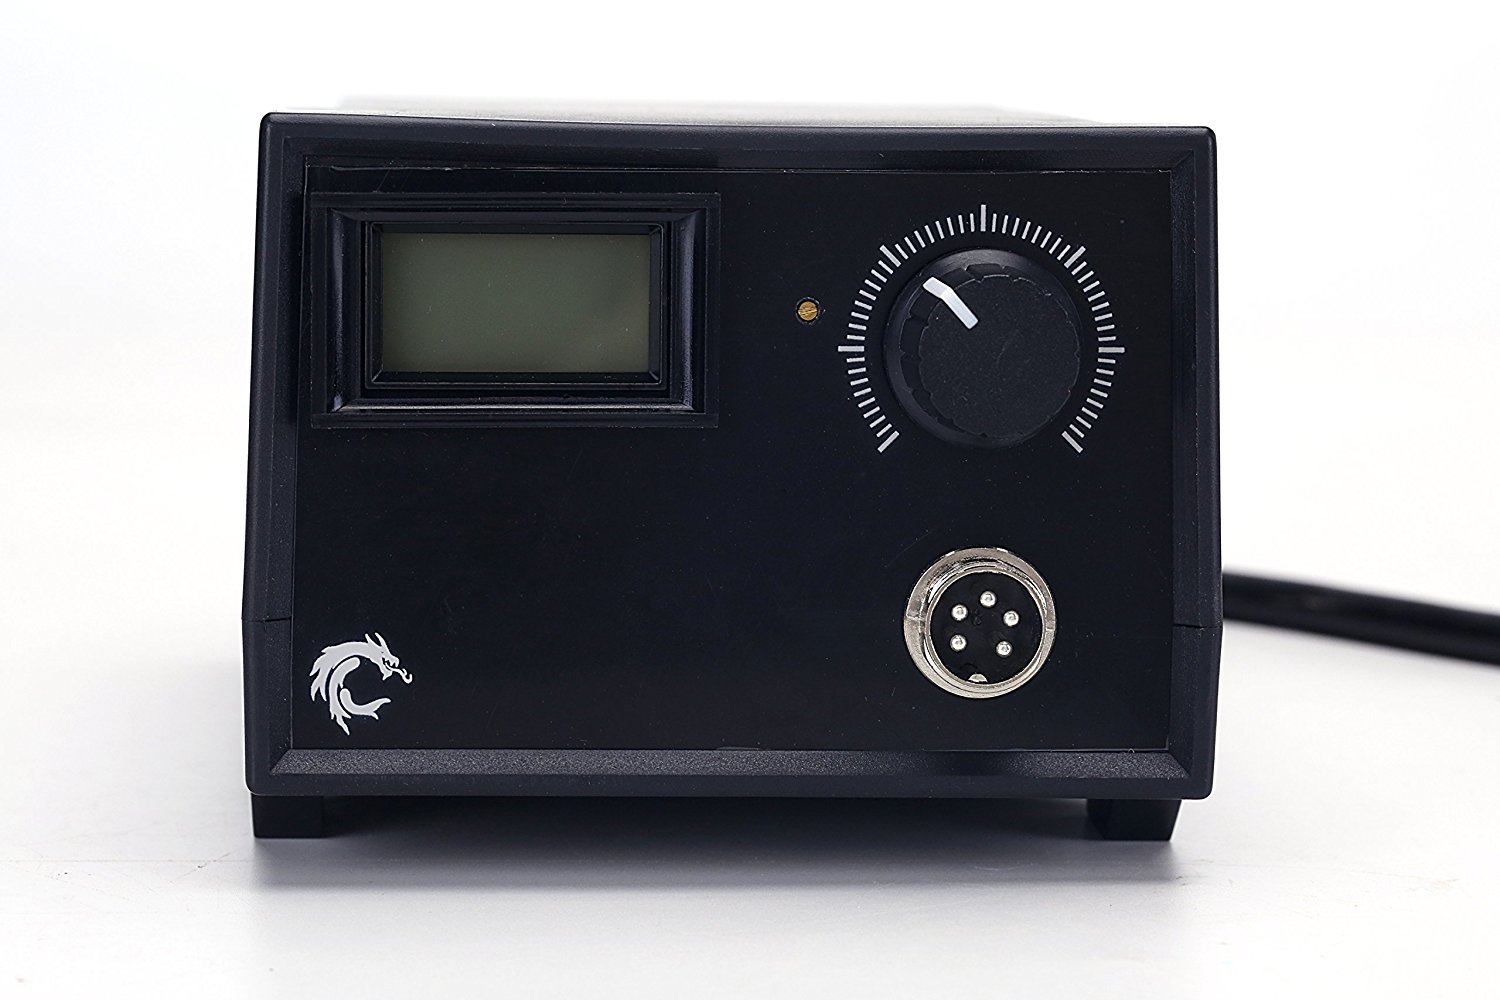
Perhaps one of the major adjustments anyone goes through with the Stage 2 pyrography set is learning to read the display in Volts and not oF or oC (degrees Fahrenheit or Celcius respectively). 
 
Image of TRUArt Stage 2 Single pen 60W Kit’s power supply
 
 
To set things straight, the LED only displays the voltage. Turning the voltage adjustment knob clockwise or counter-clockwise will increase or decrease (respectively) the voltage output. High voltage translates to a high temperature just as low voltage translates to a low temperature.
 
Here is usually where the confusion starts.
 
  • Voltage changes are non-linear with the voltage adjustment knob. This means that each line on the knob does not necessarily correspond to the same increment increase or decrease in voltage. For example, a turn from one line to the next line would probably give you a difference of 5 Volts*.  From there to the next line would not have the same difference of 5 Volts but probably be a difference 7 or 10 Volts*. 
  • Changes in voltage are non-linear with temperature change. This follows the same principle stated earlier. For instance, a 5-Volt* increase does not mean a 5 oF or oC increase as well.  The temperature change could be much higher. 
Inasmuch as we at TRUArt would like to provide precise temperature output instead of voltage readings, it is quite impossible to do so with our current technology. Aside from the limitations of the current electrical designs, there are other factors at play that influence the burning tips’ temperature. These can be any or a combination of shape of the tips, tip gauge (size), ambient temperature, air flow in room, etc.
 
However, the color of heated Nichrome wire stays fairly constant. Nichrome wire produces a faint red color at 930 oF. Generally, just before tip starts to get that faint red color, the temperature should be around 700 oF.  Below is a chart that shows the approximate temperature to the corresponding color of the heated tip.


The chart above is the closest approximation of the color since there are different gauges of Nichrome wires. Other factors also influence the result such as how much light is in the room, personal color perception, and so on. Common gauges used range from 20 to 16 GA.  
 
As always, the best is to try the tip on a scrap piece of the same wood type that will be used in the project (and in the same place, as ambient temperature may have an effect as well). It is the most precise method.


* Figures are only examples set out for the purpose of understanding the mechanics involved and do not necessarily reflect the exact figures or difference shown on the voltage display of the power supply.